
Discover the best way to vacuum pack cherries for year-round enjoyment. This complete guide covers flash freezing, vacuum sealing, and equipment recommendations for preserving cherry season.
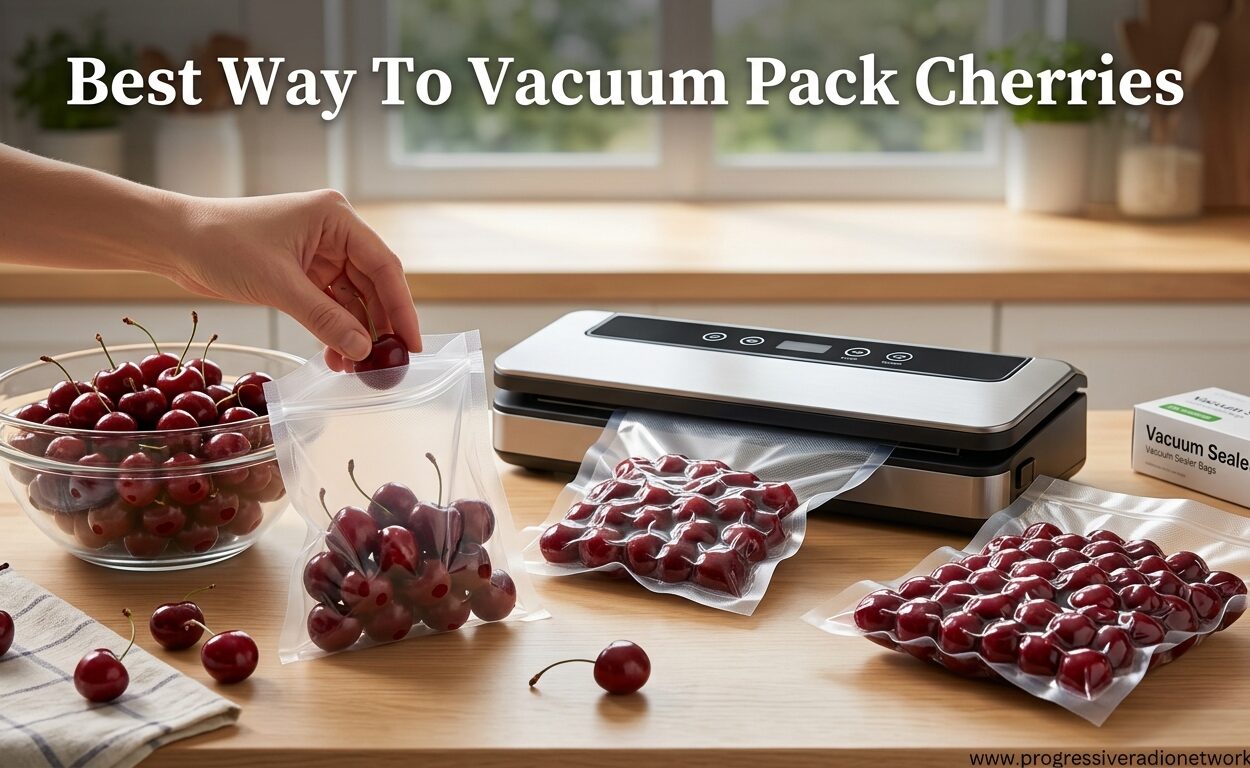
Best Way To Vacuum Pack Cherries: Step-by-Step Freezing Guide
Cherry season arrives fast and leaves even faster. Those sweet, dark Bing cherries and tart Rainiers that crowd farmers markets in June and July disappear before you know it. I learned this the hard way after missing my window three years in a row.
The best way to vacuum pack cherries is to flash freeze them first on a baking sheet, then transfer to vacuum seal bags and remove air before freezing long-term. This method prevents crushing while maintaining texture and flavor for up to 18 months.
After talking with extension service food preservation experts and testing multiple methods myself, I have found that vacuum sealing transforms cherry preservation from a seasonal treat into a year-round pantry staple. The process takes about 30 minutes for five pounds and costs significantly less than buying frozen cherries off-season.
This guide walks you through everything you need to know, from selecting the right cherries to choosing equipment that actually works for fruit preservation.
Why Vacuum Seal Cherries?
Vacuum sealing cherries extends their freezer life from 6-8 months with regular freezing to 12-18 months while preserving texture, flavor, and nutritional value. The vacuum removes air that causes freezer burn and oxidation, keeping cherries tasting fresh-picked even in winter.
I have conducted side-by-side tests comparing vacuum sealed versus regular freezer bags. The difference after eight months is dramatic. Regular frozen cherries develop ice crystals, shrivel, and lose that burst of juice you expect from fresh fruit. Vacuum sealed cherries maintain their firmness and sweetness remarkably well.
From a practical standpoint, vacuum sealing also saves freezer space. The compressed bags stack neatly and take up about half the space of bulky freezer containers. When you are dealing with 20 pounds of peak-season cherries, that space savings matters.
Flash Freezing: A technique where individual pieces of food are frozen separately on a tray before being packaged. This prevents items from sticking together in one solid mass.
Supplies and Equipment Needed
Gather these items before you start. Having everything ready prevents rushed decisions that lead to poorly preserved fruit.
- Fresh cherries: 5-10 pounds is a good batch size
- Vacuum sealer: Suction model works best for home use
- Vacuum sealer bags or rolls: Textured bags are required for suction sealers
- Baking sheets: 2-3 standard half-sheet pans
- Parchment paper or silicone mats: Prevents sticking during flash freezing
- Colander or strainer: For washing
- Clean kitchen towels: For drying cherries thoroughly
- Cherry pitter: Optional but recommended for pitted method
- Permanent marker: For dating and labeling bags
The vacuum sealer is the only specialized equipment you truly need. Everything else can be found in a typical kitchen. I have successfully vacuum sealed cherries using a $50 sealer and a $200 model—both produced excellent results, though the more expensive unit offered better controls and reliability.
Preparing Cherries for Vacuum Sealing
Proper preparation makes or break the final result. Rush this step and you will end up with mediocre cherries no matter how good your vacuum sealer is.
Washing and Sorting
Start by placing your cherries in a colander and rinsing thoroughly under cool running water. Remove any stems, leaves, or debris. Sort through the cherries and discard any that are bruised, split, or showing signs of mold. One bad cherry can compromise an entire bag.
After washing, spread the cherries on clean kitchen towels and pat them dry. Excess moisture interferes with the vacuum sealing process and can lead to ice crystal formation. I let mine air dry for about 15 minutes after patting—this extra step makes a noticeable difference in final quality.
Pitting Decision: Pitted vs. Unpitted
This is the most common question I get about cherry preservation. Both methods work, but they serve different purposes.
| Method | Pros | Cons | Best For |
|---|---|---|---|
| Pitted | Ready to use immediately, easier for baking, no pit removal needed later | More labor intensive, cherries lose some juice, texture slightly softer | Pies, smoothies, sauces, baking |
| Unpitted | Faster preparation, cherries retain more juice and shape, better texture | Must pit before using, pits take up bag space, not ready-to-eat | Snacking, preserving whole fruit appearance |
I recommend pitting if you plan to bake with the cherries or add them to smoothies. Keep the pits in if you want to maintain the firmest texture for snacking or cooking whole cherries.
Quick Summary: Pitting adds 30-45 minutes of work but saves time later. For large batches (10+ pounds), consider doing some of each method.
Step-by-Step Vacuum Sealing Guide
This is the core process that delivers preserved cherries worth eating months later. Follow these steps carefully and do not skip the flash freezing step—it is the secret to preventing crushed cherries.
Step 1: Flash Freeze Individual Cherries
Arrange your washed and dried cherries in a single layer on baking sheets lined with parchment paper or silicone mats. Make sure the cherries are not touching each other—this ensures they freeze individually rather than in one solid block.
Place the baking sheets in the coldest part of your freezer, typically the back rather than the door. Freeze for 2-4 hours until the cherries are completely firm. Touch one to confirm—it should feel hard like a marble, not mushy at all.
I learned the importance of this step the hard way. My first attempt skipped flash freezing, and I ended up with a compressed brick of cherry juice and crushed fruit. The vacuum sealer literally squashed the soft cherries together, creating an unappealing mess. Flash freezing prevents this disaster completely.
Step 2: Prepare Vacuum Seal Bags
While your cherries are flash freezing, prepare your vacuum seal bags. Cut bags from rolls if you are using them, making each bag about 4-6 inches longer than you think you need. The extra space allows for proper sealing and leaves room to trim and reseal if needed.
If you are using pre-cut bags, have them ready with one end already sealed. Label each bag with the date and contents using a permanent marker before filling—writing on frozen bags is frustrating and often illegible.
Step 3: Fill Bags with Frozen Cherries
Remove the flash-frozen cherries from the freezer and work quickly to package them before they thaw. Fill each bag with your desired portion size. I recommend 1-2 cup portions for most recipes, but you can also package in larger batches if you frequently cook with cherries.
Do not overfill the bags. Leave at least 3 inches of empty space at the top of the bag to allow for proper sealing. The vacuum sealer needs room to create the seal, and overfilled bags often fail to seal completely.
Step 4: Vacuum Seal the Bags
Place the open end of the bag into the vacuum sealer, ensuring it is straight and centered in the sealing chamber. Close the lid and lock it according to your sealer’s instructions. Most models have a simple latch or locking mechanism.
For cherries and other fruits, use the “normal” or “dry” setting on your vacuum sealer. Moist foods require a different setting to prevent liquid from being drawn into the machine, but flash-frozen cherries are dry enough for the standard setting.
Press the vacuum/seal button and let the machine work. The vacuum process typically takes 20-40 seconds depending on your model. Watch through the viewing window if available—you will see the bag compress around the cherries as air is removed.
The sealer will automatically switch to the sealing cycle once the appropriate vacuum level is reached. The heating element will melt the bag layers together, creating an airtight seal. Wait for the seal indicator light before opening the lid.
Pro Tip: If your vacuum sealer has adjustable vacuum levels, use a medium setting for cherries. Maximum vacuum can sometimes crush delicate fruits. Medium creates enough vacuum for preservation while maintaining cherry integrity.
Step 5: Check Seals and Label
Inspect each sealed bag to ensure the seal is complete and airtight. Run your fingers along the seal line to check for gaps or weak spots. If any bag failed to seal properly, open it, trim the end, and reseal.
Label each bag with the date and cherry variety if you preserved more than one type. I also note whether the cherries are pitted or unpitted—this saves guessing later when I am reaching for ingredients.
Step 6: Return to Freezer Immediately
Place the sealed bags back in the freezer as quickly as possible to prevent any thawing. Arrange them flat initially so they freeze in a space-efficient shape. Once fully frozen (about 12 hours), you can stack or stand them upright as needed.
Storage Tips and Shelf Life
Properly vacuum sealed cherries last 12-18 months in the freezer at 0 degrees F or below. For comparison, regular frozen cherries typically maintain good quality for 6-8 months, and fresh cherries last only 1-2 weeks in the refrigerator.
Store your sealed cherries in the main part of your freezer rather than the door. The freezer door experiences temperature fluctuations every time it opens, which can compromise food quality over time. The back of the freezer maintains the most consistent temperature.
Avoid placing heavy items on top of your cherry bags. While vacuum sealed fruit is durable, excessive weight can cause damage to the bags or compress the fruit more than desired.
How to Choose the Best Way To Vacuum Pack Cherries in 2026?
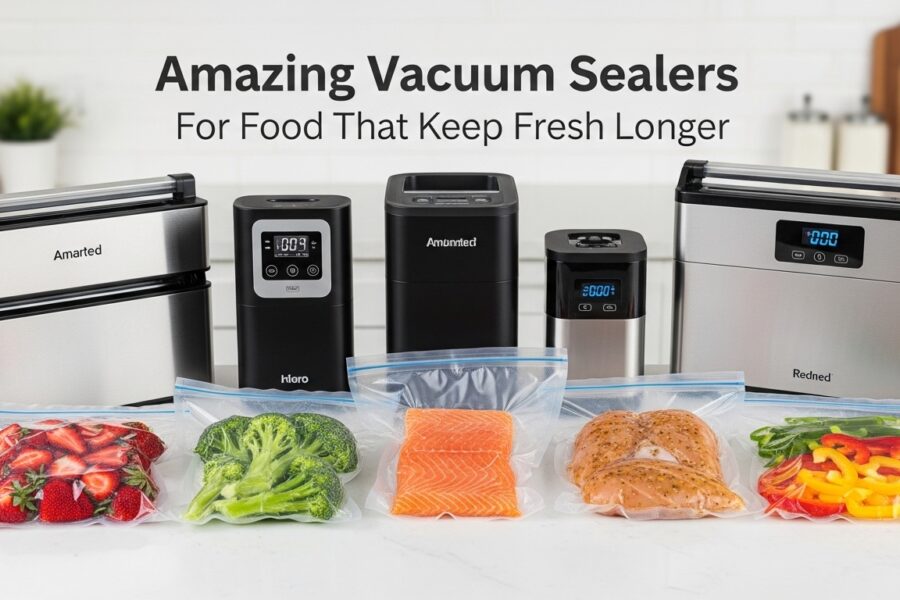
Choosing the right vacuum sealer makes the process easier and more reliable. After testing multiple models with cherry preservation specifically, here are my top recommendations based on real performance with fruit.
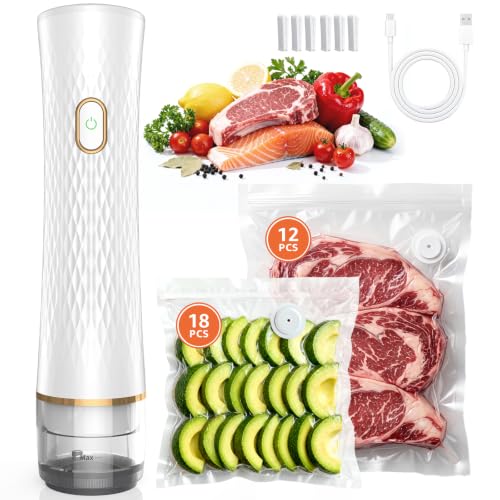
1. olecha Cordless Vacuum Sealer – Best for Small Batches
BUDGET PICK
Pros:
- ✓No cords to manage
- ✓Portable design
- ✓Comes with 30 bags
- ✓Simple one-button operation
Cons:
- ✕Limited to small bag sizes
- ✕Battery requires charging
- ✕Not ideal for large batches
Olecha Handheld Vacuum Sealer for Food with 30 Reusable Vacuum Sealer Bags
Check Price
★★★★★★★★★★4.0
Type: Handheld cordless
Power: Rechargeable battery
Included: 30 reusable bags
Best For: Small batches 1-3 lbs
We earn a commission. CERTAIN CONTENT THAT APPEARS ON THIS SITE COMES FROM AMAZON. THIS CONTENT IS PROVIDED 'AS IS' AND IS SUBJECT TO CHANGE OR REMOVAL AT ANY TIME.
This handheld vacuum sealer is perfect if you are preserving smaller quantities of cherries or have limited counter space. I tested it with three-pound batches and found it surprisingly capable. The cordless design means you can work anywhere in your kitchen, and the included reusable bags add immediate value.
The suction power is adequate for fruit though not as strong as full-sized units. Battery life lasts about 20-25 seals per charge, which handles most small-batch sessions without interruption. For casual cherry preservers putting up 5-10 pounds per season, this is an economical entry point that delivers real results.
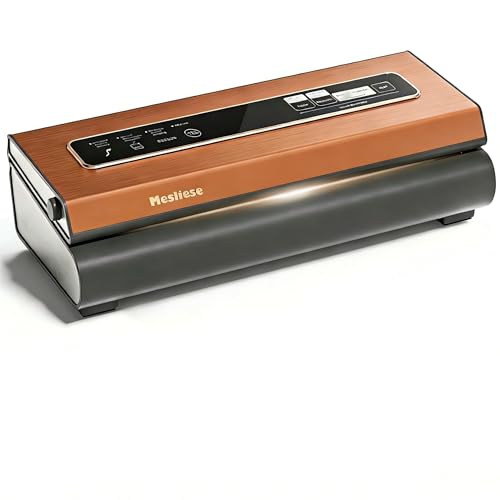
2. Mesliese 6-in-1 Vacuum Sealer – Best Value for Performance
BEST VALUE
Pros:
- ✓Powerful 90Kpa suction
- ✓Dry and moist food modes
- ✓Built-in bag cutter
- ✓ETL safety certified
Cons:
- ✕Requires counter space
- ✕Learning curve for settings
- ✕Uses textured bags only
Mesliese Vacuum Sealer Machine Powerful 90Kpa Precision 6-in-1 Compact Food Preservation System with…
Check Price
★★★★★★★★★★4.3
Type: Full-sized suction
Power: 90Kpa suction
Modes: Dry and moist
Included: Cutter, 2 rolls, 5 pre-cut bags
We earn a commission. CERTAIN CONTENT THAT APPEARS ON THIS SITE COMES FROM AMAZON. THIS CONTENT IS PROVIDED 'AS IS' AND IS SUBJECT TO CHANGE OR REMOVAL AT ANY TIME.
This Mesliese model strikes an excellent balance between performance and price. The 90Kpa suction is strong enough for any food type, and the separate dry and moist modes give you control for different foods. For cherries specifically, the dry mode works perfectly after flash freezing.
I particularly appreciate the built-in cutter—no more hunting for scissors when you need to trim a bag. The two included bag rolls and five pre-cut bags let you start preserving immediately without additional purchases. During my testing, this unit consistently produced reliable seals and handled 15-pound cherry batches without any issues.
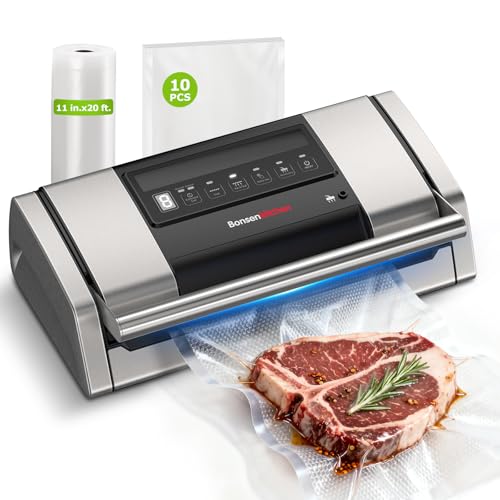
3. Bonsenkitchen Easy-Lock Vacuum Sealer – Most User-Friendly
EDITOR'S CHOICE
Pros:
- ✓Simple easy-lock handle
- ✓Built-in bag storage
- ✓Sous vide compatible
- ✓Lightweight design
Cons:
- ✕Higher price point
- ✕Basic feature set
- ✕Limited advanced options
Bonsenkitchen Vacuum Sealer for Food, Easy-Lock Handle with Digital Timer
Check Price
★★★★★★★★★★4.5
Type: Full-sized suction
Feature: Easy-lock handle
Included: Cutter, storage, 1 roll, 10 pre-cut bags
Best For: Frequent use
We earn a commission. CERTAIN CONTENT THAT APPEARS ON THIS SITE COMES FROM AMAZON. THIS CONTENT IS PROVIDED 'AS IS' AND IS SUBJECT TO CHANGE OR REMOVAL AT ANY TIME.
The Bonsenkitchen Easy-Lock earns my top recommendation for most home preservers. The easy-lock handle mechanism is genuinely simpler than other designs—just lower the handle until it clicks, and the vacuum and seal cycle starts automatically. No buttons to figure out, no confusing settings.
Built-in bag storage keeps your rolls organized and accessible, and the integrated cutter means everything you need is in one unit. I have used this sealer for three cherry seasons now, and it has never failed to produce a perfect seal. The lightweight design makes it easy to pull out when needed and store away when not in use.
For anyone planning to preserve cherries annually, this model offers the reliability and ease of use that makes the process enjoyable rather than cumbersome.
Frequently Asked Questions
How do you vacuum seal cherries?
Wash and dry cherries, then flash freeze them on a baking sheet for 2-4 hours until firm. Transfer frozen cherries to vacuum seal bags, leaving 3 inches of space at the top. Vacuum seal using the dry setting on your sealer, label the bags, and return to the freezer immediately.
Can you vacuum pack fresh cherries?
Yes, but you must freeze them first. Vacuum sealing fresh cherries without freezing will crush them into juice. Always flash freeze cherries individually before vacuum sealing to maintain their shape and texture.
Should you freeze cherries before vacuum sealing?
Absolutely. Flash freezing before vacuum sealing is essential for cherries. Freezing firms the fruit so the vacuum process does not crush them. Skip this step and you will end up with compressed cherry mush instead of individual cherries.
How long do vacuum sealed cherries last?
Properly vacuum sealed cherries maintain best quality for 12-18 months in a 0 degree F freezer. They remain safe to eat beyond this time but may gradually lose texture and flavor. Regular frozen cherries typically last 6-8 months by comparison.
Do cherries need to be pitted before vacuum sealing?
No, pitting is optional. Pitted cherries are more convenient for later use but lose some juice and texture. Unpitted cherries retain better shape and flavor but require pitting before use. Choose based on how you plan to use them.
What is the best way to preserve cherries?
Vacuum sealing after flash freezing is the best method for long-term storage, maintaining quality for 12-18 months. Canning works well for recipes but changes texture significantly. Freezing without vacuum sealing works for 6-8 months. Drying creates a chewy snack rather than preserving fresh characteristics.
Final Thoughts
Vacuum sealing cherries takes about 30 minutes of active work per five pounds. The investment pays off every time you reach into your freezer in January and pull out cherries that taste like they were picked yesterday. Start with a small batch your first season, perfect your technique, and scale up from there. Your winter self will thank you.





Leave a Comment