
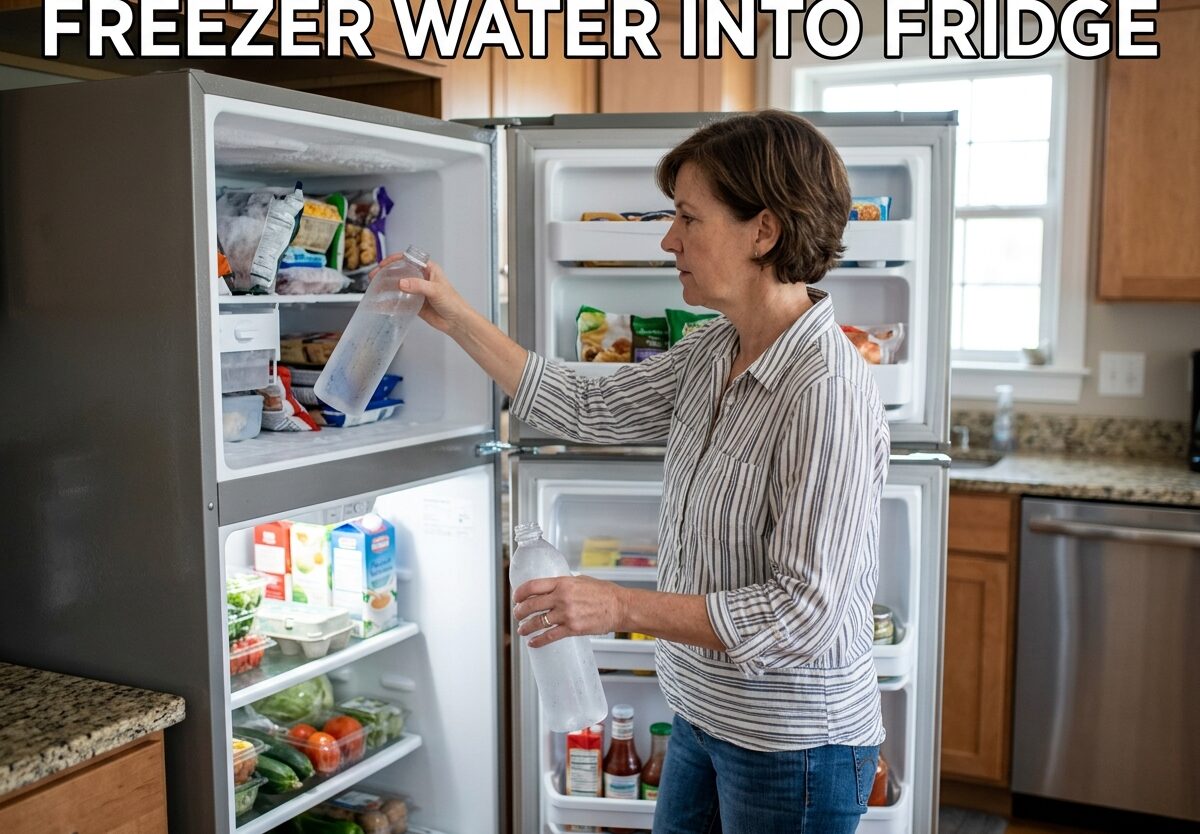
You open your refrigerator and find a puddle of water at the bottom, or worse, your fresh produce is swimming in it. This frustrating problem is more common than you might think. When your freezer is leaking water into the fridge, it’s usually a sign of a specific mechanical issue that you can often fix yourself without calling a technician.
Freezer water into fridge problems typically stem from a few predictable causes. The good news is that most of these fixes are straightforward and cost very little. I’ve helped dozens of homeowners diagnose and resolve this exact issue, and in this guide, I’ll walk you through everything you need to know.
We’ll cover the root causes, step-by-step repair instructions, prevention tips, and when it’s time to call a professional. Let’s get your refrigerator back to working properly.
Why Is My Freezer Draining Into My Fridge?
A freezer draining into the fridge happens when the defrost drain system fails to route meltwater properly. Modern frost-free refrigerators automatically defrost the evaporator coils periodically. This creates water that should flow through a drain tube into a pan near the compressor, where it evaporates.
When something blocks this drain—either ice buildup or debris—the water has nowhere to go but back up and into your refrigerator compartment. The leak usually appears as water dripping from the freezer ceiling or collecting at the bottom of the fridge.
This issue affects all refrigerator types: top-mount freezers, bottom freezers, and side-by-side models. The underlying causes remain the same, though the drain location might vary slightly between brands.
Common Causes of Water Leaking From Freezer
Understanding what’s causing your leak is the first step toward fixing it. Based on my experience and research from appliance repair forums, here are the most common culprits:
Frozen or Clogged Defrost Drain – This is by far the most common cause, accounting for about 70% of freezer-to-fridge leaks. The drain hole at the back of the freezer compartment freezes shut, or debris like food particles blocks the tube. Water from the defrost cycle then backs up and overflows into the fridge.
Ice Maker Malfunction – A faulty ice maker can leak water into the freezer, which then melts and drips into the fridge. Common ice maker issues include a defective water inlet valve, a cracked fill cup, or a frozen water supply line.
Worn Door Gasket – The rubber door seal keeps warm air out and cold air in. When it wears out or gets dirty, warm humid air enters the freezer, causing excess frost and condensation. This extra moisture can overwhelm the drain system.
Temperature Settings Too Low – Setting your freezer temperature too low causes excessive frost buildup on the evaporator coils. During defrost cycles, this creates more water than the drain system can handle.
Drain Pan Cracked or Overflowing – The drain pan beneath your refrigerator catches defrost water. If it cracks or overflows, water can pool under the fridge and appear to come from the freezer.
How to Fix Frozen Defrost Drain: Step-by-Step
A frozen defrost drain is the most likely cause of your problem. Here’s the exact process I use to clear it:
Step 1: Prepare Your Refrigerator
First, unplug your refrigerator from the wall outlet. This is a critical safety step—you’ll be working with water and electrical components. Remove all food from the freezer compartment and store it in a cooler with ice. You’ll need access to the back of the freezer, so empty it completely.
Step 2: Locate the Drain Hole
The drain hole is typically located at the back of the freezer floor, often behind a plastic panel or in a small recessed area. On top-mount freezers, look in the center back. On side-by-side models, check the bottom rear corner. Some models have the drain hidden behind the evaporator cover—you may need to remove a few screws to access it.
Step 3: Clear Visible Ice and Debris
Use hot water to melt any ice covering the drain hole. I pour boiling water into a turkey baster and direct it at the drain opening. The hot water melts the ice, and the pressure helps dislodge debris. Be patient—you might need to repeat this process several times.
You can also use a hair dryer to melt ice around the drain, but be careful not to overheat any plastic components. Keep the dryer moving and at least six inches away from surfaces.
Step 4: Unclog the Drain Tube
Once the drain hole is accessible, you need to clear the tube below it. The most effective method I’ve found is using a straightened wire coat hanger. Gently insert it into the drain hole and work it down the tube. You’ll likely feel resistance when you hit the clog—work the wire back and forth to break it up.
Many DIYers report success with this simple tool. Just be gentle—you don’t want to puncture the drain tube, which could cause bigger problems.
Step 5: Flush with Hot Water
After clearing the blockage, flush the drain with hot water to ensure it’s flowing freely. Mix a solution of hot water and a small amount of baking soda—the baking soda helps clean the tube and reduce odors. Pour it down the drain and verify it flows through to the drain pan beneath the refrigerator.
You can check the drain pan by pulling out the refrigerator slightly (be careful not to damage the floor) and looking underneath. Water should appear in the pan within a minute or two.
Step 6: Prevent Future Freezing
To stop the drain from freezing again, some appliance experts recommend wrapping a piece of stiff copper wire around the defrost heater. Insert the other end into the drain hole. The heat from the defrost cycle transfers through the wire and keeps the drain open. This simple trick has solved recurring freeze issues for many people.
Step 7: Reassemble and Test
Replace any panels or covers you removed. Plug the refrigerator back in and return your food. Monitor the drain over the next few days to ensure it’s working properly. You should no longer see water dripping from the freezer or collecting in the fridge.
Ice Maker Leaking: Troubleshooting and Fixes
If clearing the defrost drain didn’t solve your problem, the ice maker might be the culprit. Here’s how to check:
First, inspect the fill cup where water enters the ice maker. If it’s cracked or misaligned, water will spill into the freezer instead of filling the mold. Look for calcium buildup or ice formations around the water inlet—these indicate a slow leak.
Check the water supply line connection at the back of the refrigerator. Tighten any loose fittings and replace damaged tubing. A leaking supply line can cause water to pool beneath the fridge, which might be mistaken for a freezer leak.
Test the water inlet valve by temporarily turning off the ice maker. If the leaking stops, the valve is likely faulty and needs replacement. This is a more advanced repair—consider calling a professional if you’re not comfortable working with water lines and electrical components.
Door Seal Issues and Temperature Problems
Your refrigerator door gasket creates an airtight seal that keeps cold air in and warm air out. When this seal fails, humidity enters the freezer and creates excess frost during defrost cycles.
Test your door seal by closing the door on a dollar bill. It should offer resistance when you pull it out. Repeat this test around the entire door perimeter. If the bill slides out easily in any spot, your gasket needs replacement.
Clean dirty gaskets with warm soapy water. Sometimes debris prevents a proper seal even when the rubber is still in good condition. After cleaning, apply a thin layer of petroleum jelly to help the gasket maintain its flexibility.
Check your temperature settings, too. The freezer should be set between 0°F and 5°F (-18°C to -15°C). Settings below 0°F cause excessive frost and ice buildup, which can overwhelm the drain system during defrost cycles.
When to Call a Professional
Most freezer-to-fridge leaks are DIY-friendly, but some situations require professional help. Call a technician if you notice these warning signs:
Your refrigerator is making unusual noises during the defrost cycle, or the problem persists after you’ve cleared the drain and checked the ice maker. These symptoms could indicate a failing defrost timer, a malfunctioning thermostat, or a problem with the sealed refrigerant system.
Also seek professional help if you’re uncomfortable working with electrical components or water lines. Appliance repair technicians have the tools and expertise to diagnose complex issues safely.
Prevention Tips and Maintenance Schedule
Regular maintenance prevents most freezer drain problems. Clean your freezer drain every six months using the hot water flush method described above. This simple task takes just 10 minutes and prevents buildup.
Check your door gaskets monthly for cracks, tears, or debris. Clean them with warm soapy water and test the seal with the dollar bill trick. Replace damaged gaskets promptly to maintain energy efficiency.
Avoid overstuffing your freezer. Air needs to circulate properly for the defrost system to work efficiently. Leave at least an inch of space around the interior walls.
Inspect the condenser coils behind or beneath your refrigerator annually. Dirty coils force the compressor to work harder, which can affect the defrost cycle. Vacuum the coils or use a coil brush to remove dust and pet hair.
During humid summer months, check your freezer more frequently for frost buildup. High humidity accelerates ice formation on the evaporator coils, increasing the likelihood of drain freezing.
Frequently Asked Questions
Why is my freezer draining into my fridge?
A freezer drains into the fridge when the defrost drain freezes or becomes clogged with debris. During the defrost cycle, meltwater cannot flow through the blocked drain and backs up into the refrigerator compartment instead of draining into the pan beneath the appliance.
How do you unclog a refrigerator defrost drain?
To unclog a refrigerator defrost drain, first unplug the refrigerator and locate the drain hole at the back of the freezer floor. Pour hot water into the drain using a turkey baster to melt ice, then insert a straightened wire coat hanger into the drain to break up clogs. Flush with hot water and baking soda solution, then verify water flows to the drain pan underneath.
What causes water to run inside a freezer of a refrigerator?
Water running inside a freezer is caused by frost buildup on the evaporator coils melting during the defrost cycle. This is normal behavior—the water should drain through a small hole at the back of the freezer. Problems occur when the drain freezes or clogs, causing water to overflow into the fridge instead of draining properly.
Is it safe to unplug my fridge for 24 hours to defrost?
Yes, it is safe to unplug your refrigerator for 24 hours to defrost. Keep the doors open to speed up the process. Store perishable food in a cooler with ice. This manual defrost method often clears frozen drains without any disassembly. Plug the refrigerator back in after all ice has melted and drained.
Conclusion
Freezer water into fridge problems are frustrating but usually fixable without professional help. The most common cause is a frozen or clogged defrost drain, which you can clear yourself using hot water and a wire coat hanger. Ice maker leaks and worn door gaskets are other likely culprits worth checking.
Regular maintenance prevents these issues from recurring. Clean your drain twice a year, inspect door seals monthly, and avoid overstuffing your freezer. These simple habits keep your refrigerator running efficiently and prevent water damage to your food.
If you’ve tried these fixes and the problem persists, or if you notice unusual sounds or temperature fluctuations, it’s time to call a professional. Otherwise, you can likely resolve your freezer water into fridge issue in an afternoon with basic tools and a little patience.


Leave a Comment