
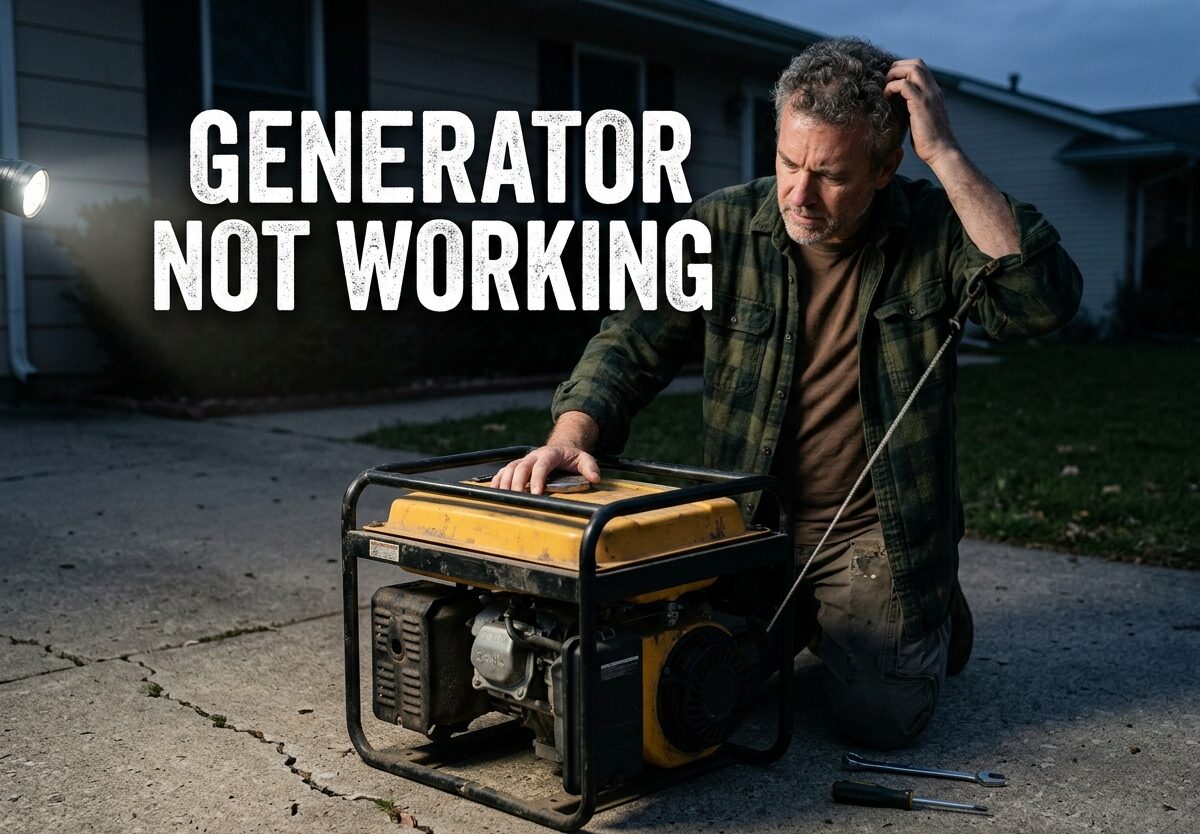
When your generator stops working during a power outage, it feels like the worst possible timing. I’ve been there, standing in the dark with a generator that won’t start, wondering what went wrong.
This guide walks you through the most common generator problems and how to fix them yourself. After 15 years of maintaining portable and standby generators, I’ve learned that most issues fall into a few predictable categories.
Whether your generator won’t start, runs but produces no power, or keeps stalling, this troubleshooting guide covers it all.
Why Did My Generator Suddenly Stop Working?
Sudden generator failure usually points to one of three culprits: fuel delivery problems, electrical system failure, or safety sensor activation. These systems are designed to protect your generator from damage, but they can also shut down power when you need it most.
The good news is that most generator problems are fixable without professional help. In fact, 80% of generator issues I encounter are resolved with basic troubleshooting steps you can do at home.
Let’s start with the most common problems and work through them systematically.
Common Generator Problems Overview
Generator problems typically fall into five main categories: starting issues, fuel system problems, electrical failures, sensor shutdowns, and maintenance-related failures. Understanding which category your problem falls into helps you diagnose it faster.
Starting issues include dead batteries, faulty spark plugs, and ignition coil problems. Fuel system problems range from stale fuel to clogged carburetors. Electrical failures involve the automatic voltage regulator (AVR), circuit breakers, and alternator components.
Sensor shutdowns occur when low-oil sensors or overload protection activate. Maintenance-related failures happen when neglect leads to component wear or damage.
Battery Failure Troubleshooting
A dead or failing battery is the most common reason generators with electric start won’t crank. I see this issue constantly, especially with generators that sit unused for months between power outages.
Battery sulfation occurs when lead-acid batteries remain at partial charge for extended periods. This buildup prevents the battery from holding a charge, leaving you with a generator that clicks but won’t turn over.
Step 1: Test the Battery
Use a multimeter to check battery voltage. A healthy 12-volt battery should read 12.6 volts or higher when fully charged. Anything below 12.2 volts indicates a discharged or failing battery.
If the battery reads low, try charging it with a battery charger for 4-6 hours. Retest the voltage afterward. If it still won’t hold a charge above 12.4 volts, replacement is your best option.
Step 2: Check Battery Connections
Loose or corroded battery terminals prevent proper current flow. Inspect the battery terminals for white or greenish corrosion buildup. Clean the terminals with a wire brush and terminal cleaner.
Tighten the terminal bolts securely, but don’t overtighten. Loose connections cause intermittent starting problems that mimic battery failure.
Step 3: Inspect the Battery Charger
Standby generators maintain battery charge through an onboard trickle charger. If this charger fails, the battery slowly drains between uses. Test the charger output with a multimeter while the generator is running.
No voltage output from the charger means the charger circuit needs replacement. This is a common issue on generators older than 5 years.
Fuel System Issues: Stale Fuel and Clogged Lines
Old fuel is arguably the biggest enemy of generators. Gasoline begins degrading after just 30 days, leading to varnish and gum deposits that clog fuel systems.
Fuel oxidation creates compounds that coat carburetor jets and fuel passages. This restriction prevents proper fuel flow, causing starting problems or erratic running. Ethanol-blended fuels absorb moisture, further accelerating fuel system damage.
Step 1: Check Fuel Quality
Smell the fuel in your generator’s tank. Fresh gasoline has a sharp, distinct odor. Stale fuel smells sour or varnish-like. If the fuel looks dark or has particles floating in it, it’s no longer usable.
Drain old fuel completely using the fuel drain valve or a siphon pump. Never attempt to run a generator on fuel older than 6 months, even with stabilizer added.
Step 2: Inspect the Fuel Valve
The fuel valve controls gasoline flow from the tank to the carburetor. When closed or partially blocked, the generator starves for fuel. Locate the fuel valve near the bottom of the fuel tank.
Ensure the valve is fully open. Disconnect the fuel line from the carburetor side and verify fuel flows freely when the valve is open. No flow indicates a clogged valve or tank screen.
Step 3: Check Fuel Lines for Damage
Rubber fuel lines degrade over time, becoming brittle or developing cracks. Inspect all visible fuel lines for cracks, soft spots, or swelling. Damaged lines can introduce air into the fuel system, causing starting problems.
Replace any suspect fuel lines with ethanol-compatible fuel hose. Cracked lines are a common source of hard-starting conditions, especially in cold weather.
Spark Plug Inspection and Replacement
The spark plug provides the ignition spark that combusts fuel in the engine cylinder. A fouled or damaged spark plug prevents proper combustion, leaving you with a generator that won’t start or runs roughly.
Spark plugs wear out over time and can become fouled by oil deposits, carbon buildup, or fuel contamination. I recommend inspecting your spark plug annually as part of routine maintenance.
Step 1: Remove and Inspect the Spark Plug
Disconnect the spark plug wire and remove the spark plug using a spark plug socket. Examine the electrode end for signs of fouling or damage.
Black, oily deposits indicate oil fouling. Dry black deposits suggest carbon buildup from rich fuel mixture. White or blistered electrodes point to overheating. Any physical damage means immediate replacement is needed.
Step 2: Check Spark Plug Gap
Use a spark plug gap tool to measure the distance between the center and ground electrodes. Consult your generator manual for the correct gap specification, typically 0.028 to 0.031 inches.
Carefully adjust the gap by bending the ground electrode. Incorrect gap causes weak spark or ignition timing problems, both of which affect generator performance.
Step 3: Test for Spark
Reinstall the spark plug but leave the wire disconnected. Ground the spark plug base against the engine block and crank the starter. You should see a strong blue spark across the electrodes.
No spark or weak orange spark indicates ignition system problems. The issue could be the spark plug, ignition coil, or kill switch circuit. Test with a new spark plug before moving to more complex diagnostics.
Oil Level Checks and Low-Oil Shutdown
Most modern generators feature a low-oil sensor that automatically shuts down the engine to prevent damage. This safety feature protects your investment but can also cause frustrating shutdowns.
The low-oil sensor monitors oil pressure or oil level in the crankcase. When oil drops below a safe threshold, the sensor kills the ignition. This happens quickly, often within seconds of starting.
Step 1: Check Oil Level Properly
Park your generator on level ground and let it sit for 5 minutes to allow oil to settle. Remove the dipstick, wipe it clean, reinsert it fully, then remove it again to read the level.
Oil should register between the full and add marks on the dipstick. Add oil gradually if needed, checking frequently to avoid overfilling. Too much oil causes smoking and can damage seals.
Step 2: Inspect Oil Condition
Fresh oil is amber or golden brown. Black oil indicates contamination but isn’t necessarily harmful if changed regularly. Milky or chocolate-colored oil suggests coolant intrusion, which requires immediate attention.
Strong fuel smell in the oil indicates flooding or carburetor problems. This dilutes the oil’s lubricating properties and can cause engine damage.
Step 3: Test the Low-Oil Sensor
Some generators allow you to bypass the low-oil sensor for testing. Consult your manual to locate the sensor wire. Temporarily disconnecting it allows you to verify if the sensor is causing shutdowns.
If the generator runs with the sensor disconnected but shuts down when connected, the sensor is likely faulty. Replace the sensor rather than operating with it bypassed.
Circuit Breaker and Overload Reset
Generators feature circuit breakers that protect against electrical overloads and short circuits. These breakers trip when too much power is drawn or when a fault occurs in the connected equipment.
An overloaded circuit prevents power from reaching your devices even though the generator runs normally. This is a common source of confusion for generator owners.
Step 1: Locate the Circuit Breakers
Most portable generators have one or two circuit breakers on the control panel. Standby generators typically have multiple breakers in the transfer switch or generator enclosure.
Look for breaker buttons or switches that have popped out or moved to the middle position. Some breakers have a visible window showing red when tripped.
Step 2: Reset the Breaker
Before resetting, unplug all connected devices. This prevents an immediate re-trip from an ongoing fault or overload condition.
Push the breaker firmly to the OFF position, then to the ON position. You should feel definite detents at each position. A loose-feeling breaker may need replacement.
Step 3: Identify the Overload Source
Reconnect devices one at a time, monitoring for breaker trips. Calculate the starting and running wattage of connected devices to ensure they’re within your generator’s capacity.
Remember that motor-driven devices like refrigerators and air conditioners require 2-3 times their running wattage to start. Exceeding your generator’s surge capacity causes immediate breaker trips.
Generator Running But Producing No Power
Few things are more frustrating than a generator that runs perfectly but produces no electricity. This specific problem points to issues in the power generation system rather than the engine.
The most common cause is loss of residual magnetism in the rotor. Generators require a small magnetic field to begin producing electricity. When this residual magnetism fades, usually from long storage periods, the generator can’t excite itself into operation.
Step 1: Check for Overload Trip
Verify that no circuit breakers have tripped. Reset any tripped breakers as described in the previous section. If breakers reset normally but still produce no power, continue to more advanced diagnostics.
Some generators have a main breaker separate from the outlet circuit breakers. Check all breakers, including those inside the generator access panel.
Step 2: Test for Residual Magnetism Loss
Use a multimeter to check for voltage output at the outlets. Set the meter to AC voltage and test each outlet. No voltage reading with the engine running strongly suggests residual magnetism loss.
This condition occurs when generators sit unused for extended periods. The small magnetic field in the rotor naturally decays over time, especially in humid environments.
Step 3: Flash the Generator Field
Restoring residual magnetism requires flashing the field with a portable battery. Disconnect all loads from the generator and start the engine.
Connect a 12-volt battery to the generator’s 12-volt DC outlet using jumper cables. Positive to positive, negative to negative. Hold the connection for 3-5 seconds, then disconnect. This restores the magnetic field in most cases.
Step 4: Inspect the AVR and Alternator Brushes
The Automatic Voltage Regulator controls output voltage and can fail completely. Locate the AVR, typically in the generator end housing. Check for burned components or loose connections.
Carbon brushes in the alternator wear down over time. Worn brushes prevent electrical contact with the slip rings. Inspect brushes through access ports on the generator end. Replace if less than 1/4 inch of length remains.
Carburetor Cleaning Instructions
Carburetor problems cause more generator starting issues than almost any other component. Stale fuel leaves deposits that block tiny passages and jets, preventing proper fuel mixture.
Professional carburetor cleaning costs $100-200, but you can do it yourself in about an hour. I’ve cleaned dozens of carburetors over the years, and the process is straightforward with the right tools.
Step 1: Remove the Carburetor
Turn off the fuel valve and drain the carburetor bowl using the drain screw if present. Disconnect the throttle linkage and choke cable. Remove the air filter housing to access carburetor mounting bolts.
Take photos or label connections before removal. This makes reassembly much easier. Lift the carburetor away from the engine carefully to avoid damaging gaskets.
Step 2: Disassemble and Clean
Remove the carburetor bowl by unscrewing the bottom bolts. Inspect for fuel deposits or water contamination. Clean the bowl with carburetor cleaner and compressed air.
Remove the main jet and pilot jet using a screwdriver or socket. Spray carburetor cleaner through all passages. Use compressed air to clear debris. A piece of fine wire can help clear stubborn clogs.
Step 3: Reassemble and Adjust
Replace any damaged gaskets or O-rings during reassembly. These cheap parts prevent vacuum leaks that cause running problems. Install the carburetor with fresh gaskets and reconnect all linkages.
Adjust the idle speed screw according to your manual’s specifications. Start the engine and allow it to warm up fully. Fine-tune the mixture screw for smooth operation at all throttle positions.
Automatic Voltage Regulator (AVR) Issues
The AVR maintains steady voltage output regardless of load changes. When it fails, voltage can drop too low for sensitive electronics or spike high enough to damage connected devices.
AVR failures often cause no power output, irregular voltage, or automatic shutdown. Testing requires a multimeter and some electrical knowledge, but replacement is usually straightforward.
Step 1: Test Output Voltage
Start the generator and let it reach operating temperature. Use a multimeter to measure voltage at the outlets. Proper voltage should be 115-125 volts for standard outlets.
Fluctuating voltage or voltage outside this range indicates AVR problems. Extremely high voltage (over 140 volts) can damage electronics immediately and requires shutdown.
Step 2: Check AVR Fuse
Many AVRs contain an internal fuse that protects the circuit. Locate the AVR in the generator end housing and look for a small automotive-style fuse or glass fuse holder.
Test the fuse with a multimeter in continuity mode. No continuity means the fuse is blown. Replace with an identical fuse, but investigate why it blew before running the generator again.
Step 3: Inspect Wiring Connections
Loose or corroded connections mimic AVR failure. Check all wiring connections at the AVR for tightness and cleanliness. Disconnect battery cables before inspecting to prevent short circuits.
Burned or discolored wires indicate overheating. Trace these back to their source. Damaged wiring must be replaced before installing a new AVR, or the new unit will fail quickly.
Preventive Maintenance Tips
Preventing generator problems is far easier than troubleshooting them in an emergency. A simple maintenance routine keeps your generator reliable when you need it most.
Regular Fuel Management
Use fuel stabilizer in any generator that will sit unused for more than 30 days. Run the generator for 10 minutes monthly to circulate treated fuel through the carburetor.
Consider installing a fuel shutoff valve if your generator doesn’t have one. Run the carburetor dry before storage by turning off the fuel valve while the engine runs.
Battery Maintenance Schedule
Check battery terminals monthly for corrosion. Clean and tighten connections as needed. Test battery voltage quarterly, especially before storm season.
Replace generator batteries every 2-3 years regardless of apparent condition. Preventive replacement avoids dead batteries during actual power outages.
Oil Change Intervals
Change generator oil after the first 5-10 hours of use (break-in period), then every 50-100 hours of operation or annually, whichever comes first. More frequent changes are needed under heavy loads or dusty conditions.
Use the oil grade specified in your manual. Most generators require 10W-30 or 15W-40 detergent oil. Synthetic oils offer better protection in extreme temperatures.
Seasonal Storage and Winterization
Before storing for winter, run the generator dry of fuel or add stabilizer and run it through the system. Change oil before storage to prevent acidic contaminants from damaging internal components.
Store with a full fuel tank to prevent condensation. Disconnect the battery or connect a battery maintainer. Cover the generator to protect from dust and moisture.
Wet Stacking Prevention for Diesel Generators
Diesel generators running at light loads for extended periods develop wet stacking, a condition where unburned fuel accumulates in the exhaust system. This causes smoking, reduced efficiency, and eventual engine damage.
Prevent wet stacking by operating at 70% or more of rated capacity for at least 2 hours monthly. This burns off accumulated deposits and keeps the engine running clean. Use a load bank if necessary to create sufficient electrical load.
When to Call a Professional
Most generator problems are fixable with basic mechanical skills and tools. However, certain situations require professional expertise to avoid injury or further damage.
Call a professional if you encounter major oil or coolant leaks, internal engine noises, or electrical problems beyond basic outlet issues. Standby generator installations and repairs require licensed electricians due to high-voltage connections and transfer switch wiring.
FAQs
Why did my generator suddenly stop working?
Sudden generator failure typically results from fuel delivery problems, electrical system failure, or safety sensor activation. Most commonly, stale fuel clogs the carburetor, the battery fails, or the low-oil sensor activates. Check fuel freshness, battery charge, and oil level first. These three issues cause over 70% of sudden generator failures.
What is the most common problem with generators?
Battery failure is the most common generator problem, especially for units with electric start. Batteries degrade from sulfation when generators sit unused for months. Stale fuel ranks second, causing carburetor clogs and starting issues. Low oil level sensor activation is third, preventing starting when oil is below safe levels.
Is there a reset button on a generator?
Most generators have circuit breakers rather than reset buttons. Look for breaker buttons or switches on the control panel that may have popped out or moved to the middle position when tripped. Some standby generators have reset buttons for overload protection or fault codes. Press firmly to OFF then ON position to reset. Unplug all devices before resetting to prevent immediate re-trip.
What is the most common reason a generator won’t start?
Running out of fuel or stale fuel is the most common reason generators won’t start. Old gasoline creates varnish deposits that clog carburetor jets. Dead batteries cause starting problems on electric start models. Other common reasons include closed fuel valves, choke in wrong position, spark plug failure, and low oil level activating the safety shutoff.
How do I fix a generator that runs but produces no power?
First check circuit breakers and reset if tripped. If breakers are fine, the most likely cause is lost residual magnetism from long storage. Flash the field by connecting a 12-volt battery to the DC outlet for 3-5 seconds while running. If this doesn’t work, test the Automatic Voltage Regulator (AVR), check for blown fuses, and inspect alternator brushes for wear.
What causes wet stacking in diesel generators?
Wet stacking occurs when diesel generators run at light loads (below 30% capacity) for extended periods. Unburned fuel accumulates in the exhaust system, creating black smoke, reduced efficiency, and potential engine damage. Prevent wet stacking by operating at 70% or higher load for at least 2 hours monthly. Use a load bank if necessary to create sufficient electrical load.
How often should I change my generator oil?
Change generator oil after the first 5-10 hours of use (break-in period). After that, change every 50-100 hours of operation or annually, whichever comes first. More frequent changes are needed under heavy loads, high temperatures, or dusty conditions. Use the oil grade specified in your manual, typically 10W-30 or 15W-40 detergent oil. Synthetic oils provide better protection in extreme temperatures.
Conclusion
Complex problems like rewind requirements, bearing replacement, or control board diagnostics exceed typical DIY capabilities. These repairs require specialized tools and knowledge.
Regular professional servicing annually is still good practice even for capable DIY owners. A professional can spot developing problems before they cause failures.
Now you have a complete guide to troubleshooting a generator that’s not working. Start with the simple checks first—fuel, oil, battery—and work through the more complex diagnostics systematically. Most generator problems have simple fixes once you identify the root cause.




Leave a Comment