
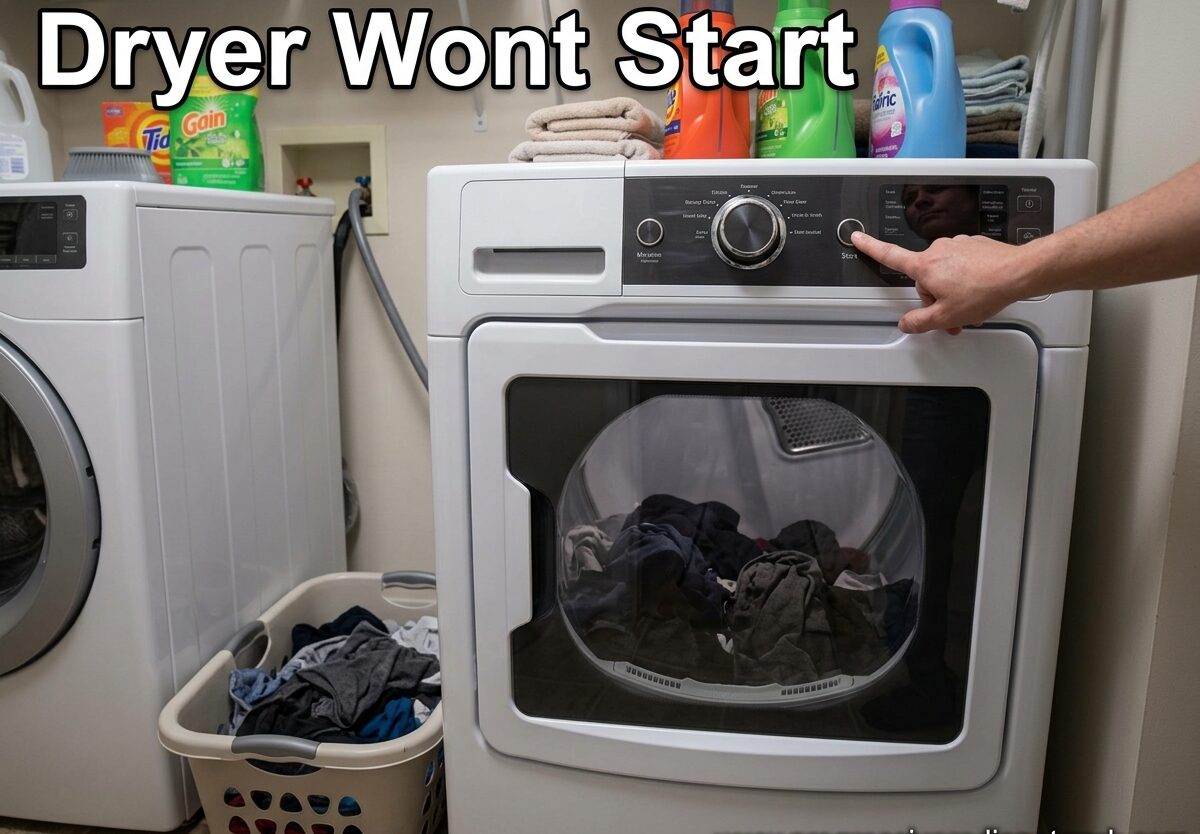
Your dryer won’t start and you’re staring at a mountain of wet laundry. I’ve been there, and it’s frustrating. Before you call a repair technician or start shopping for a new appliance, let me tell you something: most dryer starting problems are fixable at home for under $50 in parts.
I’ve spent 15 years working with home appliances, and I’ve helped hundreds of homeowners diagnose their dryer won’t start issues. In this guide, I’ll walk you through every possible cause, from the simplest power problems to more complex component failures. You’ll learn exactly how to test each part, what replacement parts cost, and when it’s finally time to call in a professional.
Safety first: always unplug your dryer before performing any diagnostic tests. If you’re uncomfortable with electrical work or don’t have basic tools, there’s no shame in calling a professional. Let’s get your laundry routine back on track.
Quick Power Checks: Start Here First
Dryer won’t start issues are most often power-related. Before diving into components, verify these basics. I can’t tell you how many times I’ve driven to a service call only to find a loose plug or tripped breaker.
Check the power cord connection. Dryers vibrate during operation, which can gradually loosen the plug. Give it a firm push into the outlet. For electric dryers, the plug should be a large 220-volt style (three or four prongs). Gas dryers use standard 110-volt plugs.
Test the outlet with another device. Plug in a lamp or phone charger to verify the outlet is live. For 220-volt electric dryer outlets, you’ll need a voltage tester or multimeter. You should read 240 volts between the two hot slots.
Inspect your circuit breaker. Dryers run on dedicated circuits. Check your electrical panel for a tripped breaker (usually a double-pole breaker in the center position). Flip it fully off, then back on. If it trips again immediately, you have a short circuit somewhere.
Examine the power cord for damage. Look for fraying, burns, or exposed wires. A damaged cord is a fire hazard and must be replaced. Replacement cords cost $15-30 and are straightforward to install.
Gas dryer owners: Verify the gas supply valve is open. It’s typically located behind the dryer near the floor. The handle should be parallel to the gas line when open.
Thermal Fuse Blown: Most Common Cause
A blown thermal fuse is responsible for 40-50% of all dryer won’t start cases. This small safety device sacrifices itself to prevent your dryer from overheating and potentially causing a fire.
What is a thermal fuse? It’s a one-time-use safety device located on the blower housing or exhaust duct. When temperatures exceed safe limits (usually around 196°F), the fuse blows and cuts power to the motor or heating element.
Why do thermal fuses blow? Almost always because of restricted airflow. A clogged dryer vent, crushed exhaust hose, or excessive lint buildup causes heat to build up in the cabinet. The thermal fuse does its job and prevents a fire.
How to test the thermal fuse:
- Unplug the dryer and locate the thermal fuse (check your manual for location – it’s often behind the back panel)
- Disconnect the wires from the fuse terminals
- Set your multimeter to the lowest ohms setting (continuity mode)
- Touch one probe to each terminal
- If the meter reads infinity (OL) or shows no continuity, the fuse is blown
Replacement cost: $5-15 for the part online. This is a beginner-level repair that takes 15-30 minutes.
Critical warning: If you replace the thermal fuse without addressing the airflow restriction, it will blow again. Always clean your dryer vent system before replacing the fuse.
Faulty Door Switch: The Silent Killer
The door switch prevents the dryer from running when the door is open. It’s a simple but critical safety mechanism, and when it fails, your dryer won’t start at all.
Common door switch failure signs: The dryer won’t start when you press the button, or it stops running when you release the start button. Sometimes the interior light won’t turn on when you open the door.
How to test the door switch:
- Locate the switch along the door frame opening
- Inspect for physical damage or broken actuator lever
- Set your multimeter to continuity mode
- Disconnect the wires and test with the switch open and closed
- You should have continuity when the switch is pressed (closed) and no continuity when released (open)
Quick diagnostic trick: Try pressing the door switch manually while pressing the start button. If the dryer starts, the door isn’t making proper contact with the switch. You might just need to adjust the door latch.
Replacement cost: $10-25 for the part. This is an easy repair that requires only basic tools. Most door switches are held in place by one or two screws or clips.
Defective Start Switch: When Nothing Happens
The start switch completes the circuit to the motor when you press the button. When it fails, pressing start produces nothing – no sound, no motor action, just silence.
Types of start switches: Push-button switches (common on older models) and rotary dial switches (common on electronic models). Electronic control boards have replaced mechanical start switches on many newer dryers.
Testing a push-button start switch:
- Access the switch (usually behind the control panel)
- Disconnect the wires and label them
- Set multimeter to continuity mode
- Test for continuity when the button is pressed
- No continuity when pressed = failed switch
Testing a rotary start switch: These switches have multiple contacts. You’ll need a wiring diagram to know which contacts should show continuity in the start position. This is where having your service manual comes in handy.
Replacement cost: $15-40 depending on the switch type. Electronic control boards cost $80-150 and are more complex to replace.
Dryer Won’t Start But Has Power? 7 Other Causes
If you’ve verified power is reaching the dryer but it still won’t start, one of these components is likely the culprit.
1. Broken Drive Belt – When the belt breaks, the drum can’t spin. Some dryers have a belt switch that prevents starting if the belt is broken. You might hear the motor running but the drum stays still. Belt replacement costs $10-25 for the part and takes about an hour.
2. Failed Drive Motor – Motor failure often starts with humming or buzzing sounds before complete failure. The motor should spin freely when manually turned (with power disconnected). New motors cost $80-200, and replacement requires disassembling most of the dryer.
3. Defective Timer – The timer controls the cycle duration and motor operation. If the timer contacts fail in the start position, the dryer won’t run. Timers cost $40-100 and are moderately difficult to replace.
4. Control Board Failure – Electronic dryers use a main control board instead of mechanical timers. Power surges and age can cause failure. Symptoms include unresponsive controls, error codes, or complete inactivity. Control boards cost $80-200.
5. Child Lock Engaged – Many modern dryers have a child lock feature that disables controls. Look for a padlock icon on the display. Hold the start button for 3-5 seconds or check your manual to unlock it.
6. Moisture Sensor Failure – Some dryers won’t start if moisture sensors detect moisture (from a previous cycle) or if the sensors are coated with fabric softener residue. Clean the sensors with rubbing alcohol.
7. Belt Switch Failure – This safety switch prevents the dryer from running if the belt breaks. Test for continuity like the door switch. If the belt is intact but the switch shows no continuity, replace the switch.
Brand-Specific Troubleshooting Tips
Different dryer brands have unique quirks and common failure points. Here’s what I’ve seen most frequently in the field:
Whirlpool/Kenmore: Thermal fuse on the blower housing is the #1 failure point. The thermal cutoff kit (includes thermal fuse and high-limit thermostat) costs $20-30 and fixes most heating-related starting issues.
GE Dryers: Known for start switch failures on older models. The start switch is part of the timer assembly on many models. GE dryers also have a common issue with the belt tensioner causing belt wear and failure.
Samsung/LG: These electronic dryers are prone to control board failures from power surges. They also have a door lock mechanism (similar to washers) that can fail and prevent starting. Always try a hard reset by unplugging for 5 minutes.
Maytag: The Maytag Neptune series had a known issue with the motor relay on the control board. Older Maytags use a very durable belt system but the idler pulley can seize, causing belt failure.
Repair or Replace: Making the Smart Choice
After diagnosing the problem, you’ll need to decide whether to repair or replace. Here’s my decision matrix based on 15 years of service experience:
Repair if:
- The dryer is less than 8 years old
- Repair cost is less than 50% of replacement cost
- The dryer has features you value (steam, large capacity, etc.)
- The rest of the dryer is in good condition
Replace if:
- The dryer is over 12 years old
- Repair cost exceeds $300 (unless it’s a high-end unit)
- The drum is cracked or severely rusted
- Multiple major components have failed
- You want better energy efficiency
Cost comparison: Basic dryer repairs cost $100-300 professionally. New dryers range from $400 for basic models to $1200+ for smart units. Mid-range quality dryers cost $600-800.
Energy savings: If your dryer is 10+ years old, a new Energy Star certified model could save you $20-50 per year in electricity. That’s $200-500 over the dryer’s lifetime.
Preventing Future Dryer Problems
Most dryer failures are preventable with proper maintenance. Based on service calls I’ve made, here’s what you should do:
Clean the lint trap before every load. This is non-negotiable. Lint buildup reduces airflow and causes overheating. If lint accumulates on the trap housing, vacuum it out monthly.
Clean the dryer vent annually. The vent hose from the dryer to the exterior should be cleaned of lint buildup. If the vent runs longer than 25 feet or has multiple bends, clean it twice a year. Professional vent cleaning costs $75-150.
Inspect the vent hose. Replace plastic or foil vent hoses with rigid metal ducting. Plastic hoses crush easily and are fire hazards. Metal ducting costs $15-30 and lasts indefinitely.
Don’t overload the dryer. Overloading strains the motor, belt, and rollers. Clothes need room to tumble for proper drying and to prevent excessive lint buildup.
Level your dryer. An unlevel dryer causes vibration that can loosen electrical connections over time. Use a bubble level and adjust the leveling feet.
When to Call a Professional
While most dryer starting problems can be diagnosed and fixed DIY-style, some situations call for professional help. I recommend calling a technician if:
- You don’t own a multimeter and don’t want to buy one ($15-25 at hardware stores)
- You’re uncomfortable working with electrical components
- The dryer is under warranty (DIY repairs may void coverage)
- You’ve diagnosed the problem but don’t have the tools or confidence to fix it
- Multiple components have failed (sign of deeper issues)
- You smell burning or see smoke when attempting to start (immediate safety concern)
Professional dryer repair typically costs $100-200 for labor plus parts. The technician will arrive with all common parts on their truck, so most repairs can be
FAQs
Why won’t my dryer start all of a sudden?
Sudden dryer starting failures are typically caused by three issues: a tripped circuit breaker, a blown thermal fuse due to overheating, or a faulty door switch. Check your breaker first, then test the door switch by pressing it manually while pressing start. If these check out, the thermal fuse is likely blown and needs replacement. Remember, thermal fuses blow due to airflow restrictions, so always inspect your venting before replacing the fuse.
How do I reset my dryer?
To reset your dryer, first unplug it from the electrical outlet for at least 5 minutes. For gas dryers, turn off the gas valve. This hard reset clears error codes and resets electronic controls. After 5 minutes, restore power (and gas) and try starting again. For dryers with electronic controls, you may need to press and hold the Start/Cancel button for 3-5 seconds. If the dryer has a dedicated reset button (usually red), press it once. If resetting doesn’t solve the problem, you likely have a component failure that needs diagnosis.
How to tell if a fuse is blown in a dryer?
Test the thermal fuse with a multimeter set to continuity mode (lowest ohms setting). Disconnect the wires from the fuse and touch one probe to each terminal. A working fuse shows continuity (meter reads near 0 ohms). A blown fuse shows no continuity (meter reads OL or infinity). You can also visually inspect some fuses – if the metal strip inside is broken or the casing shows discoloration from overheating, the fuse has blown. Always address the root cause (usually clogged vents) before replacing a blown thermal fuse.
How do I reset a GE dryer?
GE dryers have a few reset methods depending on the model. For most electronic GE dryers: unplug for 5 minutes, then press and hold the Start button for 5 seconds. Some GE models have a small reset button on the control panel – look for a red button and press it once. For older mechanical GE dryers, turn the timer knob to any cycle, press start, and if nothing happens, rotate the timer one full revolution and try again. If these resets don’t work, the issue is likely a blown thermal fuse or faulty door switch, not a control lock.
What would cause a dryer not to start?
The most common causes of dryer starting failures are: 1) Blown thermal fuse (40-50% of cases) – caused by overheating from restricted airflow. 2) Faulty door switch (20-30% of cases) – prevents operation when door is open. 3) Tripped circuit breaker or power issue (15% of cases). 4) Defective start switch (10% of cases). 5) Broken drive belt (5% of cases). Less common causes include motor failure, control board failure, timer malfunction, or a locked control panel. Systematic testing starting with power, then door switch, then thermal fuse will identify most problems quickly.
Why is my dryer clicking but not starting?
A clicking sound when pressing start usually indicates the start switch is activating power, but something is preventing the motor from running. This typically points to three issues: 1) A broken drive belt – the motor tries to spin but can’t move the drum. 2) A seized motor – try turning the drum manually by hand (with dryer unplugged). If it won’t turn, the motor or drum support may be locked. 3) A faulty motor relay on electronic models – you hear the relay click but the motor doesn’t engage. In all cases, stop pressing start to prevent further damage and diagnose the specific component failure.
Can a clogged vent prevent dryer from starting?
Yes, a severely clogged vent can prevent your dryer from starting, but not directly. Here’s what happens: restricted airflow causes the dryer to overheat internally, which triggers the thermal fuse to blow as a safety measure. Once the thermal fuse blows, the dryer won’t start until the fuse is replaced AND the vent is cleaned. Many people replace the fuse without clearing the vent, only to have it blow again within a few cycles. If your thermal fuse has blown, cleaning your vent system is mandatory before replacing the fuse.
Final Thoughts on Dryer Won’t Start Issues
A dryer that won’t start is almost always fixable, and most solutions cost far less than a service call. Start with the basics: check power, test the door switch, and inspect the thermal fuse. These three components account for 75% of all starting problems.
If you’re comfortable with basic tools and following safety procedures, you can likely fix your dryer yourself in under an hour. The diagnostic process I’ve outlined here is exactly what I use on service calls – you’re just saving the $150 trip fee by doing it yourself.
Remember that most component failures are symptoms of underlying issues. A blown thermal fuse means your vents need cleaning. A broken belt might mean worn rollers added extra strain. Fix the root cause, not just the symptom, and your dryer will run reliably for years.
Still can’t figure out why your dryer won’t start? Double-check that you’ve tested components in the right order, and don’t forget the simple stuff – I once spent 30 minutes diagnosing a dryer only to find the homeowner had unplugged it to vacuum and forgotten to plug it back in. Sometimes the simplest solution is the right one.

Leave a Comment