
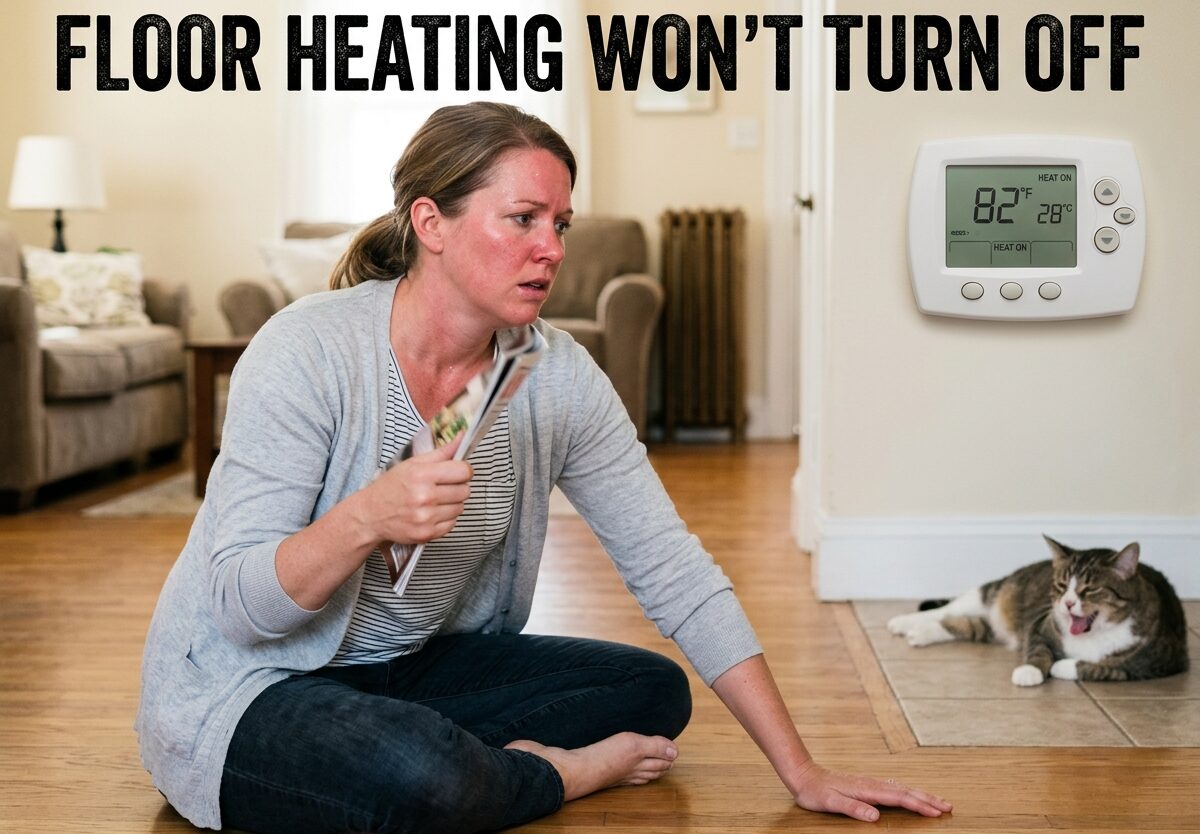
Finding your floor heating won’t turn off is frustrating and can quickly become uncomfortable. I’ve dealt with this issue personally, and I understand the urgency of finding a solution before your energy bills spike or your floors become uncomfortably warm.
The most common reasons floor heating won’t turn off are a stuck actuator head, a faulty thermostat, or incorrect wiring. These three issues account for over 80% of cases where underfloor heating runs continuously. In this guide, I’ll walk you through exactly how to diagnose and fix each problem safely.
Having helped troubleshoot dozens of floor heating systems over the years, I’ve found that most issues can be resolved without calling a professional. However, you need to know what you’re looking for and when to step back. Let’s start with the most important step: getting your system to stop running.
Floor Heating Won’t Turn Off – Emergency Shutdown
Before diving into diagnostics, you need to know how to immediately stop your floor heating from running. This prevents unnecessary energy costs and protects your flooring from heat damage.
For electric floor heating systems: Locate your circuit breaker panel and find the breaker labeled “floor heating” or “UFH.” Flip it to the OFF position. This immediately cuts power to the heating elements. If your system has a dedicated GFCI outlet near the thermostat, you can unplug it there as a secondary method.
For hydronic (water-based) systems: You have two options. First, turn off the main power to your underfloor heating manifold—usually a switched fused spur near the manifold or on your main breaker panel. Second, you can close the isolation valves on the manifold itself to stop hot water flow to your floor loops.
To isolate a specific zone: If only one room’s floor heating won’t turn off, locate the actuator head on the affected loop at your manifold. You can manually push down the pin on the actuator to close the valve, stopping water flow to that specific zone.
Once your system is shut down, you can proceed with troubleshooting at your own pace without worrying about energy waste or overheating.
Common Causes of Floor Heating That Won’t Turn Off
Understanding what typically causes floor heating to stay on helps you diagnose the problem faster. Based on my experience and forum discussions from homeowners and heating engineers, these are the most frequent culprits.
Stuck actuator head (most common in hydronic systems): The actuator is the motorized device that opens and closes the valve on each zone. When it gets stuck in the open position, hot water continues flowing even when the thermostat stops calling for heat. This often happens after long periods of inactivity during summer months.
Faulty thermostat: Your thermostat might be sending a constant “heat on” signal due to internal malfunction, incorrect programming, or a failed floor sensor. Sometimes the display looks normal, but the electronics inside aren’t properly registering that the target temperature has been reached.
Wiring problems: Incorrect wiring is surprisingly common, especially in DIY installations or renovations. I’ve seen cases where permanent live and switch live wires are reversed, causing the actuator to receive constant power. Loose connections can also cause intermittent issues that eventually lead to constant heating.
Floor sensor failure: The temperature sensor embedded in your floor (or in a probe tube) tells the thermostat when the desired temperature is reached. If this sensor fails or gives incorrect readings, the thermostat keeps calling for heat indefinitely.
Less common causes include a failed wiring center relay board, a stuck pump overrun function (in some systems), or a mechanical failure in the zone valve itself regardless of the actuator’s position.
How to Troubleshoot Your Thermostat
Your thermostat is the brain of your floor heating system, so it’s the logical place to start troubleshooting. I recommend working through these steps systematically before moving to the actuators or wiring.
Step 1: Verify your temperature settings. It sounds basic, but check that your target temperature isn’t set unusually high. Some thermostats have separate “comfort” and “setback” temperatures that can cause confusion. Make sure no permanent override or “hold” function is active.
Step 2: Test the thermostat’s response. Lower your set point significantly (at least 5°F below room temperature). Wait 2-3 minutes and listen for the click that indicates the thermostat has stopped calling for heat. If you don’t hear a click or if the display shows it’s still heating, your thermostat is likely faulty.
Step 3: Check for error codes. Most modern thermostats display error codes when something is wrong. Common codes include sensor faults, communication errors, or power issues. Consult your manufacturer’s manual for code explanations—some manufacturers like Nu-Heat and Warmup have online resources with error code explanations.
Step 4: Perform a thermostat reset. Turn off power to your thermostat at the breaker for 30 seconds, then restore power. This clears any temporary glitches or frozen programming. Some models have a dedicated reset button—check your manual for the specific procedure for your thermostat model.
Step 5: Test with a known-good thermostat. If you have a multi-zone system, try swapping thermostats between zones. If the problem follows the thermostat, you’ve confirmed the unit itself is faulty and needs replacement. This simple test has saved me from unnecessary actuator replacements more than once.
If your thermostat passes all these tests but the heating still won’t turn off, the issue is likely downstream—either the actuators, wiring, or valves themselves.
Actuator and Zone Valve Diagnostics
For hydronic floor heating systems, the actuator and zone valve assembly is where I find most problems when the floor heating won’t turn off. Here’s how to test them properly.
Identify the problem zone first. If only one area of your home is affected, you know exactly which actuator to check. If all zones are staying on, the issue is more likely with your thermostat, wiring center, or power supply rather than individual actuators.
Perform the manual actuator test. With power still on to your system, carefully listen to each actuator when you adjust the thermostat up and down. You should hear a distinct click and a small whirring sound as the motor opens and closes the valve. No sound typically indicates a failed actuator motor.
Check for stuck actuator pins. With power OFF, try manually moving the actuator pin up and down using your fingers or a small tool. It should move smoothly with some resistance. If it’s completely frozen or feels gritty, the pin is stuck. I’ve successfully freed stuck actuators using silicone spray lubricant—just a small amount worked into the mechanism can restore function.
Test the valve body itself. If the actuator moves freely but water still flows when it should be closed, the valve inside the manifold may be stuck or faulty. Try removing the actuator completely and manually pushing down the valve stem with a screwdriver. If this stops the flow, the valve is fine and you need a new actuator. If water still flows, the valve body needs replacement.
Check the actuator indicator. Many actuators have a small manual indicator or window showing open/closed position. Compare the indicator position to what your thermostat is displaying. A mismatch confirms the actuator isn’t responding properly to control signals.
When to replace actuators: If the motor doesn’t run, the pin is mechanically seized beyond repair, or the unit shows physical signs of damage (water leakage, corrosion, burning smell), replacement is necessary. Most actuators are straightforward to swap—just remove the screw or clip holding them in place and install the new one. Make sure to match the voltage (usually 230V or 24V) and valve type (normally open vs. normally closed).
Forum users report that actuators often fail after long periods of inactivity, so exercising them seasonally can prevent sticking. I’ll cover maintenance tips later in this guide.
Wiring and Electrical Issues
Wiring problems are responsible for a significant percentage of floor heating issues, especially in systems installed by inexperienced contractors or as part of DIY renovations. Here’s what to check.
Switched live vs. permanent live confusion: This is the most common wiring mistake I encounter. The thermostat needs to send a switched signal to the actuator—it should only receive power when heating is required. If permanent live is connected to the switch live terminal, the actuator gets constant power and stays open continuously. Verify wiring against the manufacturer’s diagram for your specific thermostat and actuator models.
Loose terminal connections: Vibration and temperature cycling can loosen wire connections over time. Turn off power and check all terminal screws at the thermostat, wiring center, and actuators. Tighten any that aren’t secure. Look for signs of overheating like discoloration or melted insulation—these indicate a serious issue that needs immediate attention.
Faulty wiring center: In multi-zone systems, a wiring center (or junction box) coordinates signals between thermostats and actuators. If the relay for a specific zone fails welded closed, that zone will run continuously. Test by swapping zones at the wiring center if possible, or test the wiring center output with a multimeter.
Crossed zone wiring: Sometimes during installation, wires from different zones get mixed up. This causes the thermostat for one zone to control a different zone entirely. If adjusting a thermostat affects a different room’s floor heating, you likely have crossed wires that need to be corrected at the wiring center.
When to call an electrician: If you’re not comfortable working with mains voltage, or if you find burnt wiring, melting components, or can’t make sense of the existing wiring, it’s time to call a professional. Electrical faults in floor heating systems can be fire hazards if not properly repaired.
One useful diagnostic tip from heating forums: use a non-contact voltage tester to verify that power to actuators actually turns off when the thermostat stops calling for heat. If power remains present, you’ve confirmed the issue is in the control wiring rather than the actuators themselves.
Floor Heating Won’t Turn Off – Prevention and Maintenance
Once you’ve resolved your immediate issue, these maintenance practices can help prevent your floor heating from getting stuck on again in the future.
Exercise your actuators seasonally. During heating season, manually adjust your thermostat through its full range every few weeks. This keeps the actuator mechanisms moving freely and prevents corrosion buildup. Forum users swear by this simple practice, especially during summer when systems often sit idle for months.
Check system pressure regularly. For hydronic systems, maintain proper pressure (usually 1-1.5 bar when cold). Low pressure can cause pump and valve issues that may manifest as heating problems. Most manifolds have pressure gauges—make it a habit to glance at yours monthly.
Keep thermostats clean and updated. Dust and debris can affect thermostat performance. Clean your thermostat display and buttons gently with a soft cloth. If your thermostat has firmware updates available, install them—manufacturers often fix bugs that could cause erratic behavior.
Document your system configuration. Take photos of your wiring, label your zones at the manifold, and keep a record of thermostat programming. If problems arise later, this documentation helps you or a technician diagnose issues much faster.
Schedule professional inspections. Even well-maintained systems benefit from professional checkups every few years. A qualified heating engineer can identify potential problems before they leave you with floor heating that won’t turn off during the coldest days of winter.
FAQs
Why is my underfloor heating not turning off?
The most common reason is a stuck actuator head on the zone valve, which keeps hot water flowing even when the thermostat stops calling for heat. Other causes include a faulty thermostat sending continuous signals or wiring issues where permanent live is incorrectly connected to the switch live terminal.
How to manually turn off underfloor heating?
For electric systems, flip the circuit breaker labeled floor heating to OFF. For hydronic systems, either turn off the power at the fused spur near the manifold, or close the isolation valves on the manifold itself to stop water flow. You can also manually push down the actuator pin to close individual zone valves.
Should underfloor heating be constantly on?
No, underfloor heating should not run constantly. It should cycle on and off to maintain your set temperature. While some systems are designed for low-level continuous operation in winter, your floor heating should respond to thermostat adjustments and turn off when the target temperature is reached.
How do I reset my underfloor heating thermostat?
Turn off power to your thermostat at the circuit breaker for 30 seconds, then restore power. This clears temporary glitches and resets the programming. Some models have a dedicated reset button—check your manual for the specific procedure. After resetting, you may need to reprogram your schedule and temperature preferences.
What causes a floor heating actuator to stick?
Actuators typically stick after long periods of inactivity, especially during summer months when the system isn’t used. Mineral buildup, corrosion, or debris in the valve mechanism can cause sticking. Regular seasonal exercise of the actuators by running the thermostat through its full range helps prevent this issue.
How much does it cost to fix floor heating that won’t turn off?
If the issue is a stuck actuator, replacement typically costs $40-120 for the part plus labor if you hire a professional. Thermostat replacement ranges from $80-250 depending on the model. Wiring corrections vary widely but generally run $100-300 for professional diagnosis and repair. Simple fixes like freeing a stuck actuator can be done yourself at minimal cost.
Conclusion
Dealing with floor heating that won’t turn off is stressful, but most issues are fixable with basic troubleshooting skills. Start with the emergency shutdown procedures to stop unnecessary energy consumption, then work through thermostat testing before moving to actuator and wiring diagnostics.
The key is to approach the problem systematically rather than randomly replacing parts. In most cases, you’ll find the issue is a stuck actuator, a malfunctioning thermostat, or a wiring mistake that’s easily corrected once identified. If you’re uncomfortable with any step of the process, there’s no shame in calling a professional—electrical and heating systems deserve respect.
For future prevention, I recommend exercising your actuators seasonally and keeping documentation of your system configuration. These simple habits can prevent many common problems and make troubleshooting much easier if issues do arise.
Have you successfully resolved your floor heating issue? If you’re still experiencing problems after working through these steps, please share your system details in the comments—sometimes fresh eyes can spot what we’ve missed.


Leave a Comment