
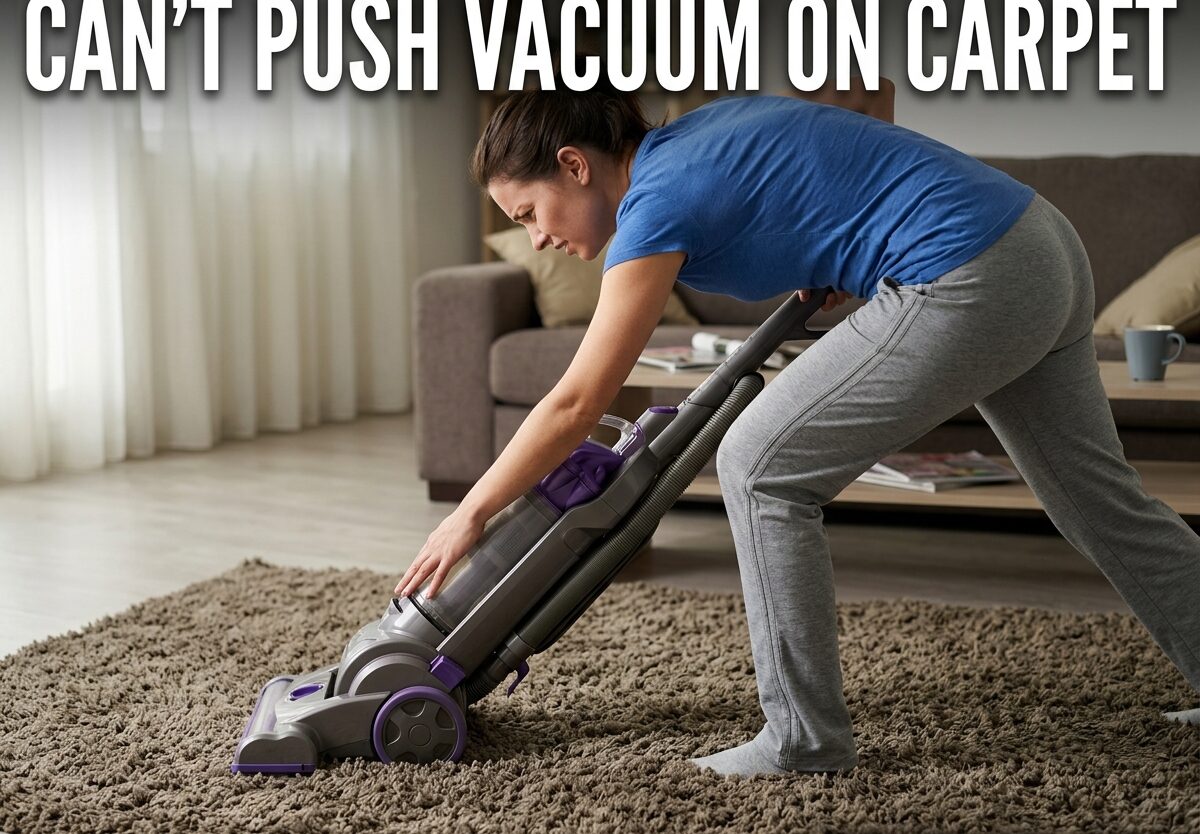
There’s nothing more frustrating than trying to vacuum your carpet and feeling like you’re pushing a heavy load of bricks across the floor. When you can’t push vacuum carpet cleaning becomes an exhausting workout instead of a quick household chore. This common problem affects millions of vacuum owners, and the good news is that most causes have simple fixes you can handle yourself.
I’ve spent years researching vacuum performance issues, and I’ve found that 90% of hard-to-push vacuum problems stem from just five main causes. Understanding why your vacuum is resisting movement is the first step toward getting it gliding smoothly again. Whether you’re dealing with a new carpet installation, an older vacuum that’s seen better days, or something in between, this guide will walk you through every potential issue and solution.
Quick Troubleshooting Checklist
Before diving into detailed repairs, let’s check the most common culprits. I recommend going through this checklist in order, as these fixes resolve the majority of cases:
- Check the height setting – Ensure your vacuum is set to the appropriate level for your carpet thickness
- Inspect the brush roll – Look for hair, string, or debris wrapped around the roller
- Check the wheels – Remove any buildup in the wheel wells that might be causing friction
- Empty the dustbin or replace the bag – A full container can restrict airflow and increase resistance
- Examine the belt – Look for signs of wear, stretching, or damage
If you’ve gone through these quick checks and your vacuum is still difficult to push, don’t worry. We’ll explore each issue in depth and cover additional problems that might be causing your vacuum struggles.
Can’t Push Vacuum on Carpet? Understanding Height Settings
Incorrect height settings are the number one cause of vacuum pushing difficulties. Most modern vacuums have adjustable height settings designed to match different carpet pile types, but many users never adjust them from the factory setting.
Your vacuum’s height adjustment controls how close the cleaning head sits to the carpet surface. When set too low for your carpet type, the vacuum creates excessive suction that literally pulls the carpet fibers upward, creating a seal that makes movement nearly impossible. When set too high, you lose cleaning effectiveness, though pushing becomes easier.
Matching Settings to Carpet Types:
- Bare floor / low pile: Use the lowest setting (often labeled “bare floor” or “1”)
- Medium pile carpet: Use a mid-range setting (usually “2” or “3”)
- Thick plush carpet: Use a higher setting (“4” or “5”) to prevent carpet lifting
- Shag or very thick carpet: Use the highest setting available
To find the right setting for your carpet, start with the vacuum turned off and lower it onto your carpet. The cleaning head should make contact without pressing down too firmly. You should be able to slide a piece of paper under the front of the vacuum with slight resistance. If the vacuum seems to suction itself to the carpet when you turn it on, raise the setting one level.
Brush Roll Problems and Solutions
The brush roll (also called a beater bar or agitator) is critical for carpet cleaning, but when it malfunctions, it can turn your vacuum into an immovable object. I’ve seen countless cases where a simple brush roll cleaning resolved what users thought was a broken vacuum.
Signs Your Brush Roll is the Problem:
- The vacuum makes unusual noises when running
- You can see visible hair or string wrapped around the roller
- The brush doesn’t spin freely when you turn it by hand (with vacuum unplugged)
- The vacuum pushes easily when turned off but becomes difficult when running
To clean your brush roll, first unplug your vacuum for safety. Turn it over and locate the brush roll cover – this usually requires removing a few screws or pressing a release clip. Once you have access to the brush roll, carefully cut away any hair, string, or debris wrapped around it. I recommend using scissors or a seam ripper for this task.
Pay special attention to the ends of the brush roll where it connects to the vacuum – hair often accumulates here and can prevent the roller from spinning properly. After cleaning, test that the brush rotates freely before reassembling your vacuum.
In some cases, the brush roll bristles may become worn down or damaged, reducing cleaning effectiveness. If your brush roll shows significant wear, replacement brushes are available for most vacuum models and are relatively easy to install.
When Your Vacuum Belt Needs Replacing
The drive belt connects your vacuum’s motor to the brush roll, enabling it to spin and agitate carpet fibers for thorough cleaning. Over time, belts stretch, crack, and wear out, causing the brush roll to malfunction and making your vacuum difficult to push.
Signs of a Worn Belt:
- The brush roll doesn’t spin when the vacuum is running
- You hear a squealing or burning rubber smell when vacuuming
- The vacuum pushes easily but doesn’t clean carpets effectively
- Visible cracks, fraying, or stretching when you examine the belt
Replacing a vacuum belt is a straightforward DIY repair that costs between $5-20 for most models. First, locate your vacuum’s model number (usually on a sticker on the bottom or back) to ensure you purchase the correct replacement belt. Turn off and unplug your vacuum, then access the belt area by removing the bottom plate.
Carefully note how the belt is routed around the motor shaft and brush roll before removing the old belt – taking a photo with your phone can be helpful. Remove the old belt and clean any debris from the area. Install the new belt, ensuring it’s properly seated and has the correct tension. Reassemble your vacuum and test that the brush roll spins freely before using it.
Most vacuum manufacturers recommend replacing belts every 6-12 months depending on usage, so even if your current belt isn’t completely broken, regular replacement can prevent performance issues.
Wheel Issues That Make Pushing Difficult
Your vacuum’s wheels are essential for smooth movement across carpets and floors. When wheels become obstructed or damaged, even the most powerful vacuum becomes difficult to maneuver. I’ve seen cases where a simple wheel cleaning resolved what users thought was a major mechanical problem.
Common Wheel Problems:
- Carpet fibers, hair, and debris wrapped around wheel axles
- Dirt and grime buildup preventing smooth rotation
- Damaged or broken wheels
- Misaligned wheels causing uneven weight distribution
To inspect your vacuum’s wheels, turn it over and examine each wheel carefully. Look for any visible debris wrapped around the axles or preventing the wheels from turning. Use scissors or a utility knife to carefully cut away any hair, string, or carpet fibers. For dirt and grime, a damp cloth can help clean the wheel surface.
Test each wheel by spinning it with your finger – they should rotate smoothly without wobbling or making noise. If a wheel is damaged or broken, replacement wheels are available for most major vacuum brands. While this repair requires a bit more effort, it’s still manageable for most DIY enthusiasts and significantly cheaper than replacing the entire vacuum.
The New Carpet Backing Problem
One of the most frustrating vacuum issues occurs with newly installed carpets. I’ve heard from countless homeowners who purchased a new vacuum specifically for their new carpet, only to find it impossible to push. The problem isn’t the vacuum – it’s the carpet backing.
Many modern carpets feature a plastic or synthetic backing designed to provide durability and moisture resistance. Unfortunately, this backing can restrict airflow more than traditional woven backings. When your vacuum attempts to pull air through the carpet, the restricted airflow causes the carpet to seal tightly against the vacuum base, creating a suction effect that makes pushing extremely difficult.
This issue often resolves naturally over 6-12 months as the carpet breaks in and becomes more permeable. However, if you’re dealing with this problem now, there are several workarounds:
- Adjust the technique: Try pulling the vacuum toward you rather than pushing it away. This changes the angle and reduces the seal effect
- Increase the height setting: Raise your vacuum to the highest setting to reduce carpet contact
- Reduce suction: Some vacuums have adjustable suction – try a lower setting
- Create airflow: Some users have success with temporarily placing a thin piece of cardboard or felt under the vacuum base to reduce carpet contact
If you’re shopping for new carpet and already own a vacuum, consider testing your vacuum on carpet samples before installation. This can help you identify potential compatibility issues before the carpet is installed in your home.
Suction Problems That Affect Pushability
While it might seem counterintuitive, excessive suction can make your vacuum difficult to push. Your vacuum is designed to balance cleaning power with ease of movement, and when this balance is disrupted, you’ll notice resistance.
Full Dustbin or Bag: A full dustbin or vacuum bag restricts airflow, causing the motor to work harder and creating uneven suction patterns. This can make your vacuum feel heavier and more difficult to push. Empty your dustbin when it reaches the 2/3 full mark, or replace your bag before it becomes completely full.
Clogged Filters: Most vacuums have multiple filters that trap fine particles and protect the motor. When these filters become clogged, airflow is restricted and suction becomes uneven. Check your vacuum’s manual for filter locations and cleaning instructions. HEPA filters typically need replacement every 6-12 months, while washable filters should be cleaned monthly.
Hose and Airflow Obstructions: Check your vacuum’s hose, wand attachments, and any airflow passages for clogs. Even a partial obstruction can affect performance. Disconnect the hose and look through it for blockages – a bent coat hanger can help remove stubborn clogs.
Power Mode Settings: If you have a cordless vacuum with multiple power modes, the highest power setting creates the most suction. While this provides the best cleaning, it also creates the most resistance. For routine maintenance, consider using a mid-range power setting and reserving the highest setting for deep cleaning sessions.
Regular Maintenance for Preventive Care
The best way to avoid vacuum pushing problems is through regular maintenance. I recommend establishing a monthly maintenance routine that includes:
- Emptying the dustbin or replacing the bag before it’s completely full
- Cleaning or replacing filters according to the manufacturer’s schedule
- Inspecting and cleaning the brush roll
- Checking wheels for debris and ensuring smooth rotation
- Examining the belt for signs of wear
- Wiping down the vacuum exterior to prevent dust buildup
Annual deep maintenance should include a thorough cleaning of all vacuum components, belt replacement, and inspection of internal parts. If you’re not comfortable performing these tasks yourself, many vacuum repair shops offer affordable maintenance services.
When It’s Time to Consider a New Vacuum
Sometimes, despite your best maintenance efforts, a vacuum simply reaches the end of its useful life. If you’ve tried all the troubleshooting steps and your vacuum is still difficult to push, it might be time to consider a replacement.
Modern vacuums feature improved designs that address many common pushing issues. For example, lightweight vacuums designed for easy maneuverability on carpet often include advanced height adjustment systems, improved airflow designs, and better weight distribution.
If you primarily clean carpets, you might want to explore best upright vacuums for carpet cleaning, which typically offer superior carpet performance compared to canister or stick models. For comprehensive options across all vacuum types and price points, our guide to the top-rated vacuum cleaners can help you find a model that suits your specific needs.
When shopping for a new vacuum, pay attention to features like adjustable height settings, automatic surface detection, and weight specifications. These features can prevent the pushing problems you’re experiencing with your current vacuum.
Frequently Asked Questions
Why is my vacuum suddenly hard to push on carpet?
Sudden difficulty pushing usually indicates a specific component failure or obstruction. First check for hair or string wrapped around the brush roll – this is the most common cause. Next, verify that your height setting hasn’t been accidentally changed. If these don’t resolve the issue, inspect the wheels for debris and check the belt for signs of wear or damage.
What causes a vacuum to stick to the carpet?
Vacuum sticking occurs when suction creates a seal between the cleaning head and carpet. This commonly happens with the height setting too low for your carpet type, with new carpets that have restrictive backing, or when the brush roll isn’t spinning properly. Raising the height setting and checking brush roll function typically resolves the issue.
Can a vacuum be too powerful for carpet?
Yes, excessive suction can cause vacuums to bond to carpets, especially those with dense pile or synthetic backing. If your vacuum has adjustable suction, try reducing it. For vacuums without this feature, use a higher height setting or make slower passes to reduce the seal effect.
How do I know if my vacuum height setting is correct?
The correct height allows the brush to contact carpet fibers without pressing down. With the vacuum off, lower it onto your carpet – there should be slight contact but you should be able to slide paper underneath with minimal resistance. When turned on, the vacuum should glide without feeling like it’s sucking itself to the floor.
Why does my vacuum work fine on hard floors but not carpet?
This typically indicates a height setting issue – your vacuum is likely set too low for carpet, causing excessive suction and brush resistance. Hard floors don’t have the pile height that creates this problem. Raise the height setting one or two levels and test again. If the issue persists, check for brush roll problems or belt wear.
Conclusion
Dealing with a vacuum you can’t push on carpet is frustrating, but in most cases, the problem has a straightforward solution. By systematically checking height settings, brush roll condition, belt integrity, wheel function, and airflow components, you can identify and resolve the issue without expensive repairs or replacement.
Remember that regular maintenance is key to preventing these problems from developing in the first place. A few minutes of monthly care can save you hours of frustration and extend your vacuum’s lifespan by years. If you’ve tried all the troubleshooting steps and your vacuum is still difficult to push, it might be time to explore newer models with improved designs that address these common issues.
The next time you find yourself struggling with a hard-to-push vacuum, work through this guide step by step. Most users find that the problem is resolved by the time they reach the end of the checklist, saving them time, money, and unnecessary physical strain.




Leave a Comment