
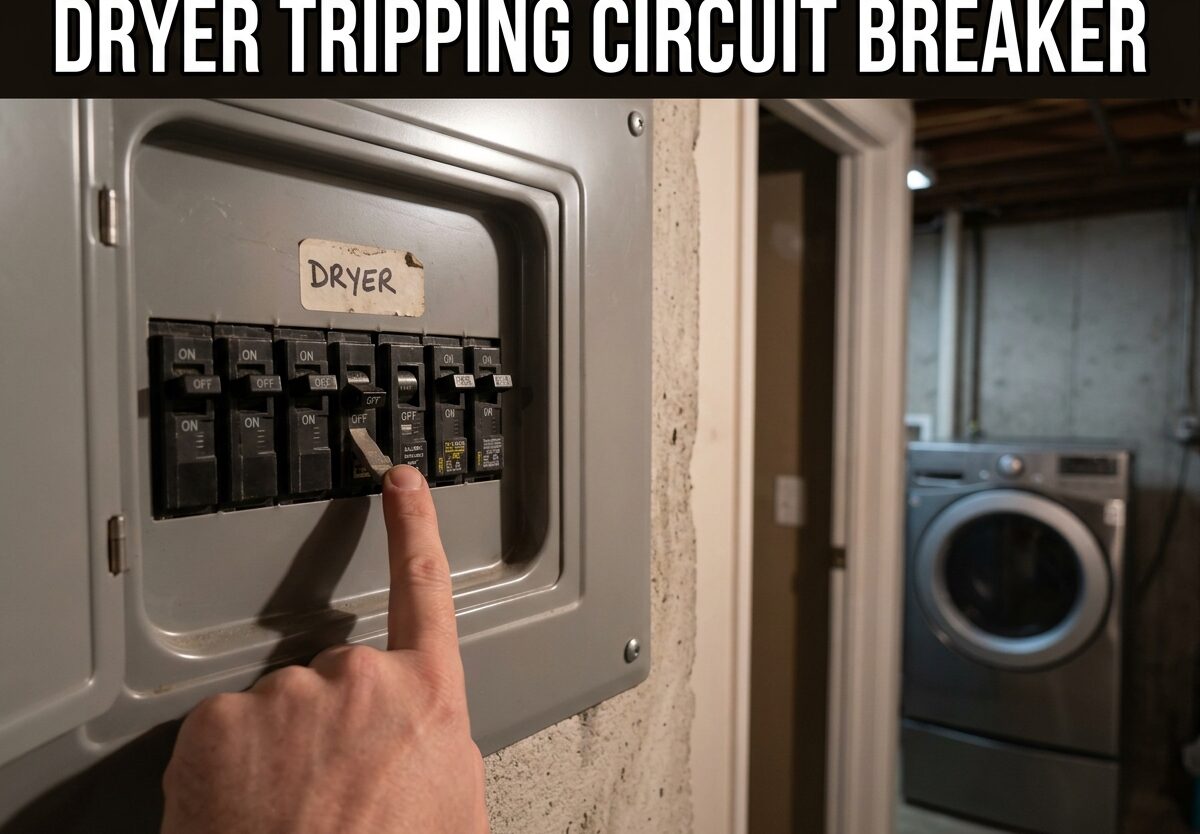
Dealing with a dryer tripping circuit breaker is frustrating and potentially dangerous. This common household issue indicates an electrical problem that needs immediate attention. In this guide, I’ll walk you through the most common causes, how to diagnose the issue safely, and when to call a professional electrician.
After researching hundreds of real homeowner experiences and consulting with electrical experts, I’ve found that most dryer breaker problems stem from just five specific issues. Understanding which one affects your dryer can save you hundreds of dollars in repair costs.
Safety First: Read Before Proceeding
Before attempting any troubleshooting, unplug your dryer from the electrical outlet. Electric dryers use 240-volt power that can cause serious injury or death if handled improperly. Never attempt to disassemble your dryer or access internal wiring while it’s connected to power.
If you notice burning smells, see sparks, or feel excessive heat from your outlet or breaker panel, stop immediately and call a licensed electrician. These are warning signs of a serious electrical hazard that requires professional diagnosis.
Quick Diagnosis: When Does Your Dryer Trip the Breaker?
The timing of when your dryer trips the breaker provides important clues about the underlying cause:
Trips immediately when you press start: Usually indicates a short circuit in the start capacitor, motor, or terminal block wiring. The breaker detects the short instantly and cuts power to prevent damage.
Trips after 5-15 minutes of running: Typically points to heating element failure or motor overheating. As components heat up, internal insulation breaks down causing a short circuit.
Trips only when heating activates (runs fine on air dry): Almost always a heating element short or grounded wire in the heating circuit. The short only becomes active when 240 volts are applied to the heating element.
Trips randomly with no pattern: Could indicate a weak breaker, loose connection at the terminal block, or intermittent ground fault. These are often the most difficult issues to diagnose.
Dryer Tripping Circuit Breaker: 5 Common Causes
1. Terminal Block Issues (Most Common Cause)
Based on real homeowner reports, the number one cause of dryer tripping circuit breaker problems is burnt or loose wires at the terminal block. This is where your dryer’s power cord connects to the machine’s internal wiring.
Over time, the normal vibration of your dryer causes these wire connections to loosen. As resistance builds at the loose connection, heat generates and eventually causes the wire insulation to burn away. This creates a short circuit that trips your breaker immediately.
Symptoms of terminal block issues include visible burning or discoloration at the power cord connection point, a burning smell when the dryer runs, or the breaker tripping more frequently over time.
2. Heating Element Failure
The heating element is the second most common culprit. Inside the metal heating coil, insulation can break down due to age, excessive lint buildup, or manufacturing defects. When the coil touches the metal housing, it creates a direct short circuit.
A classic symptom of heating element failure is a dryer that runs perfectly on air-only or fluff cycle but trips the breaker as soon as you select a heated drying cycle. This tells you the short exists specifically in the heating circuit.
Heating elements typically cost $50-150 for the part and can be replaced by DIYers with moderate mechanical skills. However, if you’re uncomfortable working with electrical components, this is a job for a professional.
3. Motor and Start Capacitor Problems
Your dryer’s motor draws significant current during startup. Over time, motor windings can degrade, bearings can fail, and the start capacitor can weaken. All these issues cause the motor to draw more amps than normal, overloading your 30-amp breaker.
Signs of motor issues include a humming sound without the drum turning, excessive vibration, the dryer stopping mid-cycle, or the motor feeling unusually hot to the touch after running.
Motor replacement is a significant repair typically costing $200-400 for parts and labor. If your dryer is over 10 years old, motor failure often triggers the repair vs. replace decision.
4. Circuit Overload and Weak Breaker
Sometimes the problem isn’t your dryer at all. Circuit breakers weaken over time, especially when subjected to frequent high-load cycles. A 30-amp breaker that trips repeatedly may simply be failing and needs replacement.
Breakers cost $15-40 and can be replaced by a homeowner comfortable with electrical panel work. However, if you’re unsure about working inside your breaker panel, this is a quick job for an electrician.
Additionally, ensure nothing else is running on the same circuit as your dryer. Electric dryers require a dedicated 30-amp circuit. Sharing this circuit with other appliances causes overload and tripping.
5. GFCI Breaker Compatibility Issues
Some newer electrical codes require GFCI (Ground Fault Circuit Interrupter) protection for dryer circuits. However, many older dryers have bonded neutral and ground wires that are incompatible with GFCI breakers.
This incompatibility causes nuisance tripping even when the dryer is functioning perfectly. The GFCI detects what it perceives as a ground fault due to the neutral-ground bond and trips as a safety measure.
If your home has a GFCI breaker for the dryer and it trips repeatedly, consult an electrician about options. Solutions may include replacing the breaker with a standard type, modifying the dryer’s wiring (if allowed by code), or in some cases replacing the dryer with a newer model.
How to Diagnose Dryer Tripping Circuit Breaker: 5 Step Guide
Follow these steps to identify which component is causing your dryer to trip the breaker:
Step 1: Unplug the dryer and verify the breaker
Before any testing, unplug your dryer completely. Go to your electrical panel and reset the tripped breaker. If it won’t stay reset or immediately trips again with the dryer unplugged, the problem is in your home’s wiring or the breaker itself. Call an electrician.
Step 2: Inspect the terminal block
Remove the access panel at the back of your dryer where the power cord connects. Look for any signs of burning, melted wires, or loose connections. The terminal block is where the power cord’s wires connect to the dryer’s internal wiring.
If you see burnt wires or discoloration, this is likely your problem. Terminal block repairs cost $50-150 if you hire someone, or $15-40 for parts if you DIY.
Step 3: Test the heating element with a multimeter
Set your multimeter to continuity or ohms setting. Disconnect the wires from the heating element terminals and test across the element terminals. You should get a reading of 10-50 ohms. If you get zero ohms or infinite resistance, the element is shorted or open and needs replacement.
Also test from each heating element terminal to the metal housing. Any continuity reading indicates a short to ground, confirming the element is faulty.
Step 4: Check the motor and start capacitor
With the dryer still unplugged, manually turn the drum. It should rotate freely with minimal resistance. If it’s difficult to turn or you hear grinding, the motor bearings may be failing.
Test the start capacitor with your multimeter set to capacitance. Compare the reading to the rating printed on the capacitor. A significant deviation indicates failure.
Step 5: Test with dryer door open and no load
Plug the dryer back in and bypass the door switch (consult your manual for this procedure on your specific model). Start the dryer with no clothes inside. If it runs without tripping, the issue may be load-related or intermittent. If it still trips, you’ve confirmed a component failure.
Repair vs. Replace: When Is It Worth Fixing?
The age of your dryer should factor heavily into your repair decision:
Under 8 years old: Repair is almost always worthwhile. These dryers have many years of service life remaining. Most repairs cost $150-400, significantly less than the $600-1200 cost of a new dryer.
8-12 years old: Repair if the cost is less than 50% of replacement. Major repairs like motor replacement ($300-500) might not make sense on a machine this age, but heating element or terminal block repairs are still cost-effective.
Over 12 years old: Replace unless the repair is minor. At this age, other components are likely nearing the end of their service life. Investing in repairs often leads to additional repairs within a year or two.
Additionally, consider the repair history of your dryer. If you’ve already paid for multiple repairs in the past few years, replacement becomes more economical regardless of age.
Brand-Specific Considerations
While the underlying causes are similar across brands, some manufacturers have known issues:
Whirlpool, Kenmore, and Maytag: These brands share many components. Terminal block issues and heating element failures are common, especially on models over 8 years old. Parts are readily available and generally affordable.
Samsung and LG: These newer-style dryers often have control board issues that can mimic breaker trips. The electronic control can fail causing the dryer to draw excess power. Control board replacement typically costs $200-350.
GE and Hotpoint: Belt and idler pulley failures are common on these models. While these don’t directly cause breaker trips, a seized drum can overload the motor and cause tripping. Inspect the belt system if your motor is showing signs of strain.
Prevention Tips: Avoid Future Breaker Trips
Clean your dryer vent thoroughly at least once per year. Lint buildup causes your dryer to work harder and run hotter, stressing both the heating element and motor. This excessive heat can shorten component life and lead to electrical issues.
Inspect the power cord and outlet connection annually. Look for any discoloration, warmth, or burning smells. Catching terminal block issues early prevents more extensive damage to your dryer’s wiring.
Don’t overload your dryer. Heavy loads cause the motor to work harder and draw more amps. Follow manufacturer guidelines for load size and separate heavy items like blankets and jeans.
Consider replacing your 30-amp breaker every 15-20 years as preventive maintenance. Breakers do weaken over time, and a $20 replacement is far cheaper than service calls or potential fire hazards.
When to Call a Professional Electrician
Situations that require professional help include burning smells, visible sparks or arcing at the outlet, a hot power cord or plug, breaker trips that won’t reset, or any situation where you feel unsafe performing DIY diagnostics.
Electrical fires cause thousands of home fires annually. Don’t take chances with electrical problems. A licensed electrician charges $100-200 for a diagnostic visit, a worthwhile investment for your family’s safety.
If your electrical panel shows signs of age (fuses instead of breakers, a brand with known failure history like Federal Pacific or Zinsco, or physical damage), consult an electrician before attempting any repairs yourself.
FAQs
Why would my dryer keep tripping the breaker?
The most common causes are a shorted heating element, burnt wires at the terminal block where the power cord connects, a failing motor drawing excess current, or a weak 30-amp breaker that needs replacement. The timing of when the breaker trips provides clues – immediate tripping suggests a direct short while delayed tripping typically points to heating element or motor failure.
Is it worth fixing a 7 year old dryer?
Yes, a 7-year-old dryer is typically worth repairing. With an expected lifespan of 12-15 years, your dryer has 5-8 years of service remaining. Most repairs cost $150-400, which is significantly less than the $600-1200 cost of a new dryer. Heating elements, terminal blocks, and even motors are economical to replace on dryers under 8 years old.
How to stop dryer tripping electric?
First, identify the specific cause through systematic diagnosis. Check the terminal block for burnt wires, test the heating element for shorts with a multimeter, inspect the motor for excessive wear or bearing failure, and verify your breaker isn’t failing from age. Clean your dryer vent thoroughly to reduce heat buildup, and ensure nothing else is running on the same circuit. For terminal block issues, tighten or replace damaged wiring. For heating element failure, replacement is required.
How to find a short in a dryer?
Use a multimeter to test components for continuity to ground. Test the heating element by checking for continuity between each terminal and the metal housing – any reading indicates a short. Inspect the terminal block for visual signs of burning or loose connections. Check wiring harnesses for damaged insulation touching metal parts. For intermittent shorts, the process may require running the dryer while monitoring with the panel open (only if qualified to do so safely).
Can a bad outlet cause dryer to trip breaker?
Yes, a faulty outlet can cause breaker tripping. Loose connections at the outlet create resistance and heat buildup. Burnt or corroded outlet contacts can cause intermittent connections that trip the breaker. The outlet itself may have internal damage from years of high-current dryer operation. Always inspect the outlet for discoloration or heat, and consider replacing 20+ year old dryer outlets as preventive maintenance.
Why does my dryer trip the breaker after 10 minutes?
Breaker trips after 10-15 minutes typically indicate heating element failure or motor overheating. As these components heat up during operation, internal insulation can break down causing a short circuit. Unlike immediate tripping which suggests a dead short, delayed tripping means the fault is heat-activated. Test the heating element for shorts to ground, check the motor for bearing wear or failing windings, and ensure adequate airflow to prevent overheating.
Conclusion: Dealing With Dryer Tripping Circuit Breaker
Dryer tripping circuit breaker issues are frustrating but usually solvable. The majority of cases stem from terminal block problems, heating element failure, or motor issues – all of which can be diagnosed and repaired by qualified homeowners or professionals.
The key is to address the problem promptly rather than repeatedly resetting the breaker. Each trip weakens the breaker and could indicate a developing fire hazard. Start with the quick checks outlined in this guide, and don’t hesitate to call a professional electrician if you’re unsure about any aspect of the diagnosis or repair.
Regular maintenance like annual vent cleaning and periodic inspection of your power cord and outlet can prevent many breaker trips from occurring in the first place. Stay safe, and may your laundry days be uninterrupted by electrical issues.


Leave a Comment