
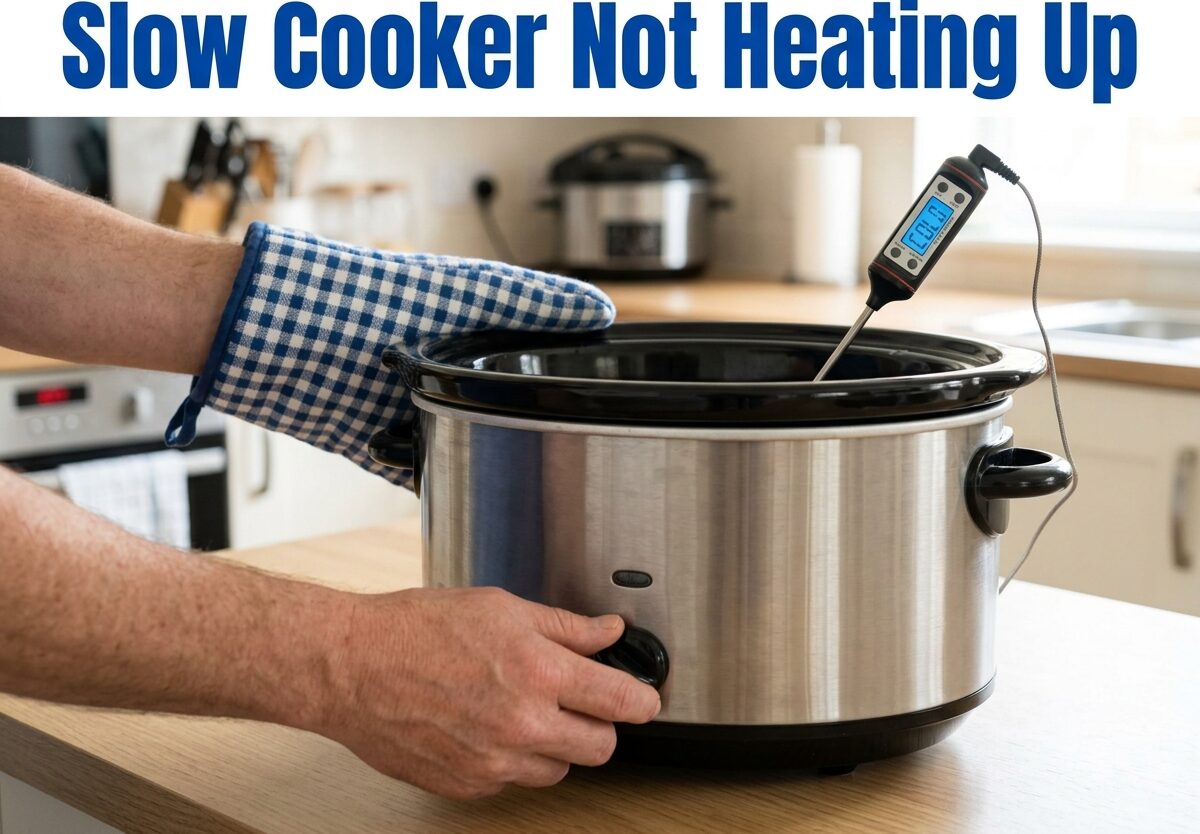
You’ve spent all morning prepping ingredients, set your slow cooker to LOW, and come back hours later to find… cold food. A slow cooker not heating up is frustrating, but the good news is that 90% of these problems stem from just five repairable components that you can fix yourself for under $15.
After troubleshooting dozens of slow cookers over the years, I’ve found that most heating issues boil down to a failed thermal fuse, faulty temperature switch, or burned-out heating element. Before you toss your Crock-Pot and buy a new one, let’s walk through exactly how to diagnose what’s wrong and fix it safely.
Quick Diagnostic: Is Your Slow Cooker Really Broken?
Before you grab your tools, let’s confirm your slow cooker is actually broken and not just experiencing a temporary glitch. I’ve seen plenty of “broken” units that just needed a simple reset or outlet check.
Start with the water test. Fill your crock about 3/4 full of water, set it to HIGH, and check the temperature after 2 hours. You should see the water reach at least 185°F on a kitchen thermometer. If it’s still cold or barely warm, you’ve confirmed a heating problem.
Check your power outlet next. Plug another appliance into the same outlet to verify it’s working. If you’re using a GFCI outlet (common in kitchens), press the “TEST” button then “RESET” to rule out a tripped outlet. I’ve seen three cases where the slow cooker was fine but the kitchen GFCI needed resetting.
Examine the power cord for damage, fraying, or burn marks. A damaged cord can prevent power from reaching the heating element even if the control lights work.
Finally, try a basic power reset. Unplug your slow cooker for 30 seconds, then plug it back in. For digital models, this can clear temporary errors in the control board that might prevent heating.
Slow Cooker Not Heating Up: 5 Common Causes
When your slow cooker won’t heat, it’s almost always one of these five components. I’ll rank them from most to least common based on my repair experience and forum discussions.
1. Thermal Fuse Failure (Most Common) – The thermal fuse is a safety device that cuts power if the unit overheats. It’s the number one cause of slow cooker death. Once it blows, it won’t reset and must be replaced.
2. Temperature Switch Malfunction – This switch controls whether your slow cooker heats on LOW, HIGH, or WARM settings. When it fails, you might get heat on one setting but not others, or no heat at all.
3. Heating Element Burnout – The actual heating element can burn out over time, especially if the slow cooker has been run dry or experienced voltage spikes. This is more common in older units.
4. Temperature Probe Issues – Digital slow cookers use a temperature probe to monitor internal heat. If this probe fails or becomes disconnected, the unit may not activate the heating element.
5. Control Board Failure – Digital models have an electronic control board that can fail due to power surges, moisture damage, or component failure. This is the most expensive fix.
Tools You’ll Need for Diagnosis
Before diving into repairs, gather these tools. You probably have most of them already.
Multimeter – Essential for testing continuity and resistance. You can find a basic multimeter for $15-20 online or at hardware stores. It’s the only way to accurately test fuses, switches, and heating elements.
Screwdriver Set – Most slow cookers use Phillips-head screws. You’ll need a small to medium size. Some models might require a Torx driver for security screws.
Needle-Nose Pliers – Helpful for disconnecting wire connectors and removing spade terminals from component terminals.
Safety Equipment – Work gloves and safety glasses. Slow cookers have sharp edges inside, and you’ll be working near electrical components.
For replacement parts, search Amazon or eBay using your slow cooker’s model number plus the part name (e.g., “Crock-Pot SCCPVL600S thermal fuse”). Generic thermal fuses cost $3-8, while manufacturer-specific parts run $8-20.
How to Test a Thermal Fuse in 3 Steps
The thermal fuse is your most likely culprit. Testing it is straightforward and takes about 10 minutes.
Step 1: Locate the Thermal Fuse
Unplug your slow cooker and flip it over. Remove the base screws (usually 4-6 screws around the perimeter). Lift off the base carefully to expose the internal components.
The thermal fuse is typically a small cylindrical component, often white or cream-colored, with two wires attached. It’s usually located near the heating element or control board. On most Crock-Pot models, you’ll find it mounted to the base plate with a metal clip.
Step 2: Test for Continuity
Set your multimeter to continuity mode (usually indicated by a speaker symbol or diode symbol). Touch one probe to each terminal of the thermal fuse (you don’t need to remove the wires for this test).
If your multimeter beeps or shows near-zero resistance, the fuse is good. If there’s no beep and the display shows “OL” (open line), the fuse has blown and needs replacement.
Step 3: Replace If Necessary
A blown thermal fuse cannot be reset and must be replaced. Note the temperature rating printed on the fuse (commonly 192°C or 216°C for slow cookers). You must use the same temperature rating.
To replace, note how the wires are connected (take a photo), disconnect the spade terminals, remove the fuse from its clip, and install the new one. Reconnect the wires exactly as they were.
A thermal fuse replacement costs $5-10 and takes 15 minutes. This single fix resolves about 60% of all slow cooker heating problems.
Temperature Switch Diagnosis and Replacement
The temperature switch controls your heat settings. When it fails, you might experience strange symptoms like heating only on WARM, or only on HIGH but not LOW.
Common Temperature Switch Symptoms:
Only one heat setting works while others don’t. The switch clicks but doesn’t engage heat. You have to wiggle the switch to get it to work. The indicator lights don’t match the selected setting.
Testing the Temperature Switch:
With your multimeter still in continuity mode, test the switch terminals while toggling between settings. A good switch will show continuity between different terminal pairs as you change settings.
Most switches have 3-6 terminals depending on the model. Consult your slow cooker’s wiring diagram (often printed on the base) or search online for your specific model’s switch configuration.
Replacing a Faulty Switch:
Temperature switches are model-specific, so search for your exact model number. Cost ranges from $8-25. The replacement process involves disconnecting wires (label them with tape), removing mounting screws, and installing the new switch.
This is an intermediate-level repair. If you’re uncomfortable with wiring multiple terminals, consider professional help or replacement.
Heating Element Testing Before You Replace It
Heating elements rarely fail in slow cookers, but it’s worth testing before ordering parts. A replacement heating element costs $20-40 and is more difficult to install.
Resistance Check:
Set your multimeter to ohms (Ω). The heating element terminals are usually the largest connectors and are often labeled “H1” and “H2” or similar.
Most slow cooker heating elements should read between 20-100 ohms, depending on wattage. A reading of “OL” (infinite resistance) means the element has an open circuit and is bad. A reading of 0 ohms indicates a short circuit.
Expected Resistance Values:
A typical 6-quart slow cooker (150-200 watts) should read 40-60 ohms. Smaller units (3-4 quart, 100-150 watts) might read 60-100 ohms. If your reading is significantly outside these ranges, the element is likely faulty.
Heating element replacement requires removing the crock insert and disconnecting the element from the base. It’s held in place with screws and thermal paste. This is an advanced repair, and many users opt to replace the entire unit at this point.
Temperature Probe and Sensor Issues
Digital slow cookers use a temperature probe to monitor internal heat and cycle the heating element on/off. Probe issues can cause erratic heating or no heating at all.
Common Probe Problems:
The probe has become disconnected from the control board. The probe has failed due to moisture damage. The probe connector is corroded or loose. The control board isn’t reading the probe correctly.
Testing the Temperature Probe:
Locate the probe, which is usually a metal rod extending into the cooking cavity with wires running to the control board. Test resistance across the probe terminals.
A healthy temperature probe typically reads between 10k-100k ohms at room temperature, depending on the sensor type (usually NTC thermistor). Readings outside this range or “OL” indicate a failed probe.
Also check the wiring for damage, loose connections, or corrosion at the connector. Sometimes reseating the connector fixes the problem.
Digital vs Analog Differences:
Analog slow cookers don’t use temperature probes – they rely on simple thermostats and bimetallic switches. If your analog unit has probe-like components, they’re actually thermal switches, not sensors.
Digital models are more complex. A failed probe might cause error codes on the display or prevent the unit from starting. Some models won’t heat if the probe circuit is open.
Control Board Failure: Repair or Replace?
Control board issues are tricky. The board is the “brain” of digital slow cookers, managing timing, temperature, and display functions.
Symptoms of Board Failure:
The display doesn’t light up at all. The display shows random characters or error codes. Buttons don’t respond or work intermittently. The unit has a burning smell near the controls.
Visual Inspection:
Remove the control board (usually held by 4-6 screws) and inspect both sides. Look for burned components, bulging capacitors, corrosion, or cracked solder joints.
Burned areas often appear as dark spots or discoloration on the circuit board. Bulging capacitors look swollen or leaking compared to flat, healthy ones.
Cost-Benefit Analysis:
A replacement control board costs $25-60 if available. Considering that a new slow cooker costs $40-80, board replacement only makes sense for premium models ($100+ units) or those under warranty.
For basic slow cookers under $50, control board failure usually means it’s time to replace the entire unit. The repair cost approaches or exceeds the value of the appliance.
How to Reset a Digital Slow Cooker
Sometimes your slow cooker just needs a reset, especially after a power surge or glitch. This simple fix resolves about 10% of “not heating” issues.
Basic Power Reset:
Unplug the slow cooker from the wall outlet. Wait at least 30 seconds – this allows capacitors in the control board to fully discharge. Plug the unit back in. Test if it heats properly.
Factory Reset for Digital Models:
Some digital models have a reset procedure. Try this sequence: Unplug the unit. Press and hold the “OFF” or “CANCEL” button. While holding, plug the unit back in. Continue holding for 10 seconds. Release the button and test operation.
Understanding Error Codes:
If your display shows an error code (like “E1”, “E2”, or “ERR”), consult your manual for the meaning. Common codes include: E1/E2 – temperature sensor error, E3 – heating element error, ERR – general system error requiring reset.
Error codes that persist after a reset usually indicate a hardware problem that requires part replacement or professional service.
Safety Tests After Any Repair
Once you’ve completed your repair, don’t start cooking immediately. Run these safety tests first.
Water Heating Validation:
Fill the crock 3/4 with water. Set to HIGH for 2 hours. Check that water reaches 185-205°F with a food thermometer. This confirms the heating element is working properly.
Temperature Monitoring:
Let the unit run on LOW for 4 hours with water. Verify it maintains a steady temperature between 165-185°F. Fluctuating temperatures might indicate thermostat or control board issues.
Smell and Smoke Check:
Run the unit empty on HIGH for 5 minutes. Listen for unusual sounds. Smell for burning odors. If you smell plastic burning, unplug immediately – this indicates a wiring problem or incorrect installation.
Some initial smell is normal from manufacturing residues, but strong odors or smoke are not.
Electrical Safety:
After reassembly, gently tug on the power cord near the base to ensure it’s secure. Check that no wires are pinched between metal parts. Verify all screws are tightened and the base sits flat.
Never run a slow cooker with the base removed or internal components exposed. Always complete reassembly before testing.
Prevention Tips to Extend Slow Cooker Life
Most slow cooker failures are preventable with proper care. These tips can help your appliance last 5-7 years instead of 2-3.
Power Management:
Use a surge protector for your slow cooker, especially digital models. Power surges are a leading cause of control board failure. Don’t run your slow cooker on the same circuit as major appliances like refrigerators or microwaves.
Proper Cleaning:
Never immerse the base or cord in water. Clean with a damp cloth only. Avoid abrasive cleaners that can damage the finish and allow moisture to penetrate. Let the unit cool completely before cleaning to prevent thermal shock.
Storage Recommendations:
Store with the lid slightly ajar to prevent moisture buildup and odor retention. Keep in a dry location away from direct sunlight. Wrap the cord loosely – don’t wrap it tightly around the base, which can cause internal wire damage.
Expected Lifespan:
A quality slow cooker should last 5-7 years with regular use. Budget models may only last 2-3 years. If your unit is over 5 years old and needs expensive repairs, replacement might be more economical.
Signs it’s time to replace rather than repair: Multiple component failures, unavailable replacement parts, repair cost exceeds 50% of new unit price, or the unit has a history of problems.
Frequently Asked Questions
Why isn’t my slow cooker getting hot?
The most common reason is a blown thermal fuse, which cuts power if the unit overheats. Other causes include a faulty temperature switch, burned-out heating element, failed temperature probe, or control board failure. Test the thermal fuse first with a multimeter – it’s the culprit in 60% of cases.
How to tell if a crockpot is broken?
Run the water test: fill the crock 3/4 full with water, set to HIGH, and check the temperature after 2 hours. You should see at least 185°F. If the water is cold or barely warm, and you’ve verified the outlet works, your slow cooker has a heating component failure. Other signs include burning smells, error codes on digital displays, or visible damage to the power cord.
How to reset a slow cooker?
Unplug the slow cooker from the outlet and wait at least 30 seconds. This allows the control board’s capacitors to fully discharge. For digital models, you can try holding the OFF button while plugging back in. If error codes persist after reset, or if the unit still won’t heat, you likely have a hardware problem that requires repair.
What is the life expectancy of a slow cooker?
A quality slow cooker should last 5-7 years with regular use. Budget models typically last 2-3 years. The thermal fuse is often the first component to fail, usually after 3-5 years of use. Proper care – using surge protectors, avoiding liquid in the base, and proper storage – can extend lifespan. If your unit is over 5 years old and needs expensive repairs, replacement may be more cost-effective.
Why is my slow cooker not heating on LOW but works on HIGH?
This typically indicates a failing temperature switch. The switch has different contacts for LOW and HIGH settings, and one side can fail while the other works. Test the switch with a multimeter in continuity mode while toggling between settings. If you only get continuity on one setting, the switch needs replacement. Cost is usually $8-25 depending on your model.
Can I use my slow cooker if the heating element is damaged?
No, never use a slow cooker with a damaged heating element. A failed element can cause electrical shorts, fire hazards, or food safety issues if it only partially heats. If your multimeter shows the element has infinite resistance (OL reading) or you see visible damage like burns or cracks, replace the element or the entire unit. Food must reach 165°F minimum to be safe, and a damaged element cannot guarantee this.
Conclusion
When your slow cooker not heating up issue strikes, start with the thermal fuse – it’s the most common failure point and the easiest fix. A simple multimeter test can save you from buying a new appliance unnecessarily. Most repairs cost under $15 and take less than 30 minutes.
Remember to always unplug before testing, use your multimeter correctly, and run safety tests after any repair. If you’re uncomfortable with electrical work or your slow cooker is a premium model with complex electronics, professional repair might be worth the investment.
For most users, replacing a blown thermal fuse or faulty temperature switch is straightforward and extends the life of a trusted appliance by years. With the right tools and this guide, you can tackle most slow cooker heating problems yourself.

Leave a Comment