
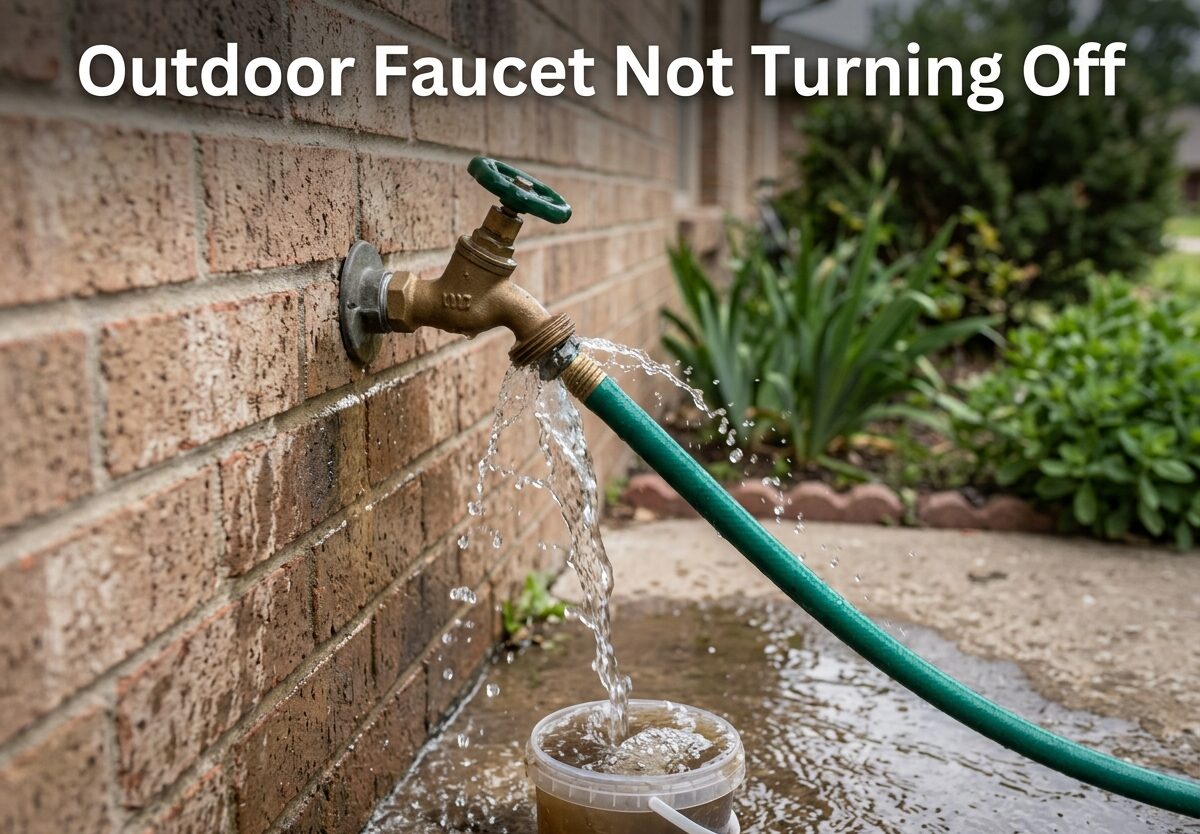
Water pours from your outdoor faucet even though the handle is fully tightened. You’ve tried turning it harder, but the flow won’t stop. This common plumbing problem wastes hundreds of gallons per day and can cause serious property damage if ignored.
An outdoor faucet not turning off is usually caused by a worn rubber washer, damaged packing nut, or corroded valve seat. The good news is that most of these repairs cost under $5 in parts and take less than 30 minutes to complete.
I’ve repaired dozens of outdoor faucets over the years, and I’ll walk you through exactly how to diagnose and fix your leaking spigot. You’ll learn the immediate steps to stop water flow, identify the specific problem, and complete the repair yourself.
Stop Water Flow Immediately
Before attempting any repair, you must stop the water flow. Every minute counts when water is pouring from your outdoor faucet.
Step 1: Locate your main water shut-off valve. This is typically found in your basement, crawl space, or utility room near where the main water line enters your home. Turn the valve clockwise until it stops.
Step 2: Drain remaining water from the outdoor faucet. Open the outdoor faucet handle fully to release remaining pressure in the line. Let any remaining water drain out completely.
Step 3: Verify water has stopped. Check that water is no longer flowing from the faucet. If it continues dripping, you may have located the wrong shut-off valve or the valve itself is faulty.
Emergency tip: If you cannot locate your main shut-off valve, you may need to shut off water at the street meter. Use a meter key to turn the valve there. This is also the solution for homes without individual shut-off valves for outdoor faucets.
Why Your Outdoor Faucet Won’t Turn Off
Understanding the cause of your faucet problem helps prevent future issues. Outdoor faucets have relatively simple mechanisms, but several components can fail over time.
Worn rubber washer: The most common culprit by far. Located at the end of the valve stem, this rubber washer presses against the valve seat to create a watertight seal. Over time, it deteriorates, cracks, or becomes compressed, allowing water to pass through even when the handle is tightened.
Damaged packing nut: The packing nut sits just behind the faucet handle and contains packing material that creates a seal around the valve stem. When this packing wears out or the nut becomes loose, water can leak around the stem rather than through the spout.
Corroded valve seat: The valve seat is the brass opening inside the faucet body where the washer seals. Years of mineral buildup and corrosion can create pits and rough spots that prevent a proper seal, even with a new washer.
Stripped handle or stem: If the handle spins freely without resistance, the internal connection between handle and stem may be stripped. This prevents the stem from turning far enough to close the valve completely.
Frost-free faucet failure: Modern frost-free faucets have longer valve stems that extend into the heated portion of your home. When these fail, the repair process differs from standard outdoor faucets.
Tools and Parts You’ll Need
Gather these items before starting your repair. Most homeowners already have the basic tools on hand.
Essential tools:
Adjustable wrench (medium size, 8-10 inch)
Screwdriver set (both flathead and Phillips)
Channel-lock pliers (for stubborn nuts)
Small wire brush or toothbrush
Clean rag or towel
Replacement parts:
Rubber bib washer (universal size fits most faucets)
Faucet packing (string or washer style)
Pipe thread seal tape (Teflon tape)
Optional but helpful:
WD-40 or penetrating oil (for stuck nuts)
Wire brush for cleaning corrosion
Cost estimate: Replacement washers cost approximately $0.25-0.50 each. Packing material runs $2-5. Most repairs can be completed for under $5 in parts.
Outdoor Faucet Not Turning Off: Step-by-Step Repair
Follow these detailed steps to repair your outdoor faucet. This process works for standard hose bibs and spigots. Frost-free faucets require a slightly different approach, which I’ll cover after these steps.
Step 1: Confirm water is shut off
Double-check that you’ve turned off the main water supply. Open the outdoor faucet handle fully and let any remaining water drain. No water should flow from the spout. If water continues flowing, locate the correct shut-off valve before proceeding.
Step 2: Remove the faucet handle
Locate the screw holding the handle in place. On most faucets, this screw is hidden under a decorative cap in the center of the handle. Pry off the cap using a flathead screwdriver, then remove the screw with a Phillips screwdriver.
Pull the handle straight off the stem. If it’s stuck, wiggle it gently while pulling. Avoid using excessive force, as you don’t want to crack the handle.
Step 3: Remove the packing nut
The packing nut is the hexagonal nut located directly behind where the handle was attached. Use your adjustable wrench to turn this nut counterclockwise.
If the nut is stuck due to corrosion or mineral buildup, apply penetrating oil and let it sit for 15-20 minutes. Tap gently with a hammer to help break the corrosion loose. Be careful not to apply too much pressure, which could crack the faucet body.
Step 4: Extract the valve stem
Once the packing nut is removed, you can access the valve stem. Turn the stem counterclockwise to unscrew it from the faucet body. It may require several full rotations to come out completely.
As you remove the stem, note the orientation of the rubber washer at the end. This washer presses against the valve seat inside the faucet body when the handle is turned off.
Step 5: Inspect and replace worn parts
Examine the rubber washer at the end of the stem. If it’s cracked, flattened, worn thin, or missing entirely, this is your problem. Remove the screw holding the washer in place and replace it with a new one.
Check the valve stem itself for any signs of damage or corrosion. Clean it thoroughly with your wire brush. If the stem is severely corroded or stripped, consider replacing the entire stem assembly.
Inspect the packing material inside the packing nut area. If it’s deteriorated or compressed, replace it with new packing. String-style packing wraps around the stem, while washer-style packing sits inside the nut.
Step 6: Clean the valve seat
Look inside the faucet body where the stem was removed. The brass opening you see is the valve seat. Check for corrosion, mineral deposits, or pitting.
Use your wire brush to gently clean the valve seat. Remove any mineral buildup or corrosion. If the seat is severely pitted or damaged, you may need a specialized seat grinder tool or professional replacement.
Step 7: Reassemble the faucet
Apply pipe thread seal tape to the threads of the valve stem. Insert the stem back into the faucet body and turn clockwise to tighten. Don’t overtighten—snug is sufficient.
Replace the packing material if needed, then screw the packing nut back in place. Tighten until snug, then give it an additional quarter-turn.
Reattach the handle and secure with the screw. Press the decorative cap back into place.
Step 8: Test the repair
Turn your main water supply back on slowly. Open the outdoor faucet handle fully to flush out any debris, then close it completely. Check for any dripping or leaking around the handle or spout.
If the faucet still leaks, the issue may be a damaged valve seat that requires professional repair or complete faucet replacement.
Frost-Free Faucet Repair Differences
Frost-free faucets have a longer valve stem that extends 4-12 inches into your home. This design prevents freezing by keeping the valve mechanism in the heated space.
The repair process is similar, but you’ll need to access the stem from inside your home. Look for the valve assembly where the pipe passes through the exterior wall. You may need to remove a section of drywall to access it.
Frost-free faucets are more complex to repair and may require complete replacement if the internal mechanism fails. Consider professional help if you’re unfamiliar with this faucet type.
Preventing Future Outdoor Faucet Problems
Most outdoor faucet failures can be prevented with regular maintenance. These simple steps extend the life of your faucet and prevent emergency repairs.
Remove hoses before winter: Always disconnect garden hoses before the first freeze. Leaving hoses attached traps water in the faucet, which can freeze and crack the internal components.
Inspect washers annually: Once a year, remove the handle and packing nut to check the washer. Replace it if you see any signs of wear. This five-minute task prevents most faucet failures.
Check for slow drips: A small drip that worsens over time indicates a failing washer. Address it early before it becomes a full-flow emergency.
Lubricate stiff handles: If the handle becomes hard to turn, apply silicone grease to the stem threads. This prevents stripping and makes future maintenance easier.
Consider frost-free installation: If you live in a cold climate and still have a standard faucet, upgrading to a frost-free model prevents winter damage and reduces maintenance needs.
Install a shut-off valve: If your home lacks an individual shut-off for the outdoor faucet, have a plumber install one. This allows you to drain the faucet for winter and make repairs without shutting off water to the entire house.
When to Call a Professional Plumber
Most outdoor faucet repairs are straightforward DIY projects. However, certain situations require professional expertise and tools.
Call a plumber if:
The valve seat is severely corroded or damaged beyond cleaning
The faucet body itself is cracked or leaking
You have a frost-free faucet with internal failure
You cannot locate the shut-off valve
The main shut-off valve is stuck or broken
Multiple outdoor faucets are failing simultaneously
Professional repair costs: Most plumbers charge $150-300 for outdoor faucet repair, plus parts. Emergency calls or after-hours service can cost $300-600 or more. Complete faucet replacement typically runs $200-400 including materials.
DIY savings: Repairing the faucet yourself costs approximately $5 in parts and 30-60 minutes of time. Even if you need to purchase basic tools, your total investment stays under $50—a fraction of the professional cost.
Red flag warning: If water is leaking inside your wall near where the outdoor faucet pipe enters, turn off your main water immediately and call a professional. This indicates a serious problem that can cause significant structural damage.
FAQ
How to fix an outside water faucet that won’t turn off?
First, shut off the main water supply to your home. Remove the faucet handle by taking out the center screw. Unscrew the packing nut behind the handle, then remove the valve stem. Replace the rubber washer at the end of the stem, clean any corrosion from the valve seat, and reassemble the faucet. Turn the water back on and test for leaks.
Why won’t my outside tap turn off fully?
The most common cause is a worn rubber washer that no longer creates a proper seal against the valve seat. Other causes include a corroded valve seat with pitting that prevents sealing, a damaged packing nut allowing water to escape around the stem, or a stripped handle that can’t turn the valve stem far enough to close completely.
What do I do if my faucet won’t turn off?
Immediately locate and shut off your main water supply valve, typically found in your basement or utility area near where water enters your home. If you can’t find it, shut off water at the street meter using a meter key. Open the outdoor faucet to drain remaining water, then proceed with repair or call a plumber if you’re uncomfortable with DIY repair.
Should you leave outdoor faucets open when water is turned off?
Yes, when winterizing your outdoor plumbing, leave the outdoor faucet handle open after shutting off the water supply and draining the lines. This allows any remaining water to expand if it freezes without bursting the pipe. Close the faucet again in spring when you restore water service.
Conclusion
An outdoor faucet not turning off is a frustrating problem, but it’s usually simple and inexpensive to fix yourself. Most repairs involve nothing more than replacing a 25-cent rubber washer and reassembling the faucet components.
The key is acting quickly to stop water waste and prevent potential damage. Shut off your main water supply, follow the step-by-step repair process, and test your work before considering the job complete.
Regular maintenance—especially removing hoses before winter and inspecting washers annually—prevents most future problems. Your outdoor faucet should provide reliable service for many years with just a little care and attention.




Leave a Comment