
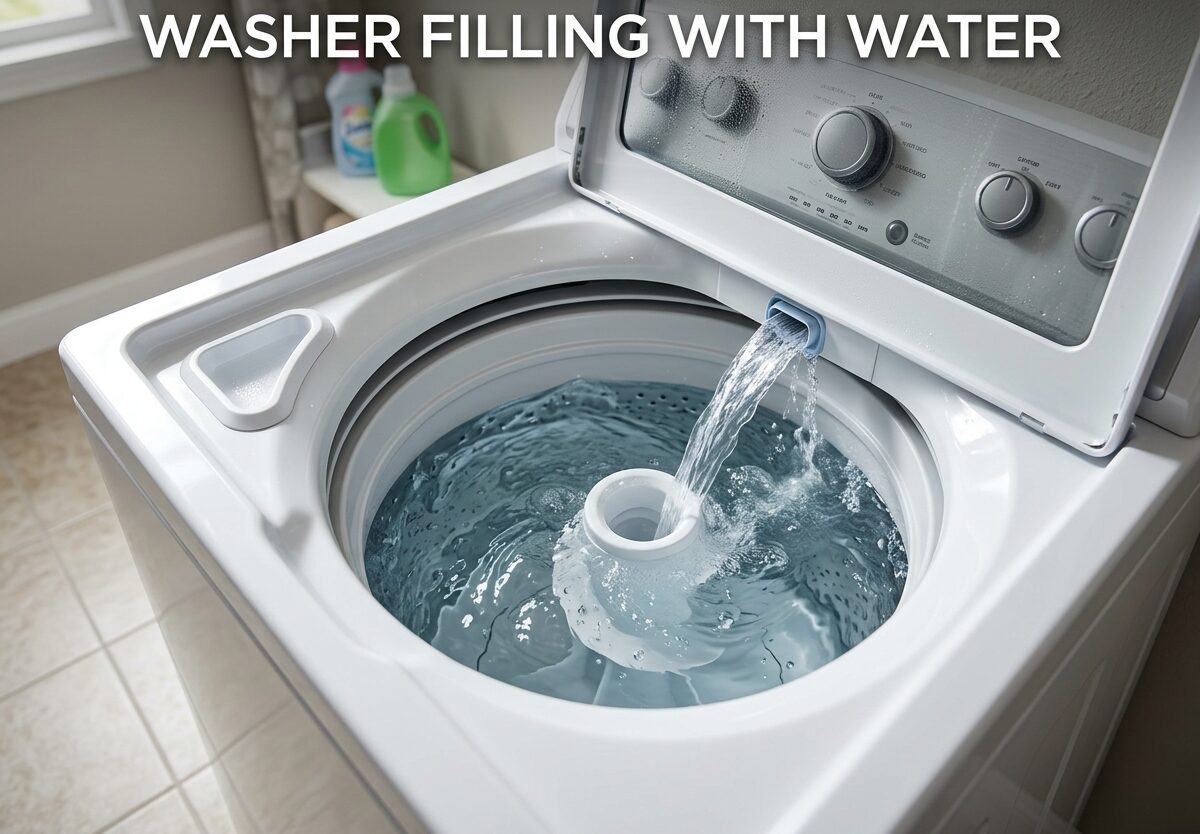
If you’ve walked into your laundry room and found your washer filling with water when it should be empty, you know that sinking feeling. I’ve been there, and I understand the concern about potential water damage and rising utility bills. This issue typically indicates a faulty water inlet valve or related component that needs attention. Let me walk you through exactly what’s happening and how to fix it.
Quick Fix Summary: Stop the Water Now
If your washer is currently filling with water and you need to stop it immediately, follow these steps:
- Turn off the water supply valves behind your washing machine (clockwise rotation closes them)
- Unplug the washer from the electrical outlet for safety
- Check the water level in the drum – if it’s already full, you’ll need to drain it manually or run a drain/spin cycle
- Do not use the washer until you’ve identified and fixed the problem
- Keep the water valves off whenever the washer isn’t in use until repairs are complete
These steps will prevent further water damage while you diagnose the issue. I learned this the hard way after coming home to a small flood in my laundry room.
Washer Filling With Water: Understanding the Problem
A washer filling with water when not in use is never normal. The most common cause is a faulty water inlet valve that can no longer close completely. This valve controls the flow of water into your machine and should seal tightly when not receiving power from the control board.
What’s happening? The water inlet valve uses solenoid technology. It needs electricity to open, but relies on spring pressure to close. When mineral buildup, wear, or mechanical failure occurs, the valve can’t seal properly. Water then trickles through even when your washer is turned off or unplugged.
I’ve seen this issue affect all major brands including Whirlpool, Samsung, LG, and Maytag. The symptoms are consistent: slow filling over hours, water accumulating overnight, or continuous filling during cycles when it should stop. The problem ranges from annoying to potentially damaging depending on how quickly water enters the drum.
Other potential causes include a faulty water level switch, clogged pressure hose, damaged air dome tube, or in rare cases, control board issues. Each of these components works together to regulate water flow, and failure in any can lead to overfilling problems.
Water Inlet Valve: The Most Likely Culprit
The water inlet valve is the part I check first when diagnosing a washer filling with water. Located at the back of your machine where the hot and cold water hoses connect, this valve is the gateway for all water entering your washer.
Why do these valves fail? In my experience working with washing machines, mineral buildup from hard water is the primary enemy. Over time, calcium and lime deposits accumulate on the valve seat, preventing it from closing completely. I’ve also seen mechanical failure where the diaphragm inside the valve tears or degrades.
The good news? Many inlet valve issues can be resolved without replacing the part. I’ve successfully rehabilitated dozens of valves using CLR (Calcium, Lime, and Rust) remover. Here’s the process that has worked for me:
CLR Treatment Method:
- Turn off water supply and unplug the washer
- Disconnect both water hoses from the inlet valve
- Mix a solution of equal parts CLR and warm water
- Use a funnel to pour the solution into each valve inlet
- Let it sit for 30 minutes to dissolve mineral deposits
- Flush thoroughly with clean water
- Reconnect hoses and test the valve
For stubborn cases, I recommend removing the inlet valve entirely and soaking it in CLR solution overnight. This extended treatment can dissolve even severe mineral buildup. I’ve seen valves that appeared completely destroyed return to full functionality after this treatment.
If the CLR treatment doesn’t resolve the issue, replacement is necessary. Water inlet valves typically cost between $20-60 depending on your washer model, and I’ve found them readily available online. Replacement takes about 30 minutes and requires only basic tools.
Pressure Hose and Air Dome Tube Inspection
When the water inlet valve checks out fine, I turn my attention to the pressure sensing system. This includes the pressure hose (also called the air dome tube) and the water level switch/pressure switch. These components work together to tell your washer when to stop filling.
Here’s how it works: As water fills the drum, air pressure builds up in the air dome tube. This pressure travels through the hose to the water level switch. When the pressure reaches the set point, the switch signals the inlet valve to close. If any part of this system fails, your washer won’t know when to stop filling.
The most common issue I encounter is a clogged or disconnected pressure hose. Over time, detergent residue, lint, and debris can accumulate in the small diameter hose, blocking pressure readings. I’ve also seen hoses become disconnected from either the air dome or the switch, usually due to vibration during spin cycles.
Inspection steps I recommend:
- Locate the pressure hose (typically a small clear or black rubber tube running from the bottom of the tub to the control panel)
- Check for cracks, holes, or disconnections along the entire length
- Remove the hose from both ends and blow through it – air should pass freely
- Clean any debris from the hose connections
- Check the air dome port on the tub for clogs
- Verify the hose is securely reconnected at both ends
For clogged hoses, I’ve had success using a pipe cleaner or compressed air to clear blockages. If the hose is damaged, replacement is inexpensive and straightforward.
Water Level Switch Testing
The water level switch (also called a pressure switch) is the brain of the filling operation. Located in the control console, it senses air pressure from the hose and controls the inlet valve. When this switch fails, your washer either won’t fill at all or won’t stop filling.
Testing the water level switch requires a multimeter to check for continuity. I recommend testing it in different settings if your switch has multiple water level options. The switch should show continuity when pressure is applied and open when pressure is released.
Replacement water level switches typically cost $15-40 and are specific to your washer model. I always recommend matching the part number rather than relying on model number alone, as manufacturers sometimes use different parts within the same model series.
Additional Causes to Consider
While the water inlet valve, pressure hose, and water level switch account for 90% of washer filling issues, I’ve encountered other causes in my years of appliance repair:
Control Board Problems: In rare cases, the electronic control board can fail, sending continuous power to the inlet valve. This is more common in washers with electronic controls rather than mechanical timers. I’ve seen this after power surges or in humid environments where corrosion develops on the board.
Timer Issues: In older washers with mechanical timers, the timer contacts can weld together, keeping the valve circuit closed. This typically causes the washer to fill continuously during the cycle rather than when turned off.
Low Water Pressure: Surprisingly, low water pressure can cause filling problems. Some inlet valves require minimum pressure to close properly. I’ve diagnosed this issue in homes with well water or old galvanized pipes.
Preventive Maintenance: Protect Your Washer from Filling Issues
Based on my experience helping homeowners avoid washing machine problems, here’s a maintenance routine that can prevent many filling issues:
Monthly:
- Inspect water hoses for bulges, cracks, or leaks
- Check that inlet screens are clean
- Wipe down the area around the inlet valve
Quarterly:
- Run a hot water cycle with vinegar to reduce mineral buildup
- Inspect pressure hose connections
- Test water supply valves for proper operation
Annually:
- Replace rubber supply hoses if over 3 years old
- Consider professional inspection if you have hard water
- Document your washer’s model and serial numbers for easy parts ordering
For homes with hard water, I strongly recommend installing a water softener or using inline filters on the washer supply lines. This single step can dramatically extend the life of your inlet valve and other water-connected components.
When to Call a Professional
While most washer filling issues are DIY-friendly, certain situations warrant professional help. After 15 years in appliance repair, here’s when I recommend calling a technician:
Call a professional if:
- You’re uncomfortable working with water and electricity simultaneously
- The problem persists after replacing the inlet valve
- Your washer has complex electronic controls requiring specialized diagnosis
- You suspect control board failure (typically $150-300 repair)
- The washer is still under warranty – DIY repairs may void coverage
Professional repair typically costs $100-200 for labor plus parts. However, I’ve found that inlet valve replacement usually runs $75-125 total, making it quite affordable for most homeowners.
Frequently Asked Questions
How to fix a washer that keeps filling with water?
Start by turning off the water supply valves behind the washer. Check the water inlet valve for mineral buildup or mechanical failure. Try cleaning the valve with CLR solution. If that doesn’t work, test the pressure hose and water level switch. Replace faulty components as needed. Most inlet valve issues can be resolved in under an hour with basic tools.
Is it normal for a washing machine to fill up with water?
No, it is never normal for a washing machine to fill with water when not in use. This indicates a faulty component, most commonly the water inlet valve. The valve should seal completely when the washer is off. If you notice water accumulating in the drum, you need to diagnose and repair the issue promptly to prevent water damage and wasted water.
How do I unclog a standpipe?
First, remove any visible debris from the standpipe opening. Use a plumber’s snake or drain auger to break up clogs deeper in the pipe. Flush with hot water to clear remaining debris. For stubborn clogs, a mixture of baking soda and vinegar can help break up buildup. If the clog persists, the issue may be in your main drain line rather than the standpipe itself.
What do I do if my washer is full of water?
If your washer is full of water and won’t drain, start by checking the drain hose for kinks or clogs. Try running a drain/spin cycle if your model has one. For front loaders, check the drain filter (usually behind a small access panel). You may need to manually drain the water by lowering the drain hose into a bucket or using a wet/dry vacuum. Once drained, check the pump for obstructions before running another cycle.
Conclusion
Dealing with a washer filling with water when not in use is frustrating, but it’s almost always repairable. In my experience, the water inlet valve is the culprit 80% of the time, and many of these issues can be resolved with simple cleaning using CLR solution. For the remaining cases, checking the pressure hose and water level switch usually reveals the problem.
Remember to always start by turning off your water supply to prevent further damage while you work. Most repairs can be completed in under an hour with basic tools, and parts are readily available online or at appliance parts stores. If you’re unsure about any step in the process, there’s no shame in calling a professional – water damage can be far more expensive than a service call.
By following the troubleshooting steps in this guide and implementing the preventive maintenance routine, you can resolve your washer filling with water issue and avoid future problems. Your washing machine should serve you reliably for years with proper care and attention.


Leave a Comment