
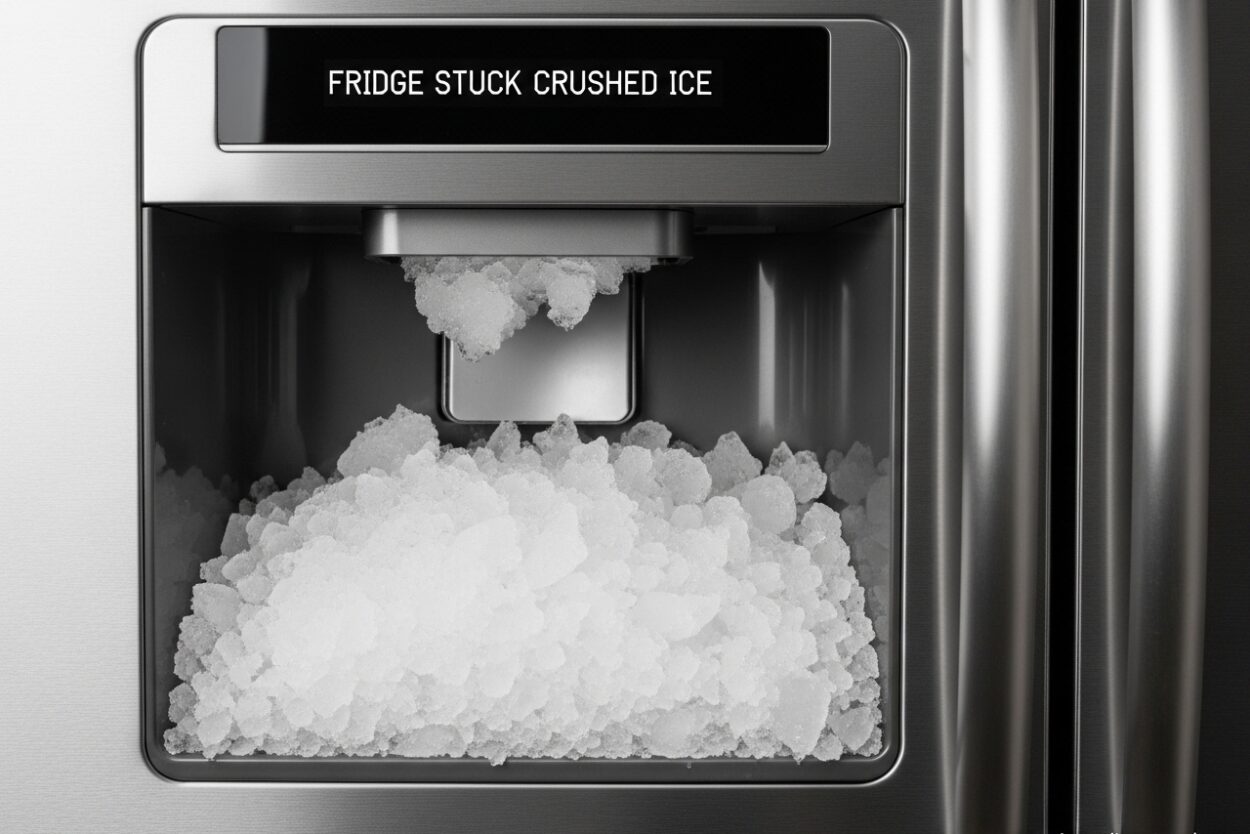
If you’ve ever walked to the freezer expecting cold cubed ice only to find your fridge stuck crushed ice mode won’t switch back, you know the frustration. This common issue affects refrigerators across all major brands, leaving homeowners with only crushed ice when they want whole cubes for their drinks.
I’ve researched this problem extensively, and in most cases, the fix is simpler than you might think. The issue usually stems from a stuck solenoid, ice buildup, or a simple setting you may have overlooked. Let me walk you through everything you need to know to get your ice maker dispensing both crushed and cubed ice again.
What Does Stuck Crushed Ice Mean
When your refrigerator is stuck on crushed ice, the dispenser mechanism cannot switch from crush mode to cubed ice mode. The ice maker continues producing ice normally, but the dispenser only crushes everything before it comes out, regardless of your selection.
The ice dispenser system uses a solenoid and actuator arm to control the ice path. When you select cubed ice, the solenoid lifts a metal rod that opens a chute for whole cubes to pass through. In crush mode, this rod stays down, directing ice through augers that crush it before dispensing. When this mechanism freezes, jams, or malfunctions, your fridge becomes stuck in one mode.
This problem typically occurs after switching between ice types or after extended periods of disuse. Ice buildup around the solenoid can prevent it from moving, or the mechanical components can wear out over time.
Fridge Stuck Crushed Ice: Common Causes
The most common cause of a refrigerator stuck on crushed ice is a frozen solenoid. The solenoid is an electromechanical component that physically moves the metal rod controlling ice flow. When moisture accumulates around this part and freezes, the solenoid cannot move between positions, locking your dispenser in whatever mode it was last using.
Ice bin installation issues also frequently cause this problem. If the ice bucket isn’t properly seated, the metal rod from the bin cannot engage correctly with the solenoid in the freezer wall. This misalignment prevents the mechanism from switching modes, making it seem like your fridge is stuck when it’s actually just not receiving the mechanical signal to change.
Child lock settings on some refrigerator models can disable the cubed ice function while leaving crushed ice operational. Many users accidentally activate this feature, especially on French door models with panel controls, and don’t realize it’s preventing normal ice dispensing.
A malfunctioning dispenser motor or failed solenoid coil represents the more serious causes. Electrical failures prevent the actuator from moving entirely, while worn gears or broken mechanical components can physically jam the ice path. These issues typically require professional repair or replacement parts.
Tools You May Need
Most fixes for a stuck ice maker require basic household items. Grab a hair dryer, some warm water, a clean cloth, and a towel for cleanup. These tools will help you thaw frozen components without damaging the refrigerator.
For electrical testing, you may need a multimeter to check solenoid continuity. A nut driver set will help if you need to access internal components. Emery cloth or fine sandpaper is useful for cleaning corroded metal contacts on the solenoid rod.
Have your refrigerator model number ready before starting. You’ll find this on a sticker inside the fridge, usually on the upper wall or along the side. This information helps when searching for brand-specific instructions or replacement parts.
Fridge Stuck Crushed Ice: Step-by-Step Troubleshooting
Follow these steps in order to diagnose and fix your ice maker issue. Start with the simplest solutions before moving to more complex repairs. Most stuck ice dispensers are fixed within the first three steps.
Step 1: Verify Your Ice Maker Setting
Check that your ice maker is actually set to cubed ice mode. This sounds obvious, but control panels can be accidentally bumped, especially in households with children. Press the ice type button firmly to toggle between settings and listen for any mechanical sound indicating movement.
Some refrigerators have separate buttons for cubed and crushed ice, while others use a single button that cycles through options. Try pressing the button multiple times to ensure you’re selecting the correct mode. Wait five seconds between presses to give the system time to respond.
Step 2: Check and Disable Child Lock
Child lock features can disable certain ice dispenser functions while leaving others operational. Check your control panel for a lock icon or hold down the lock button for three seconds to disable it. The exact method varies by brand, so consult your manual if unsure.
On Whirlpool and KitchenAid models, look for a padlock icon that illuminates when activated. Samsung refrigerators often require holding the ice button for several seconds to unlock. GE models may have a dedicated lock button on the dispenser housing.
Step 3: Inspect Ice Bin Installation
Remove the ice bucket completely and check the metal rod on the back. This rod should move up and down freely. If it’s frozen or blocked, thaw it with warm water and clean the mechanism.
Reinstall the ice bin carefully, ensuring it seats fully in the freezer. The metal rod must align with the solenoid slot in the rear wall. You should feel the bin click into place. Try dispensing ice again to see if proper installation resolved the issue.
Step 4: Check for Ice Blockages
Look inside the ice chute and dispenser area for visible ice chunks. Large pieces can jam the mechanism, preventing it from switching between modes. Use a plastic utensil to break up any ice you can see—never use metal tools that could damage the components.
Check the ice crusher area at the bottom of the bin. Frozen chunks here can prevent the crusher from working properly and may block the entire mechanism. Remove any loose ice and ensure the crusher blades can move freely.
Step 5: Test the Solenoid
Locate the solenoid behind the ice maker assembly. With the ice bin removed, have someone press the cubed ice button while you watch the solenoid area. You should see movement or hear a click as the solenoid activates.
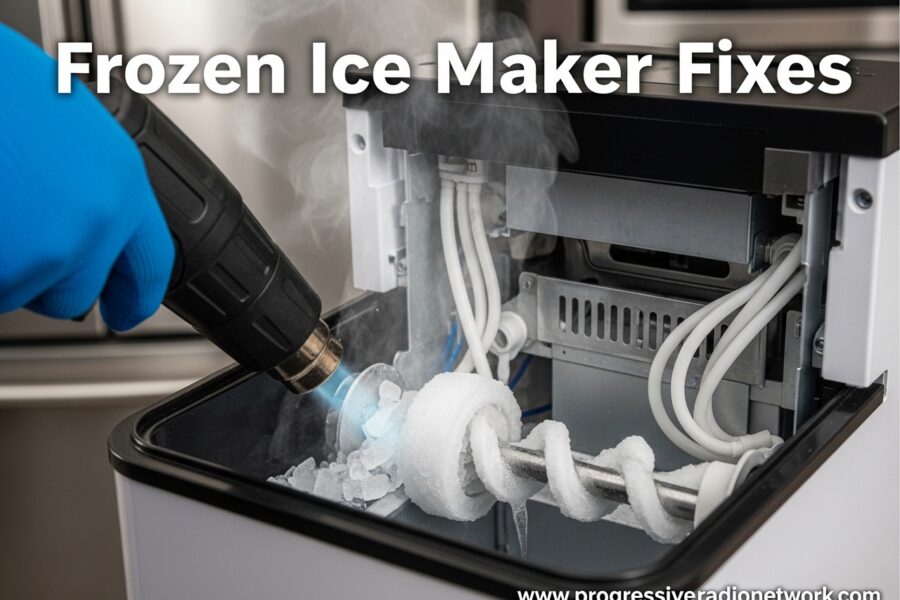
If no movement occurs, the solenoid may be frozen or failed. Try using a hair dryer on low heat to thaw the area gently. Don’t use high heat or open flames, which can damage plastic components. After thawing, test the mechanism again.
Step 6: Manually Defrost the Mechanism
For stubborn frozen solenoids, you may need to defrost more thoroughly. Turn off the ice maker or unplug the refrigerator for 30 minutes. Leave the freezer door open to speed the process, placing towels on the floor to catch water.
Once thawed, manually move the metal rod on the ice bin up and down to ensure it’s free. Clean the rod with emery cloth to remove any corrosion or mineral buildup that might cause it to stick. Reinstall the bin and test the dispenser.
Step 7: Check Your Water Filter
A clogged water filter can reduce water flow to the ice maker, causing smaller ice cubes that may jam the mechanism. Check your filter indicator light and replace the filter if it’s been more than six months or if the indicator shows it’s time.
After replacing the filter, dispense and discard the first several batches of ice. This clears any air bubbles or carbon particles from the system. Test if better ice quality resolves the dispensing issue.
Step 8: Adjust Freezer Temperature
Freezer temperatures that are too cold can cause excessive ice buildup around the dispenser mechanism. Check that your freezer is set between 0 and 5 degrees Fahrenheit (-18 to -15 degrees Celsius). Temperatures below zero can cause components to freeze faster than the defrost cycle can keep up.
Use an appliance thermometer to verify the actual temperature, as built-in displays can be inaccurate. Adjust the setting up a few degrees if necessary and wait 24 hours before testing the ice dispenser again.
How to Reset Your Ice Maker
Resetting your ice maker can clear electronic glitches that may be causing the stuck crushed ice problem. The method varies by brand, but most refrigerators have a simple reset procedure.
For many models, locate the reset button on the ice maker itself or on the control panel. Press and hold for 10 seconds until you hear a chime or see lights flash. This initiates a fresh cycle that can resolve minor electronic issues.
Alternatively, try a full power reset by unplugging the refrigerator for five minutes. This clears the control board memory and allows systems to recalibrate. Plug the unit back in and wait another five minutes before testing the ice dispenser.
For forced manual cycles, fill the ice mold with water using a cup. Wait for it to freeze and harvest, which tests the entire ice maker system. This manual cycle can sometimes free stuck mechanisms that electronic cycles cannot address.
Brand-Specific Troubleshooting
Different refrigerator brands have unique mechanisms for controlling ice dispensing. Knowing your brand’s specific design can help you troubleshoot more effectively.
Whirlpool Fridge Stuck Crushed Ice
Whirlpool models use a solenoid located in the freezer wall behind the ice maker. The metal rod from the ice bin extends into this solenoid. Common issues include frozen solenoids and misaligned ice bins.
Check that your Whirlpool ice bin’s metal rod is not bent. Even slight deformation can prevent proper engagement with the solenoid. Inspect the auger drive coupling for wear, as stripped gears here can prevent the ice from dispensing correctly.
Samsung Fridge Stuck Crushed Ice
Samsung refrigerators often feature digital displays and control panels that can lock accidentally. Check for a “Child Lock” message on the display and disable it by holding the ice button for three seconds.
Samsung ice makers are also prone to ribbon cable issues in the door. If you hear the motor running but no ice dispenses, the ribbon cable connecting the door controls to the ice dispenser may be damaged. This typically requires professional service.
Frigidaire Refrigerator Stuck on Crushed Ice
Frigidaire models use an actuator arm and solenoid assembly that can freeze in cold temperatures. The actuator is located behind the dispenser panel in the door and may need to be thawed manually.
Some Frigidaire models have a known issue with the crusher housing developing cracks. Inspect the plastic crusher housing for damage if you hear unusual noises or if ice dispenses inconsistently.
GE Ice Maker Stuck in Crush Mode
GE refrigerators use a solenoid that lifts a gate to allow cubed ice to pass. This gate can become frozen shut, especially in older models. GE also uses a microswitch that detects ice bin installation—ensure this switch isn’t blocked or stuck.
Check the GE ice bucket’s auger system for frozen chunks. The GE design is particularly susceptible to ice jams in the crusher assembly at the bottom of the bin.
LG Refrigerator Only Dispenses Crushed Ice
LG ice makers use a dual-solenoid system that can fail partially. If one solenoid fails while the other works, you may get only crushed ice. Test both solenoids with a multimeter for proper continuity.
LG models also feature a “default” setting that returns to crushed ice after power outages. After any power interruption, verify your ice type setting is still correct.
Prevention Tips for 2026
Preventing your fridge from becoming stuck on crushed ice is easier than fixing it. Regular maintenance keeps the ice dispensing mechanism working smoothly.
Clean your ice bin monthly with warm water to remove mineral buildup and ice particles. Inspect the metal rod on the back of the bin for corrosion and clean it with emery cloth if needed.
Replace your water filter every six months or when the indicator light activates. Clean water produces better ice that’s less likely to jam the mechanism.
Check freezer temperature weekly and adjust if necessary. Consistent temperatures prevent excessive ice buildup that can freeze moving parts.
Switch between cubed and crushed ice weekly, even if you prefer one type. Regular movement keeps the solenoid and actuator from freezing in one position.
When to Call a Professional
Some ice maker issues require professional expertise. If you’ve tried all troubleshooting steps without success, it may be time to call a technician.
Signs you need professional help include: no sounds when dispensing, burning smells, electrical components that look burned or corroded, or if you’re uncomfortable working with electrical components. A failed solenoid coil, broken control board, or damaged motor usually requires professional replacement.
Professional repair typically costs between $100 and $225 for diagnosis and repair, depending on the parts needed. Consider this cost against the price of a new refrigerator if your unit is older than 10 years.
Refrigerator ice makers have an average lifespan of 5-10 years. If yours is approaching this age and experiencing multiple issues, replacement may be more cost-effective than repair.
Conclusion
Why is my fridge only giving me crushed ice?
Your fridge is only dispensing crushed ice because the solenoid that controls the ice path is stuck, frozen, or malfunctioning. This prevents the mechanism from switching to cubed ice mode. Common causes include ice buildup around the solenoid, a misaligned ice bin, or a failed solenoid coil.
Why is my Frigidaire refrigerator stuck on crushed ice?
Frigidaire refrigerators typically get stuck on crushed ice due to a frozen actuator or solenoid. The actuator arm behind the dispenser panel can freeze in cold temperatures, preventing it from moving. Thawing the area with a hair dryer or leaving the freezer off for 30 minutes often resolves the issue.
How to melt ice stuck in the fridge?
To melt ice stuck in your fridge’s ice maker mechanism, unplug the refrigerator or turn off the ice maker. Leave the freezer door open for 30 minutes to allow thawing. Use warm water and a cloth to speed the process—never use sharp objects or metal tools to chip ice, which can damage components.
What are the signs of a dying refrigerator?
Signs of a failing refrigerator ice maker include: no ice production, ice maker making unusual noises, ice with strange taste or odor, water leaks around the dispenser, inconsistent ice cube sizes, or the dispenser not responding to button presses. Multiple symptoms often indicate the ice maker needs repair or replacement.
How do I reset my ice maker?
Reset your ice maker by pressing and holding the reset button for 10 seconds, or by unplugging the refrigerator for 5 minutes. Some models require holding the ice type button simultaneously. After resetting, wait 24 hours for ice production to resume and test both cubed and crushed modes.
Conclusion
Dealing with a fridge stuck crushed ice issue is frustrating, but most cases resolve with simple troubleshooting. Start by checking your settings, verifying the ice bin is properly installed, and looking for ice blockages. These quick fixes solve the majority of problems without needing professional help.
For frozen solenoids, manual defrosting often restores normal function. Regular maintenance like monthly bin cleaning and timely water filter replacement prevents many issues before they start. Switch between ice types weekly to keep mechanical parts moving freely.
If you’ve tried all troubleshooting steps and your refrigerator still won’t dispense cubed ice, professional repair may be necessary. Failed solenoids, broken actuators, and electrical issues require specialized knowledge and parts. Weigh the $100-225 repair cost against your refrigerator’s age and condition when deciding between repair and replacement.
Remember, most stuck crushed ice problems are preventable with proper care. By maintaining your ice maker and addressing issues promptly, you can enjoy both cubed and crushed ice for years to come.




Leave a Comment