
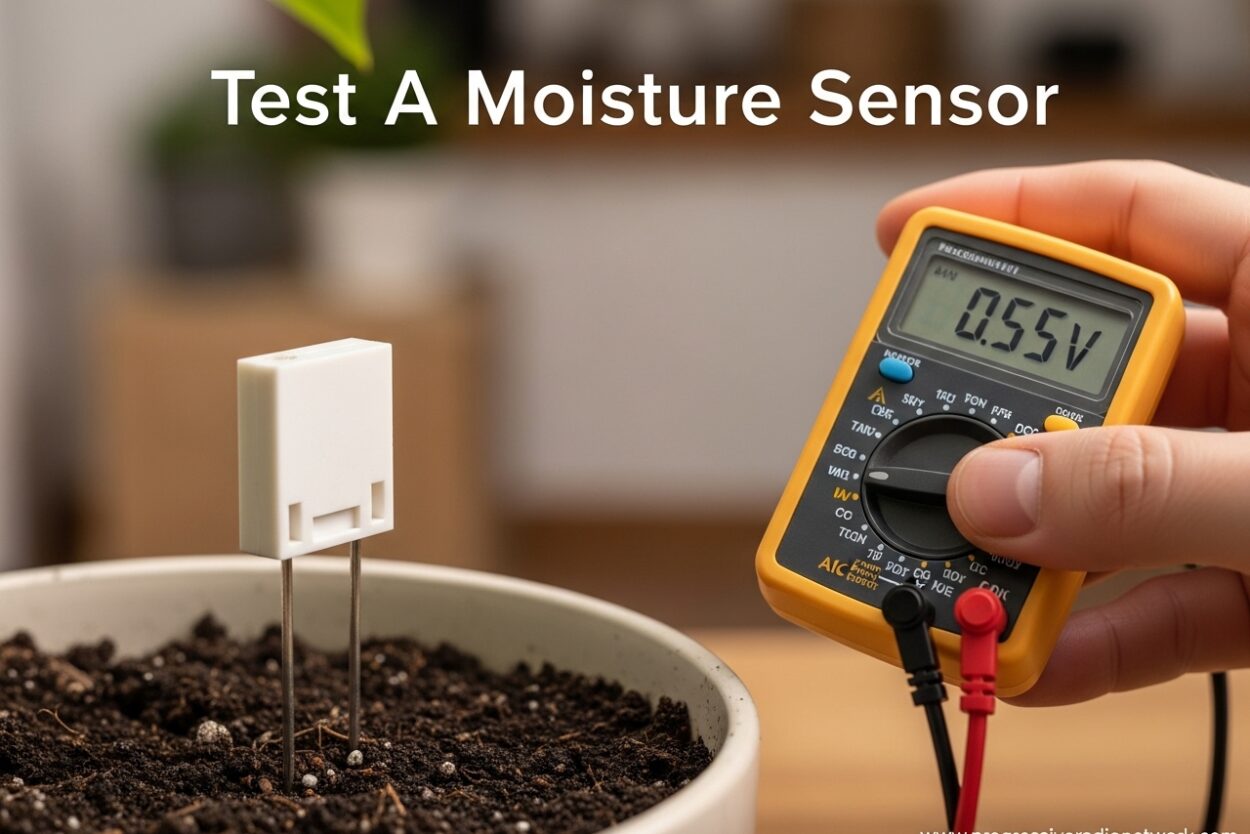
If your dryer isn’t drying clothes properly or seems to run forever, you might need to test a moisture sensor. I’ve spent years troubleshooting appliances, and moisture sensors are one of the most common culprits behind dryer performance issues. In this guide, I’ll show you exactly how to test your dryer’s moisture sensor with tools you probably already have.
Testing a moisture sensor is easier than you might think. Whether you’re dealing with a Whirlpool, Samsung, LG, or another brand, the testing principles remain similar. Let me walk you through the entire process, from understanding what these sensors do to diagnosing problems yourself.
What is a Moisture Sensor?
A moisture sensor is an electronic component inside your dryer that detects how wet your clothes are during the drying cycle. These sensors consist of two metal bars located inside the dryer drum, usually on the back panel. When wet clothes tumble against these bars, the sensor measures the electrical resistance between them.
Here’s how it works: wet clothes conduct electricity better than dry clothes. The moisture sensor detects this difference and sends signals to your dryer’s control board. As clothes dry, resistance increases. When the sensor detects enough resistance (meaning clothes are dry), it tells the dryer to end the cycle.
This technology is why modern dryers have “auto-dry” or “sensor dry” settings. Instead of running for a set time regardless of moisture levels, the dryer adjusts based on actual dryness. A working moisture sensor prevents over-drying (which damages clothes and wastes energy) and under-drying (which leaves clothes damp).
Where Are Moisture Sensors Located?
Moisture sensor bars are almost always located inside the dryer drum, on the rear panel. Look for two curved metal strips, typically positioned near the bottom of the back interior surface. They’re usually 4-6 inches long and mounted parallel to each other.
On most Whirlpool, Maytag, and KitchenAid dryers, you’ll find the sensors centered on the back panel. Samsung and LG dryers often position them similarly, though some models place them slightly off-center. The exact location varies by model, but the design is consistent across brands.
Some newer dryers may have moisture sensors integrated differently, but the two-bar system is still the industry standard. If you’re having trouble locating yours, consult your dryer’s manual or search online for your specific model’s parts diagram.
Signs of a Faulty Moisture Sensor
Before you test a moisture sensor, it helps to recognize the symptoms of failure. I’ve seen these issues countless times in repair scenarios, and they often point directly to sensor problems.
The most obvious sign is clothes staying damp after a complete cycle. If your dryer runs through its auto-dry cycle but clothes are still wet, the sensor might not be detecting moisture properly. Conversely, if clothes come out excessively hot or bone dry after an auto-dry cycle, the sensor could be malfunctioning by stopping too early.
Another common symptom is the dryer running continuously without advancing the timer. When moisture sensors fail, they sometimes send incorrect signals that keep the dryer running indefinitely. I’ve also seen cases where dryers display error codes related to sensor malfunctions, though this varies by brand.
Before condemning the sensor, consider that lint buildup often mimics sensor failure symptoms. The sensor bars can become coated with residue from dryer sheets, fabric softener, or lint, preventing proper contact with clothes. This is why cleaning should always be your first step before replacement.
Safety Precautions Before Testing
Before you test a moisture sensor or perform any dryer diagnostics, safety must come first. I always follow these precautions, and I recommend you do too.
First, unplug your dryer from the electrical outlet. This eliminates shock risk during testing. For gas dryers, you’ll also need to turn off the gas supply valve before proceeding. This prevents gas leaks while you’re working.
Make sure your work area is well-lit and that you have clear access to the dryer. Remove any laundry items from the drum before testing. If you’ll be removing panels (which isn’t necessary for most sensor tests), keep track of all screws and components.
Finally, if you’re uncomfortable with any aspect of electrical testing or gas appliance work, there’s no shame in calling a professional. Appliance repair technicians test moisture sensors daily and can quickly diagnose issues that might stump DIYers.
How to Test a Moisture Sensor
Testing a moisture sensor is straightforward once you know the process. I’ve refined this method through hundreds of repairs, and it consistently identifies sensor problems.
Step 1: Visual Inspection
Start by examining the sensor bars closely. Look for visible damage, corrosion, or heavy buildup. Sometimes the problem is obvious—a broken sensor bar, loose connection, or severe coating from dryer sheets. If you see damage, replacement is likely necessary.
Step 2: Clean the Sensor Bars
Before electrical testing, clean the bars with rubbing alcohol and a clean cloth or cotton ball. This removes residue that could affect readings. I’ve seen countless “bad” sensors work perfectly after a thorough cleaning.
Step 3: Multimeter Testing
Set your multimeter to measure resistance (ohms). Touch one probe to each sensor bar. With completely dry bars, you should read infinite resistance or a very high reading (open circuit). This is normal when no wet clothes are present.
Step 4: Wet Cloth Test
Here’s a trick I use that reveals sensor function instantly. Wet a cloth or paper towel thoroughly, then drape it across both sensor bars so they make contact with the moist material. Watch your multimeter reading. A working sensor will show a significant drop in resistance (usually below 50 ohms, often much lower).
Step 5: Remove and Retest
Remove the wet cloth. The resistance should immediately return to the high or infinite reading. If the resistance doesn’t change when adding and removing the wet cloth, or if it shows high resistance even with moisture present, your sensor is faulty and needs replacement.
Interpreting Your Results:
If resistance changes dramatically with the wet cloth test, your sensor is working properly. The issue likely lies elsewhere—check for vent blockages, heating element problems, or thermostat issues. If resistance stays high regardless of moisture, replace the moisture sensor assembly.
How to Clean Moisture Sensor Bars
Sometimes testing reveals that the sensor itself is fine, but buildup prevents proper operation. Cleaning moisture sensor bars is simple maintenance that should be performed periodically.
I recommend cleaning the sensors every 3-6 months, or more frequently if you use dryer sheets regularly. Dryer sheets leave waxy residue that coats the bars and interferes with conductivity. Over time, this buildup can cause false readings.
To clean, use rubbing alcohol (isopropyl alcohol) and a clean, lint-free cloth. Gently wipe each sensor bar from end to end, removing any visible residue. For stubborn buildup, use a cotton swab dipped in alcohol to clean between the bars and around the mounting area.
After cleaning, run a test cycle with a damp load to verify proper operation. If problems persist after cleaning and testing, the sensor itself may need replacement, or there may be an underlying electrical issue requiring professional diagnosis.
Frequently Asked Questions
How to test if a moisture sensor is bad?
Test with a multimeter set to ohms. Touch probes to both sensor bars. With a wet cloth across bars, resistance should drop below 50 ohms. If resistance stays high, the sensor is bad.
How to test a sensor to see if it’s bad?
Clean sensor bars first, then test with multimeter. Wet cloth should cause resistance to drop significantly. If no change occurs when adding/removing moisture, the sensor has failed.
Do moisture sensors go bad?
Yes, moisture sensors can fail over time. Common causes include coating from dryer sheets, corrosion, physical damage, or electrical failure in the sensor circuit.
How to test humidity sensor with multimeter?
Set multimeter to resistance (ohms) mode. Touch probes to both sensor bars. Dry bars should show high resistance. Adding moisture should cause significant resistance drop.
Conclusion
Learning to test a moisture sensor is a valuable skill that can save you time and money on dryer repairs. Most sensor issues can be diagnosed in minutes with just a multimeter and a wet cloth. Remember to always start with cleaning, as buildup is the most common cause of apparent sensor failure.
If your sensor tests properly but your dryer still has issues, the problem may lie elsewhere—check your venting, heating element, or thermostats. And if you’re unsure about any step of the testing process, consulting a professional technician is always a smart choice.
Regular maintenance, including periodic sensor cleaning, will help your dryer perform efficiently for years to come. I recommend testing your moisture sensor at least once a year, even if you’re not experiencing problems, to catch potential issues early.




Leave a Comment