
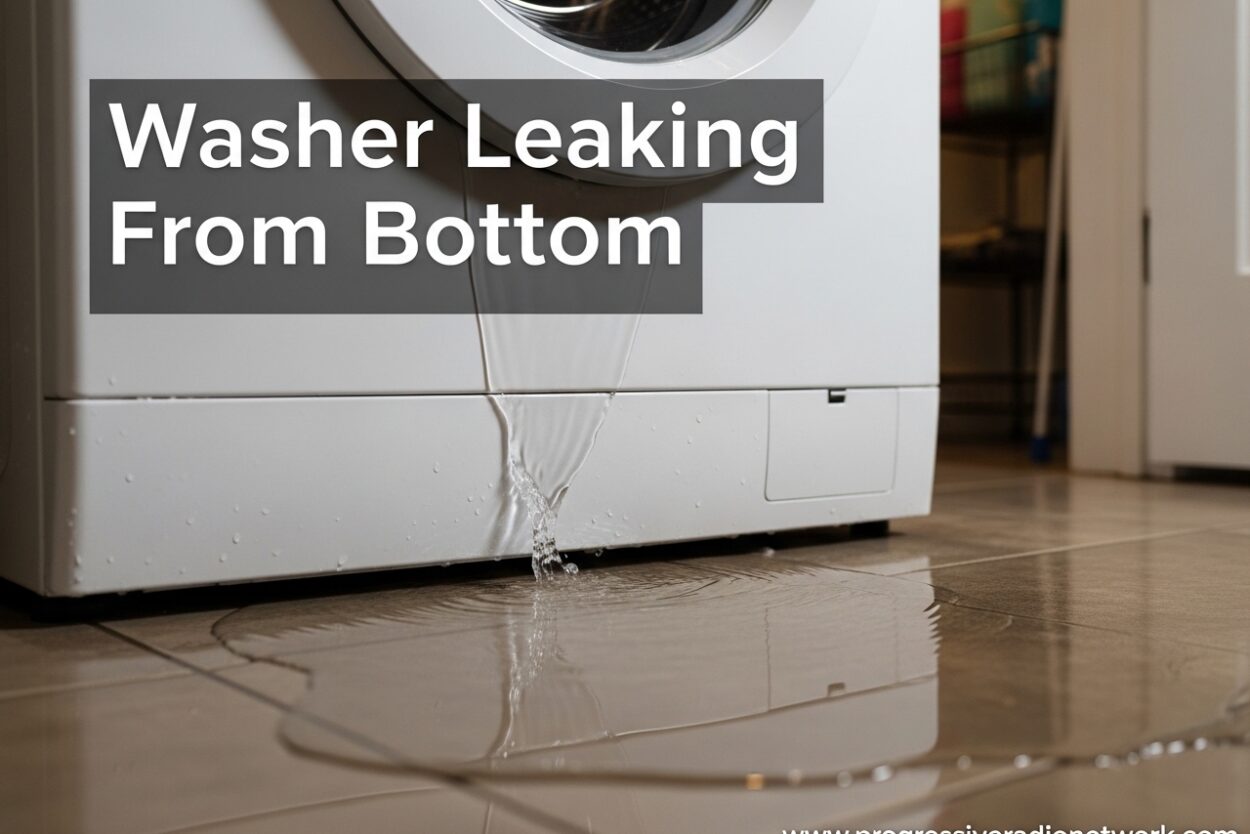
Discovering water pooling under your washing machine is never a welcome sight. A washer leaking from bottom can cause everything from minor inconvenience to extensive water damage, mold growth, and costly floor repairs. I’ve spent years researching appliance repair issues, and leaking washers rank among the most common problems homeowners face.
The good news? Most washer leaks from the bottom are diagnosable and fixable, often without professional help. This guide will walk you through every possible cause, from simple fixes anyone can handle to repairs that might mean it’s time for a new machine.
Whether your washer leaks during the fill cycle, only when spinning, or seemingly at random, you’ll learn exactly what’s happening and what to do about it. Let’s identify the source of that water and get your laundry room back to normal.
Understanding Washer Leaking From Bottom
A washing machine leaking from the bottom means water is escaping somewhere in the internal system before it can properly drain. Unlike leaks from the door or detergent dispenser, bottom leaks usually point to specific components failing or connections coming loose.
The timing of the leak provides crucial clues. Does the water appear during the fill cycle? During the spin cycle? Or does it trickle out even when the washer is off? Each timing pattern points to different potential causes, which we’ll explore in detail.
Most bottom leaks fall into one of three categories: drain pump problems, hose issues (fill or drain hoses), or tub seal failures. Understanding these categories helps narrow down the diagnosis quickly rather than guessing at random.
Washer Leaking From Bottom: 12 Common Causes
Based on appliance repair forums and professional service data, here are the 12 most common reasons a washer leaks from the bottom, ranked from easiest to fix to most complex:
1. Loose or Cracked Fill Hoses – The hot and cold water inlet hoses at the back of the machine can crack over time or simply loosen from vibration. These are among the easiest leaks to fix.
2. Loose Drain Hose Connection – The drain hose that carries wastewater away can become loose at either the machine connection or the wall/standpipe end.
3. Cracked or Perished Drain Hose – Rubber drain hoses degrade over 5-10 years and can develop cracks, especially near clamps or connection points.
4. Clogged Drain Pump Filter – Debris buildup in the pump filter can cause water to back up and leak from around the pump housing. This is one of the most overlooked causes.
5. Faulty Drain Pump Seal – The seal around the water pump can fail, causing water to leak directly from the pump body during drain cycles.
6. Damaged Pump Housing – The plastic pump housing itself can crack or develop holes, especially in older machines or those subject to impact.
7. Worn Tub Seal (Main Bearing Seal) – The large seal between the inner and outer tub can fail, allowing water to escape during wash and spin cycles. This is a more serious repair.
8. Cracked Outer Tub – The outer plastic tub can develop cracks from stress, age, or foreign objects (coins, zippers) bouncing around during cycles.
9. Overfilled Tub – If the water level switch fails or the pressure tube becomes clogged, the washer may overfill and spill water from the top of the tub.
10. Excessive Suds – Using too much detergent or the wrong type can create massive suds that overflow from the tub and appear as a bottom leak.
11. Unlevel Washer – A washer that’s not properly level can cause water to pool unevenly and spill over the tub edge during high-speed spin cycles.
12. Air Dome/Pressure Tube Blockage – The tube that controls water level can become clogged with detergent residue, causing overfilling and subsequent leaks.
Drain Pump Problems and Solutions
The drain pump is the single most common source of bottom leaks, accounting for roughly 40% of all cases according to repair professionals. Your washer’s pump is responsible for removing water at the end of each cycle, and it operates under demanding conditions.
How to identify a pump leak:
Look for water dripping directly from the pump housing, usually located at the bottom of the machine. Pump leaks typically occur during the drain cycle, though some residual dripping may continue afterward. You may notice the leak is worse with larger loads that produce more water to pump out.
Diy difficulty rating: Medium
Repairing a drain pump leak ranges from simple to challenging depending on the specific issue:
- Clogged filter: Most front-load washers have an accessible filter at the front bottom. Clean it out and test. This fixes 20-30% of suspected pump leaks.
- Loose hose clamp: Check the hoses connected to the pump. Tightening or replacing clamps is straightforward.
- Failed pump seal: Some pumps have replaceable seals, but many require complete pump replacement.
- Cracked pump housing: Requires full pump replacement.
Cost estimate: $50-$150 for a new pump, plus potential labor costs if hiring a professional. DIY repair takes 1-2 hours for most models.
If you’re uncomfortable working with tools or your washer is still under warranty, this might be a job best left to professionals. However, many homeowners successfully replace drain pumps themselves using online model-specific tutorials.
Hose Leaks: Fill and Drain Hose Issues
Hose leaks account for approximately 30% of all bottom leaks and are among the most repair-friendly issues you’ll encounter. Your washing machine has three main hose connections to inspect: two fill hoses (hot and cold) and one drain hose.
Fill Hose Leaks
The fill hoses connect your washer to your home’s water supply, typically at the back of the machine. These hoses are under constant pressure even when the washer isn’t running, making them prone to gradual wear.
Check your fill hoses by pulling the washer away from the wall and inspecting both ends. Look for cracks, bulges, or visible moisture along the hose length. Don’t forget to check the rubber washers inside the hose connections – these can flatten or crack over time.
Drain Hose Leaks
The drain hose carries wastewater away from your machine and typically connects to a standpipe, laundry tub, or floor drain. Unlike fill hoses, drain hoses aren’t under pressure, but they can crack from age, develop holes from rubbing against sharp edges, or simply come loose.
Inspect the entire length of the drain hose for cracks, holes, or wear marks. Check both connections – at the washer and at the drain point. A common issue is the drain hose being pushed too far into the standpipe, which can cause siphoning and leaking.
Repair difficulty: Easy
Replacing fill hoses costs $15-$40 for a quality set and takes about 15 minutes. Drain hose replacement runs $20-$50 and typically takes 30 minutes. Both repairs require only basic tools and are well within the capabilities of most homeowners.
Tub Seal and Bearing Assembly Leaks
Tub seal leaks represent the more serious end of the spectrum, often causing homeowners to question whether repair or replacement is the better choice. The main tub seal sits between the inner drum (where you put clothes) and the outer tub, preventing water from escaping during operation.
Identifying a tub seal leak:
Water from a failing tub seal typically drips from the center bottom of the machine and worsens during the spin cycle when water is being forced outward. You might notice the leak is more pronounced with larger loads that hold more water.
Unfortunately, tub seal leaks often come hand-in-hand with bearing failure. When water penetrates the bearing assembly, it washes away the grease and causes the bearings to wear prematurely. If you hear a rumbling or grinding noise during spin, this confirms bearing damage.
Repair difficulty: Hard
Replacing a tub seal and bearings is a major repair requiring complete disassembly of the washer. The process typically involves:
- Removing the cabinet or top panel
- Lifting the entire drum assembly
- Splitting the tub halves
- Replacing the seal and bearings
- Reassembling the entire machine
Cost-benefit analysis:
Professional tub seal replacement costs $300-$600 depending on your model and location. Given this expense, I recommend considering replacement if your washer is more than 8-10 years old or has other developing issues. For newer, higher-end machines, the repair may still be worthwhile.
Cycle-Specific Diagnosis: When Does It Leak?
The timing of your washer leaking from bottom provides the single most valuable diagnostic clue. Here’s what each leak pattern reveals:
Leaks during fill cycle: Points to fill hose issues, water inlet valve problems, or overfilling due to a failed water level switch. The water is entering faster than it should or going where it shouldn’t.
Leaks during wash/agitation cycle: Usually indicates tub seal failure, cracked outer tub, or overfilling that continues from the fill cycle. The agitation action is forcing water past compromised seals or cracks.
Leaks during spin cycle: Most commonly indicates drain pump issues, tub seal failure, or overloading. The high-speed spin is forcing water out, or the pump is struggling to remove water quickly enough.
Leaks during drain cycle: Points squarely to drain hose or drain pump problems. The water is being actively pumped out but escaping before it can leave the machine properly.
Leaks when washer is off: Suggests fill hose issues (they’re under constant pressure) or a slow drip from a compromised connection. This is often the easiest type to diagnose because you can observe it without running a cycle.
Pay attention to when exactly the water appears. If you’re unsure, run a small load with a towel under the machine and watch through the entire cycle to pinpoint the exact timing.
Overloading, Suds, and Detergent Issues
Not every bottom leak indicates a mechanical failure. Some of the most common causes are actually user errors that are easily corrected. I’ve seen countless “repair” calls that were resolved simply by adjusting laundry habits.
Overloading Issues
Stuffing your washer to capacity might seem efficient, but it prevents proper water circulation and can cause water to spill over the tub edge during agitation or spin. The general rule is filling to about 3/4 of capacity for bulky items and never packing clothes tightly.
If your washer leaks only with large loads, try reducing load size by 25% and see if the problem resolves. This simple test can save you from unnecessary repairs.
Excessive Suds Problems
Too much detergent creates a suds overflow that appears as a bottom leak. This is especially common with high-efficiency machines, which require special HE detergent formulated to produce fewer suds.
Using regular detergent in an HE washer can create enough suds to overflow the tub. Even with proper detergent, using more than the recommended amount causes the same issue. Most of us use too much detergent – aim for about half the manufacturer’s recommended amount.
The HE Detergent Requirement
High-efficiency washers operate differently from traditional agitator models. They use less water and tumbling action, which requires low-sudsing detergent. Using regular detergent creates suds that the machine cannot properly rinse away, leading to leaks, poor cleaning, and potential sensor issues.
Look for the “HE” symbol on detergent bottles. If you’ve been using regular detergent in an HE machine, run a cycle with just hot water to help clear accumulated suds residue.
Step-by-Step Troubleshooting Guide
Ready to diagnose your specific leak? Follow this systematic approach to identify the exact source without guessing:
Step 1: Confirm it’s a bottom leak
Verify the water is definitely coming from underneath, not from above (door seal, dispenser, or overflow). Dry the area completely, then run a cycle while watching closely. Use a flashlight to track the water’s origin point.
Step 2: Note the timing
Does the leak occur during fill, wash, spin, or drain? Does it happen when the machine is off? This information alone will narrow your diagnosis to 2-3 likely causes.
Step 3: Check the easy fixes first
Inspect all visible hoses for cracks, loose connections, or moisture. Check the drain pump filter (front bottom panel on most front-loaders). Tighten any loose hose clamps and ensure all connections are secure.
Step 4: Test with reduced load
Run a cycle with a smaller load and proper detergent amount. If the leak doesn’t occur, you’ve identified overloading or detergent issues as the culprit.
Step 5: Access the pump for inspection
If easy fixes don’t resolve the issue, you’ll need to access the drain pump for closer inspection. Consult your model’s service manual for specific access instructions. Look for cracks, loose connections, or signs of water escape around the pump housing.
Step 6: Consult a professional
If you’ve ruled out simple causes and the leak persists, it’s time to decide between DIY repair (for pump replacement) or professional service (for tub seal work). Get quotes for professional repair before deciding whether to replace the machine entirely.
Water Damage Prevention and Safety
While diagnosing and repairing your washer leak, don’t overlook the immediate need to protect your home from water damage. Even small leaks can cause significant problems over time.
Immediate actions:
- Place towels or a shallow pan under the washer to catch dripping water
- Improve ventilation in the laundry area to speed drying
- Check adjacent walls and flooring for signs of water damage
- Elevate the washer slightly if water is pooling beneath it
Electrical safety concerns:
Water and electricity don’t mix. If water has reached any electrical components, outlets, or your home’s wiring, unplug the washer immediately and don’t use it until a professional can assess the situation. Never operate a washer that’s sitting in standing water.
Long-term prevention:
Consider installing a washing machine drip pan with a drain connection to catch future leaks and direct water away from your flooring. These cost $20-$50 and can save thousands in potential water damage repairs.
Also inspect your water supply hoses regularly and replace them every 5 years as preventative maintenance, even if they show no visible wear. This is cheap insurance against a catastrophic hose burst.
When to Call a Professional
While many washer leaks can be addressed DIY-style, certain situations call for professional expertise. Here’s when I recommend picking up the phone rather than attempting repairs yourself:
Call a professional when:
- You’ve identified a tub seal leak and the washer is less than 5 years old (warranty may cover repair)
- The leak is accompanied by electrical issues, strange smells, or error codes
- You’re uncomfortable working with tools or accessing internal components
- The machine is a high-end model (over $1,000 original price) and still in good repair otherwise
- You’ve attempted basic troubleshooting without success
- Water has reached electrical components or caused significant flooring damage
Professional service typically costs $100-$150 for the diagnostic visit plus parts and labor. Get a written estimate before authorizing any work, and ask for a repair vs. replacement recommendation based on the specific diagnosis.
Repair vs. Replace: Making the Right Call
Facing a significant repair? Use this decision framework to determine whether fixing or replacing makes more sense for your situation:
Repair makes sense when:
- The washer is less than 5-7 years old (average lifespan is 10-14 years)
- Repair cost is less than 50% of replacement cost
- The machine has been reliable otherwise
- You like the features and performance of your current model
- The needed parts are still readily available
Replace makes sense when:
- The washer is over 10 years old and experiencing multiple issues
- Repair cost exceeds 50% of replacement cost
- You’ve had previous expensive repairs on the same machine
- You want newer features or better efficiency
- Parts are discontinued or difficult to source
For tub seal and bearing repairs specifically, the $300-$600 repair cost often pushes older machines into replacement territory. However, newer machines or premium models may still warrant the investment.
Preventing Future Washer Leaks
Once you’ve resolved your current leak, take these preventive measures to avoid future problems:
Monthly: Check for any moisture under or around the washer. Inspect visible hoses for signs of wear.
Quarterly: Clean the drain pump filter to prevent buildup that can cause leaks. Run an empty hot water cycle with vinegar to remove detergent residue.
Annually: Replace fill hoses if they’re over 5 years old. Check and tighten all hose connections. Ensure the washer remains level.
Ongoing habits: Use appropriate HE detergent in the correct amount. Avoid overloading. Don’t leave the washer running when you’re not home to catch problems early.
Preventative maintenance takes just minutes but can add years to your washer’s lifespan and prevent the frustration and cost of unexpected leaks.
Frequently Asked Questions
Is it worth fixing a leaking washing machine?
Can overloading a washer cause it to leak?
Can a washer be fixed if leaking water from the bottom?
Is a small leak a big problem?
Can a washer leak if it’s not level?
What causes a washer to leak out the bottom?
Should I call a plumber for a washer leak?
What is the average lifespan of a washing machine?
Conclusion
Dealing with a washer leaking from bottom is frustrating, but most leaks are diagnosable and fixable once you understand what to look for. By identifying when the leak occurs, checking common failure points, and understanding repair versus replace economics, you can make an informed decision about the best path forward.
Remember that cycle timing provides your most valuable diagnostic clue. Fill cycle leaks point to hoses and valves, spin cycle leaks indicate pump or tub seal issues, and drain cycle problems trace back to the drain hose or pump. Start with the easiest fixes first – hoses, filters, and connections – before tackling more complex repairs.
For simple hose issues or filter problems, DIY repair saves significant money. For tub seal and bearing failures in newer machines, professional repair may extend your washer’s life by years. For older machines facing expensive repairs, replacement often makes more financial sense.
Whatever your situation, address washer leaking from bottom promptly. Even small leaks grow into big problems over time, and water damage to your home costs far more than most washer repairs. Use this guide to diagnose your specific issue, take appropriate action, and get your laundry room back to full operation.




Leave a Comment