
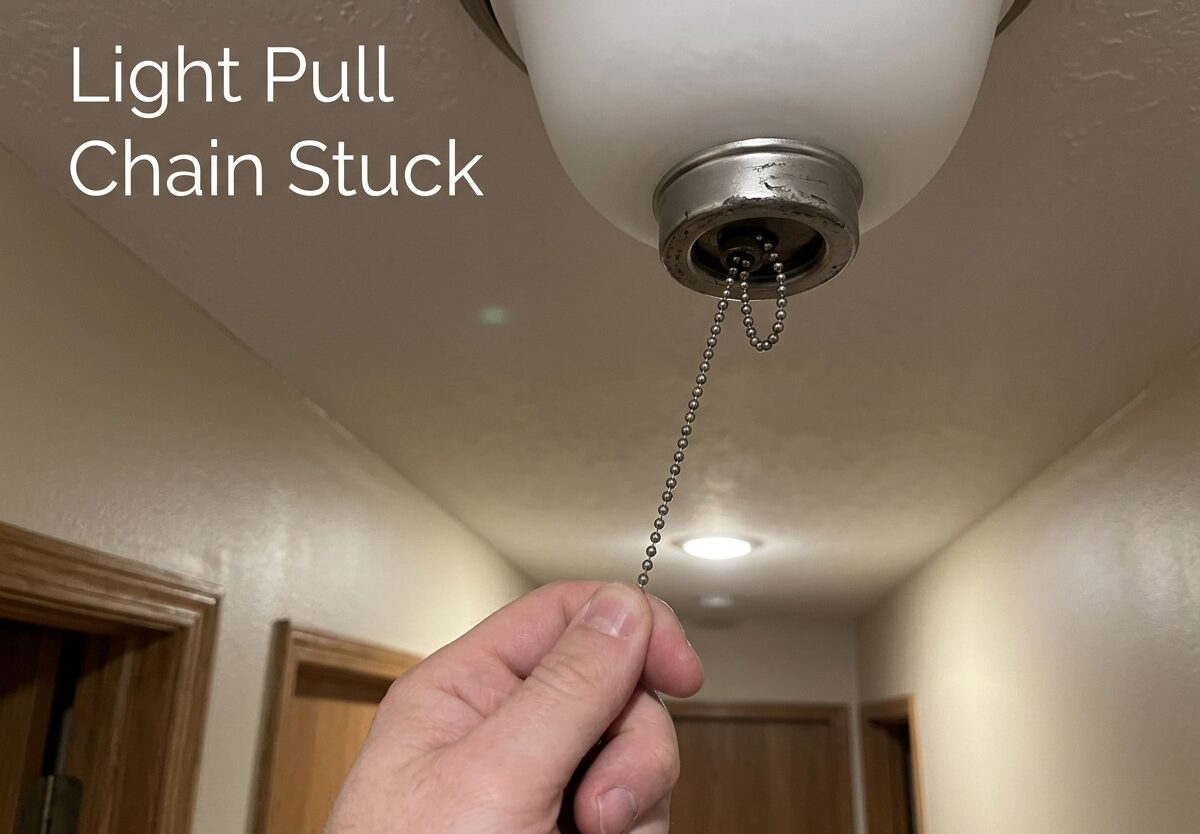
You reach up to pull the chain, but it won’t budge. The light pull chain stuck problem is frustrating and can leave you with a light that won’t turn off or a fixture you can’t use at all. I’ve dealt with this issue dozens of times over the years, and most stuck pull chains are fixable in under an hour with basic tools.
This guide covers everything from quick fixes you can try in seconds to full switch replacement. Whether you have a ceiling fan light, closet fixture, or lamp with a stuck pull chain, I’ll walk you through the safest way to get it working again.
Safety First: Turn Off Power Before Starting
Before you touch anything, locate your circuit breaker and flip the switch for the room you’re working in. This is not optional – electricity and metal pull chains don’t mix.
Double-check the power is off by trying the light switch or flipping the breaker again. If you’re unsure which breaker controls the fixture, turn off the main power.
Never work on a live electrical fixture. Even if the light won’t turn on, there may still be power flowing to the switch.
Quick Fixes to Try Before Disassembly
Before you grab tools, try these simple tricks. Sometimes a stuck pull chain just needs a little coaxing.
Push the chain up. Many pull chains get stuck in the extended position. Try pushing the chain upward firmly but gently – like you’re sticking gum into a coin slot. This often releases a jammed internal mechanism.
Gently wiggle side to side. Apply slight side pressure while pulling. The chain might be caught on the metal collar or housing opening.
Check for obvious obstructions. Sometimes paint, debris, or a bent chain link blocks movement. Look closely where the chain exits the fixture.
If these quick fixes don’t work, you’ll need to access the switch mechanism.
Why Pull Chains Get Stuck
Understanding why your pull chain is stuck helps prevent future issues. The most common causes include:
Internal mechanical failure. The small toggle inside the pull chain switch can break or jam. These switches have moving parts that wear out over time.
External chain damage. The chain itself may be kinked, bent, or broken at a weak point. Chains often break where they rub against the metal collar.
Corrosion and debris. In bathrooms or humid areas, moisture causes corrosion. Dust and debris can also accumulate in the switch mechanism.
Old fixtures. Pull chain switches in fixtures over 20 years old are more prone to failure. The internal springs and contacts wear out naturally.
Tools You’ll Need
Gather these supplies before starting:
- Screwdriver set (Phillips and flathead)
- Wire stripper/cutter
- Voltage tester (highly recommended)
- Replacement pull chain switch ($5-15 at hardware stores)
- Wire nuts
- Electrical tape
- Needle-nose pliers
- Step ladder
Most pull chain switches are universal, but bring the old one to the hardware store to match it exactly.
How to Fix a Light Pull Chain Stuck or Jammed
Follow these steps to repair or replace your stuck pull chain switch. This process works for ceiling fans, closet lights, and most lamp fixtures.
Step 1: Confirm Power Is Off
Use your voltage tester to verify no electricity is flowing to the fixture. Test wires at the switch location if accessible. When in doubt, keep the breaker off.
Step 2: Remove the Light Bulb
Unscrew the bulb to give yourself working room. This also prevents accidentally breaking the bulb during repair.
Step 3: Remove the Fixture Base or Cover
For ceiling fans: Look for screws holding the light kit base to the fan. Remove these carefully.
For flush mount lights: Unscrew the decorative bowl or canopy. It may unscrew directly or have small screws on the side.
For lamps: The base typically unscrews or has a bottom plate. Remove it to access the switch housing.
Step 4: Access the Pull Chain Switch
You’ll see the pull chain switch mounted inside the fixture. It’s a small rectangular or circular component with the chain extending out. Note how it’s positioned for the replacement.
Step 5: Test the Current State
Gently pull the chain. Does it move at all? Is it completely stuck? If the chain pulls freely but doesn’t click, the internal mechanism is broken. If it won’t move, something is jammed.
Step 6: Disconnect the Wires
The switch has two to four wires connected. Use your wire cutter to cut these wires as close to the switch as possible. This preserves wire length for the new connection.
Step 7: Install the New Switch
Connect your new pull chain switch using wire nuts. Match the wire configuration from the old switch:
- Black wire (hot) to black screw or wire
- White wire (neutral) to white screw or wire
- Ground wire (green or bare) to green screw
If unsure, take photos before disconnecting or mark the wires with tape. Most switches are clearly labeled.
Important: Don’t use WD-40 or any lubricant on electrical switches. This can cause electrical arcing and is a fire hazard. Dielectric grease or silicone lubricant is safer if needed.
Step 8: Reassemble and Test
Tuck wires back into the housing. Reattach the fixture base or cover. Screw in the light bulb. Turn the power back on and test your new pull chain switch.
Pull the chain several times to ensure smooth operation. The light should turn on and off with each pull.
External vs Internal Chain Breaks
Identifying where the break occurred helps determine your repair approach:
External break: The chain broke outside the fixture. You can often replace just the chain by threading a new one through the existing switch. Some switches have a small hole for chain attachment.
Internal break: The chain broke inside the housing, or the switch itself failed. You’ll need to replace the entire pull chain switch as described above.
Stuck but not broken: The chain won’t move but hasn’t snapped. Try the quick fixes first. If those fail, replace the switch – the internal mechanism is likely damaged.
Lamp vs Ceiling Fan Pull Chains
Pull chain switches work similarly across fixtures, but there are key differences:
Ceiling fan pull chains: Often have two chains – one for the fan and one for the light. The light switch is typically on the light kit base. These switches handle more current and may be heavier duty.
Lamp pull chains: Usually simpler single-switch designs. Access is often through the lamp base. Many lamp switches are integrated into the socket itself.
Ceiling light pull chains: Found in closets, bathrooms, and utility areas. These are often the simplest to access and replace.
When to Repair vs Replace
Deciding whether to fix the existing switch or replace it depends on the issue:
Replace if: The internal mechanism is broken, the chain is broken inside the housing, or the switch is over 15 years old. Replacement switches cost $5-15 and are more reliable than repairs.
Repair if: The external chain broke and you can access the attachment point. Sometimes you can simply thread a new chain through or reattach it to the existing toggle.
Call a professional if: You’re uncomfortable working with electricity, the fixture is hardwired into a complex system, or you notice burnt wires or scorch marks. Professional electricians charge $85-150 for this repair.
Maintenance Tips to Prevent Future Issues
Extend the life of your pull chain switches with proper care:
Pull gently, not yank. Excessive force is the #1 cause of broken chains. A smooth, moderate pull is all that’s needed.
Keep the area clean. Dust and debris around the chain entry point can cause jamming. Wipe down fixtures regularly.
Address stiffness early. If the chain starts feeling resistant, don’t force it. Investigate before it becomes completely stuck.
Consider an upgrade. For problematic fixtures, replace pull chains with wall switches or remote controls. This eliminates the mechanical failure point entirely.
Temporary Workaround
If your light is stuck on and you can’t fix it immediately, simply unscrew the bulb. It’s not ideal, but it’s safer than leaving the light running indefinitely or attempting repairs without proper preparation.
For ceiling fans with a stuck-on light, you can disconnect the light kit at the wiring while keeping the fan functional. This requires accessing the fan housing – only attempt this if you’re comfortable with electrical work.
FAQs
How to fix a fan pull chain that is stuck?
Turn off power at the breaker. Try pushing the chain up firmly to release the jam. If that fails, remove the fixture base and access the switch. Replace the pull chain switch ($5-15) by disconnecting wires and installing a new one. Reassemble and test before restoring power.
What to do if the light switch is jammed?
First turn off the power. Try pushing the chain upward instead of pulling down. Gently wiggle the chain side to side. If these quick fixes don’t work, you’ll need to replace the pull chain switch entirely. Never force a stuck chain or use WD-40 on electrical components.
How do you lubricate a pull chain switch?
Do NOT use WD-40 or petroleum-based lubricants on electrical switches – this can cause arcing and fire hazards. If lubrication is absolutely necessary, use a small amount of dielectric grease or silicone-based lubricant applied sparingly to the chain only, not inside the switch mechanism.
Can you fix a pull cord light switch?
Yes, pull cord switches are easily repairable. Most problems require replacing the entire switch unit, which costs $5-15. Simply turn off power, remove the fixture base, disconnect wires from the old switch, and connect a new one using wire nuts. The repair takes 20-30 minutes.
Why does my pull chain keep getting stuck?
Repeated sticking indicates wear in the internal mechanism. The switch may be dirty, corroded, or the internal spring may be failing. Age is a factor – switches in fixtures over 15-20 years old are prone to failure. Replacement is more reliable than repeated repairs.
Conclusion
A light pull chain stuck problem doesn’t have to ruin your day. Most repairs are straightforward and affordable. Start with the quick fixes, then move to switch replacement if needed. Always prioritize safety by turning off power before beginning any work.
Whether you’re dealing with a ceiling fan, closet light, or lamp, the same principles apply. Don’t force a stuck chain, avoid WD-40 on electrical components, and replace worn switches before they fail completely.




Leave a Comment