
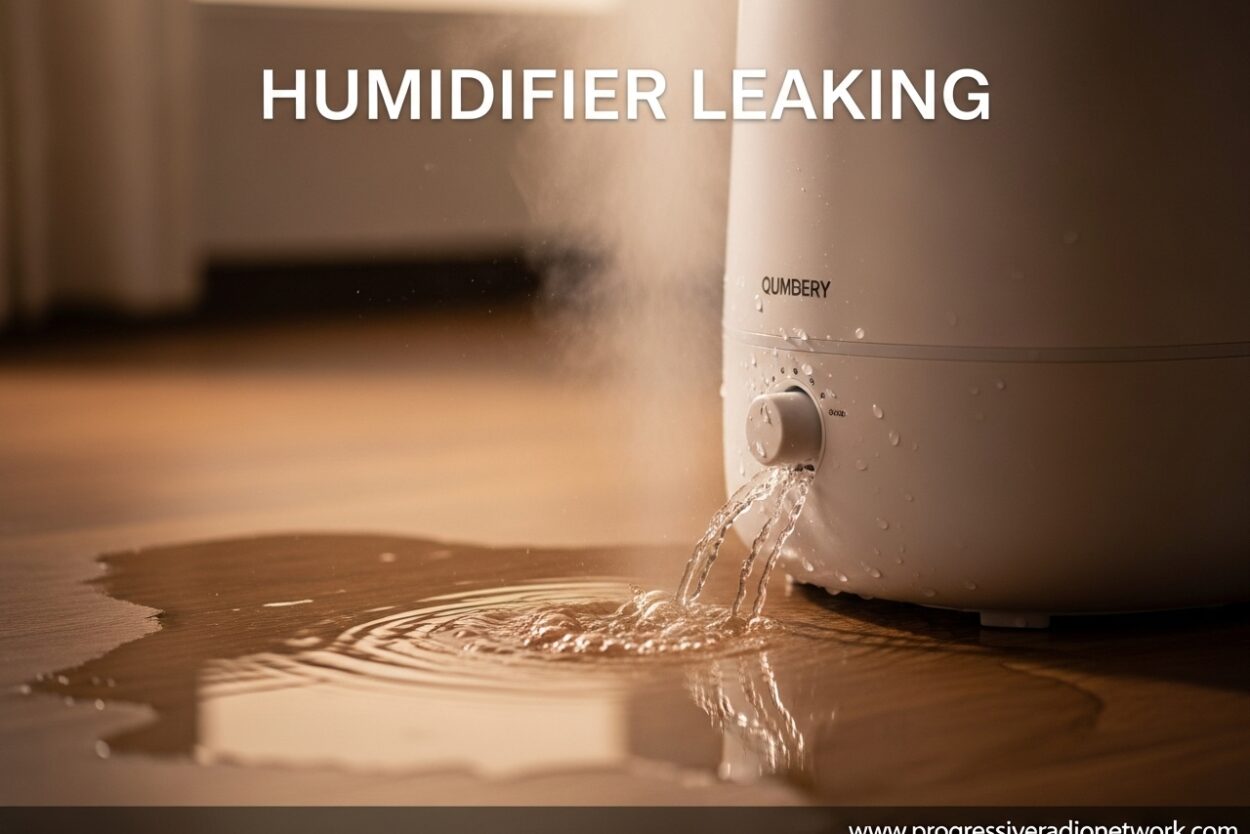
Discovering water pooling around your humidifier is frustrating and potentially damaging to your home. Whether you have a portable unit on your nightstand or a whole-house system connected to your HVAC, a leaking humidifier demands immediate attention. I’ve spent years helping homeowners diagnose and fix humidifier issues, and I’ll walk you through every possible cause and solution.
Humidifier leaking problems range from simple fixes like an overfilled tank to more complex issues involving solenoid valves or cracked components. The good news is that most leaks can be diagnosed and resolved without calling a professional, saving you time and money while preventing water damage to your floors, walls, or furnace.
In this guide, I’ll cover the seven most common causes of humidifier leaks, how to identify exactly where your leak is coming from, and step-by-step instructions for fixing each problem. You’ll also learn the critical difference between normal condensation and actual leaks, plus maintenance tips to prevent future issues.
Quick Troubleshooting Checklist
Before diving into specific causes, let’s quickly narrow down your problem. I recommend checking these items in order:
- Check your water level: Is the tank overfilled beyond the max line?
- Inspect the tank position: Is it properly seated and level?
- Look for visible cracks: Examine the water tank and housing for damage.
- Check for mineral buildup: Look for white scale around seams and connections.
- Inspect the base: Is water collecting underneath or around the unit?
- Test after cleaning: Many leaks resolve after thorough descaling.
Condensation vs Actual Leaks: What’s the Difference?
This is the most common confusion I encounter among homeowners. A small amount of water around your humidifier might be completely normal condensation, not a leak. Here’s how to tell the difference:
Normal condensation appears as light moisture or small droplets, typically accumulating at 1-2 ounces per day for whole-house units. It’s usually uniform and occurs primarily during high-output operation. Actual leaks, however, present as pooled water, continuous dripping, or water spreading across surfaces.
If you’re dealing with a portable humidifier, place it on a waterproof surface and mark the water level in the tank. After 24 hours, check if the water loss matches the output setting. For whole-house units, monitor the drain line during operation – a steady drip is normal, but a continuous stream indicates a problem.
Humidifier Leaking from Bottom: Faulty Sealing or Worn Gasket
The most common cause of humidifier leaking, especially in portable units, is a compromised seal or worn gasket. Every humidifier has rubber or silicone gaskets that create watertight seals between components like the water tank, base, and nozzle assembly.
Over time, these gaskets degrade from constant exposure to water, mineral deposits, and regular removal and replacement of the water tank. I’ve seen gaskets that look perfectly fine but have microscopic cracks allowing water to escape.
To check if your gasket is the culprit, remove the water tank and inspect the rubber seal around the fill opening and connection points. Look for cracks, flattening, or mineral buildup that could prevent a proper seal. Clean the gasket with white vinegar to remove mineral deposits, then test the unit.
If cleaning doesn’t resolve the issue, replacement gaskets are available from manufacturers or home improvement stores. Bring your old gasket or the humidifier model number to ensure you get the right replacement. Installing a new gasket is usually straightforward – just clean the surface, position the new gasket, and reassemble the unit.
Cracked or Damaged Water Tank
A cracked water tank is another frequent cause of humidifier leaking, particularly in units that are 3-5 years old. The constant expansion and contraction from temperature changes, combined with the weight of water when full, can stress the plastic tank material over time.
Cracks can be tiny hairline fractures that only leak when the tank is full, or larger splits that cause immediate and obvious leaking. I recommend inspecting your tank in bright light – slowly rotate it while looking for any lines or irregularities in the plastic.
To test for small cracks, fill the tank with water and dry the exterior completely. Place it on a dry paper towel for 30 minutes. If you see water spots on the towel, you’ve found your leak. Note where the water appears to pinpoint the crack location.
Unfortunately, cracked water tanks cannot be reliably repaired. The patch materials available don’t hold up against constant water exposure and pressure. Your best option is replacing the tank with an OEM part from the manufacturer. Third-party tanks are available but may not fit properly or last as long.
Clogged Water Panel or Drain Line
For whole-house humidifiers, a clogged water panel or drain line is a leading cause of humidifier leaking. The water panel (also called an evaporator pad) is where water evaporates into your air ducts. Over time, mineral deposits from hard water accumulate and can block proper water flow.
When the water panel becomes clogged, water backs up in the distribution tray and overflows, causing what appears to be a leak. Similarly, the drain line that carries away excess water can become blocked with scale, sediment, or even mold growth.
I recommend inspecting your water panel every 1-2 months during heating season. If you see white, crusty buildup or the panel appears discolored and compressed, it’s time for replacement. Most manufacturers suggest changing the water panel annually, but homes with hard water may need more frequent changes.
To clear a clogged drain line, first turn off the humidifier and water supply. Locate the drain line (usually a plastic tube running from the humidifier to a floor drain) and disconnect it. Flush the line with a mixture of equal parts white vinegar and water to dissolve mineral deposits. Use a pipe cleaner or small brush for stubborn blockages.
Malfunctioning Solenoid Valve
The solenoid valve is the electrical component that controls water flow into your whole-house humidifier. When your humidistat calls for humidity, the solenoid opens to allow water to flow to the water panel. When humidity reaches the set level, the solenoid closes.
A failing solenoid valve can cause humidifier leaking in two ways. First, the valve may not close completely, allowing water to continuously flow into the unit and overflow. Second, debris or mineral deposits can prevent the valve from sealing properly even when closed.
To test your solenoid valve, turn off the water supply to the humidifier and observe if the leaking stops. If it does, the valve is likely the culprit. You can also listen for a clicking sound when the humidifier activates – this indicates the solenoid is engaging.
Replacing a solenoid valve is moderately challenging for DIYers. It involves turning off the main water supply, disconnecting the water line, removing the mounting screws, and installing the new unit with proper water flow direction. If you’re uncomfortable with plumbing work, this is a good time to call a professional.
Overfilled Water Tank
Sometimes the simplest explanation is the correct one. I’ve responded to many “emergency” humidifier leaking calls only to find the water tank was filled above the maximum line. This is especially common with new humidifier owners who aren’t familiar with the proper fill level.
Every humidifier has a maximum fill line clearly marked on the water tank. Exceeding this line causes water to spill through vents and overflow when the unit operates. The problem is worse in ultrasonic humidifiers, which vibrate the water to create mist – the agitation can cause overfilled tanks to spill even when sitting level.
The solution is straightforward: empty the tank to the proper level and monitor for continued leaking. If the leak persists after reducing the water level, you’re dealing with one of the other issues mentioned in this guide.
I recommend always filling humidifiers with cool water and using a pitcher with a spout for precise pouring. This prevents overfilling and also reduces mineral content compared to hot water from the tap.
Improperly Seated Tank or Component Misalignment
Portable humidifiers rely on precise alignment between the water tank, base, and sometimes a separate filter or mist chamber. If any component isn’t seated correctly, water can escape through gaps that should form a tight seal.
This issue often occurs after cleaning when components aren’t reassembled exactly as they were. I’ve seen this frequently in humidifiers with twist-lock tanks – users don’t rotate the tank fully into the locked position, creating a small gap that allows water to leak.
Check your owner’s manual for the correct assembly procedure and verify each component is properly positioned. Listen for clicking or locking sounds that indicate secure placement. For twist-lock tanks, rotate until you feel resistance or hear an audible click.
Whole-house humidifiers can also suffer from component misalignment, particularly the water panel frame. If the panel isn’t centered or the frame isn’t secured properly, water can bypass the panel entirely and leak directly into the humidifier housing or ductwork.
Hard Water Impact and Prevention
Hard water is the enemy of humidifier longevity. The high mineral content in hard water leaves behind calcium and magnesium deposits that accumulate on every surface the water touches. These deposits build up on gaskets, clog water panels, block drain lines, and prevent seals from closing properly.
I’ve worked on humidifiers in homes with extremely hard water that needed monthly descaling to function properly. In these cases, I strongly recommend installing a water softener or using distilled water in your humidifier. The small cost of distilled water is far less than repair bills or replacement units.
For whole-house humidifiers, consider installing a sediment filter before the humidifier water supply. This inexpensive filter catches larger particles and reduces the mineral load reaching your humidifier components, extending time between cleanings.
Prevention and Maintenance Tips
Preventing humidifier leaking is far easier than fixing it after it starts. Based on my experience servicing hundreds of units, here’s the maintenance routine that will keep your humidifier leak-free:
Weekly Maintenance: Empty and dry portable humidifiers completely every 7 days. Wipe down all surfaces with a clean cloth to remove mineral film. For whole-house units, check the drain line for proper flow and inspect around connections for moisture.
Monthly Deep Cleaning: Descaling is the most important maintenance task. Fill your portable humidifier’s tank with equal parts white vinegar and water, run it for 30 minutes, then let it sit for an hour. Rinse thoroughly and dry completely. For whole-house units, inspect the water panel monthly and replace if showing mineral buildup.
Seasonal Tasks: At the start of heating season, replace your water panel with a fresh one regardless of its appearance. This ensures optimal performance and prevents mid-season leaks. Check all gaskets and seals for cracks or deterioration and replace as needed.
Annual Professional Inspection: Whole-house humidifiers benefit from professional servicing annually. An HVAC technician can check solenoid valve operation, verify proper water pressure, and clean components that are difficult to reach. This service typically costs $75-150 but can prevent expensive water damage repairs.
Water Quality Management: Use distilled or demineralized water in portable humidifiers whenever possible. For whole-house units, install a water softener if you have hard water. The reduction in mineral buildup will dramatically extend your humidifier’s lifespan and prevent many common leak causes.
When to Call a Professional
While most humidifier leaking issues are DIY-friendly, certain situations require professional expertise. If you’re dealing with any of these scenarios, it’s time to call an HVAC technician:
Solenoid Valve Replacement: If you’ve determined your solenoid valve is malfunctioning and you’re not comfortable with plumbing work, professional installation is recommended. Improper installation can cause more serious water damage.
Whole-House Unit Integration Issues: If your humidifier is integrated into your HVAC system and you’re unsure how components interact, professional diagnosis prevents accidental damage to your furnace or air handler.
Recurring Leaks After DIY Repairs: If you’ve attempted to fix the leak and it returns, there may be an underlying issue you’re missing. Technicians have specialized tools and experience to diagnose complex problems.
Water Damage Concerns: If the leak has caused visible water damage to flooring, walls, or your furnace, professional assessment is crucial. They can evaluate the extent of damage and recommend remediation before problems worsen.
The average service call for humidifier repair costs $100-200, but this is far less than repairing water damage or replacing a failed furnace from prolonged exposure to moisture.
Frequently Asked Questions
Why is my humidifier leaking underneath?
Humidifiers typically leak underneath due to a cracked water tank, worn gasket preventing proper sealing, or mineral buildup that’s compromising the unit’s watertight integrity. Check the tank for damage first, then inspect all rubber seals and gaskets for deterioration. Clean mineral deposits from sealing surfaces with vinegar and test the unit on a waterproof surface to identify the exact leak location.
What is the lifespan of a humidifier?
Portable humidifiers typically last 3-5 years with proper maintenance, while whole-house humidifiers can function for 10-15 years when serviced annually. The key factors affecting lifespan are water quality, maintenance frequency, and usage patterns. Units in hard water areas may fail sooner due to mineral accumulation. Regular cleaning and using distilled water can extend your humidifier’s life by several years.
Can a humidifier help with eczema?
Yes, maintaining proper humidity levels between 30-50% can significantly improve eczema symptoms for many people. Dry air exacerbates skin conditions by pulling moisture from your skin, causing flaring and irritation. A properly functioning humidifier adds moisture to the air, helping your skin retain its natural hydration. However, excessive humidity above 50% can promote dust mites and mold growth, which may trigger eczema in some individuals.
How long should you run a dehumidifier after a leak?
After any water leak, run a dehumidifier for at least 24-48 hours or until moisture readings return to normal levels. The duration depends on the extent of the leak – small puddles may need 24 hours, while significant water intrusion could require several days of continuous operation. Monitor for musty odors or visible mold growth, which indicate insufficient drying. Professional water damage restoration is recommended if leaks saturate carpets, drywall, or flooring.
Is a small amount of water from my humidifier normal?
A small amount of condensation or water droplets around your humidifier can be normal operation. Portable units may produce slight moisture during high-output operation, and whole-house humidifiers typically drain 1-2 ounces per day during regular use. However, pooled water, continuous dripping, or spreading moisture indicates an actual leak requiring attention. Place your unit on a waterproof surface and monitor water accumulation – anything more than slight condensation needs investigation.
Conclusion
Humidifier leaking is a common problem with identifiable causes and straightforward solutions. By systematically checking each potential issue – from simple overfilling to solenoid valve failure – you can diagnose and fix most leaks without professional help. Remember that regular maintenance is your best defense against future problems.
Start with the easiest checks first: water level, tank positioning, and visible damage. Then work through the more complex components like gaskets, water panels, and valves. If you’re unsure about any repair or the leak persists after your troubleshooting efforts, don’t hesitate to call a professional – the cost of service is minimal compared to potential water damage.
With proper care and maintenance, your humidifier will provide years of reliable service without the frustration of unexpected leaks. Keep this guide handy for quick reference, and address any moisture issues immediately to protect your home and maintain optimal indoor humidity levels.


Leave a Comment