
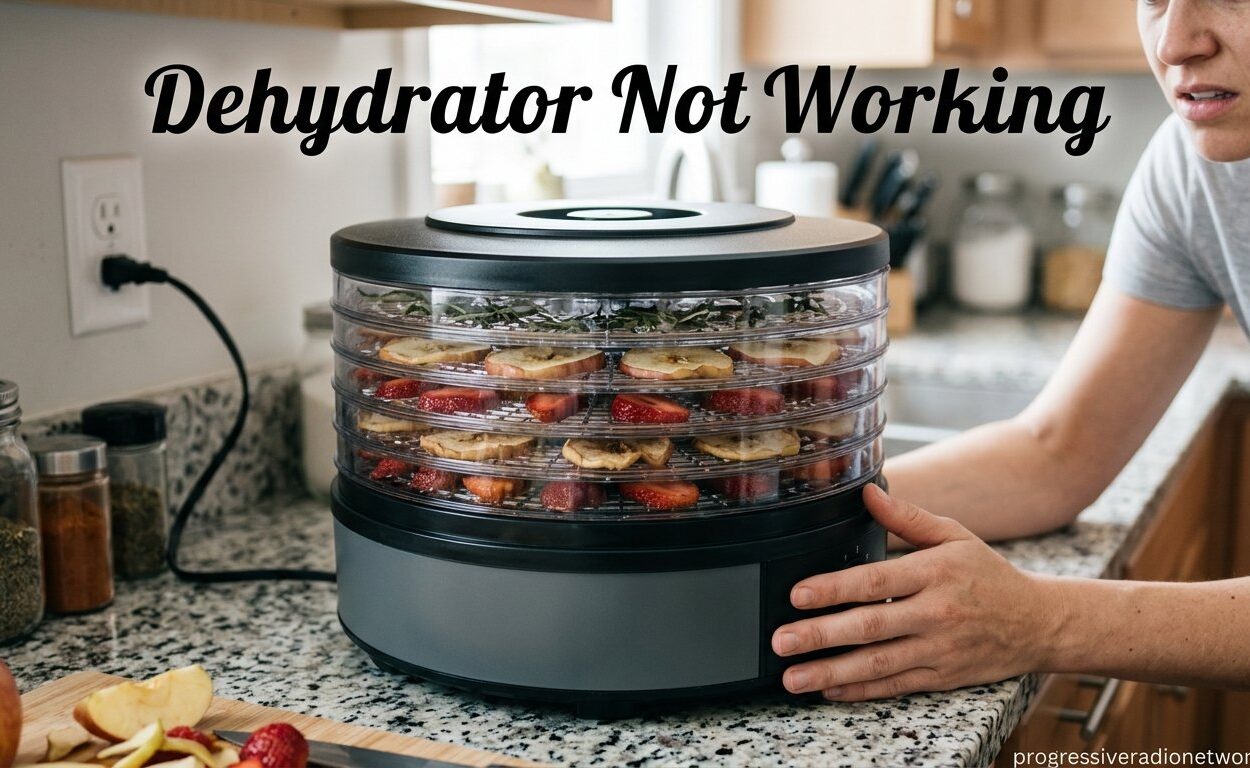
You loaded your trays, set the temperature, walked away, and came back to food that is exactly as wet as when you left it. A dehydrator not working is one of the most frustrating kitchen mishaps because it usually happens mid-preservation cycle, when you have hours of food prep already invested. I have been there myself, standing over a unit that worked perfectly yesterday and now refuses to turn on or produce any heat.
The good news is that most dehydrator failures come down to a small set of components: the thermal fuse, heating element, thermostat, fan motor, or power supply. This guide walks you through every common failure point, starting with a quick symptom-to-cause diagnostic table you can scan in under a minute. If you also want to understand how dehydrators compare to other preservation methods, check our guide on food dehydrators vs traditional ovens for broader context.
Whether your unit will not power on, runs but blows cold air, or keeps shutting off mid-cycle, you will find a step-by-step fix below. I have pulled together troubleshooting steps from appliance repair forums, manufacturer documentation, and real user experiences on Reddit to give you the most complete resource available in 2026.
Quick Symptom-to-Cause Diagnostic Table
If your dehydrator is not working, start here. This table maps the most common symptoms to their likely causes and the first action you should take. Think of it as a triage chart that points you toward the right detailed section below.
| Symptom | Most Likely Cause | First Action |
|---|---|---|
| Dehydrator will not turn on at all | Tripped breaker, blown fuse, faulty power cord | Test the wall outlet with another device |
| Fan runs but no heat | Blown thermal fuse or broken heating element | Unplug and test the thermal fuse with a multimeter |
| Heats but fan does not spin | Food debris blocking fan blades or motor failure | Open the housing and clear any debris from the fan |
| Keeps shutting off mid-cycle | Overheating tripping the thermal cutoff switch | Reduce food load and check for blocked airflow vents |
| Food dries unevenly | Poor airflow from overloading or fan weakness | Rotate trays and avoid stacking food more than 3 layers deep |
| Burning smell during operation | Food residue on heating element or shorted wiring | Unplug immediately and clean the heating element |
| Display panel blank or error codes | Control board failure or loose ribbon cable | Unplug for 15 minutes to reset the control board |
| Loud grinding or rubbing noise | Fan blade rubbing against housing or worn motor bearing | Inspect the fan assembly for misalignment |
Use this table as your starting point, then jump to the matching section below for detailed repair instructions.
Dehydrator Won’t Turn On: Power Troubleshooting
A dehydrator that will not power on is the single most common complaint in forums like r/dehydrating and r/ElectronicsRepair. The fix is often simpler than you might expect. Work through these steps in order, starting with the easiest checks before opening the unit.
Step 1: Test the Wall Outlet
Plug a lamp or phone charger into the same outlet your dehydrator uses. If the lamp does not turn on, the problem is your outlet, not your appliance. Check your circuit breaker panel for any tripped breakers and reset them if needed. I have seen cases where a dehydrator sharing a circuit with a microwave or toaster would trip the breaker every time both ran simultaneously.
If the outlet works but your dehydrator still does not turn on, move to the next step. Do not skip this check, because roughly 30 percent of “dead dehydrator” reports trace back to a tripped GFCI outlet or breaker.
Step 2: Inspect the Power Cord
Examine the full length of the power cord for cuts, kinks, or burn marks. Bend the cord gently at the point where it enters the dehydrator housing, since this is where internal wires most frequently break from repeated stress. If you have a multimeter, you can test for continuity between the plug and the internal wiring connections.
A damaged power cord is a fire hazard. If you find any visible damage, stop using the dehydrator immediately and replace the cord before attempting any other repairs.
Step 3: Check the Internal Fuse
Most food dehydrators have an internal fuse that protects the circuit board and motor from power surges. This fuse is typically located near where the power cord enters the housing. You will need to remove the back or bottom panel with a screwdriver to access it.
Test the fuse by setting your multimeter to the continuity or resistance setting. Touch one probe to each end of the fuse. A reading near zero ohms means the fuse is good. No reading at all means the fuse has blown and needs replacement.
Step 4: Inspect the Power Switch
If the fuse is intact, the power switch itself may have failed. Over time, the contacts inside the switch can corrode or burn out, especially on models that get frequent use. Test the switch for continuity in both the on and off positions. If the switch shows no continuity when turned on, replace it.
Replacement power switches are inexpensive and widely available online. Just make sure you match the voltage and current rating printed on the original switch.
Safety warning: Always unplug your dehydrator before removing any panels or touching internal wiring. Even when unplugged, capacitors inside digital models can hold a charge for several minutes. Wait at least five minutes after unplugging before opening the housing.
Dehydrator Not Heating: Component Diagnosis
When your dehydrator turns on and the fan spins normally but the air stays cold, the problem lies in the heating circuit. This is the second most common dehydrator failure. Three components are usually responsible: the thermal fuse, the heating element, and the thermostat. Here is how to test each one.
Testing and Replacing the Thermal Fuse
The thermal fuse is a one-time safety device designed to blow when the internal temperature exceeds a safe threshold. Once it blows, the heating circuit is broken and your dehydrator will only blow cold air. This is actually a good thing, because it prevents fires.
To test the thermal fuse, locate it near the heating element inside the housing. Set your multimeter to continuity mode and touch both probes to the fuse terminals. If you get no reading, the fuse has blown. Replacement thermal fuses cost only a few dollars and are rated by temperature, typically 120 to 150 degrees Celsius for most food dehydrators.
Make sure to buy a fuse with the same temperature rating as the original. A higher-rated fuse will not protect your unit properly, and a lower-rated fuse will blow repeatedly during normal operation.
Testing the Heating Element
The heating element is a coil of resistive wire that glows hot when electricity passes through it. Over time, these coils can break or develop a short. Reddit users with Cosori and Excalibur models frequently report that the heating element is held in place by two Phillips head screws connected to wires. This is one of the most commonly replaced dehydrator parts.
To test the heating element, disconnect the two wires attached to it and set your multimeter to measure resistance. A functional heating element typically reads between 10 and 100 ohms, depending on the model. If your multimeter shows infinite resistance or no reading at all, the element has an open circuit and needs replacement.
Visually inspect the element for any visible breaks, scorch marks, or corrosion. Even a tiny crack in the coil wire will prevent it from heating. Replacement heating elements are available for most major brands including Nesco, Excalibur, Cosori, and Magic Mill.
Testing the Thermostat
The thermostat regulates the temperature inside the dehydrator by cycling the heating element on and off. When it fails, the dehydrator may not heat at all or may heat uncontrollably. A faulty thermostat can also cause your dehydrator to keep shutting off mid-cycle.
Test the thermostat by disconnecting its wires and checking for continuity at room temperature. The thermostat should show continuity when the dial is set to a temperature above ambient room temperature. If it shows no continuity regardless of the dial position, the thermostat has failed.
Some thermostats are adjustable and can be recalibrated, but most consumer-grade dehydrators use sealed units that must be replaced entirely. For related appliance troubleshooting steps, our Samsung washer drain troubleshooting guide covers similar multimeter testing techniques that apply to any home appliance.
Fan and Airflow Problems
The fan is what separates a dehydrator from a simple warming box. Without proper airflow, heat cannot distribute evenly across your trays, and moisture cannot escape. Fan problems typically fall into two categories: mechanical obstruction and motor failure.
Clearing Food Debris from Fan Blades
Food particles, especially from jerky and fruit leather, can get sucked into the fan housing over time. This is one of the most overlooked causes of a dehydrator not working properly. Even a small piece of dried apple wedged between a fan blade and the housing can stop the fan from spinning, which then triggers the thermal cutoff.
Unplug the unit and remove the fan cover. Use a soft brush or compressed air to clean the blades thoroughly. Check that each blade moves freely with no resistance. If you find a rubbing noise, the fan housing may have warped or shifted out of alignment.
Diagnosing Fan Motor Failure
If the blades are clean and clear but the fan still does not spin, the motor has likely failed. A common symptom reported by users on Reddit is a rusty motor, especially on dehydrators stored in garages or basements with high humidity. When the motor bearings rust, the fan cannot start, and the dehydrator will not circulate air.
Test the motor by checking for voltage at the motor terminals when the unit is powered on. If voltage is present but the motor does not spin, the motor is dead. If no voltage is present, trace the wiring back to find the break.
Motor replacement is possible on some models but may not be cost-effective on budget dehydrators. Check whether replacement motors are available for your specific model before committing to the repair.
Fixing Airflow Blockage
Sometimes the fan works perfectly but airflow is blocked by how you loaded the trays. Overfilling trays, stacking food too thickly, or blocking the exhaust vents will all prevent proper drying. Make sure there is at least a quarter inch of space between food pieces and that air can flow freely around every tray.
Clean the exhaust vents on the lid or back of the unit regularly. A buildup of oils and food residue can partially block these vents over time, reducing drying efficiency and eventually causing overheating.
Temperature Control and Overheating Issues
If your dehydrator keeps shutting off mid-cycle, overheating is the most likely culprit. The thermal cutoff switch is doing its job by shutting the unit down before temperatures reach dangerous levels. Your job is to figure out why the unit is overheating in the first place.
Common Overheating Causes
The most common cause of overheating is overloading. When too much food is packed onto the trays, the fan cannot circulate air fast enough to distribute the heat. The heating element runs continuously trying to reach the set temperature, and the internal temperature near the element keeps climbing until the thermal fuse or cutoff trips.
Blocked vents are the second most common cause. Make sure nothing is sitting against the sides or back of the dehydrator while it runs. The unit needs at least six inches of clearance on all sides for proper ventilation.
A third cause is a thermostat stuck in the closed position, which keeps the heating element on continuously. If your dehydrator seems to heat well beyond the temperature you set, the thermostat is likely the problem.
Preventing Overheating Shutdowns
To prevent overheating, never fill trays more than 70 percent full. Cut food into uniform thicknesses so it dries at the same rate. Avoid stacking more trays than the manufacturer recommends, since each additional tray reduces airflow per tray.
If your dehydrator has a built-in timer, use it. This prevents the unit from running longer than necessary and reduces wear on all components. If your model has a reset button, use it after any shutdown to clear the thermal cutoff before restarting.
How to Reset Your Dehydrator
Many dehydrator problems can be resolved with a simple reset. This is the first fix recommended by appliance repair experts on JustAnswer, and it works for a surprising number of cases. Here is the standard reset procedure that works across most brands.
- Unplug the dehydrator from the wall outlet completely.
- Wait 10 to 15 minutes for the internal electronics to fully discharge and reset.
- Check that the temperature dial is set to off and the timer is at zero.
- Plug the dehydrator back in and set it to a low temperature.
- Turn the unit on and listen for the fan and feel for warm air within 5 minutes.
For digital models with a display panel, the reset may also involve pressing and holding the power button for 10 seconds while the unit is unplugged. Some Magic Mill and Cosori models have a hidden reset sequence described in the user manual.
If your Nesco dehydrator stopped working, the company recommends unplugging for 30 minutes and then testing on a different outlet. Excalibur models benefit from having the rear cover removed and the thermal switch manually depressed to reset it. Always consult your specific model’s manual for brand-specific reset instructions.
Warning Signs Before Complete Failure
Dehydrators rarely die without warning. No competitor covers this topic, but forum users consistently report that their units showed early signs of trouble before failing completely. Knowing these warning signs can help you finish your current batch and prepare for repair or replacement.
The first sign is usually inconsistent drying results. Food that used to take 8 hours now takes 12, or some trays finish much faster than others. This indicates the heating element or thermostat is starting to degrade.
Unusual noises are another early warning. A grinding, rubbing, or squealing sound means the fan bearings are wearing out or a blade is hitting the housing. This will eventually progress to a complete fan stoppage.
A burning smell, even faint, should never be ignored. It usually means food residue has accumulated on the heating element or that insulation on internal wiring is melting. Unplug immediately and investigate.
If the display panel flickers, shows incorrect temperatures, or resets itself mid-cycle, the control board is beginning to fail. These symptoms typically worsen over weeks before the unit stops responding entirely.
Finally, if your circuit breaker trips when the dehydrator turns on, the unit is drawing too much current. This often points to a partial short in the heating element or motor windings. Continuing to use the dehydrator in this condition is a fire risk.
When to Repair vs Replace Your Dehydrator
One of the most common questions in forums is whether it is worth fixing a broken dehydrator or buying a new one. No competitor addresses this directly, so here is a practical decision framework based on repair costs, parts availability, and unit age.
Repair If These Conditions Apply
If your dehydrator is less than 3 years old and the failed part is a thermal fuse, power switch, or thermostat, repair is almost always the right call. These parts cost between $5 and $25 each and can be replaced with basic tools in under 30 minutes. A multimeter, screwdriver set, and a YouTube tutorial are all you need.
Heating element replacement is also worthwhile on premium models like Excalibur, which are built to last 10-plus years. Replacement elements for Excalibur cost around $20 to $40 and are readily available directly from the manufacturer.
Replace If These Conditions Apply
If your dehydrator is more than 5 years old and has had multiple component failures, replacement is typically more cost-effective. Budget models under $60 are rarely worth repairing when the motor or control board fails, since replacement parts plus your time will approach the cost of a new unit.
If replacement parts are no longer available for your model, replacement is your only option. This is common with discontinued models from brands that have exited the market.
Quick Cost Comparison
| Failed Component | DIY Repair Cost | Recommendation |
|---|---|---|
| Thermal fuse | $3 to $8 | Always repair |
| Heating element | $15 to $40 | Repair on units over $80 |
| Thermostat | $10 to $25 | Repair on any quality unit |
| Fan motor | $20 to $50 | Repair only if motor is available |
| Control board | $40 to $80 | Replace the whole unit instead |
Once your dehydrator is back in service, consider pairing it with a chamber vacuum sealer for storing dehydrated food to extend shelf life dramatically.
Maintenance Tips to Prevent Future Breakdowns
Most dehydrator failures are preventable with regular maintenance. These habits will extend the life of your unit and keep it running efficiently for years.
Clean the trays and interior after every use. Food residue that bakes onto the heating element or accumulates near the fan is a leading cause of component failure. Use warm soapy water for trays and a damp cloth for the interior housing. Never submerge the base unit in water.
Inspect the fan blades monthly. Even if you clean trays regularly, fine particles can work their way into the fan housing over time. A quick visual inspection takes two minutes and can catch problems before they cause a shutdown.
Store your dehydrator in a dry location. Humidity is the enemy of electrical components, and rusty motor bearings are a common failure point for units stored in garages and sheds. If you must store in a garage, place the unit in a sealed plastic bin with a desiccant packet.
Do not overload the unit. This is the single most common user-caused failure. Stick to the manufacturer’s recommended tray capacity, and never block the intake or exhaust vents. For more general appliance troubleshooting techniques, our other repair guides cover diagnostic methods that apply broadly across home devices.
Run the dehydrator empty for 15 minutes every few months if you store it long-term. This burns off any moisture that has accumulated in the heating element and keeps internal components in working condition.
Frequently Asked Questions
How to reset dehydrator?
Unplug the dehydrator from the wall outlet and wait 10 to 15 minutes for the internal electronics to fully discharge. Plug it back in, set the temperature to low, and turn it on. For digital models, press and hold the power button for 10 seconds while unplugged before reconnecting.
What are some common mistakes in dehydrating?
Common mistakes include overloading trays, cutting food in uneven thicknesses, setting the temperature too high which cooks instead of dries, not rotating trays during long cycles, and blocking airflow vents. Overloading is the number one cause of uneven drying and overheating shutdowns.
Can you overdry in a dehydrator?
Yes, you can overdry foods like herbs and fruit leather, which makes them brittle or powdery. However, overdrying does not make food unsafe. It only affects texture and nutritional content. Meat jerky should be dried until it bends and cracks but does not break in half.
Why is my dehydrator not working?
Your dehydrator may not be working due to a blown thermal fuse, a broken heating element, a tripped circuit breaker, a faulty power cord, food debris blocking the fan, or a failed thermostat. Start by testing the wall outlet and then checking the thermal fuse with a multimeter for continuity.
Can bacteria grow in a dehydrator?
Bacteria can survive in a dehydrator if food is dried at temperatures below 130 degrees Fahrenheit or if the food is not fully dried. Dehydrators set to 140 to 160 degrees Fahrenheit kill most harmful bacteria. Always store dried food in airtight containers to prevent moisture reabsorption that could allow bacterial growth.
Conclusion
A dehydrator not working does not have to mean the end of your food preservation projects. In most cases, the fix comes down to a blown thermal fuse, a tripped breaker, food debris in the fan, or a worn heating element, all of which are diagnosable with a multimeter and a screwdriver set. Start with the diagnostic table, follow the numbered steps for your specific symptom, and use the repair versus replace framework to decide whether a fix is worth your time and money. With proper maintenance and prompt attention to warning signs, your dehydrator can provide years of reliable service well beyond 2026.





Leave a Comment