
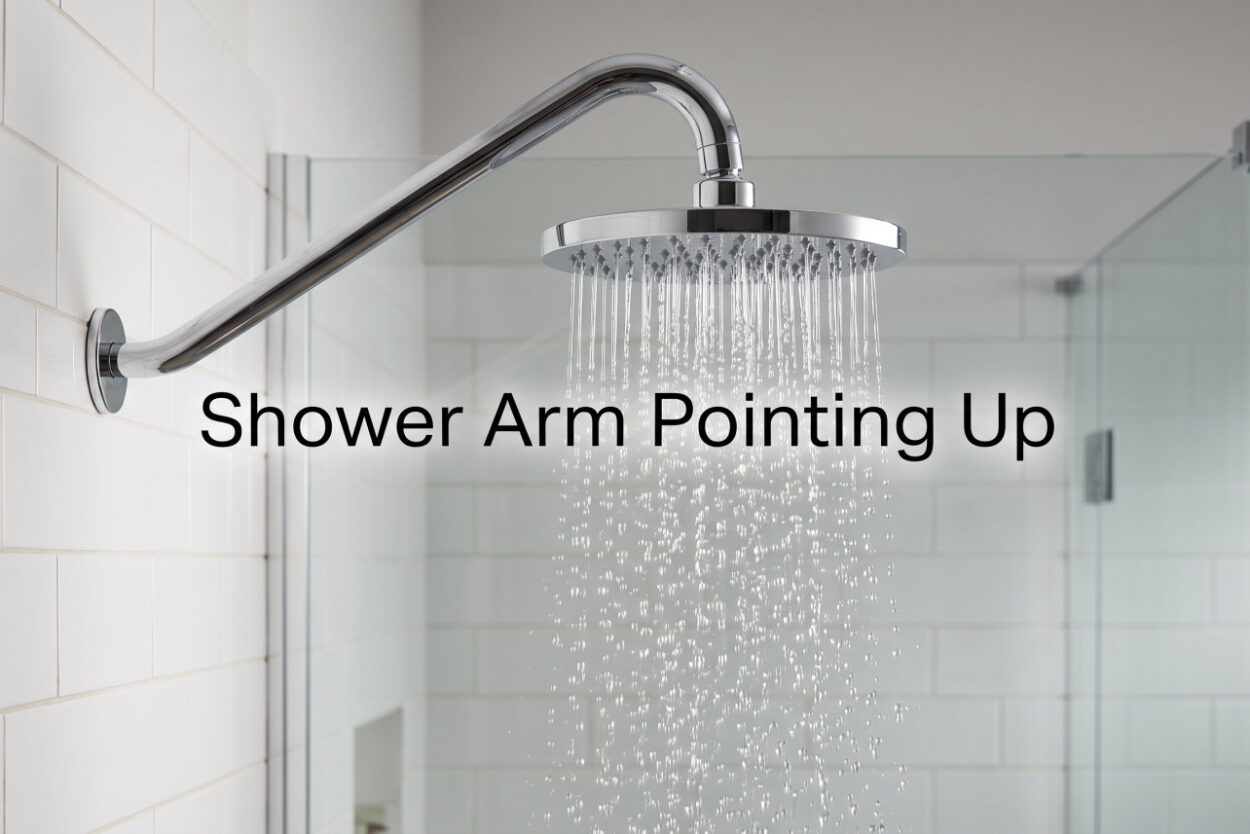
There’s nothing more frustrating than finishing a shower installation only to find your shower arm pointing up instead of down. Water spraying at the ceiling isn’t exactly the relaxing shower experience you had in mind. I’ve seen this issue countless times, and it usually comes down to one thing: the shower arm threads fully engaged before reaching the correct downward angle.
This problem typically happens after 4-6 revolutions of tightening, which is actually the maximum safe thread engagement for shower arms. When you hit that point and the arm still isn’t pointing down, you’re stuck between a rock and a hard place. Tighten further and risk breaking something, or live with a misaligned shower head.
The good news? This is a fixable problem, and I’m going to walk you through exactly how to handle it. Whether you’re dealing with a new installation or trying to correct an existing one, understanding why shower arms point up and knowing the right techniques will save you time, frustration, and potentially costly plumbing repairs.
Understanding Why Shower Arms Point Up
A shower arm pointing up instead of down is primarily caused by how threaded fittings work. Standard shower arms use tapered pipe threads (NPT) that seal as they tighten deeper into the wall fitting. Each full rotation brings the arm approximately 1/8 to 1/4 inch deeper into the wall, depending on thread pitch.
Here’s the issue: shower arms typically have a pre-bent angle designed to point the shower head downward at roughly 45 degrees when fully installed. However, that pre-bent angle assumes the arm will be positioned correctly when the threads are properly seated. If the arm’s starting orientation is off by even 90 degrees, you might need to rotate it several full turns to reach the correct position.
Most shower arms reach maximum safe thread engagement after 4-6 revolutions. At that point, you’re risking stripped threads, cracked fittings, or even breaking the shower arm itself if you continue tightening. This is why so many DIYers end up with shower arms pointing up—they’ve hit the tightening limit before the arm points the right direction.
Tools You’ll Need
Before tackling this project, gather the right tools. Using the wrong tools can damage finishes or crack fittings.
Strap Wrench: This is your best friend for shower arm work. A strap wrench grips the smooth chrome surface without marring it. I recommend a 10-inch model with a rubber strap—these provide enough leverage for most shower arm installations while protecting the finish.
PTFE Tape: Also called Teflon tape, this is essential for creating a watertight seal. White PTFE tape (standard density) works fine for most shower arm applications. Avoid the pink or yellow high-density tapes unless you’re working with larger pipe sizes.
Channel Lock Pliers: If you don’t have a strap wrench, channel locks with a cloth wrapped around the jaws can work in a pinch. Just be extra careful not to scratch the chrome finish.
Basin Wrench: This specialized tool has a pivoting head that can reach tight spaces behind the shower arm. It’s optional but helpful if you’re working in a cramped shower enclosure.
Step-by-Step: How to Fix Shower Arm Pointing Up
Step 1: Remove the Existing Shower Arm
If you already have a shower arm installed that’s pointing the wrong direction, you’ll need to remove it first. Place your strap wrench around the arm close to the wall—this reduces leverage strain on the threads. Turn counter-clockwise to loosen.
If the arm won’t budge, try heating the joint slightly with a hair dryer. The heat expands the metal slightly and can break loose any thread sealant or mineral buildup. Never use a pipe wrench directly on the finished surface—it will leave marks that are nearly impossible to remove.
Step 2: Clean the Threads
Once the arm is out, clean both the male threads on the shower arm and the female threads in the wall fitting. Use a stiff brush or an old toothbrush to remove old PTFE tape, pipe dope, or mineral deposits. Clean threads ensure proper sealing and accurate thread engagement.
Inspect the threads for damage. If you see cross-threading, galling, or stripped threads, you’ll need to replace either the shower arm or the wall fitting (drop-ear elbow) before proceeding.
Step 3: Apply PTFE Tape Correctly
This is where most people go wrong. Wrap the PTFE tape clockwise around the male threads—this direction is critical. When you tighten the arm (which also turns clockwise), the tape should wind onto itself, not unwrap.
Use 3-4 full wraps of tape. Start at the end of the threads and work your way toward the wall connection end. Keep the tape taut as you wrap, and tear it off cleanly when you reach the desired thickness. Don’t wrap over the first few threads—these need to engage cleanly with the fitting.
Step 4: Hand-Tighten First
Thread the shower arm into the wall fitting by hand until it’s snug. This initial hand-tightening ensures the threads are properly engaged and helps you feel when the arm starts to seat correctly. Don’t force it—if it feels resistant, back it out and check for cross-threading.
Position the arm so it’s pointing slightly below your target angle. Remember, you still need to make 2-3 wrench rotations to fully seal the connection, and each rotation will move the arm.
Step 5: Final Tightening with Wrench
Use your strap wrench to make 2-3 additional rotations. Here’s a technique I learned from a master plumber: hold the arm close to the wall with one hand while tightening near the shower head end with your wrench. This reduces strain on the threads and helps prevent the arm from rotating past your target position.
Critical rule: never exceed 6 total revolutions (hand tight plus wrench tightening). Beyond this point, you risk over-tightening and potentially cracking the drop-ear elbow inside the wall. If you haven’t reached the correct position after 6 turns, stop and reassess.
Step 6: Check Alignment and Seal
Once tightened, check that the shower arm points downward at approximately 45 degrees. Turn on the water and check for leaks around the wall connection. If you see any dripping, you may need an additional wrap of PTFE tape—though this means removing and reinstalling the arm.
Install the escutcheon trim ring against the wall to cover the hole and provide a finished appearance. Some escutcheons have a set screw; others simply press into place with silicone caulk.
PTFE Tape Application: The Critical Detail
Let me emphasize the PTFE tape technique because this single detail causes more alignment problems than anything else. The clockwise wrapping direction isn’t optional—it’s mandatory.
When you wrap tape counter-clockwise, the tightening action unwinds the tape instead of compressing it. This creates gaps in the seal and can cause the tape to bunch up, preventing proper thread engagement. The result? A shower arm that feels tight but isn’t fully seated, often pointing in the wrong direction.
Here’s a simple way to remember: look at the threaded end of the shower arm and imagine tightening it into the wall. The tape should wrap in that same turning direction. If you’re unsure whether you wrapped correctly, start over—it’s better to waste a few inches of tape than to redo the entire installation.
Also, avoid over-taping. More isn’t better here. Too much PTFE tape can actually prevent proper thread engagement, leaving you with a loose connection that still manages to point the wrong way. Three to four wraps is the sweet spot for standard 1/2-inch shower arm threads.
What If Your Shower Arm Is Already Stuck?
Sometimes you inherit a misaligned shower arm from a previous owner or contractor. If the arm is tightly installed but pointing up, you have a few options.
First, try the removal and reinstallation process described above. Many times, simply starting fresh with properly cleaned threads and correctly applied PTFE tape will solve the problem. The previous installer may have used too much tape, the wrong wrapping direction, or cross-threaded the arm.
If you’ve removed and reinstalled the arm correctly but it still won’t point down after 6 revolutions, you might be dealing with a manufacturing defect. Some shower arms have inconsistent thread pitch or bending angles. Try a different shower arm—preferably from a different manufacturer or batch.
In rare cases, the drop-ear elbow inside the wall may be installed at the wrong angle. This is more common with DIY renovations or quick prefab shower installations. If you suspect this issue, you’ll need to access the wall (usually from the opposite side) to correct the elbow position. This is often when it makes sense to call a professional plumber.
Adjustable Shower Arm Options
If you’ve tried everything and still can’t get your shower arm to point correctly, consider an adjustable shower arm. These innovative solutions solve the alignment problem once and for all.
S-Style Shower Arms: These have a double-bend design that provides more flexibility in positioning. The S-shape allows you to rotate the arm for proper sealing while still ending up with the shower head pointing downward. They’re particularly useful in older homes where the wall fitting may not be perfectly positioned.
Ball-Joint Adjustable Arms: These feature a pivoting connection near the shower head end that allows you to angle the head independently of the wall connection. You tighten the arm fully into the wall (solving the sealing issue), then adjust the shower head angle separately. This is often the simplest solution for persistent alignment problems.
Extension Arms: If the issue is that your shower arm is too short (causing the shower head to spray at an awkward angle), a shower arm extension can add 6-12 inches of length. This gives you more positioning flexibility without requiring wall modifications.
Frequently Asked Questions
Why are shower arms angled?
Shower arms are angled to direct water flow downward at approximately 45 degrees, which provides optimal shower coverage and prevents water from spraying directly at the ceiling or walls. The angled design also allows the shower head to position water flow over the center of the shower stall rather than toward the walls.
Which direction should I wrap PTFE tape on a shower arm?
Always wrap PTFE tape clockwise around the male threads. This ensures that when you tighten the shower arm (also clockwise), the tape winds onto itself rather than unwinding. Starting at the end of the threads and working toward the wall connection, apply 3-4 tight wraps without covering the first few threads.
How tight should a shower arm be?
A shower arm should be hand-tight plus 2-3 wrench rotations, never exceeding 6 total revolutions. The connection should feel secure with no wobble, but over-tightening can crack fittings inside the wall. If you’re still achieving proper alignment after 6 turns, stop and reassess your approach rather than forcing more rotation.
What if my shower arm is cross-threaded?
If you suspect cross-threading (the arm feels gritty or resistant as you tighten), stop immediately. Remove the arm and inspect both the arm threads and the wall fitting. Clean both thoroughly and restart the installation. If damage is evident, replace the damaged component before proceeding—forcing a cross-threaded connection will only make the problem worse.
Can I use an adjustable shower arm to fix alignment issues?
Yes, adjustable shower arms are specifically designed to solve alignment problems. S-style shower arms and ball-joint adjustable models allow you to achieve a proper seal while still positioning the shower head correctly. These are excellent solutions when standard shower arms won’t cooperate with your wall fitting’s position.
Conclusion
Dealing with a shower arm pointing up is frustrating, but now you understand why it happens and exactly how to fix it. The key is proper PTFE tape application, careful tightening technique, and knowing when to stop rather than forcing more rotation. Remember the 6-revolution maximum rule—it exists for a reason.
If you’ve tried the standard installation process and still can’t achieve proper alignment, don’t hesitate to explore adjustable shower arm options. S-style arms and ball-joint models can solve persistent alignment problems without requiring wall modifications or expensive plumbing work.
Most shower arm pointing up issues can be resolved in under an hour with the right tools and technique. Take your time, wrap that tape clockwise, and don’t overtighten. Your perfectly aligned shower awaits.






Leave a Comment