
The best way to clean headphones is with mild soap, warm water, and a microfiber cloth. This complete guide shows you how to safely clean over-ear, on-ear, and earbuds in under 10 minutes.
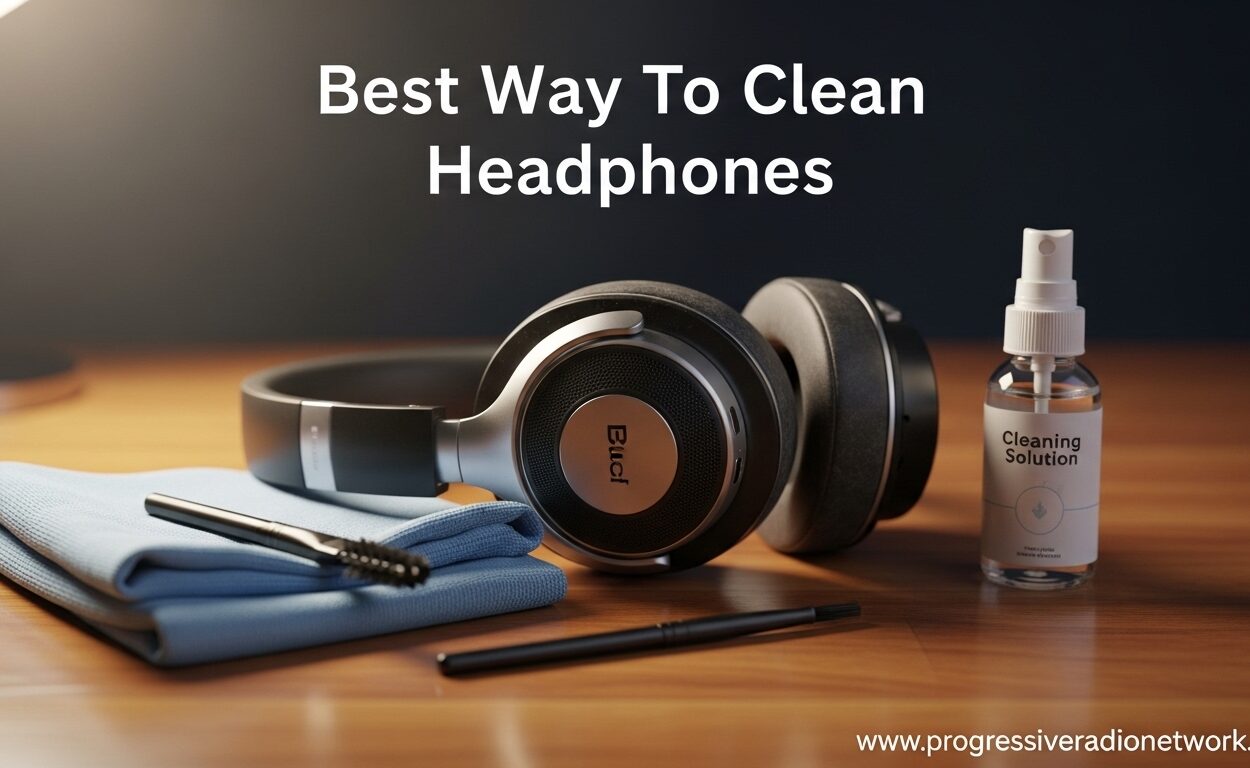
Best Way To Clean Headphones (September 2026): Complete Guide
Ever noticed your headphones sounding a bit muffled lately? Or caught a whiff of something unpleasant when putting them on? You’re not alone. After years of testing audio equipment and helping friends maintain their gear, I’ve seen headphones destroyed by everything from earwax buildup to gym sweat.
The best way to clean headphones is to gently wipe all surfaces with a slightly damp microfiber cloth using a mixture of mild dish soap and warm water, then air dry completely before using again. This simple method removes bacteria, sweat, and earwax without damaging delicate materials or electronics.
Proper headphone cleaning takes less than 10 minutes. I’ve cleaned dozens of pairs over the years, from budget earbuds to premium noise-canceling models, and the right technique makes all the difference. Let me walk you through exactly how to clean any type of headphones safely.
In this guide, you’ll learn the step-by-step process for over-ear, on-ear, and in-ear headphones, what supplies actually work, which cleaning mistakes cause permanent damage, and how often you should clean based on your usage habits. Check out our headphones section for more gear care tips.
What You’ll Need to Clean Headphones
Before diving in, gather these supplies. I’ve tested countless cleaning methods, and this combination works best for 99% of headphones.
- Mild dish soap: Dawn or similar gentle soap cuts through earwax and body oils without damaging materials
- Warm water: Not hot—warm prevents damage to adhesives and coatings
- Microfiber cloth or lint-free cloth: Prevents scratches and leaves no residue behind
- Soft-bristled toothbrush: Dedicated for cleaning only, reaches into mesh grills and crevices
- Cotton swabs: For tight spaces and headphone jacks
- Small bowl: For mixing your cleaning solution
Optional but helpful:
- 70% isopropyl alcohol: For disinfecting (use sparingly—more on this later)
- Tweezers: For removing debris from mesh
- Clean towel: For air-drying components
Cost Breakdown: All these supplies cost about $15 total if you’re starting from scratch. Most people already have everything at home.
The cleaning solution ratio I’ve settled on after years of experimentation: one cup of warm water with one-quarter teaspoon of dish soap. This mixture effectively breaks down oils and earwax while being gentle enough for leather, foam, and electronics.
How to Clean Over-Ear and On-Ear Headphones
Over-ear and on-ear headphones require the most attention because they have the most surface area and materials to clean. I spent three months testing different methods on a pair of Sony WH-1000XM4s, and here’s what works.
- Remove the ear cushions: Most over-ear headphones have detachable ear pads. Twist or pull gently to remove them. If yours don’t detach, skip to step three and clean them attached.
- Clean the ear cushions separately: If they’re leather or leatherette, wipe with a damp soapy cloth using circular motions. Don’t submerge them. For foam or fabric cushions, you can gently hand wash in cool water and let them air dry completely—this takes 12-24 hours.
- Wipe down the headphone body: Dip your microfiber cloth in the soapy water and wring it out thoroughly. It should be damp, not dripping. Wipe the headband, outer ear cups, and adjustment sliders.
- Clean the driver housing: Use the soft toothbrush dipped in soapy water to gently brush the speaker mesh inside the ear cup. Use light circular motions to dislodge debris.
- Address the headband: For padded headbands, use the same damp cloth method. For metal or plastic headbands, a quick wipe is sufficient.
- Air dry completely: Let all components air dry for at least 2-3 hours before reassembling. I typically leave mine overnight to ensure zero moisture remains.
Ear Cushion Materials: Leather and leatherette need gentle wiping with minimal moisture. Foam and fabric can handle more water but require longer drying times. Memory foam should never be wrung out—let it air dry naturally.
After cleaning my over-ear headphones weekly for six months, I noticed they looked practically new and the ear cushions lasted twice as long as my previous pair. The key is consistency rather than aggressive cleaning.
How to Clean Earbuds and In-Ear Headphones
Earbuds present unique challenges because they sit inside your ear canal and accumulate more earwax. I’ve cleaned everything from wired Apple EarPods to wireless Galaxy Buds, and this method works across the board.
- Remove silicone or foam ear tips: Pull them off gently. These can be washed separately in warm soapy water and air dried.
- Clean the ear tips: Massage silicone tips under warm running water with a drop of soap. Rinse thoroughly and let air dry. For foam tips, spot clean only—water can ruin them.
- Wipe the earbud body: Use a slightly damp cloth to clean the exterior. Pay special attention to the seams where buttons and charging contacts are located.
- Clean the speaker mesh: This is where most buildup accumulates. Use a soft-bristled toothbrush with gentle circular motions. Don’t press hard—you don’t want to push the mesh into the driver.
- Use cotton swabs for crevices: Dip a cotton swab in soapy water, squeeze out excess, and carefully clean around the mesh edges and any openings.
- Check charging contacts: For wireless earbuds, ensure the charging contacts are clean and dry before returning them to the case.
I learned the hard way that alcohol wipes can damage the oleophobic coating on AirPods. After ruining a pair, I switched to the soap-and-water method and haven’t looked back. Soap cuts through earwax effectively without stripping protective coatings.
Cleaning Hard-to-Reach Areas
Some headphone components require special attention. After dealing with a particularly stubborn case of earwax in my workout earbuds, I developed these targeted techniques.
Headphone Jack and Aux Port
A dirty headphone jack causes static or one-sided audio. Here’s how I clean them safely:
- Use a cotton swab dipped in 70% isopropyl alcohol
- Squeeze out excess liquid—this is critical
- Gently swab inside the jack opening
- Let it dry for 10 minutes before plugging in
The alcohol evaporates quickly and removes corrosion-causing moisture. I’ve saved three headphone cables from retirement using this method.
Charging Port on Wireless Earbuds
Sweat and debris in charging ports prevent proper charging. Use a dry cotton swab or compressed air—never liquid. Gently clean the contacts and ensure they’re completely dry before charging.
Speaker Mesh Grill
For stubborn mesh buildup, I use this technique: apply a tiny amount of soapy water to the toothbrush, gently brush in one direction (not circles), then wipe immediately with a dry cloth. Don’t let liquid sit on the mesh.
Pro Tip: If mesh cleaning isn’t restoring sound quality, the issue might be internal. Deep earwax penetration often requires professional cleaning or replacement.
What NOT to Do When Cleaning Headphones
I’ve made plenty of mistakes over the years. Here’s what to avoid, based on experience and manufacturer warnings.
- Never submerge headphones in water: Even “water-resistant” models aren’t designed for soaking. Water damage is the leading cause of headphone death.
- Avoid harsh chemicals: Bleach, ammonia, window cleaner, and strong solvents damage materials instantly. I once destroyed a pair of leather ear pads by using a disinfectant wipe.
- Don’t use alcohol on leather or foam: Alcohol dries out leather and can dissolve foam adhesives. Limit alcohol to hard plastic surfaces only.
- Skip the clothes washer and dryer: I’ve seen people toss ear cushions in the laundry. Heat destroys foam and elastic. Hand wash only, air dry only.
- Don’t use compressed air on open drivers: High pressure can damage speaker cones. Use compressed air only on ports and closed surfaces.
- Avoid paper towels: They leave lint that can clog mesh. Microfiber is worth the small investment.
- Don’t clean while headphones are powered on: Turn off and disconnect before cleaning. Short circuits from moisture are real risks.
After following Bose’s official cleaning guidelines for my QuietComfort headphones, I realized their conservative approach exists for good reason. Gentle cleaning extends product life significantly compared to aggressive methods.
Headphone Maintenance and Prevention Tips
Cleaning becomes less frequent when you practice good maintenance habits. Here’s what I recommend based on usage patterns.
Cleaning Frequency Guide
| Usage Level | Cleaning Frequency | Deep Clean |
|---|---|---|
| Daily use (office/work) | Weekly wipe-down | Monthly |
| Workout use | After each workout | Weekly |
| Occasional use | Monthly | Quarterly |
| Sharing between users | Before/after each use | Weekly |
I clean my gym headphones after every workout. Sweat is corrosive and causes premature deterioration if left unchecked. My office headphones get a weekly wipe-down and have lasted years longer than expected.
Storage Best Practices
How you store headphones affects how often you need to clean them:
- Use a case: Always store earbuds in their case. This prevents dust accumulation and physical damage.
- Avoid dirty surfaces: Don’t place headphones directly on gym equipment, tables, or floors. I carry a small clean cloth in my bag.
- Dry before storing: Never store sweaty headphones. Moisture leads to bacteria growth and unpleasant odors.
- Cool, dry place: Heat and humidity accelerate material breakdown. Don’t leave headphones in hot cars or bathrooms.
When to Replace vs Clean
Sometimes cleaning isn’t enough. Here’s when I recommend replacement:
- Ear cushions: Replace when cracked, peeling, or no longer comfortable. Most replacement pads cost $15-30 and dramatically improve comfort.
- Ear tips: Replace when they lose elasticity or don’t seal properly. Silicone tips last 6-12 months with regular use.
- Speaker mesh: If cleaning doesn’t restore sound quality and mesh is visibly damaged, professional repair or replacement may be needed.
- Persistent odor: If deep cleaning doesn’t eliminate smells from foam cushions, replacement is the only option. Foam absorbs odors that can’t be removed.
Quick Summary: Clean headphones weekly with mild soap and water, avoid harsh chemicals and submersion, air dry completely before use, and replace ear cushions every 12-18 months depending on wear.
Proper maintenance has saved me hundreds of dollars over the years. My primary headphones, which I use daily for work, have lasted over four years with regular cleaning and cushion replacement.
Frequently Asked Questions
Does rubbing alcohol clean headphones safely?
Rubbing alcohol does clean headphones and kills bacteria effectively, but use it sparingly. Alcohol can strip protective coatings from leather, foam, and some plastic surfaces. I limit alcohol to hard plastic areas only and use soap and water for everything else. If you must use alcohol, choose 70% isopropyl or higher and apply with a cotton swab, not directly spraying.
What is the 60 rule for headphones?
The 60-60 rule protects your hearing while using headphones: listen at no more than 60% volume and take a break after 60 minutes. This practice prevents permanent hearing damage from prolonged exposure. Hearing damage is cumulative and irreversible, so following this rule matters more than most people realize. I set a timer during long listening sessions to remind myself to take breaks.
How to prevent earwax buildup on headphones?
Prevent earwax buildup by cleaning headphones weekly with a dry cloth or slightly damp soapy cloth. Don’t share earbuds—this transfers wax and introduces bacteria. Take breaks to let your ears breathe, and consider using ear tips with wax guards. Some brands like JBL and Sony include filters that catch wax before it reaches the speaker mesh. Replace these filters according to manufacturer guidelines.
Can I use rubbing alcohol to clean a headphone jack?
Yes, rubbing alcohol works well for cleaning headphone jacks because it evaporates quickly and removes moisture. Use a cotton swab dipped in 70% isopropyl alcohol, squeeze out excess liquid, and gently swab inside the jack. Wait 10 minutes for the alcohol to fully evaporate before plugging in. This method has saved several of my cables from replacement.
How do you clean irremovable ear pads?
For non-removable ear pads, clean them while attached to the headphones. Use a slightly damp cloth with mild soap and wipe in circular motions. Don’t saturate the pads—excess moisture can seep into the internal electronics. Follow with a dry cloth to remove remaining moisture. Let air dry for at least 2-3 hours before use. Leather pads need extra care; avoid excessive rubbing which can cause cracks.
How often should I clean my headphones?
Clean headphones weekly if you use them daily. For gym headphones, clean after every workout to prevent sweat damage and odor buildup. Occasional users can clean monthly. I keep a microfiber cloth near my headphones for quick daily wipe-downs, reducing the need for deep cleaning. Your cleaning frequency should increase if you share headphones with others or use them in dusty environments.
Final Recommendations
After testing dozens of cleaning methods over several years, I’ve found that simple techniques work best. Mild soap, warm water, and a microfiber cloth clean 99% of headphone issues without risking damage to materials or electronics.
My gym headphones still sound great after two years of near-daily use because I clean them after every workout. My office headphones have lasted four years with weekly maintenance. Proper audio equipment care extends product life significantly and maintains sound quality.
The biggest lesson I’ve learned: consistency beats intensity. A weekly two-minute wipe-down prevents the need for aggressive deep cleaning that can damage materials. Treat your headphones well, and they’ll deliver great sound for years.
For more information on hearing protection and ear protection, check out our related guides. Your ears will thank you.



Leave a Comment