
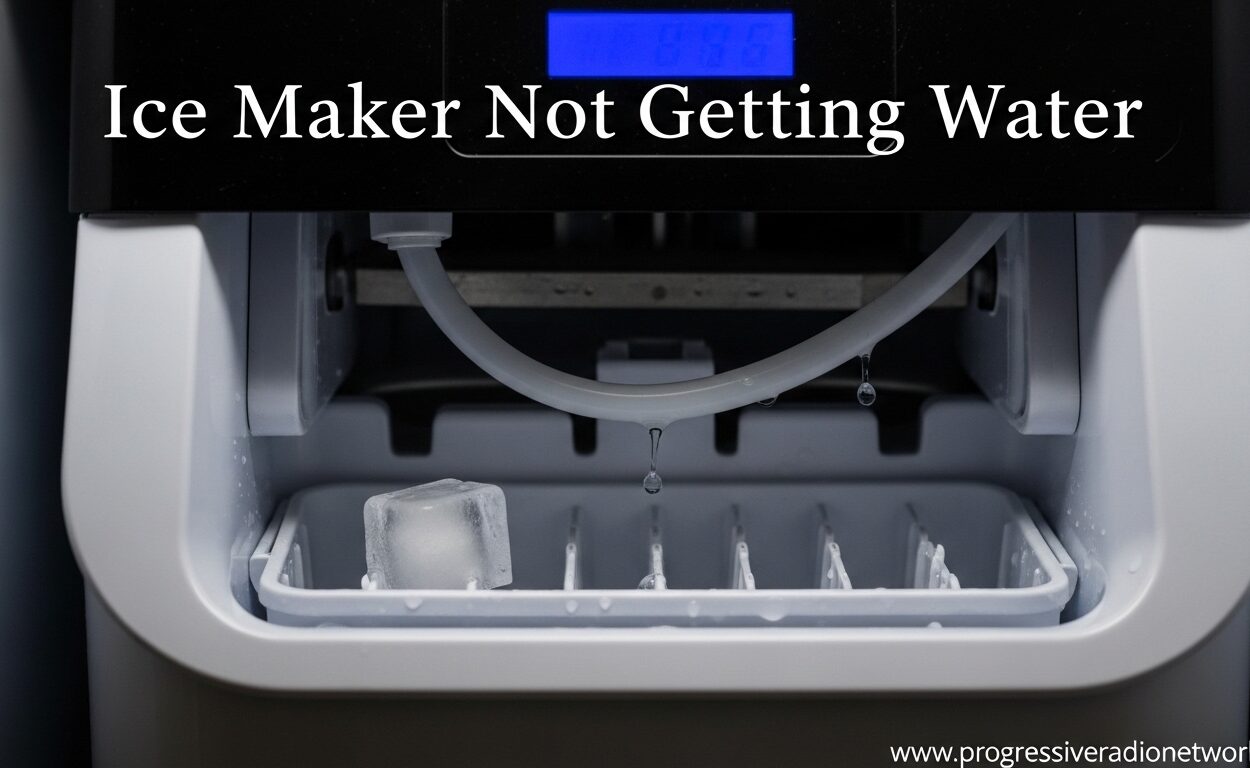
When your ice maker stops getting water, the cause is usually one of seven components. I have spent years fixing appliance problems, and I can tell you that understanding why your ice maker is not getting water is simpler than most repair shops want you to believe.
This guide covers every check you need to make, from the water filter to the electrical connections. I will walk you through the exact steps that work, based on what real technicians see in actual households.
Before we begin: always disconnect power and water supply before opening any appliance panels. Safety matters more than fixing the problem quickly.
Check 1: Water Filter Inspection
The water filter is the first thing to check when your ice maker is not getting water. A clogged filter restricts water flow to both the dispenser and the ice maker, even when the filter indicator light shows green.
Many homeowners assume the green light means the filter is working properly. This is a common mistake. The light only indicates time elapsed, not actual filtration quality. Sediment and mineral buildup can restrict flow long before the filter indicator prompts a change.
Most refrigerator water filters need replacement every 6 to 12 months, depending on water quality and usage. If you have not changed your filter in over a year, this is likely your problem.
To check and replace the water filter, locate it inside the refrigerator compartment or in the front grille. Turn the old filter counterclockwise to remove it, then insert the new filter and turn clockwise until it clicks into place. After replacement, dispense several cups of water to flush the system.
If you do not have a replacement filter immediately available, your refrigerator may have a bypass plug. Installing the bypass allows water to flow directly to the ice maker without filtration. This is useful for testing whether the filter is truly the culprit.
Check 2: Water Inlet Valve Diagnosis
The water inlet valve is an electrically operated solenoid that controls water flow into the ice maker. When the ice maker calls for water, it sends an electrical signal to this valve, which opens to allow water to fill the ice mold. If the valve fails to open, no water reaches the ice maker.
One telltale sign of a faulty water inlet valve is a clicking sound coming from the ice maker. This clicking means the ice maker is requesting water, but the valve is not receiving power or is mechanically stuck. If you hear this clicking without water entering the mold, the valve is the prime suspect.
The water inlet valve and the water dispenser valve are separate components, even though they may be located together. This explains why your water dispenser might work fine while the ice maker fails. They do not share the same valve.
Testing the water inlet valve requires a multimeter to check for continuity. Set the multimeter to the continuity or resistance setting, then touch the meter probes to the valve’s electrical terminals. A reading of zero or near-zero ohms indicates the coil is functioning. An open circuit means the valve has failed and needs replacement.
Without a multimeter, you can perform a visual inspection. Look for loose wire connections on the valve terminals. Corrosion or looseness can prevent the electrical signal from reaching the valve. Clean any corrosion with a wire brush and ensure connections are tight.
Check 3: Frozen Fill Tube
A frozen fill tube is another common reason an ice maker is not getting water. The fill tube carries water from the inlet valve to the ice mold. When frost or ice builds up inside this tube, it blocks water flow entirely.
This problem often occurs when freezer temperatures are set too low or when the ice maker produces ice frequently. Moisture in the air condenses and freezes inside the tube, gradually restricting the opening until no water can pass through.
To check for a frozen fill tube, first locate it. The fill tube is usually a small plastic line running from the back of the refrigerator to the ice maker. Look for frost or ice buildup on or inside the tube. In severe cases, you may see ice visible through the tube wall.
Thawing a frozen fill tube is straightforward. Unplug the refrigerator and use a hair dryer on a low heat setting to warm the frozen section. Hold the dryer at least 6 inches away to avoid melting plastic. Alternatively, you can use a heat gun on the lowest setting, but proceed with extreme caution.
After thawing, check that water flows freely through the tube. To prevent this issue from recurring, ensure your freezer temperature is set between 0 and 5 degrees Fahrenheit. Also, verify that the ice maker fill volume is correctly calibrated for your water pressure.
Check 4: Control Arm / Shut-Off Position
The control arm, also called the feeler arm or shut-off arm, tells the ice maker when the ice bin is full. When the arm is in the up or raised position, the ice maker interprets this as a full bin and stops requesting water.
This sounds simple, but it is a frequently overlooked issue. Ice can accumulate on the arm itself, forcing it upward and triggering the shut-off signal. The ice maker appears to be running normally, but it will not fill with water because it believes the bin already contains enough ice.
Inspect the control arm carefully. Remove any ice buildup on and around the arm mechanism. Ensure the arm sits in the down position when the ice bin is not full. The arm should rest naturally against the top layer of ice in the bin.
Some ice makers have a wire shut-off arm that must be physically lifted to stop production. On these models, make sure the arm is not accidentally raised. On other designs, a digital sensor detects the ice level. Clean the sensor with a soft cloth if it appears dirty or frosted over.
If the arm mechanism is broken or cannot hold its proper position, the ice maker may need replacement of the entire assembly. A broken shut-off mechanism can cause constant water requests, leading to overflow and water leakage.
Check 5: Water Supply Line
The water supply line delivers water from your home plumbing to the refrigerator. Several issues along this line can prevent water from reaching your ice maker.
First, check that the supply valve under the sink or behind the refrigerator is fully open. This valve controls water flow to the entire refrigerator. If it is partially closed or was recently turned off, water pressure to the ice maker drops significantly.
Kinks in the supply line are a common cause of reduced water flow. The tubing can bend or crimp during installation or when the refrigerator is moved for cleaning. Inspect the entire length of visible tubing and straighten any kinks you find.
One component that is often missed during troubleshooting is the saddle valve. This is a T-shaped valve installed on the main water supply pipe. It supplies water specifically to the refrigerator line. Saddle valves can become clogged with mineral deposits or can fail to open fully, restricting flow to the ice maker.
If your home has hard water, mineral buildup inside the saddle valve is likely. In some cases, you can clear the blockage by cycling the valve open and closed several times. In severe cases, the saddle valve requires replacement. This is a more involved repair that may require a plumber.
Your ice maker requires a minimum of 20 psi water pressure to function properly. If your home water pressure is borderline, the water dispenser may work while the ice maker fails. The dispenser requires less pressure to operate than the ice maker’s fill cycle.
Check 6: Temperature Settings
The freezer compartment must reach and maintain a temperature below 32 degrees Fahrenheit for the ice maker to function. If the freezer is too warm, the ice maker will not request water, regardless of other component conditions.
For new refrigerator installations, you must wait 24 to 48 hours for the freezer to reach proper temperature before the ice maker will operate. This is not a malfunction. The ice maker has a temperature sensor that prevents water from entering a compartment that is not cold enough, which would result in ice melting and refreezing.
Check your freezer temperature setting. The ideal range is 0 to 5 degrees Fahrenheit. Use a separate freezer thermometer to verify the actual temperature, as built-in thermometers can be inaccurate. Adjust the temperature control as needed and wait several hours before rechecking.
Do not pack the freezer too tightly. Good air circulation is necessary for consistent temperatures throughout the compartment. Overloading the freezer creates warm spots where the thermometer might not reflect overall conditions. Ice makers located near the door experience warmer air exposure during frequent openings.
If the freezer temperature is correct but the ice maker still does not request water, the temperature sensor or control board may be faulty. These components are more difficult to diagnose without specialized tools.
Check 7: Electrical Connection
Electrical connections deliver power to the ice maker components. Loose or corroded connections can prevent the ice maker from receiving the signals it needs to request water.
Begin by inspecting the wire harness connections at the ice maker. Unplug the refrigerator and locate the ice maker assembly. Check that the multi-pin connector is fully seated and that no wires are loose or disconnected. Vibration from daily use can gradually loosen connections over time.
Look for signs of corrosion on the electrical terminals. Corrosion appears as greenish-white powdery deposits. It prevents proper electrical conductivity. Clean corroded terminals with a wire brush or electrical contact cleaner. For severe corrosion, the connector may need replacement.
The main control board inside the refrigerator manages ice maker operation. If this board fails, it may not send the signal to the water inlet valve. Control board issues are less common than component failures but do occur, especially after power surges or electrical storms.
Diagnosing control board problems requires professional-grade diagnostic equipment. If all other checks pass and the ice maker still does not receive water, contact an appliance repair technician. Control board replacement is not a recommended DIY repair due to the complexity and cost of the component.
Manual Ice Maker Test Procedure
Before replacing any components, perform this simple test to determine whether the ice maker itself is functioning. This test isolates the problem between the ice maker mechanism and the water supply system.
Pour approximately 4 ounces of water directly into the ice mold, the compartment where ice cubes form. Use a measuring cup to ensure the correct amount. Close the ice maker door and wait 2 to 3 hours.
If the ice maker produces ice cubes from the water you added, the ice maker mechanism is working correctly. The problem lies in the water supply system: the filter, inlet valve, fill tube, or supply line. Continue troubleshooting these components.
If the ice maker does not produce ice from the manually added water, the ice maker assembly itself is faulty. In this case, component-level repair or replacement is necessary. The motor, heating element, or control board may be malfunctioning.
This 4-ounce test is a diagnostic technique that professional technicians use regularly. It saves time and money by confirming where the problem originates before purchasing replacement parts.
Ice Maker Reset Procedure
Resetting the ice maker clears its internal memory and recalibrates its functions. This can resolve temporary glitches or communication errors between components.
The basic reset procedure works for most brands, including Whirlpool, GE, Frigidaire, and Samsung. First, locate the on-off switch or power button on the ice maker. Turn the ice maker off and wait approximately 30 seconds. Turn it back on and listen for the motor to cycle.
Some ice makers have a specific test or reset button. Consult your refrigerator manual for the exact location. On many models, pressing and holding the test button for several seconds initiates a harvest cycle, where the ice maker attempts to produce ice regardless of temperature or arm position.
After resetting, give the ice maker time to complete its cycle. The first batch of ice after a reset may take longer than usual as the system recalibrates. Check after 2 to 3 hours to see if ice production has resumed.
If the reset does not resolve the issue, the ice maker likely has a mechanical or electrical fault requiring component replacement. A reset is not a fix for failed motors, valves, or control boards.
Brand-Specific Notes
While the underlying mechanics are similar across brands, certain manufacturers have unique troubleshooting considerations for their ice makers.
Whirlpool refrigerators often use a simple on-off switch located on the ice maker face. The test button is typically marked with a small ice cube icon. Whirlpool ice makers are known for their reliability, but the water inlet valve on these models can fail after 5 to 7 years of use.
GE ice makers feature a feeler arm that must be in the correct position for operation. The GE ice maker test procedure involves lifting the arm three times in succession, which initiates a diagnostic mode. Refer to your specific model number in the GE support documentation for detailed instructions.
Frigidaire ice makers sometimes experience a specific issue where the fill valve solenoid attracts mineral deposits from hard water, causing it to stick. Regular filter changes help prevent this problem. The reset procedure on Frigidaire models involves flipping the ice maker off, waiting 30 seconds, and flipping it back on.
Samsung ice makers have a digital display that can show error codes. The most common code for water supply issues is “iE” or “ice error.” Samsung refrigerators also have a hidden test button that service technicians use to diagnose issues.
Kenmore ice makers, which are often manufactured by Whirlpool or GE, follow similar troubleshooting procedures to their OEM counterparts. The saddle valve issue is particularly common on Kenmore side-by-side models.
When to Call a Professional
Some ice maker repairs are straightforward DIY projects, while others require professional expertise. Knowing the difference saves you time and prevents further damage.
You can safely handle these repairs yourself: water filter replacement, control arm cleaning and adjustment, temperature setting verification, frozen fill tube thawing, and basic reset procedures. These tasks require no special tools and present minimal risk.
Call a professional for water inlet valve replacement, saddle valve repair or replacement, control board diagnosis and replacement, and any electrical work beyond simple wire connection checks. These repairs require expertise and sometimes specialized tools.
The cost comparison is significant. A DIY water filter costs $20 to $50. Professional valve replacement parts run $50 to $150, plus $100 to $200 in labor. Control board replacement can cost $200 to $400 including parts and service. Before paying for a service call, perform the manual 4-ounce water test to confirm the ice maker itself is functioning.
If your ice maker is still under warranty, contact the manufacturer first. Unauthorized DIY repairs may void the warranty coverage. Document all troubleshooting steps you have taken before calling for service.
FAQs
Why is the water not flowing into my ice maker?
Water stops flowing to ice makers due to several causes: a clogged or old water filter blocking flow, a faulty water inlet valve that fails to open, a frozen fill tube preventing water passage, incorrect control arm position signaling a full bin, low water pressure below the required 20 psi, or the freezer temperature being too warm for ice production.
Why does the water dispenser work but not the ice maker?
This happens because the water dispenser and ice maker have separate inlet valves. The ice maker valve is specifically controlled by the ice maker control board. If the ice maker valve fails or the fill tube leading to the ice maker is frozen, water reaches the dispenser but not the ice maker. The water filter affects both, so if only the ice maker is affected, the filter is less likely the cause.
How do I know if my ice maker water valve is bad?
Signs of a failing water inlet valve include a clicking sound from the ice maker without water entering, the dispenser also failing or working weakly, and multimeter testing showing no continuity across the valve terminals. The valve may also show visible corrosion or damage on the electrical connections.
Why is my GE ice maker not filling with water?
GE ice makers commonly fail to fill due to the feeler arm being stuck in the up position, a clogged water filter, the fill tube freezing in cold temperatures, or the ice maker needing a reset. On new GE refrigerators, allow 24 to 48 hours for the freezer to reach proper temperature before the ice maker will request water.
How do I manually reset my ice maker?
To reset most ice makers, turn the unit off using the on-off switch or button, wait 30 seconds, then turn it back on. Some models require holding the test button for several seconds. After resetting, wait 2 to 3 hours for the first ice batch to appear. The reset clears internal memory and recalibrates the ice maker functions.
How to force an ice maker to fill with water?
You cannot force an ice maker to fill outside its normal cycle, but you can test it manually using the 4-ounce water test. Pour 4 ounces of water directly into the ice mold and wait 2 to 3 hours. If ice forms, the ice maker mechanism works and the problem is in the water supply. On some models, pressing the test button initiates an immediate fill cycle regardless of temperature or arm position.
Conclusion
When your ice maker is not getting water, work through these seven checks systematically. Start with the easiest fixes: the water filter and control arm. These resolve the majority of ice maker water supply issues. Move to more complex diagnostics only if the simple fixes do not work.
The water filter is the culprit in about 40 percent of cases. The water inlet valve and frozen fill tube account for another 30 percent combined. The remaining issues, including control arm position, supply line problems, temperature settings, and electrical connections, make up the final 30 percent.
Remember to always disconnect power before working inside appliance panels. If you are unsure about any repair step, consult a professional. Your safety is more important than fixing the problem quickly.
With this troubleshooting guide, you now have a complete roadmap for diagnosing and fixing an ice maker water supply problem. Work through each check methodically, and you will identify the issue causing your ice maker not to get water.


Leave a Comment