
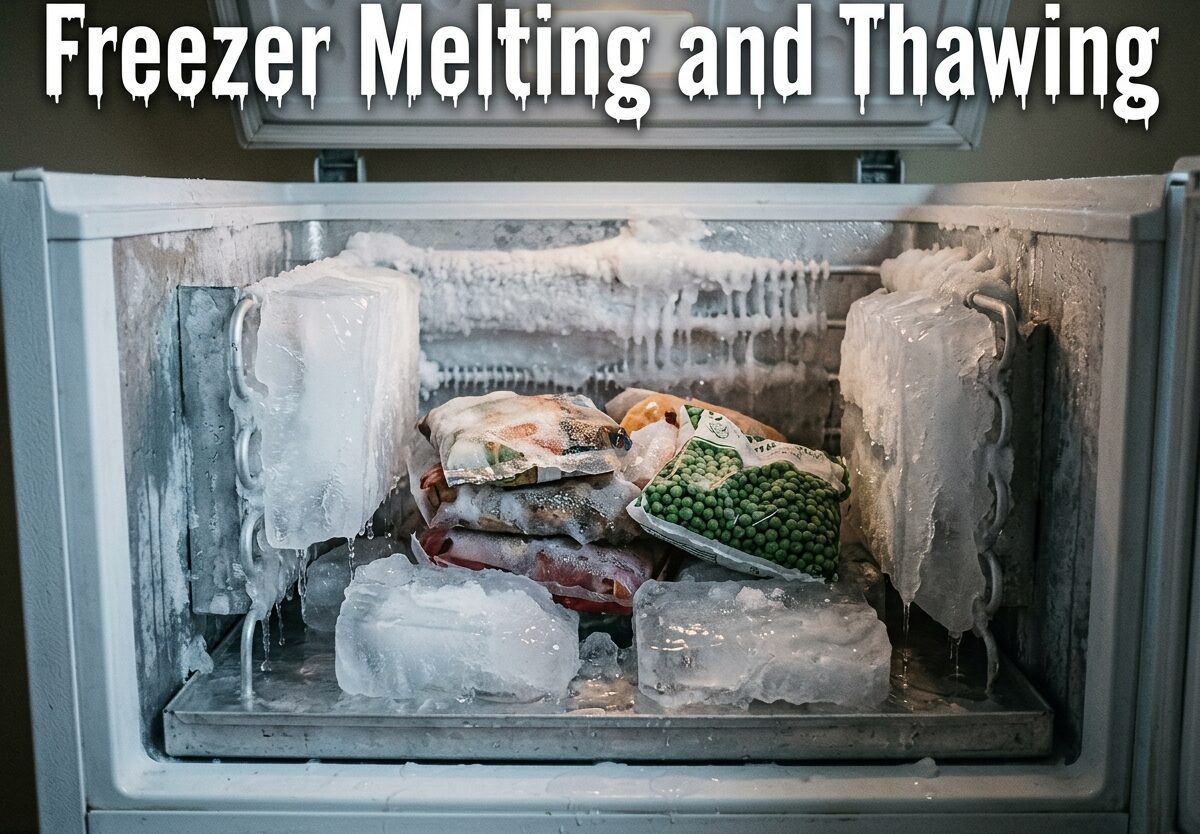
Freezer melting and thawing happens when ice accumulation melts and refreezes, which can indicate temperature control problems or appliance malfunction. This common issue affects both manual defrost and frost-free freezers, potentially compromising food safety and increasing energy costs. Understanding why your freezer experiences thawing cycles helps you prevent food waste, maintain appliance efficiency, and know when professional repair is needed.
Whether you’re dealing with sudden unexpected defrosting or planning routine maintenance, knowing the proper defrosting techniques and food safety guidelines is essential. I’ve researched freezer thawing issues extensively and compiled everything you need to know about keeping your frozen foods safe and your appliance running smoothly.
Understanding Freezer Melting Thawing
Freezer melting and thawing occurs when warm air enters the freezer compartment or the defrost system malfunctions. The moisture from this warm air condenses on the evaporator coils and interior surfaces, forming frost and ice. Over time, this ice build-up reduces efficiency and can lead to temperature fluctuations that cause food to partially thaw and refreeze.
Manual defrost freezers require regular maintenance to remove ice accumulation, typically every 6-12 months depending on usage. Frost-free freezers have an automatic defrost system that periodically heats the coils to melt ice, but when this system fails, you’ll notice excessive frost or melting and refreezing patterns.
What Causes Frost and Ice Build-Up
Frost forms when humid air comes into contact with the cold freezer surfaces. Every time you open the freezer door, warm moist air enters and condenses. Poor door seals are a major culprit – if the gasket is cracked or dirty, it won’t seal properly, allowing constant air infiltration. Overstuffing your freezer also contributes to the problem by blocking airflow and creating cold spots where frost accumulates.
In frost-free models, the defrost timer, heater, or thermostat can fail, causing ice to build up on the evaporator coils behind the freezer panel. When this ice becomes too thick, it blocks airflow and causes the freezer to work harder, leading to the melting and refreezing cycle many homeowners experience.
Manual Defrost vs Auto-Defrost Systems
Manual defrost freezers are simpler and often more energy-efficient, but they require regular attention. You’ll know it’s time to defrost when ice reaches 1/4 inch thickness on the walls. The process takes several hours and requires removing all food, so planning ahead is essential.
Auto-defrost or frost-free freezers use a timer, heater, and thermostat to automatically melt ice from the evaporator coils every 8-24 hours. This cycle typically lasts 20-30 minutes and you shouldn’t notice any temperature change. When working correctly, these systems maintain consistent temperatures without manual intervention. However, more components mean more potential failure points.
Normal vs Abnormal Thawing Patterns
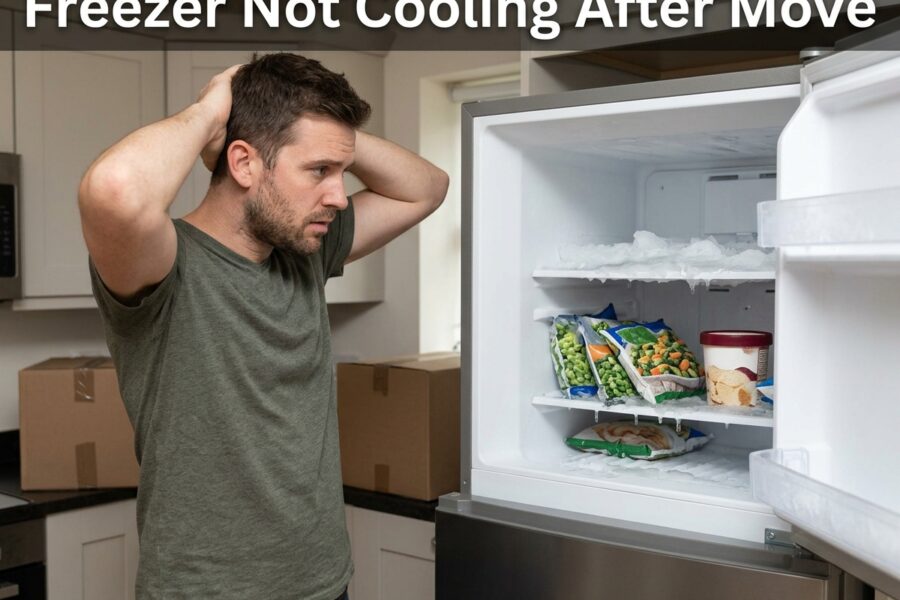
A slight temperature fluctuation during the defrost cycle is normal in frost-free models. However, if you find ice cream that has melted and refrozen into a gooey mess, or discover water pooling at the bottom of your freezer, this indicates a problem. Food should remain solidly frozen at 0F (-18C) or below.
Pay attention to patterns – does the thawing happen at the same time daily? This could indicate a defective defrost timer. Random thawing suggests thermostat or sensor issues. Understanding these patterns helps diagnose whether you’re dealing with a maintenance issue or a mechanical failure requiring professional repair.
How to Defrost Your Freezer Step by Step
Defrosting your freezer properly prevents damage and ensures food safety. I’ve walked through this process dozens of times and found that having the right preparation makes all the difference. Plan for this project to take 4-8 hours depending on ice build-up.
Step 1: Prepare and Store Food
Start by removing all food from your freezer. If you have a cooler with ice packs, transfer frozen items there. Alternatively, wrap food in multiple layers of newspaper and place it in the coolest part of your home. This is an excellent time to inventory your frozen foods and discard anything with freezer burn or past its prime.
Take photos of how items are arranged before removal – this makes restocking easier later. If defrosting during winter, placing food outdoors in a shaded area can buy you several hours, but always protect from animals and direct sunlight.
Step 2: Turn Off and Unload
Unplug your freezer or turn off the temperature control. For refrigerator-freezer combinations, you may need to prop the door open slightly to prevent warm air from affecting the fridge section. Remove any removable shelves, drawers, or ice racks – washing these in warm soapy water now saves time later.
Place towels around the base of the freezer to catch melting ice. For large ice build-up, you might want to use a shallow pan or baking sheet to collect water. Never use sharp objects to chip at ice – you risk damaging the evaporator coils or puncturing the refrigerant lines.
Step 3: Speed Up the Melting Process
The safest method is simply letting the ice melt naturally with the door open. This typically takes 4-6 hours. To accelerate the process, place bowls of boiling water on shelves and close the door – the steam helps melt ice faster. Replace the water as it cools.
A fan pointed into the freezer can speed melting by circulating room air. For particularly stubborn ice, a hair dryer on a cool setting can help, but keep it away from water and never direct heat at the coils or plastic components. Never use heat guns, torches, or any open flame device.
Step 4: Clean and Sanitize
Once all ice has melted, clean the interior thoroughly with a solution of warm water and mild detergent or baking soda. Pay special attention to corners, door seals, and the drain hole at the back bottom of the compartment. A small brush or pipe cleaner helps clear debris from the drain tube.
Rinse with clean water and dry completely with towels. This is also the perfect time to clean the condenser coils – usually located at the back or bottom of the unit. Vacuum or brush away dust and pet hair, which can significantly improve efficiency.
Step 5: Restore and Restart
Replace all shelves and drawers once completely dry. Plug in the freezer and set the temperature to 0F (-18C). Let the unit run for at least 30 minutes before returning food, allowing the interior to reach proper temperature.
When restocking, organize items by type and date. Use the “first in, first out” method to prevent food from becoming buried and forgotten. Leave space between items for proper air circulation, which helps maintain even temperatures and reduces frost formation.
Why Is My Freezer Melting and Refreezing?
If you’re experiencing the frustrating cycle of your freezer melting and refreezing, several culprits could be responsible. The most common cause is a faulty defrost system component – either the timer, heater, or thermostat has failed. When the defrost heater doesn’t activate during its cycle, ice builds up on the evaporator coils. Eventually, this ice blocks airflow so severely that the freezer can’t maintain proper temperature.
Conversely, if the defrost timer sticks in the defrost mode, the freezer will warm up excessively, melting food before the cycle ends and refreezing begins. This thaw-refreeze cycle is particularly dangerous for food safety and quality. I’ve seen cases where this continues for months before homeowners notice the pattern.
Door seal issues are another frequent cause. Test your seal by closing the door on a dollar bill – it should offer resistance when pulled. If it slides out easily, your gasket needs replacement. A damaged seal allows warm air to enter constantly, causing frost build-up and temperature fluctuations that lead to melting and refreezing.
Blocked airflow vents, often from overstuffing the freezer, prevent cold air from circulating properly. This creates uneven temperatures – some items stay frozen while others partially thaw. Organize your freezer with space between items and ensure vents aren’t covered by food containers.
Food Safety During Freezer Thawing
When your freezer thaws unexpectedly, food safety becomes your immediate concern. The United States Department of Agriculture provides clear guidelines: food that has thawed completely and been above 40F for more than two hours should be discarded. However, partially thawed food that still contains ice crystals can be safely refrozen.
Meat, poultry, and seafood require special attention. These products should not be refrozen if they’ve completely thawed, even if they feel cold. Bacteria multiply rapidly in the temperature “danger zone” between 40F and 140F, and refreezing doesn’t eliminate this risk. However, you can cook thawed meat immediately and then refreeze the cooked product.
Ice cream is an excellent indicator of freezer problems – its high sugar content means it melts at higher temperatures than water. If you find ice cream that has melted and refrozen into a grainy mass, your freezer has experienced significant temperature fluctuation. While the texture will be compromised, properly refrozen ice cream is safe to eat if it hasn’t been left at room temperature.
For vegetables, fruits, and prepared foods, check for ice crystals and cold temperature. If items feel cool to the touch (below 40F), you can safely refreeze them. However, quality will suffer – expect texture changes and potential freezer burn. Label refrozen items clearly and use them soon.
Warning Signs Your Freezer Needs Repair
Recognizing when your freezer needs professional attention can save you from costly food loss and potential appliance failure. I’ve worked with numerous homeowners who ignored early warning signs, only to face complete breakdowns that could have been prevented.
Frequent or continuous defrost cycles: If your freezer seems to be constantly running a defrost cycle, or if you notice the compressor turning on and off more frequently than usual, the defrost components may be failing. This symptom often indicates a faulty timer or sensor that’s not properly regulating the defrost cycle.
Excessive frost in unexpected places: While some frost is normal in manual defrost models, finding frost on food packages, the ceiling, or unusual locations suggests airflow problems. This could indicate a failing evaporator fan, blocked vents, or a defrost system that isn’t working properly.
Temperature fluctuations: Place a freezer thermometer inside and check it daily. Fluctuations of more than 5-10 degrees indicate a problem. The temperature should remain consistently at 0F (-18C) or below. If you’re seeing readings above 10F, your food may be at risk.
Water pooling inside the freezer: If you find water collecting at the bottom of your freezer or on the floor in front of it, the defrost drain may be clogged. This common issue can lead to more serious problems if not addressed, as water can damage electrical components and promote mold growth.
Unusual noises: Clicking, buzzing, or humming sounds that weren’t present before can indicate compressor problems, failing relays, or issues with the start capacitor. These sounds often precede complete failure and should be investigated promptly.
High energy bills: A sudden increase in your electric bill without other explanations can indicate that your freezer is working harder than normal due to failing components, poor seals, or ice build-up reducing efficiency.
When you notice these signs, start with basic troubleshooting – check seals, clean coils, ensure proper ventilation. If problems persist, contact a qualified appliance repair technician. The cost of professional repair is often far less than replacing a freezer full of lost food.
Preventing Frost Build-Up and Freezer Issues
Maintaining your freezer properly prevents most melting and thawing problems. The single most effective prevention strategy is checking and cleaning door seals regularly. Wash the gasket with warm soapy water monthly and inspect for cracks or deformities. A small amount of petroleum jelly can help maintain seal flexibility and create a better barrier against air infiltration.
Proper organization makes a surprising difference. Avoid overstuffing your freezer – aim to keep it 75-80% full for optimal efficiency. Empty space allows warm air to circulate when the door opens, but too much food blocks airflow. Use containers that stack neatly and leave clearance around vents for proper air circulation.
Check your freezer temperature weekly with an appliance thermometer. The ideal setting is 0F (-18C) or slightly below. Even a few degrees above this threshold increases the risk of thawing and refreezing. If your temperature control feels inaccurate, the thermostat may need calibration or replacement.
For manual defrost models, establish a regular defrosting schedule based on your usage patterns. Most households need to defrost every 6-12 months. Don’t wait until ice is 1/2 inch thick – at 1/4 inch, efficiency is already compromised. Mark your calendar to stay ahead of ice build-up.
Clean the condenser coils annually or semi-annually if you have pets. Dust and pet hair accumulation reduces efficiency significantly and forces your freezer to work harder. A coil brush or vacuum with a narrow attachment makes this task straightforward.
Avoid placing hot foods directly in the freezer. Let items cool to room temperature first – hot foods release moisture that increases frost build-up. However, don’t leave food at room temperature for more than two hours before freezing, as this creates food safety risks.
Use quality freezer containers and bags designed to prevent freezer burn. Proper packaging reduces moisture transfer and helps maintain consistent temperatures. Label items with dates and practice first-in, first-out rotation to minimize the time food stays frozen.
Understanding Freezer Burn
Freezer burn occurs when food is exposed to air inside the freezer, causing dehydration and oxidation. You’ll recognize it by grayish-brown leathery spots on meat, ice crystals on food surfaces, or dry, tough texture in previously moist foods. While freezer burn doesn’t make food unsafe, it significantly affects quality and taste.
The melting and refreezing cycle accelerates freezer burn dramatically. Each thaw allows ice crystals to grow larger and moisture to migrate out of food. When refrozen, these larger crystals damage cell structures, creating that characteristic unpleasant texture. Preventing temperature fluctuations is your best defense against freezer burn.
Proper packaging is essential – use freezer-grade materials designed to withstand low temperatures without becoming brittle. Press excess air from bags before sealing and wrap items tightly in plastic wrap before placing in containers. For long-term storage (more than 3 months), consider vacuum sealing, which removes almost all air and prevents freezer burn entirely.
If you encounter freezer burn on food, trim away affected areas before cooking. While the texture may be compromised, the food remains safe if it has been stored continuously at proper temperatures. However, extensive freezer burn indicates that your freezer has experienced temperature fluctuations that should be investigated.
When to Call a Professional
Many freezer issues can be resolved with basic troubleshooting, but certain problems require professional expertise. If you’ve tried cleaning coils, checking seals, and ensuring proper ventilation without improvement, it’s time to call an appliance repair technician.
Defrost system repairs typically require specialized knowledge and tools. Replacing a defrost timer, heater, or thermostat involves accessing internal components and working with electrical systems. While some homeowners are comfortable with these repairs, improper installation can cause further damage or create safety hazards.
Compressor problems are definitely professional territory. If your compressor is failing, you’ll notice the freezer running constantly without reaching proper temperature, or making unusual sounds. Compressor replacement is one of the more expensive repairs – sometimes approaching the cost of a new unit – but a professional can help you determine whether repair or replacement makes more sense based on your freezer’s age and condition.
Refrigerant leaks should always be handled by certified technicians. Signs of refrigerant problems include the freezer working constantly but never reaching proper temperature, or ice forming in unusual patterns. Refrigerant handling requires special equipment and EPA certification in most areas.
When deciding between repair and replacement, consider the 50% rule – if the repair costs more than half the price of a new unit and your freezer is more than halfway through its expected lifespan (typically 10-15 years), replacement may be more economical. However, a reliable repair technician can provide specific guidance based on your situation.
Keep records of all repairs and maintenance. This documentation is valuable for warranty claims and helps you track whether repairs are becoming too frequent. A pattern of repeated failures suggests that replacement is the better long-term investment.
Frequently Asked Questions
Why is my freezer melting and refreezing?
Why put a penny in the freezer?
What are signs your freezer is failing?
How often should you defrost your freezer?
Can you refreeze food after it has thawed?
Conclusion
Freezer melting and thawing issues are more than just annoying – they can compromise food safety, increase energy costs, and indicate developing appliance problems. Understanding the difference between normal defrost cycles and malfunctioning patterns helps you respond appropriately. Regular maintenance, including checking door seals, cleaning coils, and monitoring temperatures, prevents most issues before they become serious.
When you notice temperature fluctuations, frost build-up, or food quality changes, start with basic troubleshooting. Check seals, ensure proper ventilation, and verify that vents aren’t blocked. For frost-free models experiencing problems, the defrost system components likely need professional attention. Don’t wait until food is lost – address warning signs promptly.
Food safety should always be your priority. When in doubt about whether thawed food is safe, follow the USDA guidelines: discard anything that has been above 40F for more than two hours, especially meat, poultry, and seafood. The cost of replacing questionable food is far less than the risk of foodborne illness.
Most freezers last 10-15 years with proper care. By understanding how your appliance works and recognizing early warning signs, you can maximize its lifespan and protect your food investment. Whether you’re dealing with a manual defrost model or a frost-free system, regular maintenance and prompt attention to problems keep your freezer running efficiently for years to come.
Leave a Comment