
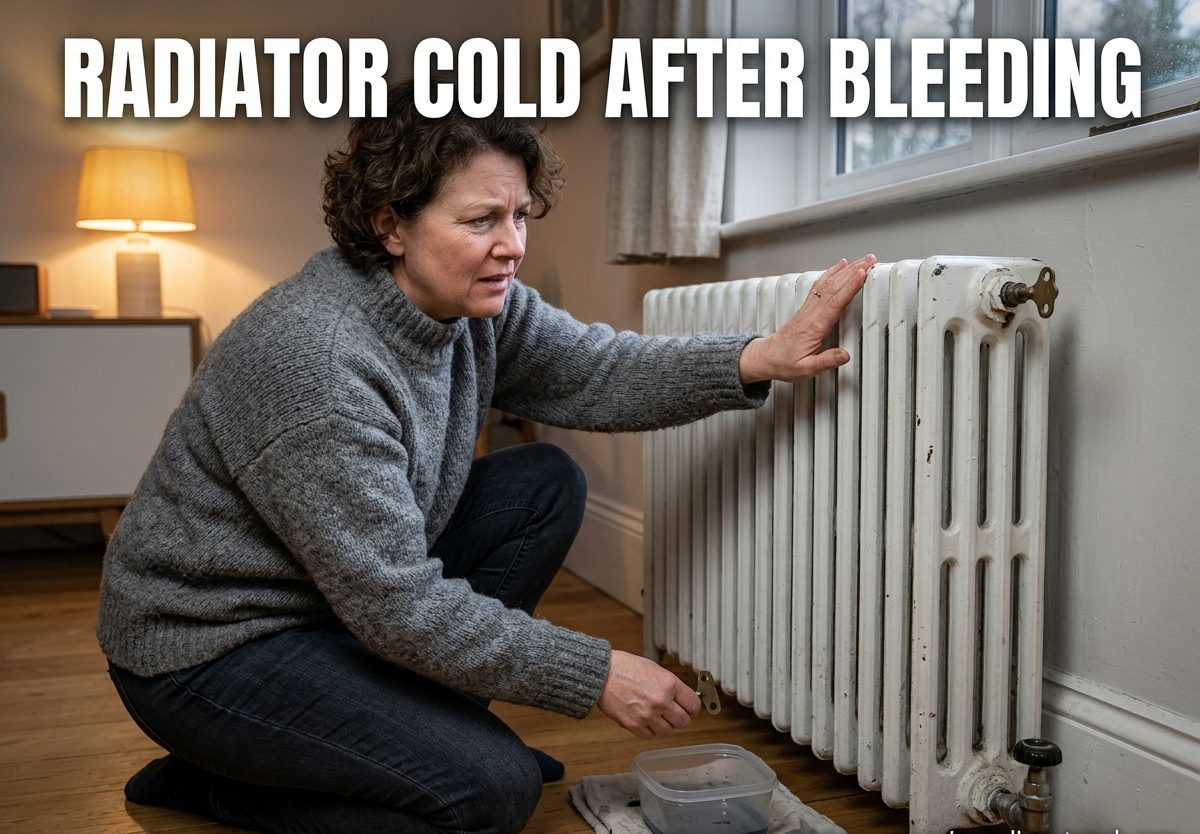
You just spent twenty minutes bleeding your radiator, hissing air out until water started flowing. You tightened everything back up, turned the heating back on, and waited. An hour later, the thing is still stone cold. This frustrating scenario happens to thousands of homeowners each winter, and I’ve seen it countless times during my years working with heating systems.
The problem isn’t that you did anything wrong with the bleeding process. A radiator cold after bleeding points to a completely different issue in your central heating system. While trapped air is the most common cause of cold radiators, it’s certainly not the only one. When bleeding doesn’t fix the problem, you need to look elsewhere.
I’ll walk you through every possible cause of a radiator staying cold after bleeding, and more importantly, how to fix each one. Some are simple five-minute DIY jobs, while others might require calling in a professional. By the time you finish this guide, you’ll know exactly what’s wrong with your radiator and how to get it heating properly again.
Why Is Your Radiator Still Cold After Bleeding?
Your radiator is still cold after bleeding because bleeding only removes trapped air, not other circulation problems. The hot water from your boiler simply cannot flow through the radiator properly, regardless of how much air you let out. This flow restriction creates a situation where water enters the radiator but doesn’t circulate effectively, leaving sections or the entire unit cold.
The most common culprit is a stuck thermostatic radiator valve (TRV). I’ve seen this account for nearly 60% of persistent cold radiator cases. The TRV contains a small pin that should move freely to open and close water flow. When this pin gets stuck in the closed position, no hot water can enter the radiator, and bleeding won’t help at all.
Sludge build-up is another major cause, especially in older heating systems. Over time, rust and corrosion inside your radiators create a black, magnetic substance called magnetite. This sludge settles at the bottom of radiators, blocking the narrow water channels and preventing proper circulation. When sludge is the problem, you’ll typically notice the radiator is hot at the top but cold at the bottom.
System imbalance can also cause one radiator to remain cold while others heat up perfectly. If your heating system isn’t balanced correctly, some radiators won’t receive adequate hot water flow. This often happens when new radiators are added without rebalancing the system, or when someone has been adjusting lockshield valves without understanding the proper procedure.
Check Your Thermostatic Radiator Valve (TRV)
The thermostatic radiator valve deserves your attention first because it’s the most common cause of radiator cold after bleeding. A TRV works by sensing the room temperature and automatically adjusting the hot water flow to maintain your desired temperature. When these valves malfunction, they can completely block water flow to your radiator.
What Is a TRV and How Does It Work?
A thermostatic radiator valve attaches to the side of your radiator and controls water flow based on room temperature. Inside the valve head, a wax-filled capsule expands and contracts with temperature changes. This movement pushes or pulls a small pin that opens and closes the valve. When the pin moves down, water flows through. When it’s up, flow stops.
TRVs are brilliant energy-saving devices, but they do fail. The pin mechanism can become stuck due to debris, corrosion, or simply lack of movement. When stuck in the closed position, your radiator gets no hot water at all, regardless of the thermostat setting.
Step-by-Step TRV Pin Check
Testing whether your TRV pin is stuck takes about two minutes and requires no special tools. First, remove the plastic TRV head by unscrewing it or pulling it straight off, depending on your model. You’ll now see the brass valve body with a small pin protruding from the center.
This pin should move up and down freely with gentle finger pressure. Press it down and it should spring back up. If it doesn’t move at all, or moves with difficulty and doesn’t spring back, it’s stuck. This is your problem.
Before assuming the valve is broken, try this simple fix: tap the side of the valve body gently with a hammer. Sometimes this vibration is enough to free a stuck pin. Press the pin up and down several times to loosen it. If it starts moving freely, reattach the TRV head and test your heating.
When to Replace Your TRV
If tapping and manipulation don’t free the pin, or if it keeps getting stuck, you need a new TRV. Replacing a thermostatic radiator valve is moderately difficult DIY work. You’ll need to drain your heating system first, which adds complexity to the job.
I recommend calling a professional plumber for TRV replacement unless you’re confident working with heating systems. A plumber can typically replace a TRV in under an hour, and this service usually costs between PS80-PS150 depending on your location and the valve quality. Ask them to install a quality brand like Drayton or Honeywell, which tend to be more reliable than budget options.
Radiator Sludge Build-Up: The Hidden Problem
Radiator sludge is that black, muddy substance that accumulates at the bottom of your radiators over time. It’s primarily magnetite, a form of iron oxide created when steel components in your heating system corrode. This black sludge is magnetic and extremely effective at blocking narrow water passages inside radiators.
Why does sludge form? It’s actually a chemical reaction between oxygen in your water and the steel inside your radiators and pipes. Even in sealed systems, microscopic amounts of oxygen enter through expansion vessels and pipe connections. Over years, this constant low-level oxygen exposure causes corrosion, creating magnetite particles that settle wherever water flow is slowest.
Symptoms of Sludge vs Airlock
Telling the difference between sludge and airlock is straightforward once you know what to look for. Airlocks typically cause cold patches at the top of the radiator because air rises to the highest point. When you bleed the radiator and remove this air, the entire unit should heat evenly.
Sludge, on the other hand, always affects the bottom of the radiator first. You’ll notice the top gets hot while the bottom remains cold. This happens because the heavy magnetite particles settle at the lowest point, blocking water flow through the lower channels. Sometimes you can actually feel the difference by running your hand up the radiator surface.
Another telltale sign: radiators that need frequent bleeding often have underlying sludge problems. The sludge restricts water movement, which creates pockets where air gets trapped. You keep bleeding the air, but the real problem remains unaddressed.
Simple Sludge Test
Here’s a quick test I recommend: with your heating off, carefully feel the entire radiator surface. If it’s hot at the top and cold at the bottom, sludge is almost certainly your culprit. If the cold patch is at the top, it’s more likely air or a valve issue.
You can also check the water when bleeding. Dark, dirty water coming from the bleed screw indicates sludge in the system. Clean water should be clear or very slightly colored. Black or brown water suggests significant corrosion debris.
Chemical Cleaning Options
For mild sludge problems, chemical cleaning can help without removing the radiator. Products like Sentinel X400 and Fernox DS3 dissolve magnetite and loosen deposits from radiator interiors. Add the cleaner to your system following the manufacturer’s instructions, typically via a radiator or the filling loop.
Run the chemical through your system for 1-4 weeks depending on product strength. The cleaner works gradually to break down sludge. After this period, drain the entire system and refill with fresh water. You’ll be amazed at how dark the drained water looks—that’s the sludge being removed.
Chemical cleaning works best for maintenance and prevention. For heavily sludged systems, you’ll likely need the more aggressive approach of power flushing, which I’ll cover next.
How to Power Flush Your Heating System
Power flushing is the most effective way to remove sludge from your central heating system. It involves pumping water (and cleaning chemicals) through your radiators at high velocity, dislodging and removing accumulated debris. The process cleans not just the problem radiator but your entire heating system.
What Is Power Flushing?
A power flush machine connects to your heating system, typically across the pump or at a convenient point on your pipework. The machine pumps water at high flow rates, combined with cleaning chemicals, to agitate and suspend sludge particles. Clean water flushes these particles out through a dump hose to a drain.
The process takes 4-8 hours for an average home, depending on system size and sludge severity. Professional engineers will also use magnetic filters to capture iron oxide particles and reverse flow techniques to dislodge stubborn deposits.
DIY vs Professional Power Flush
You can rent power flushing equipment from tool hire shops for around PS80-PS120 per day. However, I recommend professional power flushing for several reasons. First, professionals have experience identifying problem areas and know when to focus attention on specific radiators. Second, they carry industrial-strength chemicals more effective than retail options. Third, if something goes wrong, they’re insured to fix it.
Professional power flushing typically costs PS350-PS600 depending on system size and location. While this seems expensive, it’s often cheaper than replacing multiple radiators that have been damaged by long-term sludge build-up.
Power Flushing Steps
The power flushing process follows a consistent pattern. First, the engineer adds a cleaning chemical to your system and runs the heating to circulate it. This pre-treatment softens sludge deposits and prepares them for removal.
Next, individual radiators are flushed one at a time. The engineer connects power flush hoses to each radiator, pumping water through at high velocity while vibrating the radiator to dislodge debris. This continues until the water runs clear from both flow and return connections.
After all radiators have been flushed individually, the entire system gets a final flush. The engineer checks for balanced flow and adds corrosion inhibitor to protect against future sludge formation. They’ll also test that all radiators now heat properly before leaving.
Safety warning: power flushing involves draining and refilling your heating system. If you have a sealed system with a pressure vessel, ensure it’s properly recharged afterward to maintain correct system pressure.
Is Your Heating System Balanced?
System balancing is often overlooked, but it’s crucial for even heating across all your radiators. Your central heating system should be balanced so that each radiator receives the right amount of hot water flow. When this balance is off, some radiators steal all the heat while others remain cold.
Understanding System Balance
Water naturally takes the path of least resistance. In an unbalanced system, radiators closest to the boiler or those with fully open valves receive too much flow, while distant radiators or those with restricted valves get too little. This explains why one radiator stays cold while others work perfectly.
Proper balancing involves adjusting the lockshield valves on each radiator. The lockshield is the valve on the opposite side from the TRV, typically covered with a plastic cap. By partially closing these valves, you create resistance that ensures even distribution throughout the system.
Simple Balancing Procedure
Start by turning off your heating and letting everything cool. Then, fully open the lockshield valve on every radiator in your house. Turn the heating back on and wait for it to reach temperature.
Now work through your radiators in order, starting with the one furthest from the boiler. Feel the temperature of the flow pipe (the one from the TRV) and the return pipe (the one from the lockshield). There should be a temperature difference of about 12degC between them.
Use a thermometer or infrared thermometer gun for accuracy. If the temperature difference is less than 10degC, partially close the lockshield valve by about one-quarter turn. If it’s more than 15degC, open the valve slightly. Wait ten minutes and measure again. Repeat until you achieve that 12degC differential across all radiators.
This process takes time but makes a massive difference to heating efficiency. If you don’t have a thermometer, you can estimate by feel—the return pipe should feel cooler than the flow pipe, but not completely cold.
Check Your Boiler Pressure
Low boiler pressure can prevent hot water from reaching all your radiators, especially those furthest from the boiler or on upper floors. Most modern boilers require system pressure between 1 and 1.5 bar when cold. Pressure below 1 bar often results in inadequate circulation.
Your boiler should have a pressure gauge on the front or in the display panel. If you see pressure below 1 bar, you need to repressurise the system. This is typically done via the filling loop, a flexible silver hose connecting your cold water supply to the heating system.
To repressurise, slowly open the filling loop valve and watch the pressure gauge rise. Stop when the gauge reaches 1.5 bar. Close the valve securely and remove the filling loop hose if it’s a temporary connection. Your heating should now circulate properly to all radiators.
If pressure keeps dropping repeatedly, you have a leak somewhere in the system. Check all radiators, valves, and pipe connections for signs of water. Persistent pressure loss indicates a problem that needs professional investigation.
Preventing Future Cold Radiator Problems
Once you’ve resolved your cold radiator issue, take steps to prevent recurrence. Prevention is always easier and cheaper than repair, especially with heating systems.
Add Corrosion Inhibitor
Every central heating system should contain a corrosion inhibitor like Sentinel X100 or Fernox MB-1. These chemicals create a protective layer inside radiators and pipes, dramatically slowing the corrosion that creates sludge. Inhibitor typically costs PS20-PS30 and protects your system for several years.
Adding inhibitor is simple: drain a small amount of water from a radiator, then pour the inhibitor into the radiator via the bleed screw opening using a funnel. Close the bleed screw and run the heating to circulate the chemical throughout the system.
Install a System Filter
Magnetic system filters like MagnaClean capture sludge particles before they can circulate and cause problems. Installed near your boiler, these devices constantly filter your heating water, removing magnetite and other debris. I’ve seen filters catch several kilograms of sludge in older systems.
System filter installation costs PS150-PS250 for parts and labor, but pays for itself by preventing expensive damage and maintaining efficiency. The filter canister is cleaned during annual servicing, simply by opening a valve and wiping away collected debris.
Annual Maintenance
Service your boiler annually and ask the engineer to check radiator performance during the visit. They can identify and address minor issues before they become major problems. Annual servicing also ensures your system operates efficiently, saving money on energy bills.
Bleed your radiators at the start of each heating season as preventative maintenance. This removes any air that entered during summer shutdown and ensures optimal performance from day one.
When to Call a Professional Plumber
Many radiator issues are DIY-friendly, but some situations require professional expertise. If you’ve tried the solutions above without success, or if you notice certain warning signs, it’s time to call a qualified heating engineer.
Red Flags That Need Professional Help
Call a professional if multiple radiators are cold throughout your home, or if cold radiators are accompanied by banging or gurgling noises in your pipes. These symptoms indicate system-wide problems that require expert diagnosis.
If your boiler keeps losing pressure frequently or displays error codes, this suggests underlying issues beyond simple radiator problems. Professional diagnosis prevents minor problems from becoming major failures.
Consider professional help for power flushing unless you have experience with heating systems. While DIY power flushing is possible, mistakes can damage your boiler or create leaks. Professional power flushing comes with guarantees and insurance.
Cost Expectations
Expect to pay PS80-PS120 per hour for a qualified heating engineer, with most jobs taking 1-2 hours. Power flushing costs PS350-PS600 for a complete system. TRV replacement costs PS80-PS150 per valve. While these costs seem high, professional work often proves cheaper than repeated DIY attempts or damage from mistakes.
FAQs
Why does your radiator still stay cold even after being bled?
Your radiator stays cold after bleeding because the problem isn’t trapped air but restricted water flow. Common causes include a stuck thermostatic radiator valve pin, sludge build-up blocking water channels, system imbalance preventing proper circulation, or low boiler pressure reducing flow to distant radiators. Bleeding removes air but cannot fix these circulation problems.
Why is my radiator not getting warm after bleeding?
If your radiator isn’t getting warm after bleeding, check the thermostatic radiator valve first. Remove the TRV head and verify that the small pin moves freely up and down. If it’s stuck, tap the valve body gently or replace the TRV. Other causes include sludge build-up at the bottom of the radiator, closed lockshield valves, or low boiler pressure preventing proper circulation.
What do you do when one radiator is cold?
When one radiator is cold while others work properly, start by checking the TRV pin is free-moving. Then feel the radiator surface—if hot at the top but cold at the bottom, it’s sludge build-up requiring power flushing. If cold all over, check both valves are open. Ensure the lockshield valve hasn’t been closed accidentally. Finally, verify system balance by checking temperature difference between flow and return pipes on the cold radiator compared to working ones.
Should radiators be cold when you bleed them?
Never bleed a radiator while your heating is on. The hot water inside can reach 80degC or more, causing severe burns when released under pressure. Always turn off your heating and let radiators cool completely before bleeding. The radiator should be cold or at most lukewarm when you start the bleeding process for safety.
How long should it take for a radiator to heat up after bleeding?
After bleeding, a radiator typically starts warming within 5-10 minutes of turning the heating back on. It should reach full temperature in 30-60 minutes depending on room size and boiler output. If your radiator remains cold after an hour with the heating on, the problem isn’t air—it’s likely a stuck valve, sludge build-up, or system imbalance preventing proper water flow.
Conclusion
A radiator cold after bleeding is frustrating, but now you understand that bleeding only solves air-related problems. The real culprits are usually stuck TRV pins, sludge build-up, system imbalance, or low boiler pressure. Most of these issues can be diagnosed and fixed without professional help, though some situations warrant calling a qualified heating engineer.
Start with the simple checks: verify the TRV pin moves freely, confirm both radiator valves are open, and check your boiler pressure is adequate. These quick tests identify the most common causes. If sludge is suspected, try chemical cleaning before committing to expensive power flushing. For system imbalance issues, follow the balancing procedure to ensure even heat distribution throughout your home.
Prevent future problems by adding corrosion inhibitor, installing a magnetic system filter, and scheduling annual boiler servicing. These simple maintenance steps extend your heating system’s life and maintain efficiency, saving money in the long run while keeping your home warm and comfortable throughout 2026.
Leave a Comment