
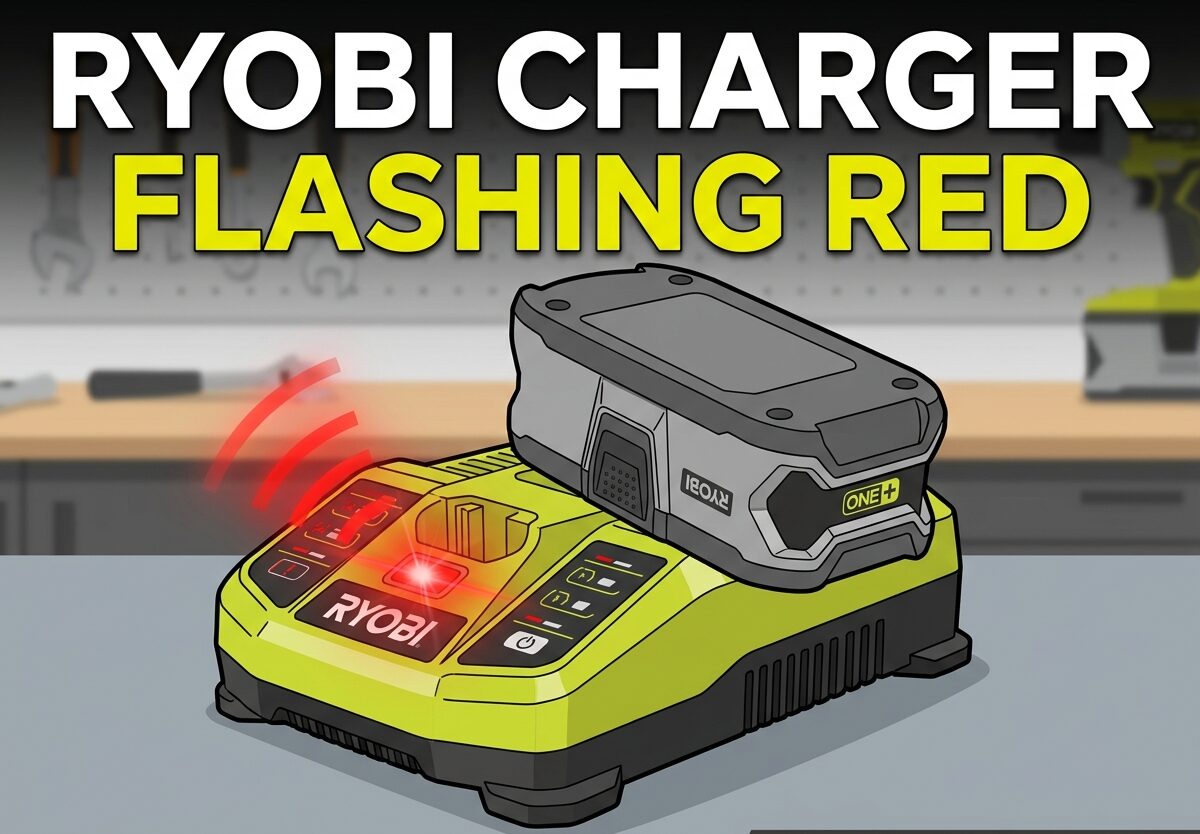
If your Ryobi charger is flashing red, don’t panic. This is actually normal behavior in most cases. I’ll explain exactly what’s happening and how to fix it.
The flashing red light means your charger is evaluating the battery condition. It’s checking if the battery is too hot, too cold, or deeply discharged before starting the charge cycle. This safety feature protects your battery from damage.
I’ve researched the official Ryobi documentation and real user experiences from the Ryobi community to bring you everything you need to know about your Ryobi charger flashing red.
What Does a Flashing Red Light Mean on a Ryobi Charger
A flashing red light on your Ryobi charger indicates the battery pack is being evaluated. The charger’s built-in temperature sensor and voltage check are determining if conditions are safe for charging. This is NOT a fault condition.
Your Ryobi charger will flash red for three main reasons: the battery is too hot from recent use, too cold from storage in a cold environment, or deeply discharged from sitting unused for a long time. Once the battery reaches the correct temperature or completes its pre-charge cycle, the flashing will stop and normal charging will begin.
Think of the flashing red light as your charger saying “I’m checking things out first.” This evaluation process protects your lithium-ion battery from damage that could occur from charging in unsafe conditions.
LED Indicator Reference Guide
Understanding all the light patterns on your Ryobi charger helps you diagnose issues quickly. Here’s what every LED combination means:
Solid Red Light: The battery is currently charging. This is normal operation during the charge cycle.
Flashing Red Light: The charger is evaluating the battery. It may be too hot, too cold, or deeply discharged. Wait for the charger to complete this evaluation phase.
Flashing Red and Green: This indicates a defective condition. Either the battery pack or the charger itself has a problem. See the diagnostic section below.
Solid Green Light: The battery is fully charged and ready to use. You can remove it from the charger.
No Lights: The charger is not receiving power or is not properly connected to an electrical outlet.
Cause 1: Battery Is Too Hot
One of the most common reasons for a Ryobi charger flashing red is that the battery is too hot. Lithium-ion batteries generate heat during use, especially during demanding tasks like cutting through tough materials or prolonged operation.
When you insert a hot battery into the charger, the temperature sensor detects the elevated temperature. The charger enters evaluation mode and flashes red to indicate it’s waiting for the battery to cool down to a safe charging temperature.
I’ve heard from many Ryobi users that the 30-minute fast chargers are particularly sensitive to temperature. After continuous use with high-drain tools, these chargers will often flash red immediately when a hot battery is inserted.
How to Fix a Hot Battery
The solution is simple: let the battery cool down. Ryobi recommends waiting 30 minutes before trying to charge a hot battery. Some users report that unplugging the charger itself for 10 minutes can also help reset the temperature sensor.
Don’t force the issue by repeatedly removing and reinserting the battery. This can actually extend the cooling period. Just let it sit, and the flashing red will change to solid red once charging begins.
Cause 2: Battery Is Too Cold
Cold temperatures are just as problematic as hot temperatures for lithium-ion batteries. If you store your Ryobi batteries in an unheated garage or shed during winter, they may be too cold to charge safely.
The chemistry inside lithium-ion batteries slows down in cold temperatures. Attempting to charge a frozen or very cold battery can cause permanent damage. Your Ryobi charger detects this through voltage evaluation and flashes red as a warning.
This is especially common in colder climates where winter temperatures regularly drop below freezing. Batteries left in vehicles or outdoor storage areas overnight will often trigger the cold battery protection.
How to Fix a Cold Battery
Bring the battery to room temperature before attempting to charge it. Let it warm up naturally indoors for at least 30-60 minutes. Don’t use artificial heat sources like hair dryers or heaters, as these can damage the battery cells.
Once the battery has warmed to room temperature, insert it into the charger. The flashing red should change to solid red within a minute or two as normal charging begins.
Cause 3: Deeply Discharged Battery
Batteries that haven’t been used or charged for several months can become deeply discharged. This happens when the battery’s voltage drops below a certain threshold, usually from sitting unused in storage.
A deeply discharged battery needs a special pre-charge cycle to bring it back to life. Your Ryobi charger detects the low voltage and enters evaluation mode, flashing red while it attempts this recovery process.
This is common for batteries stored over winter or those left in tools that slowly drain power even when turned off. The good news is that most Ryobi chargers can recover deeply discharged batteries if given enough time.
How to Fix a Deeply Discharged Battery
Leave the battery in the charger and be patient. The pre-charge cycle can take anywhere from 15 minutes to several hours depending on how discharged the battery is. I’ve seen users report success after leaving batteries overnight.
If the battery doesn’t recover after 24 hours, it may be beyond recovery and need replacement. However, many batteries that appear dead can be revived if you give the charger enough time to work.
What Red and Green Flashing Means
When both red and green lights are flashing on your Ryobi charger, this indicates a defective condition. Unlike a single flashing red light, this pattern means something is actually wrong.
The red and green flashing pattern can indicate either a defective battery or a defective charger. Determining which component is at fault requires some troubleshooting.
From the Ryobi community forums, I’ve seen that this issue often appears with older batteries that have reached the end of their life. However, it can also occur with brand new equipment if there’s a manufacturing defect.
Diagnostic Steps
First, remove the battery and check the metal contacts on both the battery and charger. Clean any dirt or corrosion with a dry cloth. Dirty contacts can sometimes cause false defective readings.
If cleaning doesn’t help, try a different battery in the same charger. If the charger works fine with another battery, your original battery is likely defective. If all batteries cause the red and green flashing, the charger itself may be faulty.
How to Reset Your Ryobi Charger
Sometimes your Ryobi charger needs a reset to clear a temporary fault or error condition. This is especially true after temperature-related issues or power fluctuations.
Step 1: Unplug the charger from the electrical outlet. Wait at least 10 seconds to allow the internal capacitors to discharge completely.
Step 2: Remove any battery from the charger. Check the battery contacts for dirt, debris, or corrosion and clean if necessary.
Step 3: While the charger is unplugged, inspect the charger’s battery port for any visible damage or foreign objects.
Step 4: Plug the charger back into a working electrical outlet. The green power light should illuminate if the charger is receiving power.
Step 5: Insert the battery firmly into the charger. Observe the light pattern. A single flashing red indicates normal evaluation, while red and green flashing indicates a problem.
This reset procedure resolves many temporary issues. If the problem persists after resetting, you may have a hardware issue with either the battery or charger.
Battery vs Charger Diagnostic
When your Ryobi charger is flashing red and green, you need to determine whether the battery or charger is at fault. This diagnostic process saves you from replacing the wrong component.
The most reliable test is swapping. If you have access to another Ryobi 18V ONE+ battery, try it in your charger. If the different battery charges normally, your original battery is likely defective. Conversely, if your battery charges normally in a different charger, your original charger is probably faulty.
For users with only one battery and one charger, look for additional clues. A battery that won’t hold a charge even when charged in a different device is definitely defective. A charger that shows no lights at all even when plugged into a known working outlet is likely faulty.
Ryobi offers a warranty on both batteries and chargers. If your equipment is within the warranty period, contact Ryobi customer service for a replacement rather than purchasing new equipment.
Preventive Maintenance Tips
Proper maintenance prevents many charging issues. Store your Ryobi batteries at room temperature whenever possible. Extreme temperatures, both hot and cold, accelerate battery degradation and can trigger charging problems.
Charge your batteries regularly, even during periods of light use. Lithium-ion batteries prefer partial charges to complete discharge. Don’t let batteries sit completely discharged for extended periods.
Keep the battery contacts clean. Wipe them with a dry cloth periodically to remove dirt and corrosion. Clean contacts ensure reliable electrical connection between battery and charger.
Use your batteries regularly. Batteries that sit unused for months are more likely to become deeply discharged and difficult to recover. Regular use keeps the battery chemistry active and healthy.
Frequently Asked Questions
Why is my Ryobi charger blinking red?
Your Ryobi charger blinks red when it’s evaluating the battery condition. This means the battery is either too hot, too cold, or deeply discharged. It’s a normal safety feature, not a defect. Wait for the battery to reach the right temperature or complete the pre-charge cycle.
How to reset Ryobi battery charger?
Unplug the charger from the outlet and wait at least 10 seconds. Remove the battery and clean the contacts. Plug the charger back in and reinsert the battery. This reset process clears temporary faults and resolves many charging issues.
How to tell if a Ryobi charger is bad?
Test your charger with a different battery. If multiple batteries cause red and green flashing, the charger is likely faulty. Also check if the charger shows no lights when plugged in. A defective charger needs replacement, but verify it’s not a battery issue first.
Why is my battery blinking red and not charging?
A blinking red light means the charger is evaluating the battery. This happens when the battery is too hot from recent use, too cold from storage, or deeply discharged. Wait 30 minutes for temperature issues or several hours for deeply discharged batteries to recover.
How long to cool down Ryobi battery before charging?
Ryobi recommends waiting 30 minutes for a hot battery to cool before charging. Some users find that unplugging the charger for 10 minutes also helps reset the temperature sensor. Don’t repeatedly remove and reinsert the battery as this extends the cooling time.
Conclusion
A Ryobi charger flashing red is usually normal behavior, not a sign of a defective product. The three most common causes are hot batteries from recent use, cold batteries from winter storage, and deeply discharged batteries from long periods without use.
Give your battery time to reach the proper temperature or complete its pre-charge cycle. In most cases, the flashing red will change to solid red as normal charging begins. Only when both red and green lights flash should you be concerned about a defective battery or charger.
Understanding what your charger’s lights mean helps you troubleshoot effectively and avoid unnecessary replacements. With proper care and maintenance, your Ryobi 18V ONE+ batteries and chargers will provide years of reliable service.



Leave a Comment