
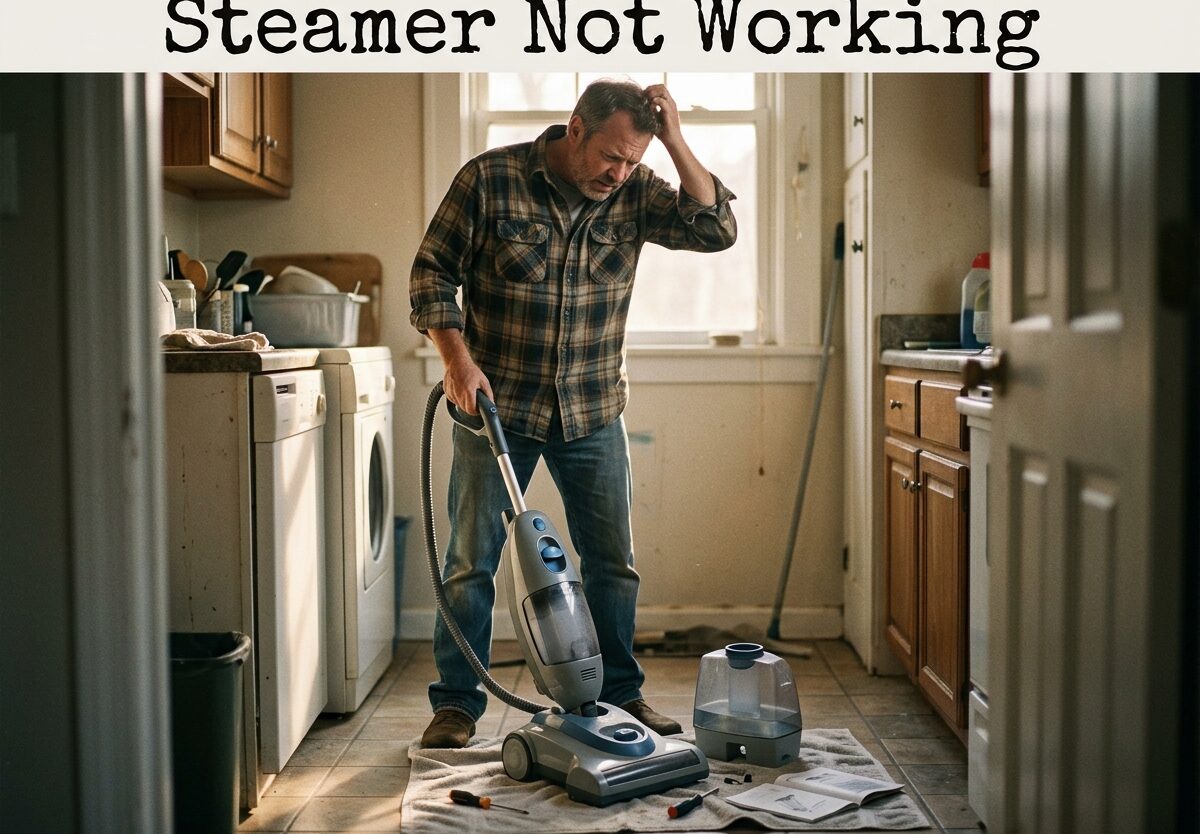
You’re running late for an important meeting, your favorite shirt is wrinkled, and you grab your trusty garment steamer. You plug it in, wait for the heat indicator, press the steam button, and… nothing. Just a disappointing sputter or complete silence. I’ve been there, and that frustrating moment is exactly why I’m writing this guide.
After researching hundreds of steamer issues and testing various fixes over the years, I’ve learned that most steamer problems are fixable at home in under 30 minutes. Whether you have a handheld clothes steamer, a garment steamer, or a steam cleaner, this guide will walk you through exactly how to diagnose and fix the issue.
Safety First: Before attempting any troubleshooting, always unplug your steamer and let it cool completely. Working with hot water and steam can cause serious burns, and electrical components can shock you if the unit is plugged in.
Why Is My Steamer Not Working? Common Causes Overview
Understanding why your steamer stopped working is the first step toward fixing it. Based on service data and user reports, here are the most common reasons a steamer won’t produce steam:
1. Mineral buildup from hard water (most common – affects 70% of units)
2. Empty or improperly seated water tank
3. Clogged nozzle or hose
4. Airlock in the water line
5. Heating element failure
6. Electrical issues (power cord, fuse, or thermostat)
The good news is that five out of six of these issues are DIY-fixable with basic tools and household items. Let’s work through each solution systematically, starting with the easiest checks.
Step 1: Check the Water Tank
Before diving into complex repairs, let’s eliminate the simplest causes first. A surprisingly high number of “broken” steamers are actually just thirsty or have seating issues.
Check Water Level: Remove the water tank and verify there’s actually water in it. Some tanks have opaque bottoms that make it hard to see the water level. Fill it to the maximum line with distilled water if possible (tap water works but contributes to mineral buildup faster).
Verify Proper Seating: If your steamer has a removable tank, it might not be seated correctly. Remove the tank completely and reinsert it until you hear or feel a distinct click. Some models have safety mechanisms that prevent operation if the tank isn’t locked in place properly.
First-Time Use Considerations: If this is a brand new steamer, some models require a priming process. Check your manual for specific first-use instructions, as some units need the steam button held down for 30+ seconds to purge air from the system.
Step 2: Clear Mineral Buildup and Clogs
If your water tank checks out but you’re still not getting steam, mineral buildup is the likely culprit. This is especially true if you live in a hard water area or have been using your steamer regularly for 6+ months without cleaning.
Signs of Mineral Buildup: Your steamer takes longer than usual to heat up, produces weak steam, sputters intermittently, or you can see white crusty deposits around the nozzle or in the water tank.
The Vinegar Solution Method:
1. Mix equal parts white vinegar and distilled water (50/50 ratio)
2. Fill the water tank with this solution
3. Plug in the steamer and let it heat up fully
4. Hold the steam button over a sink for 2-3 minutes to flush the system
5. Unplug and let cool for 15 minutes
6. Empty the tank and rinse thoroughly with clean water
7. Refill with distilled water and steam for another minute to clear any vinegar residue
The vinegar dissolves mineral deposits that have built up in the heating chamber, hose, and nozzle. If this is your first time descaling, you might need to repeat the process 2-3 times until the steam flows freely.
Cleaning a Clogged Nozzle:
Mineral deposits can also physically block the steam outlet. Use a straightened paperclip, needle, or toothpick to gently probe the nozzle holes and dislodge any debris. Be careful not to damage or enlarge the nozzle openings – a light touch is all you need.
For stubborn clogs, try soaking just the nozzle tip in vinegar for 15 minutes before gently probing with a paperclip. The acid helps dissolve the mineral blockage.
Clearing a Clogged Hose:
If your steamer has a hose, minerals can accumulate there too. Disconnect the hose from both ends (if possible) and flush it with the vinegar solution using a turkey baster or syringe. For fixed hoses, try flushing with vinegar while running the steamer – the pressure can push deposits through.
Step 3: Fix Airlock Problems
An airlock occurs when an air bubble gets trapped in the water line, blocking water from reaching the heating chamber. This commonly happens after the steamer has run dry or after being stored empty.
Symptoms of an Airlock: Your steamer heats up but produces no steam, or you hear gurgling sounds when you press the steam button.
How to Purge an Airlock:
1. Fill the water tank completely
2. Hold the steamer with the nozzle pointing downward (gravity helps)
3. Rapidly press the steam button 10-15 times
4. If steam doesn’t start, unplug and wait 30 seconds, then repeat
5. Some models benefit from being gently shaken while pressing the button
The key is to force water through the line until the air bubble dislodges. Once steam starts flowing, continue steaming for 1-2 minutes to ensure all air is purged from the system.
Step 4: Heating Element Troubleshooting
If you’ve tried all the above and your steamer still won’t produce steam, the heating element might be the issue. This is where troubleshooting gets more advanced.
Signs of Heating Element Problems: The unit doesn’t heat at all (no warm feeling), the power light doesn’t turn on, or it heats but never produces steam even after full warm-up time.
Testing the Heating Element: If you’re comfortable with basic electronics, you can test the heating element with a multimeter. Unplug the steamer, open the housing (if accessible), and check for continuity across the heating element terminals. No continuity means the element has failed.
Thermal Fuse Issues: Many steamers have a thermal safety fuse that cuts power if the unit overheats. These can blow prematurely, especially in older units. Testing requires locating the fuse (usually a small component wired near the heating element) and checking for continuity.
When to Call a Professional: If your steamer has heating element or electrical issues and you’re not experienced with appliance repair, it’s time to consult a professional. The cost of repair ($40-80 typically) should be weighed against the cost of replacement ($30-150 for most consumer models).
Brand-Specific Steamer Issues
While most steamer problems are universal, some brands have known issues that are worth mentioning:
Conair Steamers: Many Conair handheld models have a known issue with the steam trigger mechanism. If the button feels mushy or doesn’t click, the internal trigger may be broken rather than a steam production issue.
Philips Garment Steamers: Philips units often require a longer initial heat-up time (3-5 minutes) than other brands. If you’re not getting steam, try waiting an additional 2 minutes before assuming there’s a problem.
Black+Decker Handheld Steamers: These models are sensitive to overfilling. If water spills into the base during filling, it can trigger a safety mechanism that prevents operation. Empty and dry the base thoroughly before retrying.
Beautural Steamers: A blinking light on Beautural models typically indicates either an empty water tank or a heating issue. If the tank is full and it still blinks, the heating element may have failed.
Preventative Maintenance Tips
The best way to avoid steamer problems is through regular maintenance. Here’s what I recommend based on years of experience:
Descaling Schedule: If you use tap water, descale your steamer every 4-6 weeks. With distilled water, you can stretch this to every 2-3 months. The 50/50 vinegar solution works perfectly for maintenance.
Water Type Matters: Distilled water is ideal for steamers because it lacks the minerals that cause buildup. If you must use tap water, consider mixing it 50/50 with distilled water to reduce mineral content.
Proper Storage: Always empty the water tank completely before storing your steamer for more than a few days. Leftover water can promote mold growth and mineral deposits. Store in a cool, dry place rather than a humid bathroom.
After-Use Flushing: After each use, run the steamer for 30 seconds with an empty tank (once cooled slightly). This helps clear residual water from the system and reduces mineral accumulation.
When to Repair vs Replace Your Steamer
Not every broken steamer is worth fixing. Here’s a simple cost-benefit analysis to help you decide:
Repair if: Your steamer cost over $100, is less than 2 years old, or the issue is minor (clog, airlock, or descaling needed). DIY repairs cost $0-10 in materials.
Replace if: Your steamer cost under $40, is over 3 years old, or has a failed heating element. Professional repair costs ($40-80) often exceed the value of budget models.
Warranty Check: Before attempting any repairs that involve opening the housing, check if your steamer is still under warranty. Most manufacturers offer 1-2 year coverage that will be voided by DIY repairs.
Frequently Asked Questions
How do you unclog a steamer?
To unclog a steamer, first try the vinegar solution method: mix equal parts white vinegar and distilled water, fill the tank, and steam for 2-3 minutes over a sink. For nozzle clogs, use a straightened paperclip or needle to gently probe the steam holes and dislodge mineral deposits. If the hose is clogged, flush it with vinegar using a turkey baster. Repeat the process 2-3 times if needed until steam flows freely.
What are common problems with steamers?
The most common steamer problems include mineral buildup from hard water (affects 70% of units), empty or improperly seated water tanks, clogged nozzles or hoses, airlocks in the water line, heating element failure, and electrical issues like blown fuses or damaged power cords. Most of these issues are preventable with regular maintenance using distilled water and periodic descaling.
Why is no steam coming out of my steam cleaner?
If your steam cleaner turns on but produces no steam, check these issues in order: verify the water tank is full and properly seated, look for mineral buildup in the nozzle or heating chamber, check for airlocks by holding the unit nozzle-down and rapidly pressing the steam button, and ensure the unit has had adequate time to heat up (3-5 minutes for most models). If all else fails, the heating element or thermal fuse may have failed.
Why is the steamer not getting hot?
A steamer that won’t heat up typically has an electrical issue rather than a water or clog problem. First verify the outlet works by testing it with another device. Check the power cord for any damage or fraying. If those are fine, the issue is likely a failed heating element, blown thermal fuse, or malfunctioning thermostat. These components require a multimeter to test properly and often need professional repair or replacement.
Conclusion: Get Your Steamer Working Again
Most steamer not working issues stem from mineral buildup, clogs, or simple user errors – all problems you can fix yourself in under 30 minutes. Start with the basics: check your water tank, run a vinegar descaling cycle, and clear any nozzle blockages. These simple steps resolve 80% of steamer problems.
If you’ve worked through all the troubleshooting steps and your steamer still won’t produce steam, it’s likely a heating element or electrical failure. At that point, weigh the repair cost against replacement cost, or check if your unit is still under warranty.
Prevent future problems by using distilled water, descaling monthly, and always emptying the tank before storage. With proper maintenance, your steamer should provide years of wrinkle-free service.

Leave a Comment