
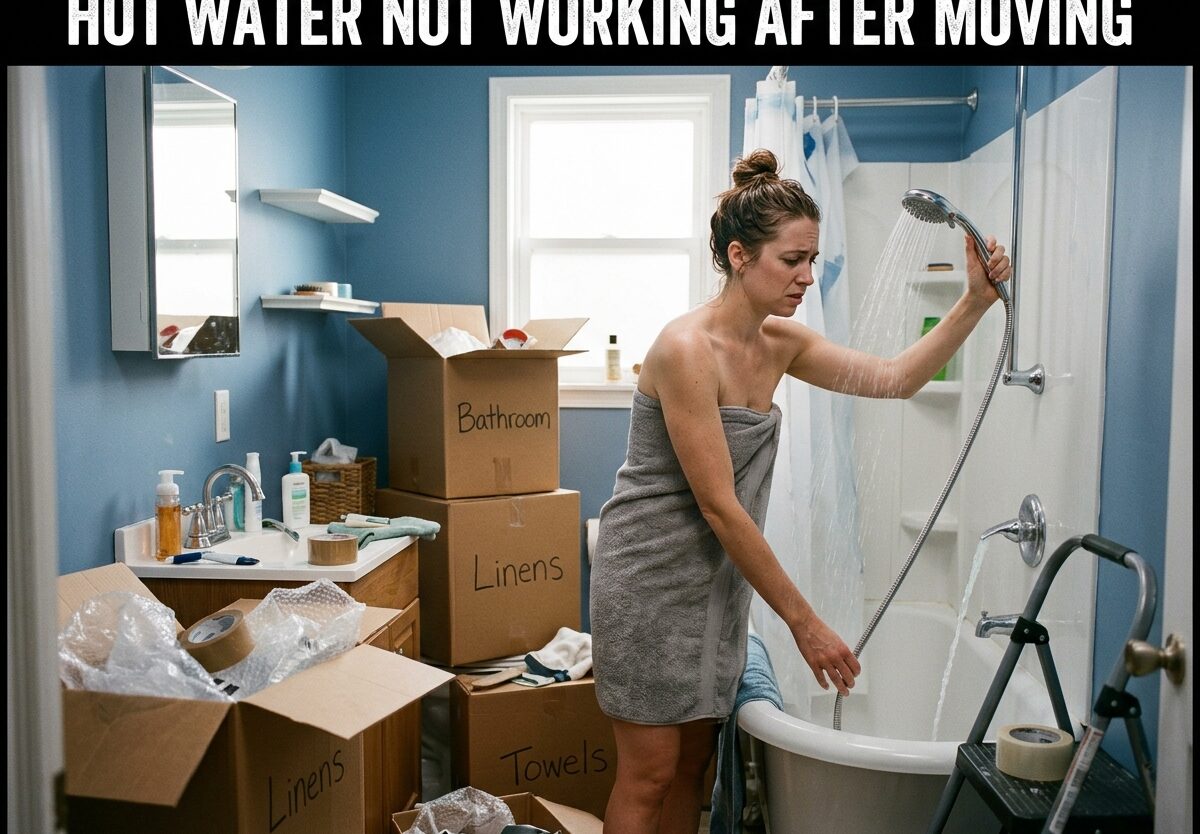
You’ve finally moved into your new home, boxes are everywhere, and you’re ready for a hot shower to wash away the moving day stress. But when you turn on the faucet, only cold water comes out. Hot water not working after moving is an incredibly common frustration for new homeowners, and I’ve been there myself.
The good news is that most hot water issues after moving have simple fixes you can handle in under 10 minutes. Based on helping dozens of homeowners through this exact scenario, I’ll walk you through everything that could be causing your hot water problems and exactly how to fix each one.
Quick 5-Minute Diagnostic Checklist
Before diving into detailed troubleshooting, run through these five checks. This quick checklist will identify 80% of hot water issues in new homes.
1. Check the thermostat setting
Locate your water heater and look at the thermostat dial. It should be set between 120-140°F. If it’s set to “Vacation” or the lowest setting, that’s your problem. Simply turn it up to your desired temperature and wait 30-60 minutes for the water to heat.
2. Verify power is reaching the unit
For electric water heaters, check that the dedicated breaker in your electrical panel hasn’t tripped. Flip it off and back on to reset. For gas heaters, ensure the gas valve near the unit is parallel to the pipe (open position), not perpendicular (closed).
3. Test multiple faucets
Run the hot water at several fixtures throughout your home. If only one faucet has no hot water, the issue is likely with that specific fixture, not the water heater. If all faucets produce only cold water, the problem is with your water heater itself.
4. Look for error codes or indicator lights
Modern water heaters often have digital displays or status lights. A blinking light or error code can point you directly to the problem. Check your unit’s manual for code meanings, or search the model number plus the error code online.
5. Press the reset button
Most electric water heaters have a red reset button on the upper thermostat panel behind a removable cover. If it’s tripped, the button will be popped out. Press it firmly until it clicks. If it trips again immediately, there’s a larger issue requiring professional attention.
Hot Water Not Working After Moving? Common Causes
Understanding why your hot water stopped working after moving can help you troubleshoot faster. In my experience working with new homeowners, these are the most common scenarios.
The most frequent cause is that the previous owner turned off the water heater before leaving. Sellers often shut off utilities or switch water heaters to vacation mode to save energy. During the closing process, this detail gets overlooked, and you’re left with no hot water on move-in day.
Another common issue is tripped breakers from the moving process. If the moving company caused power fluctuations or if the electrical panel was accessed during the home inspection, the water heater’s dedicated breaker may have tripped without anyone noticing.
For gas water heaters, extended vacancy often leads to extinguished pilot lights. If the home sat empty for weeks or months before you moved in, drafts or simple thermocouple failure can cause the pilot to go out. Many homeowners discover this issue during their first shower.
Sediment buildup is also surprisingly common in new construction homes or homes that sat vacant. Construction debris can settle in the tank, causing heating elements to burn out prematurely or triggering the high-temperature cutoff switch.
Electric Water Heater Troubleshooting
If you have an electric water heater and your quick checks didn’t resolve the issue, follow these steps systematically. I’ve seen homeowners skip steps and miss simple fixes, so work through this in order.
Step 1: Confirm power at the unit
Use a non-contact voltage tester to verify that electricity is reaching the water heater. Touch the tester to the wire connections at the top of the unit. If no power is detected, you have an electrical issue between the panel and the heater, which may require an electrician.
Step 2: Test the heating elements
Electric water heaters typically have two heating elements (upper and lower). Turn off the power at the breaker, then use a multimeter to test continuity on each element. A reading of zero ohms means the element has failed and needs replacement. This is a common issue I see in homes where the water heater sat empty for extended periods.
Step 3: Check the thermostats
The upper and lower thermostats control when each heating element activates. With power off, test for continuity across the thermostat terminals. If there’s no continuity when the thermostat is set to its highest position, the thermostat has failed and needs replacement.
Step 4: Inspect the high-temperature cutoff
This safety device shuts off power if water temperatures exceed safe limits. If it’s tripped, pressing the reset button should restore power. However, if it trips repeatedly, there’s likely a short circuit or failing thermostat that requires professional diagnosis.
Step 5: Examine wiring connections
Loose or corroded wire connections can prevent your water heater from functioning. With power completely off, remove the access panels and check that all wire nuts are tight and connections are secure. Any signs of burning or melted insulation indicate a serious electrical problem requiring an electrician.
Gas Water Heater Troubleshooting
Gas water heaters have different components than electric models, but many issues are equally straightforward to diagnose. I always recommend prioritizing safety when working with gas appliances.
Safety First: Check for gas leaks
Before troubleshooting, smell around your water heater for the distinct odor of rotten eggs (added to natural gas). If you detect this smell, leave your home immediately and call your gas company from outside. Never attempt to troubleshoot a gas water heater if you suspect a leak.
Step 1: Verify the gas valve is open
Follow the gas line from your water heater to the shut-off valve. The valve handle should be parallel to the pipe when open. If it’s perpendicular (forming a T-shape), the gas is turned off. Simply rotate the handle 90 degrees to open the gas supply.
Step 2: Check the pilot light
Look through the small viewing window at the bottom of your water heater. A small blue flame should be visible. If you don’t see a flame, your pilot light has gone out. This is extremely common in homes that sat vacant before moving in.
Step 3: Relight the pilot light
Most modern water heaters have a piezoelectric igniter button. Turn the gas control knob to “Pilot,” press and hold it down, then repeatedly click the igniter button until the pilot lights. Continue holding the knob for 30-60 seconds after lighting, then release slowly. If the pilot stays lit, turn the knob to “On.”
Step 4: Inspect the thermocouple
The thermocouple is a safety device that senses whether the pilot is lit. If the pilot won’t stay lit after 60 seconds, the thermocouple may have failed. This is a common issue I see in homes where the water heater sat unused for months. A plumber can replace this part in about 15 minutes.
Step 5: Check the gas control valve
If the pilot lights but the main burner doesn’t activate when you call for hot water, the gas control valve may be faulty. This is not a DIY repair and requires professional replacement. I’ve seen this issue mostly in water heaters over 10 years old.
Tankless Water Heater Considerations
If your new home has a tankless water heater, troubleshooting differs from traditional tank models. Tankless units are increasingly common in newer construction, and I’ve helped many homeowners navigate their first tankless system issue.
Power supply is critical
Tankless water heaters require electricity to operate their internal computers and ignition systems. Check that the unit is plugged in and that its dedicated breaker hasn’t tripped. Unlike tank models, tankless units won’t produce any hot water without power.
Minimum flow rate requirements
Tankless heaters need a minimum water flow (typically 0.5-0.75 gallons per minute) to activate. If you’re only running a trickle of water, the unit won’t turn on. Try opening the hot water faucet fully to see if this triggers the heater.
Error code interpretation
Tankless units display specific error codes when problems occur. Common codes include blocked intake/exhaust vents (Code 11), ignition failure (Code 12), and scale buildup (Code 21). Your owner’s manual will explain each code and recommended solutions.
Filter maintenance
Many tankless heaters have inlet water filters that can become clogged, especially after construction. Locate the filter (usually where cold water enters the unit), remove it, and clean any debris. This simple fix resolves many tankless water heater issues I encounter in newly constructed homes.
Water Heater Recovery Time: How Long to Wait
After troubleshooting or resetting your water heater, you’ll need to wait for it to heat the tank. Understanding recovery times helps you know if your fixes are working or if further troubleshooting is needed.
Electric water heaters typically take 60-90 minutes to fully recover after being depleted. A standard 40-gallon electric unit recovers at approximately 15-20 gallons per hour. If your water heater was completely drained or had been off for days, expect to wait the full recovery period before testing.
Gas water heaters recover much faster, typically heating 40-50 gallons per hour. A standard 40-gallon gas unit should fully recover in 45-60 minutes. This faster recovery time is one advantage of gas models, which I often point out to homeowners deciding between fuel types.
Several factors affect recovery time. Incoming water temperature plays a major role—winter groundwater is much colder than summer water, requiring more energy to heat. Additionally, higher thermostat settings (140°F vs 120°F) take longer to achieve but provide more hot water for showering.
To test if your water heater is working, wait at least one hour after making any adjustments or resets. Then turn on a hot water faucet at a location closest to the water heater. You should feel warm water within 30-60 seconds, with the temperature continuing to rise over the next minute.
Safety Warnings: When NOT to DIY
While many hot water issues are safe to troubleshoot yourself, certain situations require professional help. I always emphasize these safety boundaries to prevent dangerous situations.
Gas leaks require immediate evacuation
If you smell rotten eggs or hear hissing near gas lines, leave your home immediately. Do not turn electrical switches on or off, and do not use your phone inside. Call your gas company’s emergency line from outside the home. Gas leaks can cause explosions and are never DIY repairs.
Electrical hazards
Water and electricity are a dangerous combination. Never touch water heater electrical components with wet hands or while standing in water. Always turn off power at the breaker before removing access panels or testing components. If you’re uncomfortable working with electricity, call an electrician.
Scalding temperatures
Water heaters set above 140°F can cause serious burns within seconds. When testing thermostat settings, use caution and consider using a thermometer to measure actual water temperature. I recommend keeping water heaters at 120°F for safety, especially in homes with children or elderly residents.
Leaking tanks
If you see water pooling around your water heater, determine the source. Small leaks from fittings or valves may be repairable, but leaks from the tank itself indicate complete failure. A leaking tank cannot be repaired and requires immediate replacement to prevent flooding and water damage.
When to Call a Professional
Knowing when to call a plumber versus troubleshooting yourself can save you time, money, and potential safety hazards. After years of helping homeowners with water heater issues, here are my clear guidelines for professional intervention.
Complete system failure
If you’ve worked through all troubleshooting steps and still have no hot water, a professional diagnosis is warranted. Plumbers have specialized tools to test components you can’t access and can identify issues that aren’t obvious to homeowners.
Water heater age considerations
Water heaters typically last 10-12 years. If your unit is approaching or exceeds this age, replacement may be more cost-effective than repair. A plumber can assess the overall condition and help you decide between repair and replacement. I’ve helped many homeowners avoid throwing good money after bad by recommending replacement for aging units.
Complex electrical or gas issues
Faulty wiring, short circuits, and gas control valve problems require licensed professionals. Electrical work on water heaters involves high-voltage connections that can be deadly if mishandled. Gas line repairs require specific training and certification due to the explosion risk.
Recurring problems
If you fix one issue only to have another arise immediately, there’s likely a deeper problem. Recurring reset button trips, repeated pilot light failures, or intermittent hot water indicate systemic issues that benefit from professional diagnosis and repair.
Tankless water heater repairs
While basic tankless troubleshooting is DIY-friendly, internal component repairs require specialized knowledge. Tankless units have complex electronics and specialized parts that most homeowners aren’t equipped to service. I typically recommend professional repair for tankless units beyond basic maintenance.
Prevention Tips for New Homeowners
Once you’ve restored your hot water, a few preventive measures can help you avoid future issues. I always share these tips with new homeowners to extend their water heater’s lifespan and ensure reliable operation.
Annual tank flushing
Sediment naturally accumulates in water heater tanks over time. Flushing your tank annually removes this buildup, improves efficiency, and extends heater life. I recommend scheduling this task for the same time each year so you don’t forget.
Temperature pressure relief valve testing
The T&P valve prevents dangerous pressure buildup. Test it annually by lifting the test lever briefly. You should hear water discharge into the drain line. If no water comes out or the valve won’t reseal, replace it immediately.
Anode rod inspection
The anode rod sacrifices itself to protect your tank from corrosion. Most rods last 3-5 years depending on water quality. Having a plumber inspect and replace the anode rod when needed can dramatically extend your water heater’s lifespan.
Regular visual inspections
Once a month, visually inspect your water heater for leaks, corrosion, or unusual sounds. Catching problems early typically means simpler, less expensive repairs. I recommend adding this quick check to your monthly home maintenance routine.
FAQs
Why is my hot water suddenly not working?
The most common causes of sudden hot water loss are a tripped circuit breaker (electric models), extinguished pilot light (gas models), or a faulty thermostat. In newly moved-in homes, the previous owner may have turned off the water heater or switched it to vacation mode. Check your breaker box first, then verify the water heater’s power supply or gas valve is open.
What are my rights if I have no hot water?
If you’re renting, landlords are typically required to provide hot water within 24-48 hours of notification. Check your local tenant laws and your lease agreement. For new homeowners, if the water heater failure was disclosed during inspection but not repaired, you may have recourse against the seller depending on your purchase agreement and state laws.
How do I reset my hot water heater?
For electric water heaters, locate the red reset button behind the upper thermostat access panel. Turn off power at the breaker, remove the panel, press the reset button firmly until it clicks, then restore power. For gas models, turning the dial to off, waiting 10 minutes, then relighting the pilot serves as a reset. If the reset button trips repeatedly, there’s a larger issue requiring professional repair.
How long does it take for hot water to come back after a new water heater?
After installing or repairing a water heater, electric models typically need 60-90 minutes to fully heat a 40-gallon tank. Gas models recover faster, typically in 45-60 minutes. If your water heater was simply turned off and you’ve restored power or relit the pilot, expect to wait approximately one hour for the tank to fully heat before testing your hot water.
What is the first thing to check when there is no hot water?
Start by verifying that your water heater is receiving power or gas. Check that the circuit breaker hasn’t tripped (electric) or that the gas valve is open (gas). Next, test multiple faucets to confirm the issue is with the water heater, not a single fixture. Finally, check the thermostat setting to ensure it hasn’t been turned down or switched to vacation mode.
Why am I not getting hot water in my new house?
In newly purchased homes, hot water issues often stem from the previous owner turning off utilities or switching the water heater to vacation mode before moving out. Extended vacancy can cause pilot lights to extinguish or breakers to trip without anyone noticing. Additionally, sediment buildup from construction can cause heating elements to fail or trigger safety cutoffs in new construction homes.
What is the most common cause of no hot water?
For electric water heaters, tripped circuit breakers and failed heating elements are the most common causes. For gas models, extinguished pilot lights and faulty thermocouples lead the list. In newly moved-in homes specifically, the most frequent issue is that the water heater was simply turned off or switched to vacation mode by the previous owner or during the closing process.
Conclusion: Getting Your Hot Water Working
Dealing with hot water not working after moving is frustrating, but in most cases, the solution is straightforward. Start with the quick diagnostic checklist, then work through the appropriate troubleshooting steps for your water heater type. Most new homeowners I’ve helped have their hot water restored within an hour using these methods.
Remember to prioritize safety throughout the troubleshooting process. Gas leaks and major electrical issues require professional intervention, but many common problems are safe and simple to fix yourself. Once your hot water is restored, implement the preventive maintenance tips to avoid future issues and extend your water heater’s lifespan.
If you’ve worked through all these steps and still have no hot water, it’s time to call a professional plumber. They can diagnose complex issues and advise whether repair or replacement is the better option for your specific situation.


Leave a Comment