
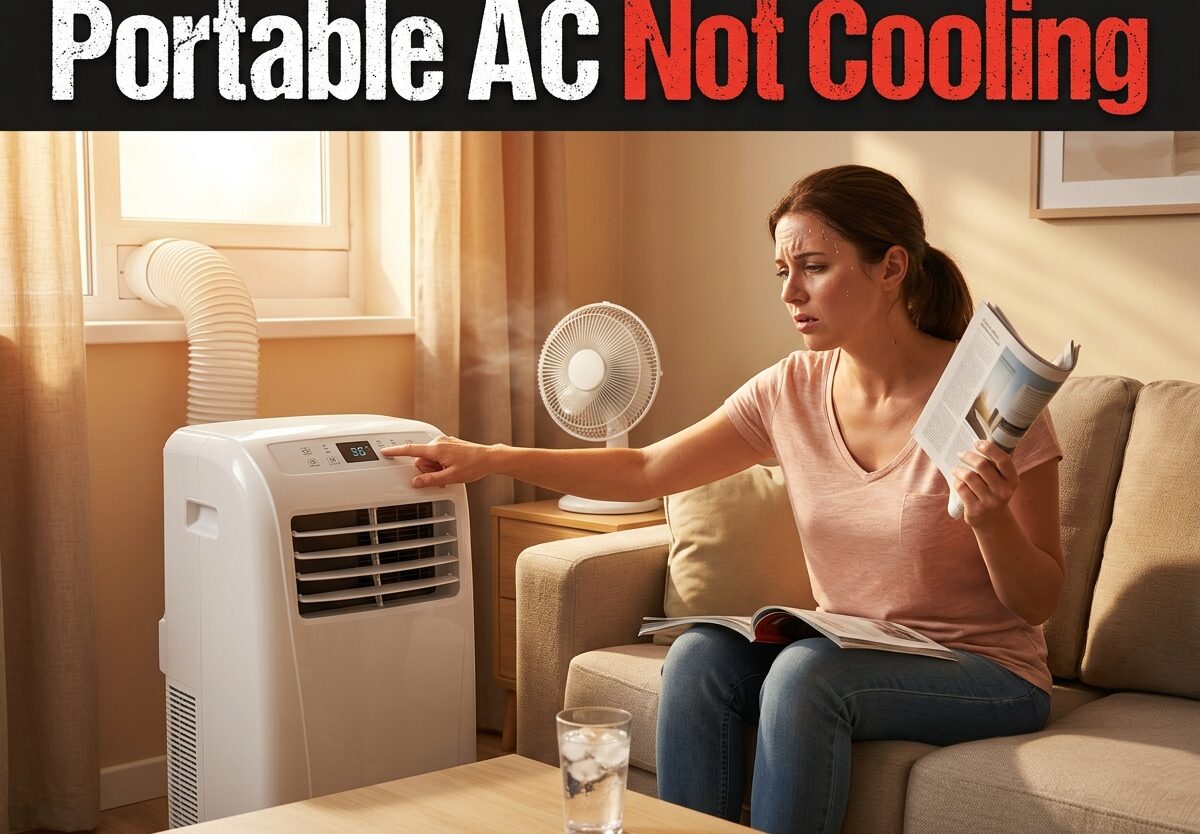
It’s 85 degrees outside and your portable AC is blasting away, but the room feels just as hot as when you started. I’ve been there – watching the temperature display stubbornly refuse to drop below 79 degrees while the unit runs continuously. This frustrating scenario is incredibly common during peak cooling season.
Portable AC not cooling is one of the most frequent complaints owners face, and the causes range from simple maintenance oversights to more serious mechanical issues. After researching thousands of user experiences and HVAC professional advice, I’ve compiled the most comprehensive troubleshooting guide to help you diagnose and fix the problem.
Most portable AC cooling issues can be resolved at home in under 30 minutes. The key is knowing which components to check first and recognizing when a problem requires professional intervention. Let’s work through the most common causes and their solutions.
Quick Diagnostic Checklist (5-Minute Check)
Before diving into detailed troubleshooting, run through these quick checks. These simple steps resolve 60% of portable AC cooling issues according to HVAC technician reports.
Step 1: Verify the unit is actually in “Cool” mode, not “Fan” or “Dry” mode. This sounds obvious, but countless users discover their portable AC was set to the wrong mode after hours of frustration.
Step 2: Check that the temperature setting is at least 5-10 degrees below your current room temperature. If your room is 78 degrees and the AC is set to 75, it may never reach that target.
Step 3: Inspect the air filter. Hold it up to light – if you can’t see through it, it’s restricting airflow and killing your cooling efficiency.
Step 4: Feel the air being exhausted from the window hose. It should be noticeably hot. If it’s room temperature or cool, your compressor isn’t running properly.
Step 5: Check that the exhaust hose isn’t kinked, crushed, or disconnected. Even a partial blockage can reduce cooling by 40% or more.
Common Causes of Portable AC Cooling Problems
Understanding why your portable AC isn’t cooling helps prevent future issues. Based on forum discussions and HVAC data, these are the primary culprits:
Dirty Air Filters: The #1 cause of reduced cooling performance. Clogged filters restrict airflow by up to 70%, forcing the compressor to work harder while delivering less cool air. Most manufacturers recommend cleaning filters every 2-4 weeks during heavy use.
Exhaust Hose Issues: Your portable AC must expel hot air outside to function. Kinked, overly long, or disconnected hoses cause hot air to recirculate back into your room. Reddit users frequently report finding their exhaust hose had disconnected from the window bracket after running for weeks.
Incorrect Mode Settings: Many portable ACs have multiple modes (Cool, Dry, Fan, Auto). Setting it to “Fan” circulates air without cooling. “Dry” mode prioritizes dehumidification over temperature reduction.
BTU Mismatch: Using an underpowered unit for your room size is a guaranteed cooling failure. A 10,000 BTU unit can’t effectively cool a 500 square foot room with high ceilings and sun exposure.
Poor Room Sealing: Portable ACs work by creating negative pressure – they exhaust hot air outside, which pulls warm air in through any gaps. Unsealed windows, door gaps, and even ceiling openings can overwhelm your unit’s cooling capacity.
How to Fix Portable AC Not Cooling – Step-by-Step
Step 1: Clean or Replace the Air Filter
A dirty air filter is the most common reason your portable AC isn’t cooling properly. I’ve seen filters so clogged they looked like felt after just 3 weeks of heavy use in dusty environments.
Locate the filter: Most portable AC filters are behind a grille on the back or side of the unit. Look for a tab or latch – some models require removing screws.
Inspect the filter: Hold it up to a light source. If light doesn’t pass through clearly, it needs cleaning. If the filter material is torn or collapsing, replacement is necessary.
Cleaning method: Vacuum loose dust first using a brush attachment. Then wash with warm water and mild dish soap. Rinse thoroughly until water runs clear. Never use harsh chemicals or put filters in the dryer.
Drying time: Let the filter air dry completely – usually 2-4 hours. Running a wet filter can cause mold growth and electrical issues. I recommend having a backup filter if you use your portable AC daily.
Warning: Never operate your portable AC without a filter installed. This can damage the evaporator coils and compressor, leading to expensive repairs.
Step 2: Inspect and Fix Exhaust Hose Problems
The exhaust hose is the most critical component of portable AC operation. Any issue here directly impacts cooling performance. HVAC technicians report exhaust hose problems cause 30% of service calls.
Check for kinks: The hose should be as straight as possible. Each 45-degree bend reduces efficiency by 5-10%. Sharp 90-degree turns can reduce airflow by 25% or more. Reconfigure your setup to minimize bends.
Verify proper connection: Ensure both ends of the hose are securely attached – one to the unit and one to the window bracket. Users on Reddit frequently discover their hose had partially disconnected after weeks of use.
Measure hose length: Most manufacturers specify a maximum hose length (usually 5-7 feet). Longer hoses reduce efficiency significantly. If you must extend beyond the recommended length, you’ll need a more powerful unit.
Inspect for holes: Check the entire hose length for cracks, holes, or separated seams. Even small holes leak hot air back into your room. Temporarily repair with duct tape, but replace damaged hoses promptly.
Window bracket installation: The window kit must create an airtight seal. Use the included foam insulation strips to fill gaps around the bracket. If sunlight passes through anywhere around the bracket, hot air is entering too.
Step 3: Verify Thermostat and Mode Settings
Incorrect settings are frustratingly common causes of portable AC not cooling. I’ve helped multiple neighbors discover their unit was set to “Fan” mode instead of “Cool.”
Check the mode: Look for a mode button on the control panel or remote. Cycle through until “Cool” or “Snowflake” icon is displayed. Some units have “Auto” mode that switches between heating and cooling – ensure it’s set to cool.
Temperature setting: Set the target temperature at least 5 degrees below current room temperature. If your room is 82 degrees, setting the AC to 80 won’t provide noticeable cooling. Try setting it to 72-74 degrees initially.
Fan speed: Higher fan speeds circulate air more effectively but may feel less cool initially. Start on medium or high to distribute cooled air throughout the room, then adjust for comfort.
Timer settings: Check that no timer is set to turn off cooling. Some units have programmable schedules that may interfere with expected operation.
Remote control issues: If using a remote, verify batteries are working and the remote is properly synced. Try adjusting settings directly on the unit to rule out remote problems.
Step 4: Ensure Proper Ventilation
Proper ventilation is essential for portable AC efficiency. Unlike window units, portable ACs create negative pressure in your room – they exhaust hot air outside, which naturally pulls warm air in from elsewhere.
Window placement: Install the exhaust hose through a window in the sunniest wall if possible. This reduces heat gain elsewhere in the room. Avoid north-facing windows for exhaust.
Seal the room: Close all doors and windows in the room being cooled. Use weatherstripping around door frames. HVAC professionals estimate that unsealed rooms can reduce cooling efficiency by 25-40%.
Minimize heat sources: Turn off unnecessary lights and electronics. Incandescent bulbs produce significant heat. Computers and televisions generate heat that counters your AC’s work.
Curtains and blinds: Close curtains on sun-facing windows. Direct sunlight through windows can add hundreds of watts of heat to your room, overwhelming your portable AC’s capacity.
Door undercuts: If cooling a bedroom, consider using a draft stopper at the door bottom. This prevents cooled air from escaping and warm air from entering.
Step 5: Check for BTU/Room Size Mismatch
An undersized portable AC will never adequately cool your space, no matter how well it’s maintained. BTU (British Thermal Units) measures cooling capacity, and matching it to your room is essential.
Calculate your room size: Multiply length x width x height to get cubic feet. For standard 8-foot ceilings, just use length x width for square footage.
Basic BTU guidelines:
- 300-350 sq ft: 10,000-12,000 BTU
- 350-450 sq ft: 12,000-14,000 BTU
- 450-550 sq ft: 14,000-16,000 BTU
Adjust for factors:
- High ceilings (9+ ft): Increase BTU by 10%
- Heavy sun exposure: Increase BTU by 10%
- Multiple occupants: Add 600 BTU per person
- Kitchen areas: Add 4,000 BTU minimum
Signs of undersizing: Unit runs continuously without cycling off, room temperature never reaches set point, AC feels like it’s struggling. These indicate your unit is too small for the space.
Solutions: Reduce room size by closing doors, add supplemental fans to circulate air, or upgrade to a properly sized unit. Running an undersized unit continuously wastes energy and shortens its lifespan.
Step 6: Address Water Drainage Issues
Most portable ACs remove moisture from the air as part of the cooling process. This water must go somewhere, and drainage problems can cause your unit to stop cooling.
Full tank indicator: Check if your unit has a “full tank” light or indicator. When the water reservoir is full, many portable ACs automatically stop cooling to prevent overflow.
Empty the drain tank: Locate the drain plug or tank (usually at the bottom or back of the unit). Place a shallow pan beneath and remove the plug. Let all water drain completely before replacing.
Continuous drain option: Many models offer a continuous drain connection using a hose. If available, connect a hose to direct water outside or into a floor drain. This eliminates manual emptying.
Auto-evaporative function: Some units exhaust most water vapor through the hose. If you notice water dripping from the exhaust hose or window, this is normal operation. However, excessive dripping may indicate high humidity or a problem with the evaporative system.
Clogged drain: If water isn’t draining properly, the drain hole or tube may be clogged with mineral deposits or debris. Use a pipe cleaner or compressed air to clear the blockage.
Step 7: Reset the Portable AC Unit
Sometimes a simple reset resolves unexplained cooling issues. Electronics can glitch, sensors can malfunction, and a reset clears these problems.
Power reset method: Turn off the unit using the control panel or remote. Unplug from the wall outlet. Wait at least 5 minutes – this allows capacitors to fully discharge and the system to completely power down.
Locate reset button: Many portable ACs have a small reset button near the power cord connection. It’s often recessed and requires a paperclip or pen tip to press. Press and hold for 3-5 seconds.
Power back on: After waiting, plug the unit back in. Turn it on and set to your desired cooling mode and temperature. Give it 10-15 minutes to begin cooling properly.
Test after reset: Monitor the unit for 30 minutes. You should feel cool air from the vents within 5-10 minutes. If the problem persists after reset, move on to more advanced troubleshooting.
When to Call a Professional
Some portable AC problems require professional expertise. Attempting DIY repairs on certain components can void warranties and create safety hazards.
Refrigerant leaks: If you notice oily residue around the unit, hear hissing sounds, or the unit runs but produces absolutely no cooling, you may have a refrigerant leak. Only EPA-certified technicians can legally handle refrigerant repairs.
Compressor failure: The compressor is the heart of your AC. If it fails (symptoms include unit running but no cool air, or clicking sounds followed by shutdown), replacement often costs more than buying a new unit. A technician can diagnose whether repair is worthwhile.
Electrical issues: Frequent circuit breaker trips, burning smells, or visible sparks indicate electrical problems that require immediate professional attention. These are fire hazards and shouldn’t be ignored.
Warranty considerations: If your unit is still under warranty (typically 1-5 years), DIY repairs may void coverage. Check your warranty terms before attempting any internal repairs. Many manufacturers require professional service for warranty claims.
Cost-benefit analysis: Professional repairs typically cost $150-400 plus parts. If your portable AC is over 5 years old or repair costs exceed 50% of replacement cost, buying a new unit is usually more economical.
Prevention and Maintenance Tips
Preventing cooling problems is far easier than fixing them. Regular maintenance extends your portable AC’s lifespan and ensures reliable performance when you need it most.
Clean filters bi-weekly: During heavy summer use, clean your air filter every 2 weeks. Set a recurring reminder on your phone. This single maintenance step prevents 70% of cooling performance issues.
Inspect the exhaust hose monthly: Check for kinks, disconnections, and holes. Verify the window bracket remains secure and sealed. A few minutes of inspection prevents hours of troubleshooting later.
Professional maintenance: Consider annual professional servicing before peak cooling season. Technicians can clean internal components you can’t access, check refrigerant levels, and identify potential problems before they cause failure.
Proper off-season storage: When summer ends, clean your unit thoroughly, drain all water, and store in a dry, protected area. Cover with a breathable cloth to prevent dust accumulation. Never store a portable AC in a humid basement or garage.
Monitor performance: Pay attention to how long your unit takes to cool the room and whether it cycles on and off appropriately. Any gradual changes in performance indicate developing problems that should be addressed promptly.
Energy efficiency: Use a programmable timer to avoid running the AC when unnecessary. Every degree below 78 increases energy consumption by 3-8%. Finding the right balance between comfort and efficiency saves money and reduces wear on your unit.
FAQs
Why is my portable AC not getting cold air?
The most common reasons include dirty air filters restricting airflow, exhaust hose problems (kinks or disconnections), incorrect mode settings, or insufficient BTU capacity for your room size. Start by checking the filter and ensuring the unit is in Cool mode with the temperature set at least 5 degrees below room temperature.
How do I reset a portable air conditioner?
To reset your portable AC, first turn it off and unplug from the wall outlet. Wait at least 5 minutes for complete power discharge. Many units have a small reset button near the power cord connection – press and hold it for 3-5 seconds using a paperclip. Then plug back in, turn on, and allow 10-15 minutes for cooling to begin.
Why is my portable AC room still hot?
Your room may stay hot due to BTU mismatch (unit too small for space), poor room sealing allowing warm air in, direct sunlight heating the room, or heat-generating appliances. Calculate if your BTU rating matches your room size, seal all windows and doors, close curtains on sunny windows, and minimize heat from electronics and lights.
Why is my AC running but not blowing cold air?
If your AC runs without producing cold air, the compressor may have failed, refrigerant may be low from a leak, the evaporator coils could be frozen, or the unit might be in Fan/Dry mode instead of Cool mode. Check the mode setting first, then feel the exhaust air – if it’s not hot, the compressor isn’t running and professional repair may be needed.
Conclusion: Portable AC Not Cooling
Portable AC not cooling is frustrating but usually solvable without professional help. Start with the simple fixes – clean your filter, check the exhaust hose, verify settings, and ensure proper room sealing. These basic steps resolve most cooling issues in under 30 minutes.
If problems persist after completing all troubleshooting steps, consider whether your unit is properly sized for your space or if it may have a mechanical issue requiring professional service. Remember that portable ACs typically last 5-10 years with proper maintenance, and replacement may be more economical than repair for older units.
Regular maintenance is your best defense against cooling problems. Clean filters bi-weekly during heavy use, inspect the exhaust system monthly, and address any performance changes promptly. Your portable AC will reward you with reliable cooling when summer temperatures peak.

Leave a Comment