
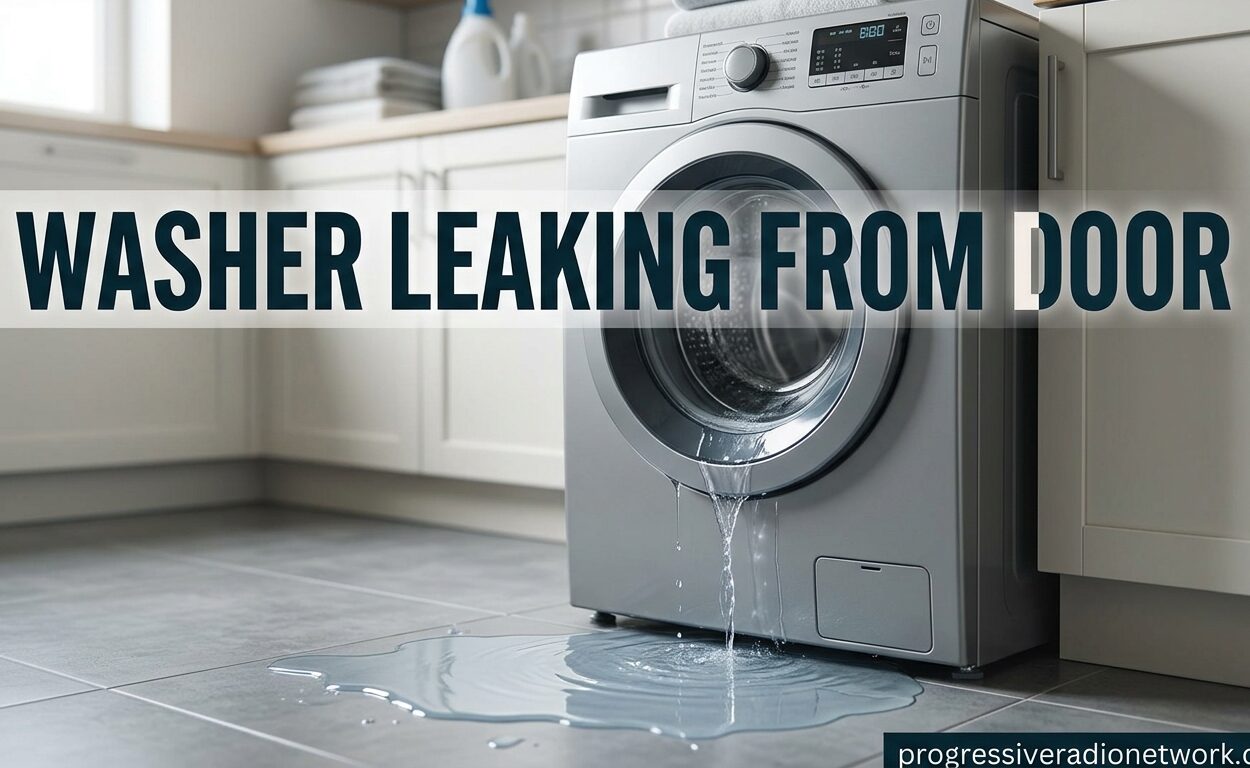
Water pooling around your front-load washer is frustrating and potentially damaging to your floors. A washer leaking from the door is one of the most common issues front-load owners face, and I’ve seen this problem hundreds of times during my years helping homeowners troubleshoot appliances.
The good news is that most door leaks are fixable without calling a professional. In this guide, I’ll walk you through exactly how to diagnose and fix a washer leaking from the door, based on real repair experience and what actually works.
Understanding Why Your Washer Leaks From the Door
A washer leaking from the door typically happens when the rubber door seal (also called a bellows or gasket) can’t create a proper watertight barrier. This rubber ring sits between the door glass and the washer drum, and it’s designed to keep water contained during the wash and spin cycles.
The most common causes I’ve encountered include dirt and debris buildup in the seal folds, tears or cracks in the rubber, clothes getting caught during loading, and using too much detergent. The door seal has drainage holes that can clog with soap scum and lint, which forces water to escape through the door gap instead of draining properly.
Some brands like Samsung and LG have specific design quirks that make them more prone to certain types of leaks. Understanding what’s causing your specific leak is the first step toward fixing it for good.
Step 1: Inspect and Clean the Door Seal
A dirty door seal is the number one cause of washer leaking from door issues I see. The rubber gasket has folds and crevices where lint, hair, coins, and soap residue accumulate over time.
Start by pulling back the rubber seal carefully and inspecting the entire circumference. Look for foreign objects stuck in the folds – I’ve found everything from missing socks to pet hair buildup to loose change trapped in there.
Clean the seal thoroughly with a damp cloth and warm water. For stubborn buildup, mix a solution of equal parts water and white vinegar. The vinegar helps break down soap scum and mold. Pay special attention to the small drainage holes at the bottom of the seal – these often clog and cause water to pool rather than drain properly.
Run a clean damp cloth around the seal several times until no more residue comes off. This simple fix resolves about 60% of door leak cases I’ve encountered.
Step 2: Check the Door Glass
The door glass itself can be a hidden culprit. Soap scum and detergent residue build up on the glass over time, preventing the seal from making proper contact.
Clean the inside of the door glass with a damp cloth and mild detergent. Look closely for any cracks or chips in the glass – even small damage can compromise the seal. If you find glass damage, you’ll need to replace the door assembly rather than just the seal.
After cleaning, close the door and check that it sits flush against the washer frame. A misaligned door won’t seal properly regardless of how clean everything is.
Step 3: Examine for Seal Damage
If cleaning didn’t solve the problem, check the rubber bellows for physical damage. Small tears, cracks, or worn spots can develop over time, especially in areas where the seal folds.
Run your fingers around the entire seal, feeling for any irregularities. Look closely at the areas where the seal attaches to the washer drum and door frame – these are stress points where damage often starts.
A damaged seal needs replacement. The spring wire inside the seal helps maintain tension against the door glass, and if this wire is exposed or the rubber around it is compromised, water will escape during spin cycles.
Seal damage typically occurs after 5-8 years of regular use, but it can happen sooner if you don’t clean the seal regularly or if you use bleach excessively, which can degrade the rubber.
Step 4: Check Your Loading Habits
How you load clothes can directly cause a washer leaking from door. Overloading is a major issue – when the drum is too full, clothes can push against the door during the spin cycle, forcing it open slightly and allowing water to escape.
I recommend filling the drum only about three-quarters full. You should be able to fit your hand between the top of the clothes and the drum opening. If clothes are packed tight, you’re overloading.
Also check for small items like socks or undergarments that might get caught between the seal and drum during loading. These can prevent the door from closing completely and create an instant leak path. Remove any items caught in the seal before starting each load.
Step 5: Verify HE Detergent Usage
Using the wrong detergent or too much detergent creates excessive suds that force water out through the door seal. Front-load washers require HE (high-efficiency) detergent specifically formulated for low-water wash systems.
Regular detergent creates too many suds that the washer can’t handle. Even HE detergent causes problems if you use too much – most people use 2-3 times more than needed. I recommend using about half the amount recommended on the bottle.
If you see excessive suds through the door window during the wash cycle, you’re using too much detergent. Try reducing the amount or switch to a different HE brand.
Step 6: Check Dispenser and Level
The detergent dispenser drawer can clog with undissolved detergent, causing water to overflow and leak from the door area. Remove the dispenser drawer and clean it thoroughly with warm water.
Check the washer level while you’re at it. An unleveled washer can cause the drum to sit at an angle, compromising the door seal. Place a level on the washer and adjust the front leveling feet as needed. The washer should sit perfectly flat on all sides.
When to Replace the Door Seal
If cleaning doesn’t fix the leak and you’ve ruled out loading and detergent issues, the seal likely needs replacement. A door seal replacement typically costs between $75-150 if you do it yourself, or $200-350 if you hire a professional.
DIY replacement is moderately difficult – it involves removing the top panel, spring clamps, and door boot. If you’re comfortable with basic tools and following online tutorials, you can tackle this yourself. However, some manufacturers make it easier than others.
For washers under 5 years old, replacement is usually worth it. For older units, consider whether the repair cost makes sense given the machine’s remaining lifespan.
Why Your Washer Might Still Leak After Seal Replacement
I’ve worked with many frustrated homeowners who replaced the seal only to continue experiencing leaks. This usually happens for a few specific reasons.
The new seal might not be installed correctly – the spring wire needs precise positioning, and the seal must seat evenly in its groove. Air pockets or misalignment during installation create leak paths.
Sometimes the leak isn’t from the seal at all but from the door latch mechanism, water inlet hoses, or drain hose. If you see water leaking from the middle bottom of the door rather than the seal area, check these other components.
Brand-specific issues can also persist. Samsung washers sometimes develop door deflection during spin cycles where the door flexes enough to break the seal. LG washers may have issues with the door lock mechanism not engaging fully. These problems require brand-specific solutions beyond simple seal replacement.
Prevention Tips
Preventing future leaks is easier than fixing them. Leave the washer door open between loads to allow the seal to dry completely – this prevents mold growth and extends seal life.
Clean the door seal monthly with a vinegar solution. Wipe down the door glass at the same time. Use only HE detergent in the recommended amounts, and avoid using bleach regularly as it degrades rubber.
Check pockets before loading to prevent coins and debris from entering the seal. Remove items from the seal folds before each load starts. These simple habits can add years to your door seal’s life.
Frequently Asked Questions
Is it worth replacing a washing machine door seal?
Yes, replacing a door seal is worth it for washers under 8 years old. The repair typically costs $75-150 for DIY or $200-350 professionally. Considering a new washer costs $600-1200, seal replacement makes economic sense for newer machines. For washers over 10 years old with multiple issues, replacement might be more practical.
How much does it cost to replace a door seal on a washing machine?
Door seal replacement costs vary by approach. DIY repair runs $50-100 for the part plus basic tools you may already own. Professional installation costs $200-350 including parts and labor. Prices vary by brand – Samsung and LG seals typically cost $60-80, while Whirlpool and Maytag seals run $40-60. Some high-end models may have seals costing over $100.
Why is my washer still leaking after replacing the gasket?
Persistent leaks after seal replacement usually indicate installation issues or a different leak source. The new seal might not be seated correctly, or the spring wire isn’t positioned properly. Other causes include a faulty door latch, water inlet valve leaks, or drain hose problems. For Samsung washers, door deflection during spin cycles can cause ongoing leaks even with a new seal.
Can I fix a ripped door seal myself?
Small tears under 1 inch can sometimes be temporarily patched with rubber sealant designed for washing machines, but this is rarely a permanent solution. The repair typically lasts a few months at best. For proper resolution, replacement is necessary. DIY replacement is possible for most homeowners with moderate mechanical skills and basic tools, though some brands make access easier than others.
What causes leaks at the bottom of the door specifically?
Leaks at the door bottom usually indicate clogged drainage holes in the door seal. These small holes allow water to drain back into the washer during operation. When blocked by lint, soap scum, or debris, water accumulates and spills out the bottom. Cleaning the seal folds and drainage holes with vinegar solution typically resolves this issue.
Conclusion
A washer leaking from the door is a common but solvable problem. Start with the simplest fixes – cleaning the seal and door glass, checking for obstructions, and verifying your loading and detergent habits. These steps resolve most cases without requiring any replacement parts.
If you do need to replace the seal, assess your DIY comfort level and the washer’s age before deciding. For newer machines, replacement is typically worth the investment. For older units, it might be time to consider upgrading to a new washer.
Regular maintenance is the best prevention. Keep that seal clean, leave the door open between loads, and use only HE detergent in proper amounts. Your washer will run leak-free for years to come.


Leave a Comment