
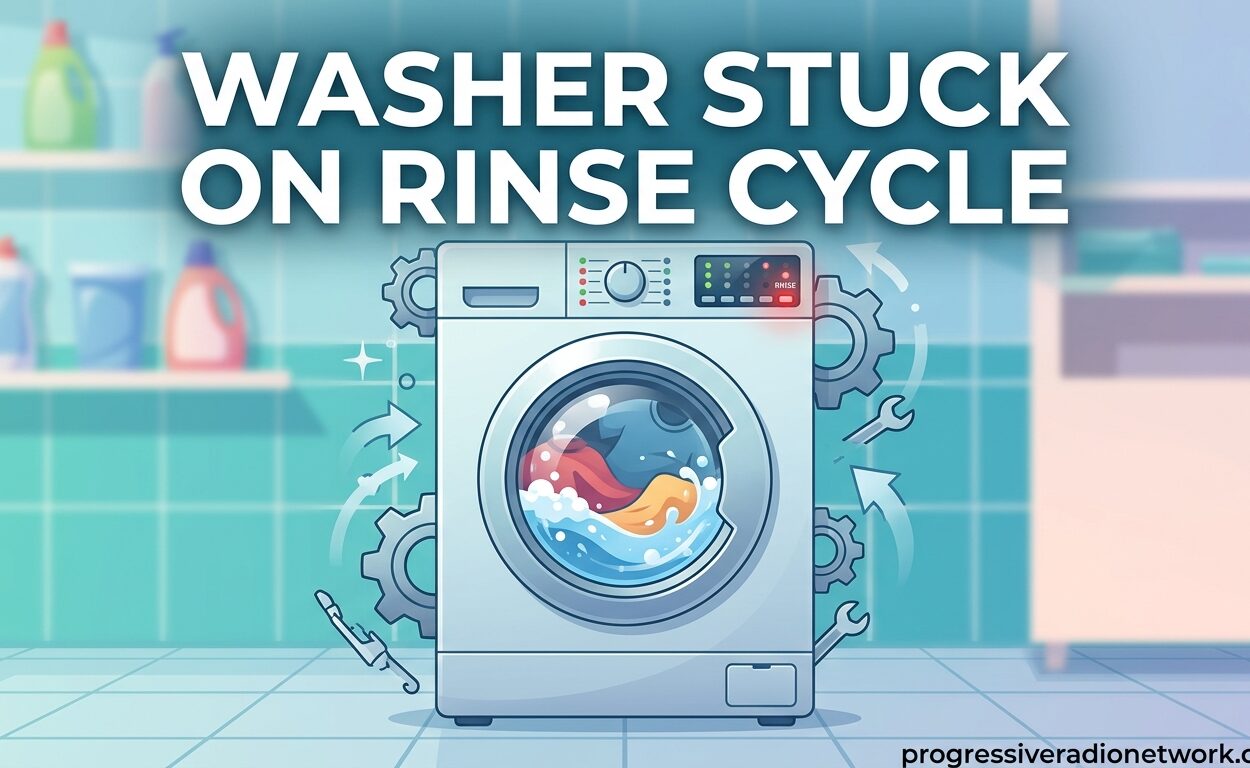
There’s nothing more frustrating than hearing your washing machine running indefinitely, only to discover it’s stuck on the rinse cycle again. I’ve been there – staring at the timer that won’t advance, watching water continuously fill and drain while my clothes sit soaking wet. A washer stuck on rinse cycle is one of the most common appliance issues homeowners face, and it can leave you with wet laundry, higher water bills, and a machine that won’t complete its job.
When your washing machine gets stuck on rinse, it means the machine cannot progress past this phase to the spin cycle or complete the wash. The rinse cycle is designed to flush detergent residue from your clothes using fresh water, but when something malfunctions, your washer may repeat this phase endlessly or pause indefinitely.
The good news? Most rinse cycle problems have straightforward fixes you can handle yourself. After researching hundreds of user experiences and appliance repair forums, I’ve compiled the most comprehensive troubleshooting guide to help you diagnose and fix a washer stuck on rinse cycle.
Quick Diagnosis: What to Check First
Before diving into component testing, try these three quick fixes that solve the problem for many users. These steps take less than 10 minutes and often resolve the issue without any tools needed.
1. Perform a Power Reset
Unplug your washing machine from the electrical outlet for 1-2 full minutes. This resets the control board and clears temporary glitches. While unplugged, press and hold the start/pause button for 10-15 seconds to discharge any residual power. Plug the machine back in and run a test cycle.
2. Check Load Balance
An unbalanced load can trick your washer into thinking it hasn’t completed the rinse phase. Open the lid or door and redistribute wet clothes evenly around the drum. For top loaders, ensure clothes aren’t bunched to one side. For front loaders, verify nothing is tangled.
3. Inspect Door/Lid Mechanism
Make sure the door or lid is fully closed and latched. Many washers won’t advance past rinse if the door lock isn’t fully engaged. Listen for the audible “click” when closing. Check for obstructions preventing proper closure.
If these quick fixes don’t resolve the issue, you’re likely dealing with a component failure that needs deeper troubleshooting. Let’s explore the most common causes.
Why Is My Washer Stuck On Rinse Cycle?
Understanding the root cause helps you target the right fix. Based on appliance repair data and user reports, these five components account for over 90% of rinse cycle problems:
1. Faulty Lid Switch (Top Load Washers)
The lid switch tells your washer that the lid is closed and it’s safe to operate. When this switch fails, the washer may pause during rinse or refuse to advance to spin. This is the single most common cause of rinse cycle issues in top-loading machines.
2. Malfunctioning Water Inlet Valve
The water inlet valve controls water flow into your washer. If it’s partially clogged with mineral buildup or failing electrically, the washer can’t fill properly for the rinse phase. This causes the machine to wait indefinitely for the correct water level.
3. Clogged Drain Pump or Filter
Your washer needs to drain rinse water before spinning. A blocked drain pump, foreign object (like a coin or sock), or clogged filter prevents proper drainage. The washer senses water remaining and won’t advance.
4. Failed Pressure Switch or Water Level Sensor
The pressure switch detects water level in the drum. When it malfunctions, your washer can’t tell when it’s filled or drained properly. This causes rinse cycle hang-ups as the machine waits for a signal that never comes.
5. Defective Timer or Control Board
The timer (mechanical models) or control board (electronic models) orchestrates the entire wash cycle. Electrical failures, burnt contacts, or software glitches can cause the machine to stop progressing through cycles.
Step-by-Step Troubleshooting Guide
Now let’s systematically test each component. You’ll need a multimeter for electrical testing (available at any hardware store for $15-30). Always unplug your washer before performing any tests.
Test the Lid Switch (Top Loaders)
The lid switch is typically located under the washer’s main lid, visible when you lift the top. Here’s how to test it:
Step 1: Unplug the washer and locate the lid switch. It’s usually a plastic component with a wire harness connected to it.
Step 2: Set your multimeter to continuity test mode (the symbol looks like a sound wave or diode).
Step 3: Disconnect the wire harness from the switch and touch one probe to each terminal.
Step 4: Manually activate the switch by pressing the plunger. You should hear a beep or see the reading change from OL (open loop) to 0 (zero resistance).
Result: If there’s no continuity when the switch is activated, replace the lid switch. This is a $15-30 part that typically takes 15-30 minutes to replace.
Inspect the Drain Pump
A failing drain pump is another common culprit. Listen closely when your washer is stuck on rinse – do you hear a humming sound but no water draining?
Step 1: Unplug the washer and locate the drain pump (usually at the bottom front of the machine).
Step 2: Check for obstructions. Coins, buttons, and small clothing items frequently get lodged in the pump impeller.
Step 3: Test the pump with your multimeter. Set to resistance mode and probe the motor terminals. You should read 10-30 ohms.
Result: If the reading is OL (infinite resistance) or significantly outside this range, the pump motor has failed and needs replacement. Pump assemblies typically cost $50-100.
Check the Water Inlet Valve
Mineral buildup from hard water can clog the inlet valve screens over time, restricting water flow during rinse.
Step 1: Turn off water supply valves and disconnect hoses from the back of the washer.
Step 2: Inspect the inlet valve screens (small mesh filters inside the valve connections). Clean them with a toothbrush and vinegar if mineral deposits are visible.
Step 3: Test the valve coils with your multimeter. Set to resistance mode and probe each coil terminal. Expect readings of 500-1500 ohms.
Result: If readings are outside this range or cleaning the screens doesn’t fix slow filling, replace the water inlet valve ($40-80).
Test the Pressure Switch
The pressure switch is typically a round component with a small plastic tube attached (the air dome tube). It’s located inside the washer’s control panel.
Step 1: Unplug the washer and access the pressure switch (you may need to remove the top panel or control console).
Step 2: Remove the air dome tube from the switch and blow through it to ensure it’s not clogged.
Step 3: Test the switch with your multimeter. You should hear/see continuity change between terminals as you apply gentle air pressure to the switch.
Result: If the switch doesn’t respond to air pressure or shows no continuity, replace it ($20-50).
Examine the Timer or Control Board
This is typically the last component to test, as timer/control board failures are less common than other causes.
For Mechanical Timers: Remove the timer knob and inspect the timer mechanism for burnt contacts or physical damage. Test contacts with a multimeter for continuity in different cycle positions.
For Electronic Control Boards: Look for visible signs of damage – burnt components, bulging capacitors, or corrosion on the circuit board. Control boards are expensive ($150-300) so rule out other causes first.
How to Reset a Washer Stuck On Rinse Cycle
Sometimes a simple reset clears temporary glitches causing the rinse cycle hang-up. Try these methods in order:
Method 1: Basic Power Reset
Unplug the washer for 2-3 minutes, then plug it back in. This clears the control board’s memory and can resolve temporary software issues.
Method 2: Knob Calibration (Some Models)
This technique works on many Whirlpool, Kenmore, and Maytag models:
- Lift the lid and locate the timer knob
- Set the knob to the “Normal” cycle position
- Rotate the knob one full turn to the left (counter-clockwise)
- Rotate three clicks to the right (clockwise)
- Close the lid and advance the knob to “Rinse”
- The washer should advance through the cycle normally
Method 3: Diagnostic Reset Sequence
Many modern washers have built-in diagnostic modes that can reset stuck cycles:
- Ensure the washer is empty
- Turn the cycle knob to any position except “Off” or “Pause”
- Within 5 seconds, press and hold the “Start/Pause” button for 3-5 seconds
- All indicator lights should illuminate and the display may show a code
- Press “Start/Pause” again to exit diagnostic mode
- Run a test cycle to verify the issue is resolved
Brand-Specific Troubleshooting
While most washer troubleshooting follows similar principles, certain brands have unique quirks and common failure points:
Whirlpool Washers
Whirlpool top-loaders are notorious for lid switch failures. The switch is located under the main lid and costs about $20-30. Whirlpool front-loaders commonly experience drain pump obstructions – check the pump filter (usually behind a small access panel at the bottom front) before replacing parts.
LG Washers
LG front-loaders often display error codes when stuck on rinse. Common codes include “OE” (drain error) and “IE” (water inlet error). LG washers have a drain pump access door on the front bottom – check for debris before assuming pump failure. LG control boards are also prone to moisture damage from overflow.
Samsung Washers
Samsung washers frequently get stuck due to unbalanced loads. The door lock mechanism is also a common failure point – if the door won’t unlock after a rinse cycle stall, you may need to manually release the emergency door lock (usually behind the small access panel). Samsung error codes like “3E” indicate motor issues that can cause cycle hang-ups.
Kenmore Washers
Kenmore washers are manufactured by various companies (Whirlpool, Frigidaire, LG) depending on the model. Check your model number’s first three digits to identify the actual manufacturer – 110, 106, and 664 series are Whirlpool-made, while 796 and 417 series are LG-made. Troubleshoot accordingly.
When to Call a Professional
DIY repairs can save money, but some situations require professional expertise. Consider calling a technician if:
- Multiple components are failing – If your washer shows symptoms of several problems at once, the issue may be complex
- The machine is under warranty – DIY repairs can void manufacturer warranties
- You’re uncomfortable with electrical testing – Working with appliances requires safety precautions
- The cost approaches replacement value – If your washer is over 10 years old and repair estimates exceed $400-500, replacement may be more cost-effective
Professional repair typically costs $150-300 including parts, depending on your location and the specific problem. Reputable services will provide a diagnostic fee (usually $50-80) credited toward the repair if you proceed.
Prevention: Maintenance Tips to Avoid Future Issues
Regular maintenance can prevent rinse cycle problems from developing in the first place:
Use the Right Detergent Amount
Excess detergent creates excessive suds that confuse the pressure switch and can cause rinse cycle issues. Follow detergent guidelines – most people use 2-3x more than needed. High-efficiency (HE) washers require HE detergent specifically.
Clean the Drain Pump Filter Monthly
Most front-load washers have a debris filter that catches coins, buttons, and small items before they reach the pump. Cleaning this monthly prevents clogs and pump damage. Consult your owner’s manual for filter location.
Inspect Hoses Annually
Check fill hoses for bulges, cracks, or leaks. Replace rubber hoses every 5 years – burst hoses can cause extensive water damage. Consider upgrading to braided stainless steel hoses.
Level Your Washer Properly
An unbalanced washer puts excessive stress on components and can cause premature failures. Use a bubble level on top of the machine and adjust the leveling feet until the bubble is centered.
Don’t Overload
Overloading strains the motor, drain pump, and suspension system. Clothes should move freely during agitation – fill the drum only to about 3/4 full for optimal performance and component longevity.
FAQs
Why is my washing machine getting stuck on the rinse cycle?
The most common causes include a faulty lid switch (top loaders), clogged drain pump, malfunctioning water inlet valve, failed pressure switch, or a defective timer/control board. The washer can’t advance to spin because it’s not receiving proper signals about water level, drainage, or lid status.
How to get a washer out of the rinse cycle?
First try a power reset: unplug for 2-3 minutes, then plug back in. For stubborn cases, manually advance the timer knob past the rinse position. If the lid won’t unlock, look for an emergency release mechanism behind the small access panel (front loaders) or use a flathead screwdriver to manually release the lid lock (top loaders).
How to reset a washing machine that is stuck on one cycle?
Unplug the washer for 2-3 minutes to reset the control board. For specific models, try the knob calibration: set to Normal, rotate one full turn left, then three clicks right, then advance to Rinse. Some models have diagnostic modes – lift the lid, set knob to any cycle, then press and hold Start/Pause for 3-5 seconds to enter/exit diagnostic mode.
Why won’t my Whirlpool washer get past the rinse cycle?
Whirlpool washers most commonly fail to advance due to lid switch failure (top loaders) or drain pump obstructions (front loaders). Test the lid switch with a multimeter for continuity. For front loaders, check the drain pump filter at the bottom front for debris clogging the impeller. A faulty timer or water level pressure switch are other possible causes.
Conclusion
A washer stuck on rinse cycle is frustrating but usually fixable with basic troubleshooting. Start with the quick fixes – power reset, load rebalancing, and checking the door mechanism. These simple steps solve the problem for many users without any tools or parts needed.
If the issue persists, systematically test the lid switch, drain pump, water inlet valve, and pressure switch using a multimeter. These four components account for the vast majority of rinse cycle failures. Most replacement parts cost $20-100 and can be installed by handy homeowners with basic tools.
Remember to perform regular maintenance – use the right amount of detergent, clean drain filters monthly, inspect hoses annually, and avoid overloading. These simple habits prevent many rinse cycle problems before they start.
If you’re uncomfortable with electrical testing or the repair cost approaches half the price of a new washer, consider calling a professional. For washers over 10 years old with multiple failing components, replacement may be the most cost-effective option.
By following this guide, you should be able to diagnose and fix most washer stuck on rinse cycle issues yourself, saving time and money while keeping your laundry routine running smoothly.



Leave a Comment