
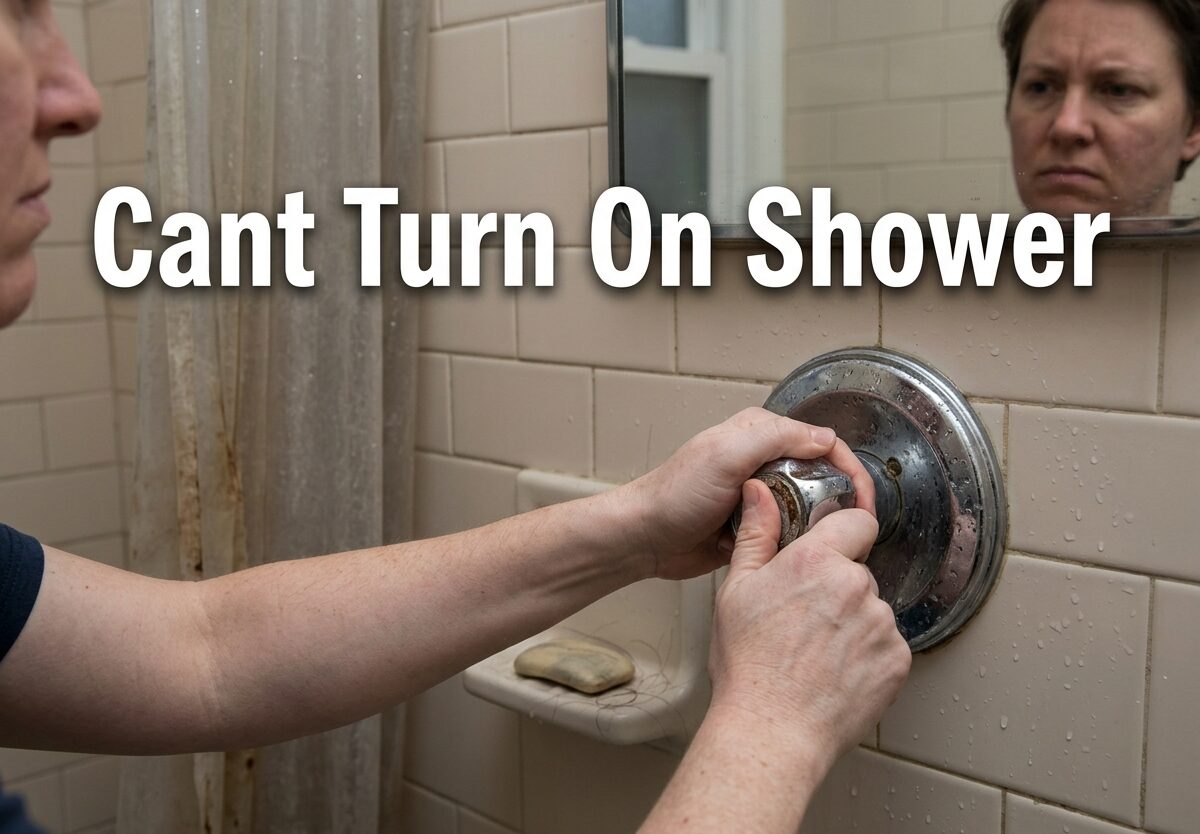
You step into the bathroom, ready for a shower, but nothing happens when you turn the handle. The frustration is real and unfortunately, this is a problem many homeowners face. Whether you’re dealing with a shower that won’t turn on at all, a handle that spins freely, or water that only comes from the tub spout, there’s usually a logical explanation and often a simple fix.
I’ve spent years researching common shower problems and consulting with plumbing professionals. In this guide, I’ll walk you through the most common reasons why your shower won’t turn on and provide step-by-step instructions for diagnosing and fixing the issue yourself.
Quick Diagnosis: What Type of Shower Problem Do You Have?
Before diving into repairs, let’s quickly identify what’s happening with your shower. Based on forum discussions with thousands of homeowners, these are the most common symptoms and their likely causes:
Handle spins freely without stopping: This usually indicates a stripped or broken shower cartridge. The handle turns but doesn’t engage the valve that controls water flow.
Water flows from tub spout but not showerhead: Your diverter valve isn’t working properly. This is the component that directs water from the tub faucet up to the showerhead.
No water comes from any faucet: This suggests a water supply issue rather than a shower-specific problem. Check your main water supply valve first.
Electric shower won’t turn on: Electric showers have safety mechanisms that can trip, requiring a reset button to be pressed.
Broken or Stripped Shower Cartridge
The shower cartridge is the heart of your faucet’s mixing valve. It controls both water flow and temperature by opening and closing ports within the valve body. When this component fails, you often can’t turn on the shower.
What is a Shower Cartridge?
A shower cartridge is a cylindrical component inside your faucet handle that controls water flow and temperature. When you turn the handle, the cartridge rotates or slides to open passages for hot and cold water. Over time, the internal parts can wear out or break.
Most modern shower faucets use either a pressure-balancing cartridge (prevents scalding when someone flushes a toilet) or a thermostatic cartridge (maintains precise temperature). Both types can fail and leave you unable to turn on your shower.
Signs Your Cartridge is Broken
A failing shower cartridge typically shows these warning signs before complete failure:
Handle feels loose or spins freely: The stem connecting the handle to the cartridge has stripped or broken. This is the most common reason a shower won’t turn on.
Difficulty turning the handle: Mineral buildup from hard water can cause the cartridge to seize. If you force it, the internal components may break.
Inconsistent water temperature: The cartridge can’t properly mix hot and cold water, leading to temperature swings or only cold water.
Water dripping from the showerhead when off: The cartridge isn’t fully closing, allowing water to leak through.
How to Replace a Shower Cartridge Step by Step
Replacing a shower cartridge is a moderate DIY project that typically takes 30-60 minutes. Here’s the process:
Step 1: Turn off the water supply to your shower. Look for shut-off valves in the access panel behind the shower or turn off the main water supply to your home.
Step 2: Remove the shower handle. This usually involves prying off a decorative cap, unscrewing a retaining screw, and pulling the handle off. Some handles may be stuck due to mineral buildup.
Step 3: Remove the trim plate and escutcheon to expose the valve body. You may need to unscrew it or gently pry it off the wall.
Step 4: Use a cartridge puller tool or locking pliers to remove the old cartridge. Pull straight out while being careful not to damage the valve body. Note the orientation for proper installation of the new one.
Step 5: Install the new cartridge by pushing it firmly into place. Make sure it’s properly aligned with the hot and cold water ports. Some cartridges require a specific orientation marked by manufacturer indicators.
Step 6: Reassemble the faucet handle, turn the water back on, and test the shower. Check for leaks around the handle and trim plate.
Tip: Take a photo of your faucet and bring the old cartridge to a plumbing supply store. There are hundreds of cartridge types, and getting the exact replacement is crucial.
Shower Diverter Valve Problems
The diverter valve is responsible for directing water flow between the tub spout and showerhead. When this component fails, water will only come from the tub spout no matter what position the diverter is in.
How Does a Shower Diverter Work?
A shower diverter is a valve that blocks the tub spout opening, forcing water up the pipe to the showerhead. There are three main types you might encounter:
Tub spout diverter: A lever or knob on the tub spout itself. Pulling up or pushing down blocks the spout opening and redirects water upward. This is common in Delta faucets and many bathtub-shower combos.
Three-valve diverter: A separate handle or knob between the hot and cold valves. Turning it diverts water to the showerhead.
Two-valve diverter: One handle controls the tub spout, another controls the showerhead. You turn off one while turning on the other.
Delta Tub Spout Diverter Issues
Delta faucets with a tub spout diverter are particularly confusing for many homeowners. Based on forum discussions, people often spend 20-30 minutes trying to figure out how to get the shower to work.
On most Delta tub spouts, you need to pull DOWN on the diverter (the smooth ring or lever at the end of the spout). This blocks the spout opening and forces water up to the showerhead. If the diverter is stuck or broken, it won’t create a proper seal.
Mineral buildup is a common culprit. Hard water deposits can prevent the diverter from fully closing. Try soaking the spout in vinegar or using a descaling solution.
Moen Shower Diverter Problems
Moen showers typically use a cartridge-based diverter system. If you have a Moen shower that won’t turn on, the diverter portion of the cartridge may be stuck or broken.
Some Moen faucets have a dedicated diverter stem. If this stem breaks or the rubber washer deteriorates, water won’t divert properly. Replacing the diverter stem usually solves the problem.
Unclogging a Stuck Diverter
Mineral buildup and debris can cause a diverter to stick. Before replacing parts, try these steps:
Step 1: Remove the tub spout if applicable. Unscrew it counterclockwise or look for a set screw underneath. This gives you access to the diverter mechanism.
Step 2: Clean the diverter with vinegar or a commercial descaler. Soak for 30 minutes to dissolve mineral deposits.
Step 3: Check for debris in the diverter port. Use a small brush or compressed air to clear any blockage.
Step 4: Lubricate moving parts with silicone plumber’s grease. This helps prevent future sticking.
Step 5: Reinstall the spout and test. If the diverter still doesn’t work, replacement may be necessary.
Water Supply Issues
Sometimes the problem isn’t with the shower at all, but with the water supply reaching it. Before replacing parts, verify water is actually getting to your shower.
Checking Water Supply Valves
Your shower has individual shut-off valves that control water flow to the faucet. If these are closed or partially closed, your shower won’t work properly.
Look behind the shower wall for an access panel, usually in a closet or adjacent room. You’ll see two valves (hot and cold) that control water to the shower. Make sure they’re fully open by turning them counterclockwise.
For showers without access panels, the shut-off valves may be in the basement, crawl space, or utility area. Follow the plumbing lines from your shower to locate them.
Whole House vs Shower-Specific Problems
If no water comes from any faucet in your home, the issue is with your main water supply. Check the following:
Main water valve: Located near your water meter or where the main line enters your home. Make sure it’s fully open.
Water meter: Your water may have been shut off due to non-payment or a municipal issue. Check with your water utility provider.
Well pump: If you have a well, check that the pump is running and has power. A tripped breaker can prevent the pump from operating.
If other fixtures work but your shower doesn’t, the problem is isolated to the shower. Focus on the shower-specific components mentioned above.
Frozen Pipes in Cold Weather
In winter, frozen pipes can prevent water from reaching your shower. This is especially common in pipes located on exterior walls or in unheated spaces.
Suspect frozen pipes if the temperature has dropped below freezing and no water comes from specific fixtures. Thaw frozen pipes slowly using a hair dryer, space heater, or hot towels. Never use an open flame.
Prevent future freezing by insulating pipes in vulnerable areas and keeping cabinet doors open during extreme cold.
Electric Shower Troubleshooting
Electric showers have unique components that can prevent them from turning on. If you have an electric shower that won’t work, the issue is often electrical rather than plumbing-related.
Finding and Using the Reset Button
Most electric showers have a reset button that trips when the unit detects a problem. This safety feature prevents damage to the heating element or electrical components.
Locate the reset button on the shower unit, usually near the bottom or on the side. It’s often a small button labeled “Reset” or marked with a reset symbol.
Before resetting, turn off the shower and wait 10-15 minutes for it to cool down. Press and hold the reset button for 3-5 seconds, then release. The button should stay depressed. If it pops back out immediately, there’s an ongoing issue that needs professional attention.
Common reasons the reset button trips include overheating, electrical surges, low water pressure, or a faulty heating element.
Power Supply Checks
Verify electricity is reaching the shower unit. Check the circuit breaker in your electrical panel. Look for a breaker labeled “Shower” or “Bathroom” and make sure it’s in the ON position.
Some electric showers have an isolation switch outside the bathroom, typically in the hallway or adjacent room. Make sure this switch is turned on.
Use a voltage tester to confirm power is reaching the shower unit. If there’s no power at the unit but the breaker is on, there may be a wiring issue that requires an electrician.
Heating Element Issues
A faulty heating element can prevent an electric shower from operating. Most units won’t activate if the heating element is damaged or burned out.
Signs of heating element failure include cold water only, intermittent operation, or the shower not turning on at all. Testing the heating element requires a multimeter and electrical knowledge. If you suspect this issue, contact a qualified electrician or shower repair technician.
Brand-Specific Tips
Different shower manufacturers use unique designs and mechanisms. Knowing your brand can help you troubleshoot more effectively.
Delta Shower Faucet Problems
Delta is one of the most popular shower brands, and their tub spout diverters are a common source of confusion. Remember that Delta diverters typically pull DOWN to activate the shower, not up.
Delta single-handle faucets use a cartridge with a rotational limit stop. If this stop is set incorrectly, you may have limited hot water or difficulty turning on the shower. The limit stop can be adjusted without replacing the entire cartridge.
For Delta shower handle that spins freely, you’ll likely need to replace the cartridge. Delta cartridges are brand-specific and must match your exact model. Take the old cartridge to a hardware store for proper identification.
Moen Shower Handle Issues
Moen faucets are known for their Posi-Temp valve system, which maintains water temperature even when pressure changes. The cartridge is the heart of this system and a common failure point.
Moen handles that spin without resistance usually indicate a stripped cartridge stem. The good news is that Moen cartridges are covered by a lifetime warranty for the original owner. Contact Moen directly for a free replacement.
Some Moen showers have a built-in limit stop that prevents the handle from turning fully to the hot position. This safety feature can be adjusted if you’re not getting enough hot water.
Kohler and Other Brands
Kohler showers use various valve designs depending on the model. Many Kohler faucets have a pressure-balancing valve that can be serviced without replacing the entire unit.
Pfister, American Standard, and other major brands use similar cartridge-based systems. The troubleshooting steps outlined above apply to most brands, with slight variations in how components are removed.
Always identify your specific model before purchasing replacement parts. The model number is usually printed on the faucet or found in the original documentation.
Step-by-Step Troubleshooting Guide
When you can’t turn on your shower, follow this systematic approach to identify and fix the problem:
Step 1: Verify water is available elsewhere in your home. Check sinks and toilets. If no water flows anywhere, address the main water supply issue first.
Step 2: Check if water flows from the tub spout but not the showerhead. This indicates a diverter problem.
Step 3: Examine the shower handle. Does it turn normally, spin freely, or feel stuck? This will tell you if the cartridge or handle is the issue.
Step 4: For electric showers, locate and press the reset button. Wait 15 minutes for the unit to cool before resetting.
Step 5: Remove the shower handle to inspect the cartridge. Look for obvious damage, corrosion, or broken parts.
Step 6: Check water supply valves behind the shower or in your utility area. Make sure they’re fully open.
Step 7: For diverter problems, remove the tub spout and inspect for mineral buildup or debris. Clean thoroughly.
Step 8: If you’ve identified a broken cartridge or diverter, purchase the correct replacement part. Bring the old part to the store to ensure an exact match.
Step 9: Replace the faulty component following the manufacturer’s instructions. Take photos during disassembly to help with reassembly.
Step 10: Test the shower with the water turned on gradually. Check for leaks around all connections before finishing the job.
Warning: Always turn off the water supply before disassembling any faucet components. Working on pressurized plumbing can cause flooding and water damage.
When to Call a Professional Plumber
While many shower problems can be fixed DIY, some situations require professional expertise. Recognizing when to call a plumber can save you time, money, and frustration.
Call a professional if you encounter any of these situations:
No access to shut-off valves: If you can’t turn off water to the shower, you risk flooding your bathroom during repairs.
Internal valve body damage: If the valve body inside the wall is cracked or damaged, this requires opening the wall and major plumbing work.
Electric shower problems beyond reset button: Electrical issues should be handled by a qualified electrician to avoid shock hazards.
Multiple failed repair attempts: If you’ve replaced the cartridge and diverter but the shower still won’t work, there may be a more complex issue.
Lack of confidence or tools: Plumbing repair requires specific tools and some mechanical aptitude. If you’re uncomfortable, there’s no shame in calling a professional.
Professional shower repair typically costs $150-$400 depending on the problem and your location. This is often less expensive than causing water damage through improper repair attempts.
Preventing Future Shower Problems
Once your shower is working again, take these steps to prevent future issues and extend the life of your shower components:
Clean regularly: Wipe down your shower faucet and handle weekly to prevent soap scum and mineral buildup. Use a mild cleaner rather than harsh chemicals that can damage finishes.
Address minor issues promptly: A dripping faucet or stiff handle that’s hard to turn often signals a developing problem. Fixing it early can prevent complete failure.
Install a water softener: If you have hard water, mineral deposits will eventually clog your shower components. A water softener extends the life of faucets and plumbing throughout your home.
Annual inspections: Once a year, remove the handle and inspect the cartridge for wear or corrosion. Replacing a worn cartridge before it fails prevents the inconvenience of a shower that won’t turn on.
Know your shut-off valves: Locate and label all water shut-off valves for your shower. In an emergency, knowing how to quickly turn off the water can prevent major damage.
Frequently Asked Questions
Why is my shower suddenly not turning on?
A shower that suddenly won’t turn on is typically caused by a broken or stripped cartridge inside the faucet handle. The handle may spin freely without engaging the valve. Other common causes include a stuck diverter valve, closed water supply valves, or a tripped reset button on electric showers. Start by checking if water flows from other fixtures to determine if it’s a whole-house or shower-specific issue.
Is there a reset button on an electric shower?
Most electric showers have a reset button located on the unit, usually near the bottom or side. The reset button trips as a safety measure when the shower detects overheating, electrical issues, or low water pressure. To reset, turn off the shower and wait 10-15 minutes for it to cool, then press and hold the reset button for 3-5 seconds. If the button won’t stay depressed or trips repeatedly, there’s an underlying issue that needs professional attention.
Why is my shower water not working but works everywhere else?
This indicates the problem is isolated to your shower rather than a whole-house water supply issue. The most common cause is a faulty diverter valve that isn’t directing water to the showerhead. Other possibilities include a broken shower cartridge, mineral buildup blocking water flow, or closed shut-off valves specific to the shower. Check if water flows from the tub spout – if yes, the diverter is definitely the problem.
How do I unclog a shower diverter?
To unclog a shower diverter, start by removing the tub spout (unscrew counterclockwise or remove the set screw). Soak the diverter mechanism in vinegar for 30 minutes to dissolve mineral deposits. Use a small brush or compressed air to clear any debris from the diverter port. Lubricate moving parts with silicone plumber’s grease. If cleaning doesn’t solve the problem, the diverter may be broken and need replacement.
How much does it cost to replace a shower cartridge?
The cost to replace a shower cartridge ranges from $50-$300 depending on whether you do it yourself or hire a professional. DIY costs include just the replacement cartridge, typically $20-$80 depending on the brand and model. Professional repair includes labor ($100-$200) plus parts. cartridges for major brands like Moen and Delta often have lifetime warranties and may be free for the original owner.
Why does my shower handle spin without turning on water?
A shower handle that spins freely without resistance almost always indicates a stripped or broken cartridge. The stem connecting the handle to the cartridge has worn out or broken, so turning the handle doesn’t engage the valve that controls water flow. This is a very common problem and requires replacing the cartridge. The handle itself is rarely the problem – focus on replacing the internal cartridge to fix the issue.
Conclusion
Dealing with a shower that won’t turn on is frustrating, but most problems have straightforward solutions. Start by diagnosing whether you have a cartridge issue (handle spins), diverter problem (water from tub only), or water supply concern (no water anywhere). From there, follow the step-by-step guidance to resolve the issue.
Remember that regular maintenance and addressing minor problems early can prevent complete shower failure. If you’re uncomfortable with plumbing repairs or encounter complex issues, don’t hesitate to contact a professional plumber. The cost of professional repair is often less than the damage caused by DIY mistakes.
For most homeowners, a broken shower cartridge or stuck diverter is the culprit when they can’t turn on their shower. With the right replacement part and basic tools, these issues are fixable within an hour. Start with the simple checks and work your way through the troubleshooting guide – your shower will be working again before you know it.


Leave a Comment