
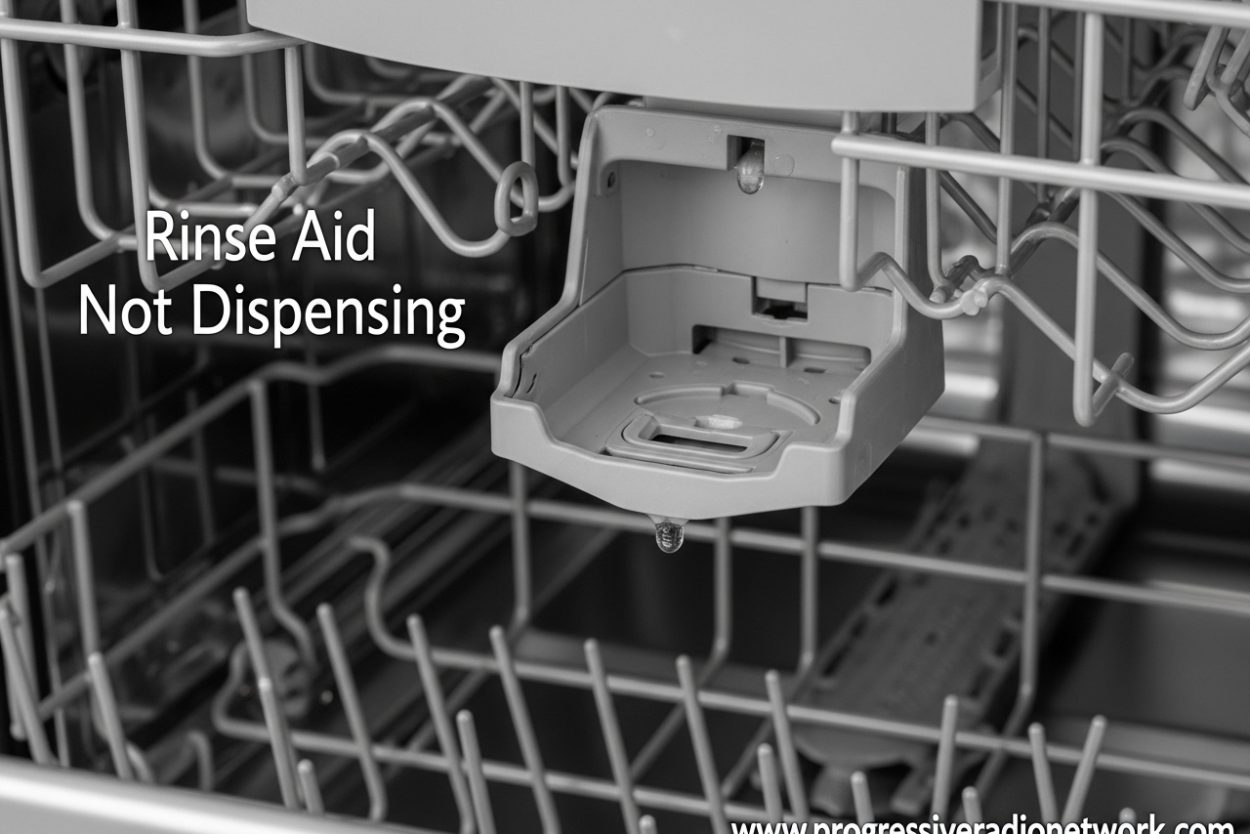
If you’ve noticed water spots on your glasses, cloudy dishes, or poor drying performance, your rinse aid not dispensing could be the culprit. Rinse aid is a dishwasher additive that helps water sheet off dishes during the final rinse, preventing those frustrating spots and improving drying. When the dispenser stops working, even the best dishwasher struggles to deliver spotless results.
In this guide, I’ll walk you through exactly how to diagnose and fix a rinse aid dispenser that’s not working. These troubleshooting steps have helped me resolve this issue countless times, and most fixes take less than 15 minutes.
Check the Rinse Aid Dispenser Fill Level
The most common reason rinse aid appears not to be dispensing is surprisingly simple: the dispenser is empty. A full rinse aid dispenser holds about 5 oz (150-175 mL) and should last approximately one month with regular use.
Locate your rinse aid dispenser, typically found on the inside of the dishwasher door. Look for the fill level indicator or cap. Remove the cap and check visually if there’s liquid inside. Many dispensers have a transparent window or indicator that shows when refill is needed.
If the dispenser is empty, refill it with your preferred rinse aid brand. Fill slowly to avoid overflowing, and wipe up any spills immediately. Rinse aid can cause excessive foaming if spilled into the wash tub.
Inspect and Clean the Rinse Aid Dispenser Cap
A damaged or dirty dispenser cap can prevent proper dispensing. The cap needs to create a tight seal to control the release of rinse aid during the cycle.
Remove the cap and inspect it for cracks, warping, or damage. Even hairline cracks can affect performance. Clean the cap thoroughly with warm water to remove any residue or buildup. Pay special attention to the small vent holes or channels in the cap design.
When reinstalling, ensure the cap clicks into place securely. A loose cap won’t create the necessary vacuum for proper dispensing. If the cap is damaged, replacement caps are available for most dishwasher models.
Adjust the Rinse Aid Dispensing Setting
Your rinse aid dispenser has a dosage dial that controls how much rinse aid is released during each cycle. If set too low, you may not notice any dispensing occurring.
Locate the dial, typically found under the dispenser cap or adjacent to the fill opening. Settings usually range from 1 to 6, with 1 being the lowest dispensing amount and 6 the highest. Factory default is typically around 3 or 4.
Start by setting the dial to the midpoint. If you have hard water, you may need a higher setting. Soft water requires less rinse aid. Adjust one setting at a time and run a few cycles to evaluate results before making further changes.
Clean Residue and Blockages from the Dispenser
A clogged rinse aid dispenser is a common cause of dispensing problems. Old rinse aid can crystallize, especially if the dishwasher hasn’t been used regularly. Some users report brown discoloration in the dispenser, indicating old product that needs to be flushed out.
To clean a clogged dispenser, start by removing as much old rinse aid as possible using a turkey baster or syringe. Then flush the dispenser with warm water to dissolve residue. You can run the dishwasher empty with the dispenser cap off to help clear blockages through the wash action.
For stubborn clogs, some users have had success running multiple full cycles with the dispense setting at maximum to flush out old product. This may take 5-10 cycles to completely clear a badly clogged dispenser.
Test the Dispenser Door Mechanism
The rinse aid dispenser door must open properly during the cycle to release the rinse aid. A stuck or broken door mechanism will prevent dispensing entirely.
With the dishwasher door open, manually test the dispenser door by gently pressing it. It should spring back smoothly. Look for any visible obstruction that might prevent the door from opening fully. Check for detergent residue, food particles, or mineral buildup around the door hinges.
The door is operated by a wax motor or solenoid that receives a signal from the control board during the appropriate cycle phase. If the door moves freely but doesn’t open during cycles, the issue may be with the actuator or electrical components rather than the door itself.
Inspect the Dispenser Actuator and Solenoid
The actuator and solenoid are the electrical components that trigger the dispenser door to open. When these fail, the dispenser won’t release rinse aid even if everything else is functioning correctly.
Signs of actuator or solenoid failure include a dispenser door that doesn’t move during cycles, or a door that moves weakly. You may be able to hear the solenoid clicking during the rinse cycle if it’s working properly.
Testing these components typically requires a multimeter to check for electrical continuity. If you’re comfortable with appliance repair, you can access these components by removing the dishwasher’s inner door panel. However, for most users, actuator or solenoid issues require professional service.
Check That Your Dishwasher Is Level
An improperly leveled dishwasher can cause various issues, including problems with rinse aid dispensing. If the dishwasher tilts forward, the rinse aid may not flow properly to the dispensing mechanism.
Check your dishwasher’s level using a smartphone level app or a traditional spirit level. Place the level on the door or rack to check both front-to-back and side-to-side leveling. The dishwasher should be perfectly level in both directions.
If adjustment is needed, turn the leveling legs at the front corners of the dishwasher. Some models also have rear leveling wheels that may require accessing from the front. After adjusting, recheck the level and run a test cycle to see if dispensing improves.
Brand-Specific Troubleshooting Tips
While rinse aid dispensers work similarly across brands, each manufacturer has unique characteristics worth noting:
Whirlpool, Maytag, and KitchenAid: These brands share many components under the Whirlpool Corporation umbrella. Common issues include clogged dispenser caps and failed wax motors. The dispenser is typically located on the inner door panel with a twist-off cap.
Bosch: Bosch dishwashers are known for reliable dispensers, but the fill indicator can be tricky to read. Ensure you’re filling to the correct level mark. Bosch dispensers are integrated into the detergent compartment on many models.
Samsung: Samsung dishwashers sometimes experience issues with the dispenser door latch mechanism. Check that the door closes completely after refilling. Some Samsung models have the dispenser on the left side of the inner door.
GE: GE dishwasher rinse aid dispensers are generally reliable, but the solenoid can fail on older models. Listen for the solenoid click during the rinse cycle as a quick diagnostic check.
When to Call Professional Repair
Some rinse aid dispenser issues require professional expertise. Consider calling a service technician if you’ve tried all the above steps without success, especially if you suspect actuator or solenoid failure.
Professional repair typically costs between $150-300, including parts and labor. The technician will test electrical components and may need to replace the entire dispenser module or control board in severe cases.
Signs you need professional help include: no sound from the dispenser during cycles, visible damage to internal components, or error codes on the display panel related to the dispenser.
Preventative Maintenance for Your Rinse Aid Dispenser
Preventing future rinse aid dispenser problems is easier than fixing them. Here are some maintenance tips I recommend:
Use fresh rinse aid and don’t overfill the dispenser. Old rinse aid can thicken and clog the mechanism. Check the fill level monthly and refill before it runs completely empty.
Clean the dispenser cap area regularly during routine dishwasher cleaning. Wipe away any residue or buildup around the dispenser opening. This prevents small particles from entering the mechanism.
Run your dishwasher regularly, even if not full. Extended periods of non-use can cause rinse aid to crystallize in the lines. If you’ll be away for an extended time, consider emptying the dispenser before leaving.
Frequently Asked Questions
Why is my dishwasher not dispensing rinse aid?
The most common causes include an empty dispenser, a clogged dispenser cap, incorrect dosage settings, or a faulty actuator/solenoid. Start by checking that the dispenser actually contains rinse aid, then clean the cap and adjust the settings. If these don’t resolve the issue, the problem may be with the electrical components that trigger dispensing.
How do you unclog a rinse aid dispenser?
First, remove as much old rinse aid as possible using a turkey baster or syringe. Flush the dispenser with warm water to dissolve residue. Run the dishwasher empty with the dispenser cap off to help clear blockages. For stubborn clogs, set the dispense dial to maximum and run 5-10 full cycles to flush out old product. Avoid using sharp objects that could damage the dispenser.
Is it okay to put vinegar in the dishwasher rinse aid dispenser?
While vinegar can help clean the dispenser, it’s not recommended as a permanent rinse aid substitute. Vinegar’s acidity can damage rubber seals and gaskets in the dispenser over time. Use vinegar occasionally for cleaning if needed, but refill with proper rinse aid for regular use. If you prefer natural alternatives, look for rinse aid products specifically formulated without harsh chemicals.
How to check if a rinse aid dispenser is working?
Listen for the dispenser door opening during the final rinse cycle. You should hear a click or mechanical sound. After the cycle, check if the rinse aid level has decreased. You can also manually test the dispenser door by pressing it to ensure it moves freely. If the door doesn’t open during cycles but moves manually, the issue is likely with the actuator or solenoid.
Why is my rinse aid not dispensing in my Whirlpool dishwasher?
Whirlpool dishwashers (including Maytag and KitchenAid) commonly experience clogged dispenser caps or failed wax motors. First, remove and clean the dispenser cap thoroughly. Check that the dosage dial is set appropriately. If these don’t work, the wax motor that operates the dispenser door may have failed, which is a common Whirlpool issue that typically requires professional replacement.
Conclusion
Rinse aid not dispensing is a frustrating problem, but one that’s usually solvable with basic troubleshooting. Start with the simple fixes: check the fill level, clean the cap, and adjust the settings. These steps resolve most dispensing issues.
If basic troubleshooting doesn’t work, the problem may be with the dispenser door mechanism or electrical components. At this point, consider whether you’re comfortable with more advanced repairs or if professional service is the better choice.
Regular preventative maintenance can keep your rinse aid dispenser working properly for years. Check the level monthly, clean the cap area during routine dishwasher maintenance, and use fresh rinse aid to prevent clogs.
By following this guide, you should be able to diagnose and fix most rinse aid dispensing problems yourself. Your dishes will come out spotless and dry, just like they should.





Leave a Comment