
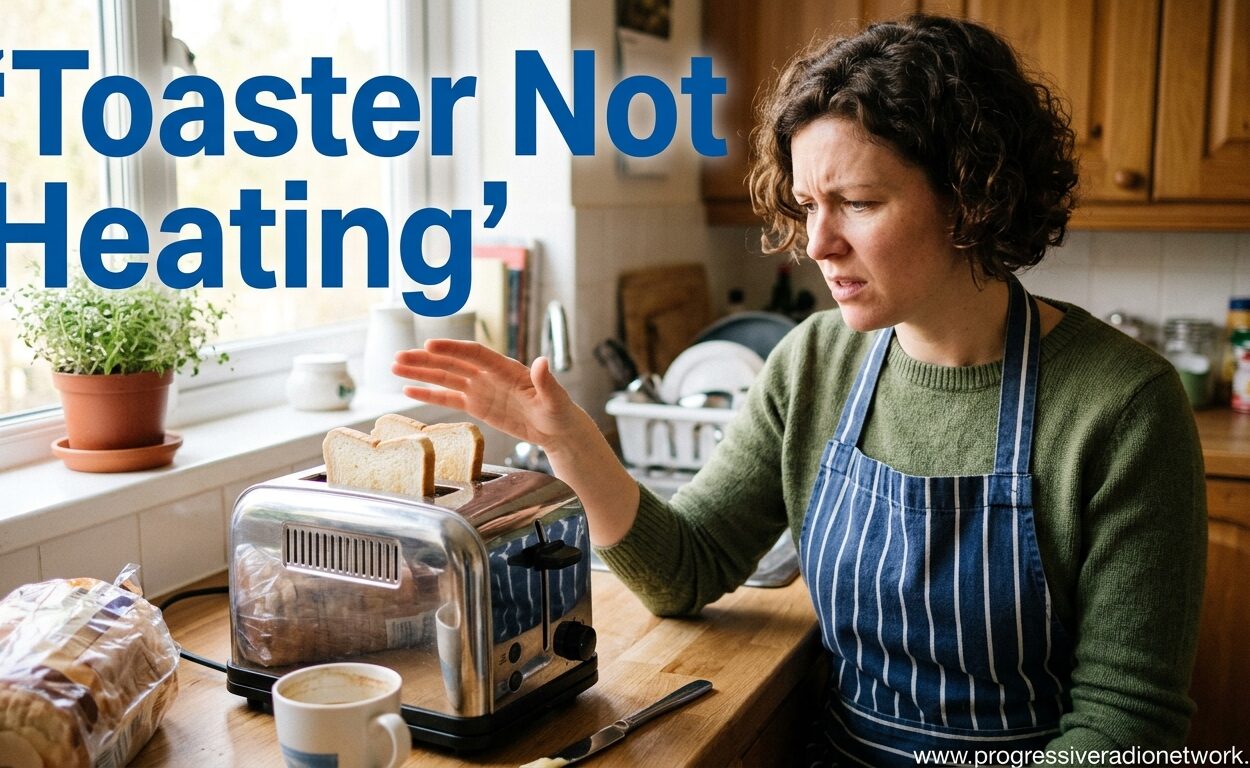
Nothing starts a morning off wrong quite like pushing down the lever on your toaster and waiting for golden-brown toast that never arrives. A toaster not heating is one of the most common appliance frustrations, but the good news is that most heating issues have straightforward causes you can diagnose yourself.
Whether your toaster stopped working suddenly, heats unevenly, or the lever won’t stay down, this guide will walk you through every possible cause and solution. I’ve repaired dozens of toasters over the years, and the same few problems cause about 90% of heating failures.
Key Troubleshooting Steps (5-Minute Check)
Before diving into disassembly, run through these quick diagnostic steps to identify the most obvious problems:
1. Test the power outlet. Plug a lamp or phone charger into the same outlet to verify it’s working. Check your circuit breaker panel for any tripped breakers.
2. Inspect the power cord. Look for fraying, cuts, or damage to the cord, especially near the plug and where it enters the toaster body.
3. Check the crumb tray. A buildup of crumbs can cause heating issues and fire hazards. Remove and empty the crumb tray completely.
4. Listen for any sounds. When you press the lever, do you hear a click? No sound often indicates an electrical connection problem.
5. Watch the heating elements. Do they glow red at all? No glow suggests a power or fuse issue. Uneven glowing points to a broken element.
Why Is My Toaster Not Heating Up?
Understanding why your toaster stopped heating helps narrow down the repair approach. Based on my experience servicing kitchen appliances, here are the most common culprits:
Power supply problems account for about 30% of toaster not heating issues. This includes faulty outlets, damaged cords, or tripped breakers.
Heating element failure causes another 40% of problems. The nichrome wire inside the elements can break due to repeated heating and cooling cycles.
Thermal fuse tripping is responsible for 15% of failures. This safety component cuts power if the toaster overheats.
Lever mechanism issues make up 10% of cases. If the lever won’t stay down, the electromagnet that holds it may have failed or contacts are dirty.
The remaining 5% involves thermostat problems, control board failures in digital models, or internal wiring issues.
Power Source Problems
Power issues are the easiest to diagnose and fix. I always start here before opening up the toaster.
Outlet Testing: Use a multimeter or plug in another device to confirm the outlet supplies power. I’ve seen many toasters replaced unnecessarily when the real problem was a dead outlet or tripped GFCI.
Cord Inspection: Examine the entire length of the power cord. Look for kinks, fraying, or damage where the cord bends near the plug or toaster base. A damaged cord is a fire hazard and must be replaced.
Internal Fuse: Some toasters have a fuse inside the plug or near the cord entry point. If your toaster has a replaceable fuse in the plug, check if it’s blown.
Voltage Compatibility: If you’ve moved internationally or bought a toaster from another country, voltage mismatch could be the issue. A 220-240V toaster used on 110-120V will get warm but never heat properly.
Heating Element Inspection and Repair
The heating element is the heart of your toaster. These nichrome wire coils glow red-hot when electricity flows through them, toasting your bread through radiant heat.
Visual Inspection: Look closely at each heating element. You should see an unbroken wire running in a zigzag or coil pattern. Any breaks, gaps, or dark spots indicate a failed element.
Testing with a Multimeter: Set your multimeter to continuity or resistance mode. Touch probes to both ends of the element. A reading near zero indicates continuity. Infinite resistance means the element is broken.
Can You Repair a Broken Element? Sometimes yes, sometimes no. If the wire broke at a connection point, you might be able to reattach it. A break in the middle of the wire usually requires element replacement.
Uneven Heating: If one side works but the other doesn’t, or only certain elements glow, you likely have a partial element failure. This is common in older toasters and usually isn’t worth the repair cost.
Lever Mechanism and Electromagnet Problems
When your toaster lever won’t stay down, the heating elements never engage. This frustrating issue has a few specific causes.
How It Works: When you push the lever down, it completes an electrical circuit that energizes an electromagnet. This magnet holds the lever down during toasting. When the timer expires or the thermostat reaches the set temperature, the magnet releases and the lever pops up.
Dirty Contacts: Carbon buildup on the electrical contacts can prevent proper connection. I’ve fixed many toasters simply by cleaning these contacts with emery cloth or contact cleaner.
Failed Electromagnet: If the magnet coil has burned out or broken, it won’t hold the lever. Test this by listening for a click when you push the lever. No click often means no magnet activation.
Spring Issues: The release spring can become jammed with crumbs or debris. A thorough cleaning often resolves this problem.
Solenoid Problems: Some toasters use a solenoid instead of an electromagnet. The same diagnostics apply: check for power to the coil and mechanical freedom of movement.
Thermal Fuse and Thermostat Issues
Modern toasters include safety components that can cause heating problems when they fail.
What Is a Thermal Fuse? This safety device cuts power if the toaster overheats, preventing fires. Thermal fuses are one-time-use components. Once they blow, they must be replaced.
Testing the Thermal Fuse: Use your multimeter in continuity mode. No continuity means the fuse has blown. Before replacing, investigate why it overheated to prevent recurrence.
Thermostat Problems: The browning dial controls a thermostat that determines toasting duration. If this fails, the toaster may not heat at all or may shut off too quickly. Digital toasters use control boards instead of mechanical thermostats.
Control Board Failure: Digital and smart toasters use circuit boards to control functions. These can fail due to power surges or component failure. Board-level repair is usually not cost-effective for consumer toasters.
Crumb Cleaning and Maintenance
Preventive maintenance prevents many toaster not heating issues and extends your appliance’s lifespan.
Why Crumbs Matter: Accumulated crumbs can interfere with lever mechanisms, cause uneven heating, and create fire hazards. I’ve seen toasters that wouldn’t stay down simply because crumbs blocked the latch.
Daily Maintenance: Empty the crumb tray after every use. This takes 10 seconds and prevents most crumb-related problems.
Weekly Cleaning: Unplug the toaster and turn it upside down over the sink or trash. Shake gently to dislodge loose crumbs from the interior.
Monthly Deep Clean: Use compressed air to blow out crumbs from hard-to-reach areas. Never insert metal objects into the toaster slots.
Never Immerse: Toasters are electrical appliances. Never submerge in water or put in the dishwasher. This causes electrical failure and creates shock hazards.
Repair vs Replace: Making the Right Decision
Before investing time and money in repairs, consider whether it makes economic sense.
Average Toaster Lifespan: Most quality toasters last 5-8 years with proper care. Budget models may fail after 2-3 years.
Repair Cost Reality: Heating element replacements cost $15-30 plus your time. Thermal fuses run $5-10. Professional repair labor starts at $50 per hour.
When to Repair: Your toaster is less than 3 years old, cost over $75 originally, or has sentimental value. Simple fixes like cleaning or fuse replacement are almost always worth it.
When to Replace: Your toaster is over 5 years old, was a budget model under $30, has multiple failed components, or has a damaged heating element that’s not replaceable.
Safety Precautions for DIY Repair
Working on electrical appliances requires respect for safety. Follow these rules to avoid injury.
Always Unplug First: Never open a toaster while it’s plugged in. Double-check that power is disconnected before beginning any work.
Capacitor Warning: Digital toasters may contain capacitors that hold electrical charge even when unplugged. Wait 10 minutes after unplugging before opening these models.
Use Insulated Tools: When working on live circuits (for testing), use tools with insulated handles.
Know Your Limits: If you’re uncomfortable with electrical testing or the repair requires soldering, consider professional help or replacement.
Necessary Tools: A multimeter ($15-25), screwdrivers, emery cloth or contact cleaner, and compressed air are all you need for most toaster repairs.
What is the average life span of a toaster?
Most quality toasters last 5-8 years with proper care and regular cleaning. Budget models typically last 2-3 years before heating elements or other components fail. Commercial toasters can last 10+ years with proper maintenance.
How to tell if a heating element is faulty?
Visual inspection is the first step – look for breaks or gaps in the nichrome wire. Use a multimeter on continuity mode to test – no continuity means the element is broken. Uneven glowing or cold spots on the element also indicate failure.
Is it worth it to repair a toaster?
Repair makes sense for toasters under 3 years old that cost over $75 originally. Simple fixes like thermal fuse replacement ($5-10) or cleaning are always worth attempting. Budget toasters under $30 should typically be replaced rather than repaired.
Why is my toaster not heating up?
The most common causes are power supply problems (30%), heating element failure (40%), thermal fuse tripping (15%), and lever mechanism issues (10%). Start by testing the outlet, then inspect the power cord before checking internal components.
How to replace a heating element in a toaster?
Replacing a heating element requires unplugging the toaster, removing the outer casing, disconnecting the old element, and installing a compatible replacement. Most elements are riveted in place – drilling out rivets and using high-temperature screws is often necessary. This repair is intermediate difficulty.
Why has my toaster suddenly stopped working?
Sudden toaster failure typically indicates a thermal fuse trip, broken heating element wire, or failed electromagnet/solenoid. Check for blown fuses in your home’s electrical panel first, then inspect the power cord for damage before opening the toaster.
Conclusion
A toaster not heating is frustrating but usually fixable. Start with the simple diagnostics: test the outlet, inspect the cord, and clean out crumbs. If those don’t solve the problem, move on to testing the heating elements and thermal fuse with a multimeter.
Most toaster repairs are DIY-friendly if you’re comfortable with basic tools and electrical safety. However, know when to call it quits – if your toaster is older than 5 years or was a budget model, replacement might be more economical than repair.
Regular maintenance, especially emptying the crumb tray after each use, prevents many common heating problems. With proper care, a quality toaster should provide reliable service for many years.


Leave a Comment