
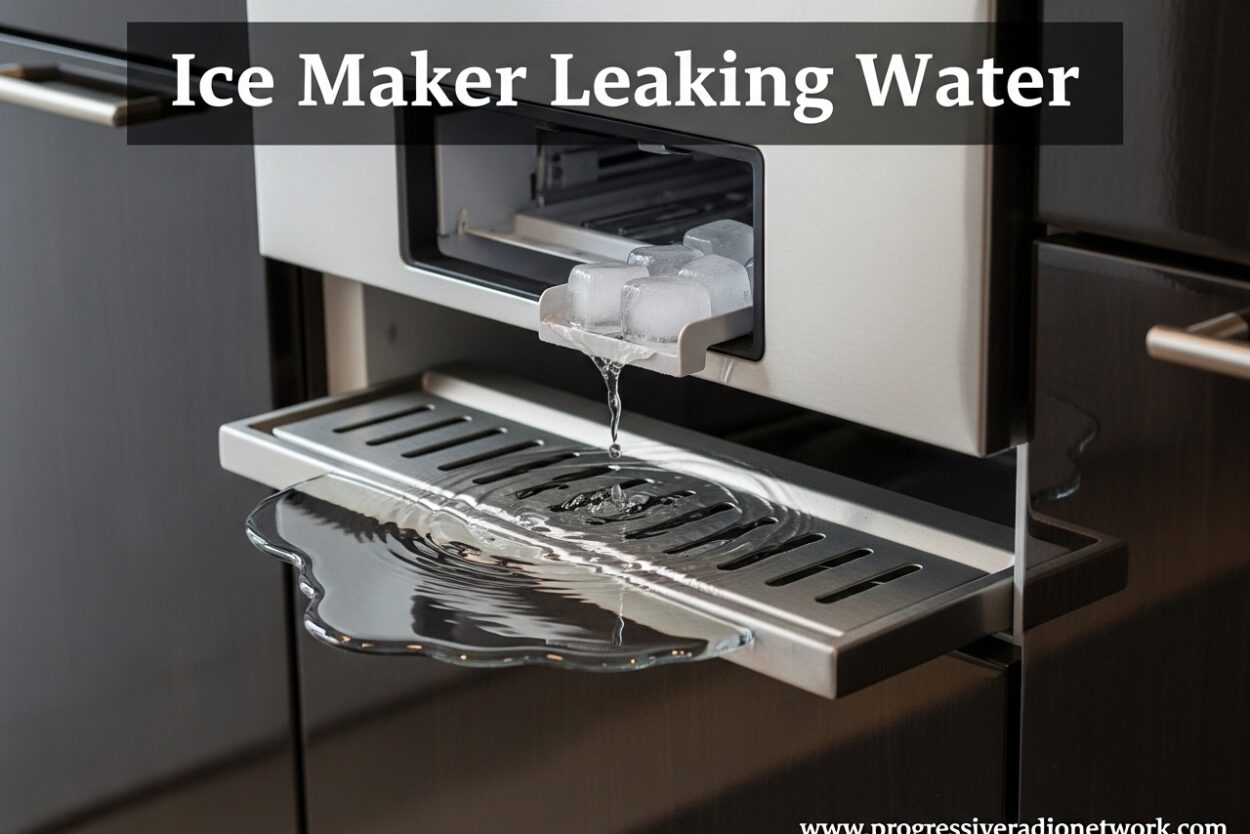
Walking into a puddle of water on your kitchen floor is frustrating. When your ice maker is leaking water, it can damage flooring, warp cabinets, and create slip hazards. I’ve spent years troubleshooting appliance issues, and ice maker leaks are one of the most common problems homeowners face.
The good news is that most ice maker leaking issues have simple fixes you can handle yourself. In this guide, I’ll walk you through the five most common causes of ice maker leaks and show you exactly how to fix each one. Whether you have a built-in refrigerator ice maker or a portable countertop model, these troubleshooting steps will help you stop the leak and prevent future problems.
Ice Maker Leaking Water: 5 Common Causes and Quick Fixes
Before diving into detailed troubleshooting, here’s a quick overview of why ice makers leak and what you need to check:
1. Ice Jammed in Chute – Ice cubes block the dispenser chute, causing melted water to leak out. Clear the blockage with warm water or a plastic utensil.
2. Loose Water Connection or Water Line – The water supply line isn’t tight or has cracked. Tighten connections or replace damaged lines.
3. Unleveled Refrigerator or Ice Bin – The appliance tilts, causing uneven water flow. Adjust the leveling feet.
4. Misaligned Fill Cup or Water Spigot – Water misses the ice mold. Realign or replace the fill cup assembly.
5. Defrost Drain Blockage – The drain is clogged with debris or ice. Clear the drain with hot water or a pipe cleaner.
Now let’s dive into each cause in detail so you can diagnose and fix your specific leak problem.
Ice Jammed in Chute
This is one of the most common causes of ice maker leaking water, especially in refrigerators with through-the-door ice dispensers. When ice cubes clump together or fragment, they can block the chute. New ice continues to push against the blockage, and the melting ice creates water that leaks out.
Symptoms of a jammed ice chute:
- Water dripping from the dispenser area
- Ice dispenser not working or working intermittently
- Visible ice chunks in or around the chute
- Water pooling on the floor directly below the dispenser
How to Fix a Jammed Ice Chute
First, turn off the ice maker to prevent more ice from being produced while you work. Look inside the chute with a flashlight to locate the blockage. If you can see ice chunks, use a plastic utensil or wooden spoon to gently break them up. Avoid metal tools that could damage the chute lining.
For stubborn blockages, pour warm (not boiling) water through the chute to melt the ice. Have a towel ready to catch the water. You may need to repeat this process several times until the blockage clears completely. Once clear, run the dispenser to ensure ice flows freely.
Prevention tip: Use your ice dispenser regularly to prevent ice from sitting and clumping together. If you don’t use ice often, consider turning off the ice maker and emptying the bin periodically.
Loose Water Connection or Water Line
Your ice maker requires a constant water supply, typically delivered through a plastic or copper water line. When these connections loosen or the line itself cracks, water escapes and creates puddles. This issue affects both built-in refrigerator ice makers and portable ice makers with water reservoirs.
Symptoms of water line issues:
- Constant water dripping, even when ice maker is off
- Water visible at the back of the refrigerator
- Water pooling under or behind the appliance
- Hissing sound from water connection
How to Fix Water Connection Problems
First, locate where the water line connects to your refrigerator. This is usually at the back bottom corner of the fridge. Unplug the refrigerator and shut off the water supply valve. Check the connection point where the water line meets the refrigerator valve.
Hand-tighten the connection if it feels loose. If the connection uses a compression nut, use an adjustable wrench to tighten it another quarter turn. Avoid over-tightening, which can crack plastic fittings.
Inspect the water line itself for cracks, kinks, or wear marks. If you find damage, replace the entire line. Water lines are inexpensive and readily available at hardware stores. When installing a new line, ensure you use the correct fittings for your specific refrigerator model.
Prevention tip: When moving your refrigerator for cleaning, avoid pulling it too far from the wall, which can strain the water line connection. Gently guide the water line to prevent kinks.
Unleveled Refrigerator or Ice Bin
An unleveled refrigerator might seem like a minor issue, but it can cause significant problems with your ice maker. When the appliance tilts, water doesn’t flow evenly into the ice mold. This results in overfilling, spillage, and eventual leaks. The same principle applies to portable ice makers with internal water reservoirs.
Symptoms of leveling problems:
- Ice maker leaking water into the ice bin
- Irregularly shaped ice cubes
- Water spilling over the ice mold edges
- Refrigerator door not closing properly
How to Fix Leveling Issues
Check your refrigerator’s level using a carpenter’s level placed on top of the appliance. If you don’t have a level, place a marble in the center of the refrigerator floor. If it rolls to one side, your refrigerator isn’t level.
Most refrigerators have adjustable leveling feet at the front corners. Have someone help you tilt the refrigerator slightly to access the feet. Turn the feet clockwise to lower that side and counterclockwise to raise it. Make small adjustments and recheck until the refrigerator sits perfectly level.
For portable ice makers, ensure they’re placed on a flat, stable surface. Avoid using them on uneven countertops or tables. Some portable models have adjustable feet similar to full-sized refrigerators.
Prevention tip: Check your refrigerator’s level every six months, especially after flooring work or if you notice the door not closing properly. Homes can settle over time, affecting appliance alignment.
Misaligned Fill Cup or Water Spigot
The fill cup and water spigot work together to direct water into the ice mold during each fill cycle. When these components become misaligned, water sprays or drips outside the mold, creating leaks. This problem commonly occurs after moving the refrigerator or due to normal wear and tear.
Symptoms of misalignment:
- Ice maker leaking water into the freezer
- Water spraying inside the freezer compartment
- Ice forming on freezer walls or floor
- Incomplete ice cubes or partially filled molds
How to Fix Fill Cup Alignment
Locate the fill cup at the back of the ice maker assembly. This component receives water from the supply line and directs it into the ice mold. Visually inspect the fill cup to ensure it sits directly below the water spigot.
If misalignment is minor, you may be able to gently bend the fill cup bracket back into position. Use care to avoid cracking the plastic. For more severe misalignment, the fill cup assembly may need replacement.
Check the water spigot for proper positioning as well. This small tube delivers water to the fill cup. Ensure it’s not bent or blocked. Some models allow you to adjust the spigot position slightly for better alignment.
Test the alignment by manually triggering an ice fill cycle (consult your owner’s manual for instructions). Watch closely as water fills the mold to confirm it flows directly into the cup without spraying or spilling.
Prevention tip: Avoid banging or jarring your refrigerator, which can knock components out of alignment. When cleaning the ice maker assembly, handle parts gently to prevent shifting.
Defrost Drain Blockage
Every refrigerator has a defrost drain that carries melted water from the freezer coils to a drain pan near the compressor. When this drain becomes clogged with debris, ice, or food particles, water backs up and can overflow. This causes water to pool under your refrigerator or leak from unexpected places.
Symptoms of a clogged defrost drain:
- Water pooling under the refrigerator
- Water leaking from the freezer bottom
- Ice buildup on the freezer floor
- Foul odors coming from the drain area
How to Clear a Blocked Defrost Drain
First, unplug your refrigerator to ensure safety during this repair. Locate the defrost drain opening, which is typically at the back of the freezer compartment behind a panel or in the center of the rear wall. You may need to remove freezer shelves or drawers to access it.
Clear any visible ice or debris from the drain opening using a plastic utensil or your fingers. Then flush the drain with hot (not boiling) water using a turkey baster or small funnel. The hot water helps melt ice blockages within the drain tube.
For stubborn clogs, use a pipe cleaner or flexible drain snake to gently dislodge debris. Insert the tool carefully into the drain opening and move it back and forth to break up the blockage. Flush again with hot water to clear the loosened material.
After clearing the drain, test it by pouring a small amount of water into the drain hole. The water should flow freely to the drain pan beneath the refrigerator. If it still backs up, repeat the clearing process.
Prevention tip: Clean your defrost drain annually as part of regular refrigerator maintenance. Cover food containers to prevent crumbs from entering the drain system.
Brand-Specific Troubleshooting
While the causes of ice maker leaking are generally consistent across brands, some manufacturers have unique designs or known issues. Here are brand-specific considerations for the most popular ice maker manufacturers:
Samsung Ice Maker Leaking Water
Samsung refrigerators have experienced well-documented issues with ice maker leaks. Many models have a design flaw where the ice tray can crack, allowing water to leak into the ice bin. If your Samsung ice maker is leaking water into the bin and producing oversized, clumped ice, the water inlet valve is likely failing.
Samsung has issued service bulletins for certain models. Check if your refrigerator is affected by searching your model number on Samsung’s website. Some repairs may be covered under extended warranty programs.
LG Ice Maker Leaking Water
LG bottom-freezer models often experience leaks from the ice maker clip hole where the unit attaches to the freezer ceiling. Water can seep through mounting points and drip into the freezer. If you notice water leaking from these attachment points, the seal or gasket may need replacement.
LG French door models may also experience fill tube alignment issues. The plastic fill tube can warp over time, causing water to spray outside the ice mold.
Whirlpool Ice Maker Leaking Water
Whirlpool ice makers are generally reliable, but common issues include loose water line connections at the back of the refrigerator and faulty water inlet valves. If your Whirlpool ice maker is leaking water from the back, first check all water line connections.
Some Whirlpool models have a known issue with the ice maker fill cup housing cracking. This causes water to leak into the freezer compartment during fill cycles.
Frigidaire Ice Maker Leaking Water
Frigidaire ice makers commonly experience leaks from the water fill tube where it enters the freezer. The tube can become disconnected from the fill cup, causing water to spray inside the freezer. Additionally, some Frigidaire models have issues with the ice maker mounting gasket degrading over time.
For portable Frigidaire ice makers, check the drain plug and water reservoir for cracks. These models can leak from the bottom if the drain isn’t properly sealed or if the reservoir develops hairline cracks.
Prevention Tips to Keep Your Ice Maker from Leaking
Once you’ve fixed your ice maker leak, take these preventive measures to avoid future problems:
Perform regular inspections – Every three months, visually inspect your ice maker and water connections. Look for cracks, loose fittings, or signs of moisture. Catching problems early prevents major water damage.
Keep the ice maker clean – At least twice per year, clean your ice maker thoroughly. Remove ice buildup, wipe down components with a mild cleaning solution, and ensure nothing is blocking the chute or drain. For portable ice makers, follow the manufacturer’s cleaning instructions to prevent mineral scale buildup.
Replace water filters on schedule – Clogged water filters can affect water pressure and cause fill problems. Replace your refrigerator’s water filter every six months or according to your owner’s manual. This ensures proper water flow to the ice maker.
Check water pressure – Excessively high water pressure can damage ice maker components and cause leaks. If your home has high water pressure (above 80 PSI), consider installing a pressure regulator. This protects all your appliances, not just the ice maker.
Use the ice maker regularly – Ice makers that sit unused for extended periods are prone to issues. Run the ice maker at least weekly to keep components functioning properly and prevent ice from clumping.
When to Call a Professional
Many ice maker leaking issues are DIY-friendly, but some situations require professional expertise. If you encounter any of these problems, it’s time to call an appliance repair technician:
Refrigerant leak detection – If you notice oily residue near the freezer coils or hissing sounds, you may have a refrigerant leak. Refrigerant handling requires EPA certification and specialized equipment. Do not attempt to repair refrigerant issues yourself.
Water inlet valve replacement – While handy DIYers can replace water inlet valves, the repair requires shutting off your home’s water supply and proper installation to prevent leaks. If you’re uncomfortable with plumbing work, hire a professional.
Sealed system problems – Issues with the evaporator coil, condenser, or compressor are sealed system repairs. These are complex and expensive, typically costing $300-600 or more. For refrigerators over 10 years old, replacement may be more cost-effective than repair.
Is a leaking fridge a fire hazard? – While rare, water leaking onto electrical components can create fire risk. If water reaches the refrigerator’s electrical components, unplug the appliance immediately and call a professional. This situation requires urgent attention.
Is it worth fixing an ice maker? – For most leaks, yes – repairs are straightforward and inexpensive. However, consider replacement if your ice maker is over 10 years old, has required multiple repairs, or if the repair cost exceeds 50% of a new ice maker’s price.
Frequently Asked Questions
Why is my ice maker leaking water?
Ice maker leaking water is typically caused by five main issues: ice jammed in the dispenser chute, loose water line connections, unleveled refrigerator or ice bin, misaligned fill cup or water spigot, or a clogged defrost drain. Identifying where the water originates helps determine which cause is responsible.
How to fix ice maker leaking water?
Start by identifying the leak source. For chute jams, clear ice blockage with warm water. For loose connections, tighten fittings or replace damaged lines. For leveling issues, adjust the refrigerator feet. For misalignment, reposition the fill cup. For drain clogs, flush with hot water and clear debris with a pipe cleaner.
What is the life expectancy of an ice maker?
Most refrigerator ice makers last 8-10 years with proper maintenance. Portable countertop ice makers typically last 3-5 years. Regular cleaning, using the ice maker frequently, and replacing water filters on schedule can extend the lifespan.
Is a leaking fridge a fire hazard?
While uncommon, a leaking fridge can become a fire hazard if water reaches electrical components. Water and electricity create dangerous conditions. If you notice water near electrical parts or unusual sounds, unplug the refrigerator immediately and contact a professional technician.
Is it worth fixing an ice maker?
For simple leaks like loose connections or clogged drains, repair is worthwhile and costs under $50 in parts. For refrigerators under 8 years old, repair makes sense. Consider replacement for units over 10 years old or when repair costs exceed half the price of a new ice maker.
Why is my Frigidaire ice maker dripping water?
Frigidaire ice makers commonly drip from the fill tube where it enters the freezer. The tube can disconnect from the fill cup or the mounting gasket can degrade. Check that the fill tube is properly seated and inspect the gasket for wear. Replacement fill tube assemblies cost approximately $20-40.
Why is my Samsung/LG/Whirlpool ice maker leaking?
Samsung ice makers often leak due to cracked ice trays or failing water inlet valves, especially with oversized ice production. LG models may leak from mounting clip holes in bottom freezer designs. Whirlpool units typically leak from loose water connections or cracked fill cup housings. Brand-specific repair guides provide model-specific troubleshooting.
Conclusion
Ice maker leaking water is a frustrating but usually solvable problem. The five most common causes – jammed ice chutes, loose water connections, unleveled appliances, misaligned fill cups, and clogged defrost drains – account for the majority of leaks. By systematically checking each potential cause, you can identify and fix most issues yourself.
Remember to always prioritize safety when working with water and electrical appliances. Unplug your refrigerator before attempting repairs and don’t hesitate to call a professional for complex issues like refrigerant leaks or sealed system problems.
Regular maintenance is your best defense against future ice maker leaking water. Keep components clean, check connections periodically, and address minor issues before they become major problems. With proper care, your ice maker should provide years of reliable service.



Leave a Comment