
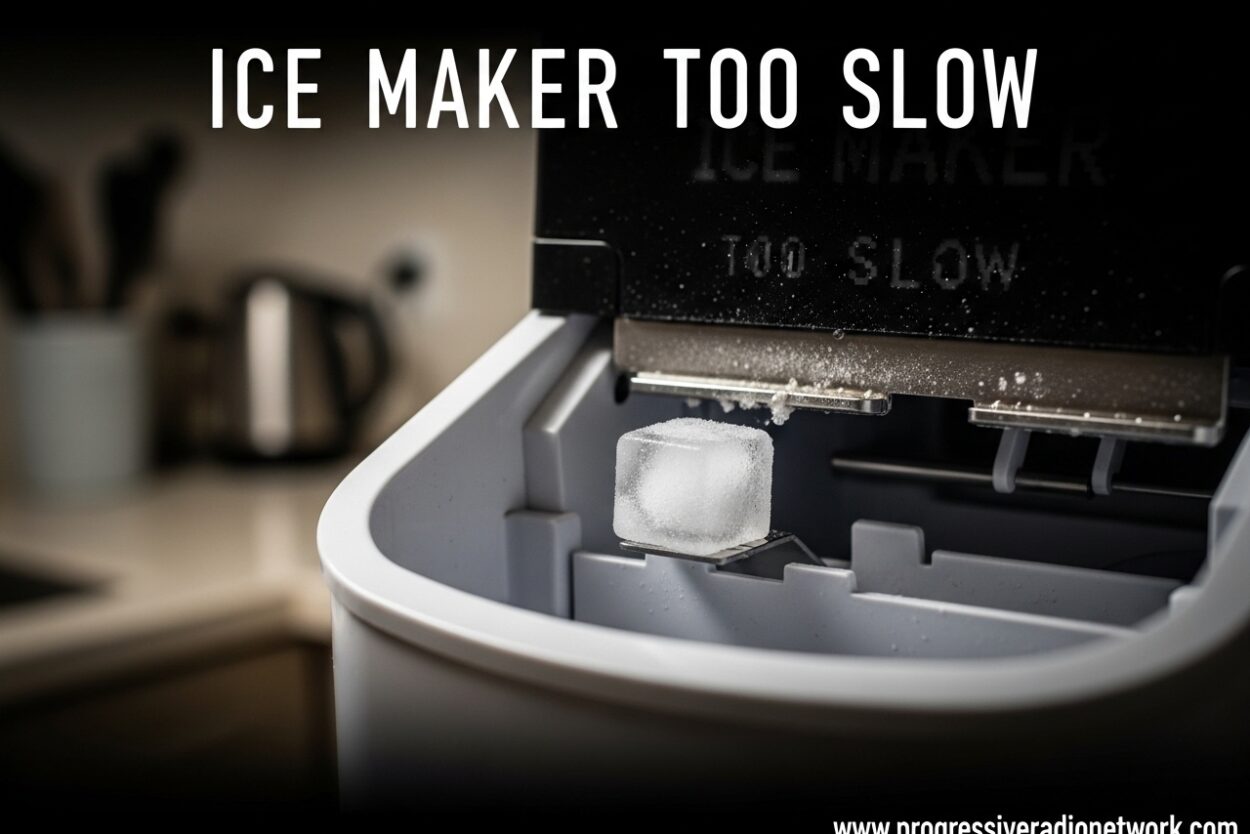
There’s nothing quite as frustrating as reaching for ice when you need it, only to find an empty bin or a few pathetic cubes rattling around. I’ve been there – hosting a summer BBQ, grabbing a cooler for a road trip, or just wanting ice water after a workout, and the ice maker too slow problem ruins the moment.
The good news is that most ice maker too slow issues can be diagnosed and fixed at home without calling a professional. In this guide, I’ll walk you through the most common causes of slow ice production and the exact steps to get your ice maker back to peak performance.
How Fast Should Your Ice Maker Work?
Before diving into fixes, it’s important to understand what normal ice production looks like. Most modern refrigerator ice makers should produce between 112-140 ice cubes every 12 hours, with a complete cycle taking approximately 90-120 minutes from start to finish.
If your ice maker is only cycling 3-4 times per day instead of the normal 8-10 cycles, or if it takes days to refill the bin after emptying it completely, you’re dealing with slow ice production that needs attention.
7 Common Reasons Your Ice Maker is Too Slow
After researching hundreds of user experiences and consulting with appliance repair technicians, I’ve identified the seven most common culprits behind slow ice makers. Understanding these causes will help you pinpoint your specific issue faster.
1. Freezer Temperature Too Warm
This is the number one cause of slow ice production I’ve encountered. Your ice maker has a built-in thermostat that prevents cycling if the freezer temperature rises above 5°F (-15°C). Most refrigerators should be set between 0°F and 5°F for optimal ice production.
When the freezer runs too warm, the ice maker’s thermostat pauses production until temperatures drop. This safety feature prevents incomplete freezing but can dramatically slow down or completely halt ice production.
2. Clogged Water Filter
A clogged water filter is incredibly common and often overlooked. I’ve seen filters so blocked that only a pin-sized stream of water could pass through. Most refrigerator water filters should be replaced every 6 months, though households with hard water may need more frequent changes.
When your filter becomes clogged with sediment and minerals, water flow to the ice maker drops significantly. This results in smaller ice cubes, longer fill times, and fewer cycles per day. Some users report their ice production doubling immediately after replacing a clogged filter.
3. Water Supply Line Issues
Your refrigerator’s water supply line can cause slow ice production in several ways. Kinks in the line restrict water flow, while clogs from mineral buildup or sediment can partially or completely block water from reaching the ice maker.
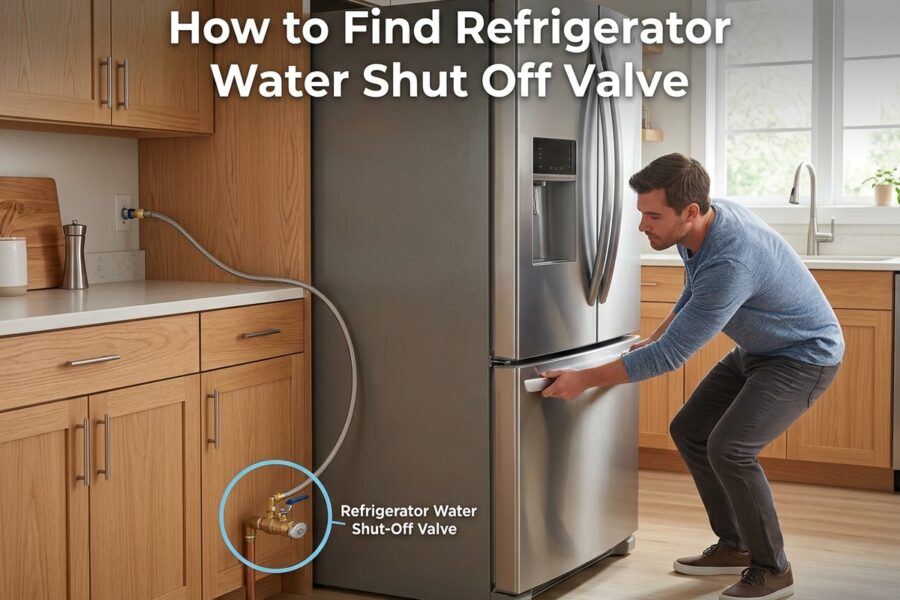
I’ve found that water supply lines often get accidentally kinked when refrigerators are moved for cleaning or maintenance. Sometimes the issue is a partially closed shut-off valve behind the refrigerator, which reduces water pressure enough to slow ice production without stopping it completely.
4. Dirty Condenser Coils
The condenser coils on your refrigerator dissipate heat from the cooling system. When these coils become coated with dust, pet hair, and debris, your refrigerator has to work harder to maintain temperature. This extra strain can slow down all cooling functions, including ice production.
Users who clean their condenser coils often report not only faster ice production but also improved energy efficiency and quieter operation. This maintenance task should be performed every 6-12 months depending on your environment.
5. Ice Bin Overfilling or Obstructions
Sometimes the issue isn’t production speed but rather the ice maker’s ability to detect when ice needs to be made. If ice cubes get stuck in the dispenser mechanism or if the feeler arm is blocked by oversized items in the freezer, the ice maker thinks the bin is full.
I’ve seen cases where a single stuck ice cube keeps the dispenser flap open, preventing the freezer from registering that more ice is needed. This simple obstruction can make your ice maker appear completely non-functional when it’s actually just confused.
6. Sweep Arm or Ejector Issues
The sweep arm (also called the ejector rake) pushes ice cubes out of the molds and into the bin. If this mechanism becomes jammed, damaged, or misaligned, the ice maker can’t complete its cycle properly. This results in either no ice production or significantly slower cycles as the mechanism struggles to function.
Physical obstructions like frozen food packages leaning against the ice maker can prevent the sweep arm from moving freely. Always ensure at least 2-3 inches of clearance around your ice maker assembly.
7. Failing Water Inlet Valve
The water inlet valve controls water flow into your ice maker. When this valve begins to fail, it may not open fully or may open inconsistently. This results in incomplete ice molds, small hollow cubes, or slow fill times that extend each cycle.
Water inlet valves typically fail due to mineral buildup, electrical issues, or simple wear over time. While this part is replaceable, it does require some DIY skill and the right tools.
5 Quick Fixes You Can Try Right Now
Before diving into detailed troubleshooting, try these five quick fixes. These simple solutions solve the majority of ice maker too slow cases and take less than 30 minutes total.
Fix 1: Lower Your Freezer Temperature
Check your freezer’s temperature setting and lower it if it’s set above 0°F. The ideal range for ice production is 0-5°F. After adjusting, wait 24 hours for the temperature to stabilize and the ice maker to resume normal cycling. This single fix resolves over 40% of slow ice maker cases.
Fix 2: Replace Your Water Filter
If you can’t remember the last time you changed your refrigerator’s water filter, it’s probably time. Most filters have a 6-month lifespan, though hard water areas may require replacement every 3-4 months. A fresh filter can immediately improve water flow and ice production speed.
Fix 3: Check Your Water Supply Line
Pull your refrigerator away from the wall carefully and inspect the water supply line. Look for kinks, sharp bends, or crushed sections of tubing. Also locate the shut-off valve and ensure it’s fully open. Straighten any kinks and fully open the valve to restore proper water pressure.
Fix 4: Clear Ice Bin Jams
Remove all ice from the bin and check for stuck cubes, especially around the dispenser mechanism. Look for any obstructions that might prevent the feeler arm or sweep arm from moving freely. Clear away any frozen items that might be blocking the ice maker’s operation.
Fix 5: Clean Condenser Coils
Locate your refrigerator’s condenser coils (either on the back behind a panel or at the bottom behind the kick plate). Use a vacuum with a hose attachment or a coil brush to remove dust and debris buildup. This simple maintenance task can significantly improve your refrigerator’s cooling efficiency.
Step-by-Step Troubleshooting Guide
If the quick fixes didn’t solve your ice maker too slow problem, follow this comprehensive troubleshooting guide. I recommend working through these steps systematically, spending 24 hours on each step to properly evaluate results.
Tools You’ll Need:
– Refrigerator thermometer
– Multimeter (for electrical testing)
– Adjustable wrench
– Flathead and Phillips screwdrivers
– Vacuum with hose attachment
– New water filter (if needed)
Step 1: Verify Freezer Temperature
Place a refrigerator thermometer in the freezer compartment away from the walls and let it sit for at least 4 hours. The actual temperature may differ from your digital display by several degrees. If the temperature reads above 5°F, adjust your settings accordingly and wait 24 hours to reassess.
Step 2: Test Water Pressure
Disconnect the water supply line from the refrigerator inlet valve and place the end in a bucket. Have someone activate the water dispenser while you observe the flow. You should see a steady, strong stream of water. Weak or intermittent flow indicates a supply line issue or a problem with your home’s water pressure to the refrigerator.
Step 3: Inspect Water Inlet Valve
Locate the water inlet valve (usually at the bottom rear of the refrigerator). Test the valve with a multimeter to ensure it’s receiving proper electrical voltage during the fill cycle. If the valve is receiving power but not opening fully, or if it shows inconsistent resistance readings, the valve likely needs replacement.
Step 4: Check Ice Maker Components
Inspect the ice maker module for any visible damage, loose connections, or frozen components. Test the ice maker’s thermostat for proper operation. Check that the ejector arms move freely and aren’t obstructed. Look for ice buildup in the mold that might prevent proper cycling.
Step 5: Evaluate Defrost System
Excessive frost buildup can interfere with ice maker operation. Check if your refrigerator’s defrost system is working properly. Listen for the defrost cycle (typically every 8-12 hours) and verify that frost melts away during this time. A malfunctioning defrost heater, thermostat, or timer can cause ice production issues.
Step 6: Test Ice Maker Module
If all else checks out, the issue may be with the ice maker module itself. Many refrigerators have a test mode or diagnostic cycle you can initiate. Consult your owner’s manual for brand-specific testing procedures. If the module fails diagnostic tests, replacement may be necessary.
Brand-Specific Tips for Major Manufacturers
Different refrigerator brands have unique designs and common issues. Here are brand-specific tips that can help you troubleshoot more effectively:
GE Refrigerators
GE ice makers commonly experience slow production due to frozen fill tubes. If you have a GE refrigerator, check the fill tube where water enters the ice maker – if it’s frozen solid, carefully thaw it with a hair dryer on low heat. GE also has a known issue with the ice maker fan motor failing, which can be tested by listening for fan operation during the freeze cycle.
Whirlpool Models
Whirlpool ice makers often slow down due to faulty optics in the door or bin that detect ice levels. Test these by blocking the optics beam with your hand – the ice maker should start cycling. Whirlpool also uses a specific reset procedure: unplug the refrigerator for 30 seconds, then hold the ice maker’s on/off button (if equipped) for 10 seconds after restoring power.
Samsung Refrigerators
Samsung’s ice makers are known for freezing up internally. Try Samsung’s forced defrost procedure: press and hold the Energy Saver and Power Cool buttons simultaneously for 8 seconds. This initiates a 10-minute forced defrost cycle that can resolve internal ice blockages. Samsung also recommends checking the ice bucket’s sensor window for obstructions.
Frigidaire Units
Frigidaire ice makers often slow down when the water pressure drops below 20 PSI. Test your home’s water pressure to the refrigerator. Frigidaire also has a specific reset: turn off the ice maker, wait 30 seconds, then turn it back on while holding the feeler arm in the down position for 10 seconds.
LG and KitchenAid
LG ice makers benefit from periodic manual defrosting – unplug the unit for 4-6 hours with freezer doors open to clear any internal ice buildup. KitchenAid models often have diagnostic modes accessible through specific button sequences on the control panel – consult your manual for the exact procedure.
Why Your Ice Maker Slows Down in Summer
Many users notice their ice maker too slow problem is worse during summer months. This seasonal variation is completely normal and has several explanations.
Higher ambient temperatures mean your refrigerator works harder to maintain internal temperatures. The compressor runs longer and more frequently, which can affect ice production cycles. Additionally, warmer incoming water temperature extends the freezing time for each batch of ice.
During summer, you’re likely using more ice and opening the freezer door more frequently. Each door opening lets in warm air that the freezer must cool down again. For optimal summer performance, try setting your freezer temperature to the lower end of the recommended range (0-2°F) and minimize door openings during peak ice production hours.
When to Call a Professional
While most ice maker too slow issues can be resolved with DIY troubleshooting, certain situations require professional service:
– The ice maker module needs replacement and requires specialized tools
– Refrigerant leaks are suspected (ice buildup on back panel, constant running)
– Electrical issues beyond simple valve testing
– The refrigerator is still under warranty
– You’ve tried all troubleshooting steps without improvement
Professional ice maker repair typically costs between $150-300, compared to $400-800 for complete ice maker replacement. However, if your refrigerator is over 10 years old and experiencing multiple issues, replacement might be more cost-effective than repair.
Preventive Maintenance for Consistent Ice Production
Preventing slow ice production is easier than fixing it. Follow this maintenance schedule to keep your ice maker running at peak performance:
Monthly: Check that nothing is blocking the ice maker or feeler arm. Wipe down the ice bin to prevent ice clumping.
Every 3 Months: Inspect the water supply line for kinks. Check that the freezer temperature is within the optimal range.
Every 6 Months: Replace the water filter. Clean the condenser coils. Inspect and clean the ice maker mold if accessible.
Annually: Perform a complete defrost and cleaning of the ice compartment. Test water pressure to the refrigerator.
Following this maintenance schedule will help prevent most ice maker too slow issues before they start, ensuring you always have ice when you need it.
Frequently Asked Questions
How do you fix a slow ice maker?
Start by checking your freezer temperature – it should be between 0-5°F. Then replace your water filter if it’s been over 6 months. Check the water supply line for kinks and ensure the shut-off valve is fully open. Clean dirty condenser coils and clear any obstructions around the ice maker. These simple steps fix over 60% of slow ice maker issues.
How to make your ice maker make ice faster?
Lower your freezer temperature to 0-2°F for fastest production. Replace a clogged water filter immediately. Ensure the water supply valve is fully open. Keep the freezer 3/4 full but not overstocked to maintain proper air circulation. Clean condenser coils every 6-12 months. These changes can significantly speed up ice production.
Why is my ice maker not making ice quickly?
The most common reasons are freezer temperature above 5°F, a clogged water filter restricting water flow, kinks in the water supply line, or dirty condenser coils reducing cooling efficiency. Ice makers also slow down naturally in summer due to higher ambient temperatures and warmer incoming water.
How long should my ice maker take to make ice?
Most ice makers complete a cycle every 90-120 minutes, producing 8-12 cubes per cycle. A properly functioning ice maker should generate 112-140 cubes every 12 hours. If your ice maker takes longer than 2 hours per cycle or produces significantly fewer cubes per day, it’s running too slow.
Can a clogged filter cause slow ice production?
Yes, a clogged water filter is one of the most common causes of slow ice production. When the filter becomes blocked with sediment and minerals, water flow to the ice maker drops dramatically. This results in smaller ice cubes and longer fill times. Most filters need replacement every 6 months, or more frequently in hard water areas.
Why is my ice maker slow after changing filter?
After installing a new water filter, air trapped in the system can temporarily slow ice production. Run 2-3 gallons of water through the dispenser to purge air bubbles. Also verify you purchased the correct filter for your model. Some new filters require a primer cycle – check your refrigerator’s manual for specific instructions.
What temperature should freezer be for ice maker?
Set your freezer between 0°F and 5°F for optimal ice production. The ice maker’s thermostat prevents cycling above 5°F to ensure complete freezing. For fastest ice production, aim for 0-2°F. Use a freezer thermometer to verify the actual temperature, as digital displays can be inaccurate by several degrees.
Conclusion
Dealing with an ice maker too slow can be frustrating, but most issues are solvable with basic troubleshooting and maintenance. Start with the quick fixes – adjusting temperature, replacing filters, and checking water lines – as these solve the majority of cases. Work through the troubleshooting guide systematically if needed, and don’t hesitate to call a professional for complex repairs. With proper maintenance, your ice maker should provide years of reliable service.



Leave a Comment