
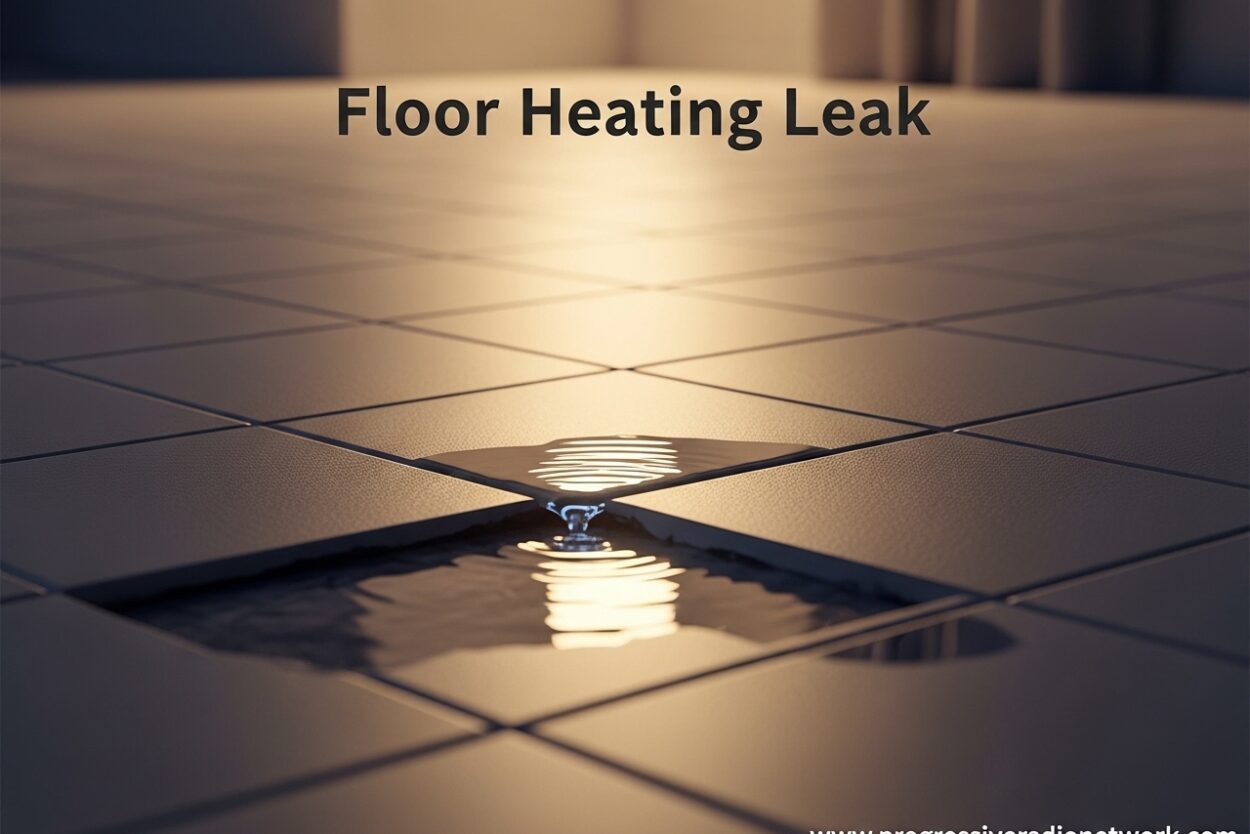
Finding a floor heating leak in your home can feel overwhelming, but I want to start with some reassuring news: these leaks are genuinely uncommon in well-installed systems. Quality radiant floor heating installations can last 25-50 years without issues. However, when a floor heating leak does occur, knowing how to respond quickly can save you thousands in water damage and repair costs.
Having worked with homeowners facing heating system emergencies, I’ve seen how the right knowledge makes all the difference. This guide will walk you through everything you need to know about detecting, locating, and repairing radiant floor heating leaks while helping you understand when to tackle the problem yourself and when to call a professional.
Understanding Floor Heating Leaks: What Every Homeowner Should Know
A floor heating leak occurs when water escapes from the tubing in a wet (hydronic) radiant floor heating system. These systems circulate warm water through PEX or copper tubing embedded in your floor, creating that luxurious even heat throughout your home.
It’s important to understand that only wet underfloor heating systems can develop water leaks. Electric floor heating systems use resistance cables or mats to generate warmth and don’t contain water, so they can’t leak in the same way. If you have an electric system, you’re dealing with a completely different set of potential issues.
Most modern radiant floor installations use cross-linked polyethylene (PEX) tubing, which is incredibly durable and flexible. Quality PEX tubing resists corrosion and can withstand temperature fluctuations and moderate pressure changes. When installed correctly by certified professionals, these systems are designed to be virtually trouble-free for decades.
The manifold, where water enters and exits each heating loop, is another common location for potential leaks. This distribution point typically resides in an accessible area like a utility closet or basement, making repairs much simpler than locating a leak beneath finished flooring.
What Happens If You Get a Leak in Underfloor Heating?
When a radiant floor heating leak develops, the effects progress from subtle to serious if left untreated. The first and most obvious symptom is a drop in system pressure. Your boiler or heating system will likely show a warning indicator, and you may notice the system frequently needing to refill with water.
As the leak continues, you’ll experience reduced heating efficiency. The affected zone or room won’t warm properly, creating cold spots that are noticeably different from the rest of the floor. This happens because the system can’t maintain adequate pressure to circulate heated water effectively through all loops.
Water escaping from the tubing doesn’t stay contained. It migrates through concrete slabs, subflooring, and insulation materials, potentially causing damage to the structure of your home. In multi-story buildings, a floor heating leak on an upper floor can damage ceilings and walls below through continuous water seepage.
The hidden danger is mold growth. Even small amounts of moisture trapped beneath flooring create ideal conditions for mold and mildew, which can affect your indoor air quality and cause health issues for sensitive family members. I’ve seen homeowners discover extensive mold problems months after a minor leak went undetected.
Your heating system itself also suffers. Constant refilling introduces fresh water containing oxygen and minerals that can accelerate corrosion throughout your boiler and pipework. What starts as a simple tubing leak can lead to much more expensive system-wide damage if ignored.
Common Causes of Floor Heating Leaks
Understanding what causes leaks helps you prevent them and identify problems faster. In my experience working with heating professionals, these are the most common culprits behind radiant floor heating failures.
Installation Errors – Poor workmanship during the initial installation is a leading cause of premature leaks. This includes improperly crimped fittings that loosen over time, kinked tubing that weakens the material, or inadequate protection at connection points. I’ve seen cases where installers failed to properly secure expansion loops, allowing movement that eventually caused tubing failure.
Renovation Damage – This is shockingly common. Homeowners or contractors drilling through floors to install plumbing, electrical wiring, or flooring without checking for heating tubing beneath. One Reddit user I came across drilled toilet flange screws directly into their heated floor pipes, resulting in a $10,000 repair that required jackhammering the new slab.
Manufacturing Defects – While rare, defective PEX tubing or faulty fittings can fail even in properly installed systems. These defects typically manifest within the first few years of operation, which is why quality installations often include a testing period before flooring is installed.
Freezing Damage – In unheated properties or during extended power outages in winter, water remaining in the tubing can freeze and expand, causing splits or complete ruptures. Proper winterization is essential for vacant properties with radiant floor heating.
Manifold Connection Failures – The connections at the manifold where tubing attaches to the supply and return lines can develop leaks over time due to temperature cycling, vibration, or initial installation issues. These are usually the easiest to access and repair.
Concrete Slab Movement – In slab installations, shifting or settling of the concrete can stress embedded tubing, particularly if proper expansion joints weren’t installed or if the tubing wasn’t adequately protected during the pour.
Floor Heating Leak Signs and Symptoms: How to Detect a Problem Early
Catching a floor heating leak early minimizes damage and repair costs. Based on homeowner experiences and professional guidance, here are the warning signs that should prompt immediate investigation.
Pressure Drop on Your System Gauge – This is often the first and most reliable indicator. Most hydronic heating systems have a pressure gauge that should read between 12-25 PSI when operating. If you notice consistent pressure loss requiring frequent refilling, there’s a leak somewhere in the system.
Cold Spots on Your Floor – Uneven heating is a clear sign that something is wrong with water flow in a particular loop. Walk barefoot across your floor and feel for areas that remain noticeably cooler than surrounding sections. Mark these locations for a professional to investigate.
Visible Water Damage Below – If you have a multi-story home, look for water stains, discoloration, or damp spots on ceilings directly beneath heated floors. This indicates active water migration from a leak above.
Damp or Discolored Flooring – Tile, laminate, or wood flooring may show signs of moisture exposure. Look for grout lines that appear darker than usual, warped or buckling wood planks, or lifting tiles where water has compromised the adhesive.
Unexplained Increase in Energy Bills – When your heating system constantly refills to compensate for lost water, it works harder and longer to maintain temperature. If your heating costs spike without changes in usage patterns, a leak could be the culprit.
Musty Odors – Trapped moisture beneath flooring creates ideal conditions for mold and mildew. If you notice persistent musty smells that worsen when the heating is running, water may be accumulating somewhere it shouldn’t.
Noises from Your Heating System – Gurgling, hissing, or unusual sounds from your boiler or pipework can indicate air entering through a leak point, or water escaping under pressure.
How to Find a Leak in Radiant Floor Heating: Professional Detection Methods
Locating a floor heating leak requires specialized equipment and expertise. While homeowners can identify that a leak exists, pinpointing its exact location beneath flooring is almost always a job for professionals.
Pressure Testing – This is typically the first diagnostic step. Professionals isolate each heating loop individually using the manifold and pressurize it with air or water. The loop that won’t hold pressure contains the leak. This method identifies which zone is affected but doesn’t reveal the exact location within that loop.
Thermal Imaging Cameras – These infrared cameras detect temperature differences across your floor surface. When the heating system is running, a leak creates a cold spot where water escapes and a warm area where it pools. Thermal imaging provides a general location that guides more precise testing.
Acoustic Detection Equipment – Sensitive microphones and listening devices can detect the sound of water escaping from pressurized tubing. Technicians methodically test along the known path of the affected loop, listening for the telltale hiss or rush of escaping water.
Tracer Gas Testing – For difficult-to-find leaks, professionals may introduce a safe tracer gas into the isolated loop and use specialized detectors to identify where the gas escapes through the flooring. This method is highly accurate for pinpointing leak locations.
Moisture Meters and Relative Humidity Testing – These tools help assess the extent of water migration and damage. They’re particularly useful for determining how far water has traveled from the source and whether materials have dried adequately after repair.
How to Fix a Leak in Radiant Floor Heating: Repair Options
Repair options vary dramatically based on the leak’s location and accessibility. While some minor leaks can be addressed without major disruption, others require more invasive approaches.
DIY Clamp Repair for Accessible Leaks – If the leak is at a manifold connection or in an exposed section of tubing, mechanically confident homeowners can attempt a repair using PEX repair clamps. These specialized clamps seal around damaged tubing without requiring removal of the affected section. However, I’d only recommend this for easily accessible leaks where you can clearly see the damage.
Professional Leak Isolation and Bypass – For some slab-embedded leaks, professionals can isolate the damaged section and install a bypass loop that routes around the affected area. This approach works when the leak location is precisely known and when the loop design allows for modification without significantly compromising heating performance.
Minimal Lift Repairs – This approach involves removing only the flooring directly above the leak location, accessing the tubing for repair, and then reinstalling the flooring. While less invasive than full demolition, it still requires skill to match existing flooring and restore the area seamlessly.
Complete Loop Replacement – In severe cases where a loop has multiple failures or is extensively damaged, replacing the entire loop may be necessary. This is the most invasive and expensive option, typically requiring full floor removal and reinstallation.
Emergency Response Steps: What to Do Immediately After Discovering a Floor Heating Leak
When you suspect a floor heating leak, quick action minimizes damage. Follow these steps immediately:
Step 1: Turn Off Your Heating System – Shut down the boiler or heat source to stop circulating water through the system. This prevents additional water from escaping and reduces pressure at the leak point.
Step 2: Close the Water Supply – Locate the shutoff valve for your heating system and turn off the water supply. This stops new water from entering the system and continuing to leak.
Step 3: Document Everything – Take photos and videos of all visible damage, water stains, and affected areas. This documentation is crucial for insurance claims and helps professionals assess the situation before arriving.
Step 4: Assess Severity – Is water actively dripping or flooding? If yes, this is an emergency requiring immediate professional response. If you’re only seeing gradual pressure loss without active water damage, you likely have time to schedule a thorough diagnostic assessment.
Step 5: Contact Professional Help – Call a leak detection specialist or radiant floor heating professional. Look for contractors who specialize specifically in in-floor heating systems, as general plumbers may lack the necessary diagnostic equipment.
Floor Heating Leak Repair Costs: What to Expect
Repair costs vary widely based on leak location, accessibility, and flooring type. Here are realistic ranges based on homeowner reports and professional estimates:
Professional Leak Detection – $300-$800 for diagnostic services including pressure testing and thermal imaging. This fee is often applied toward repair costs if you proceed with the same company.
Simple Clamp Repair – $200-$500 for accessible leaks at manifold connections or exposed tubing. These are typically straightforward repairs requiring minimal labor.
Minimal Lift Repair – $1,000-$2,500 for small-section floor removal and repair. The wide range accounts for flooring type (tile is more expensive to restore than carpet) and repair complexity.
Full Floor Demolition and Repair – $5,000-$15,000+ for extensive repairs requiring complete floor removal. These are worst-case scenarios, typically involving concrete slab cutting and complete loop replacement.
Regarding insurance, coverage varies by policy and cause of leak. Sudden accidental damage is more likely to be covered than gradual leaks from wear and tear. Check your policy carefully and document everything thoroughly if you plan to file a claim.
Preventing Floor Heating Leaks: Best Practices for Homeowners
While you can’t eliminate every risk, these practices significantly reduce your chances of experiencing a floor heating leak:
Keep Accurate Records – Maintain detailed diagrams of your tubing layout from the original installation. These maps are invaluable during renovations and help prevent accidental damage when drilling or cutting into floors.
Mark Heating Zones – Before any renovation project, use the original layout diagrams to mark heating zones clearly. Taking this simple step prevents accidental damage from drilling, nailing, or cutting.
Monitor System Pressure – Check your pressure gauge monthly and note any gradual drops. Early detection of minor issues prevents major damage and expensive repairs.
Annual Professional Inspections – Have your heating system professionally serviced annually, including pressure testing and manifold inspection. These checkups catch potential problems before they become emergencies.
Protect Tubing During Construction – If you’re having work done that affects your floors, clearly communicate the presence of heating tubing to contractors and provide layout diagrams. I’ve seen too many cases of preventable damage from uninformed workers.
FAQ
What happens if you get a leak in underfloor heating?
A floor heating leak causes system pressure loss, reduced heating efficiency, and potential water damage to your home. Water escaping from tubing can migrate through concrete slabs and subflooring, causing structural damage and creating conditions for mold growth. The heating system works harder to compensate, leading to increased energy costs and potential boiler damage from constant refilling.
What is the life expectancy of wet underfloor heating?
Quality wet underfloor heating systems can last 25-50 years when properly installed and maintained. PEX tubing, the most common material used in modern installations, is highly durable and resistant to corrosion. The manifold connections and mechanical components typically require maintenance or replacement sooner than the tubing itself, with an average lifespan of 15-20 years.
How to fix a leak in radiant floor heating?
Repair options depend on leak location and accessibility. For accessible manifold leaks, DIY clamp repairs may be possible. Professional options include leak isolation and bypass routing, minimal lift repairs removing only flooring above the leak, or complete loop replacement for extensive damage. Professional leak detection using pressure testing and thermal imaging is essential before attempting any repair.
Can wet underfloor heating be repaired?
Yes, wet underfloor heating systems can almost always be repaired without replacing the entire system. Professional technicians use specialized detection methods to locate leaks precisely, then determine the least invasive repair approach. Most repairs involve accessing only the affected section rather than removing entire floors, though concrete slab leaks may require more invasive intervention.
How do I know if my floor heating is leaking?
Key signs of a floor heating leak include unexplained pressure drops on your system gauge, cold spots on the floor surface, visible water damage on ceilings below, damp or discolored flooring, unexplained increases in energy bills, and musty odors indicating moisture issues. If you notice these symptoms, contact a professional for diagnostic testing.
Can I use leak sealer in underfloor heating?
I don’t recommend using leak sealers in radiant floor heating systems. These products can clog the narrow tubing, damage boiler components, and create more problems than they solve. Leak sealers provide temporary relief at best and often complicate proper diagnosis and repair. Professional leak detection and targeted repair is the only reliable solution.
Is underfloor heating leak covered by insurance?
Insurance coverage varies by policy and leak cause. Sudden accidental damage from pipe failure or renovation damage is more likely to be covered than gradual leaks from wear and tear. Review your policy carefully regarding water damage coverage, and document all damage thoroughly with photos and professional assessment if you plan to file a claim.
How long does it take to repair a floor heating leak?
Repair timelines vary based on complexity. Detection typically takes 2-4 hours using professional equipment. Simple clamp repairs at accessible locations can be completed in a few hours. Minimal lift repairs requiring flooring removal usually take 1-2 days. Extensive repairs involving concrete slab work and complete loop replacement may require 3-5 days or longer, plus additional time for flooring restoration.
Conclusion
Floor heating leaks are uncommon but serious problems that warrant immediate attention. By understanding the warning signs and responding quickly, you can minimize damage and repair costs. Remember that most systems provide decades of trouble-free service, and professional help is available when problems arise.
If you suspect a floor heating leak, start by checking your system pressure and looking for the signs outlined in this guide. Document everything thoroughly, then contact a professional specializing in radiant floor heating systems. With proper diagnosis and repair, your system can provide reliable comfort for many years to come.





Leave a Comment