
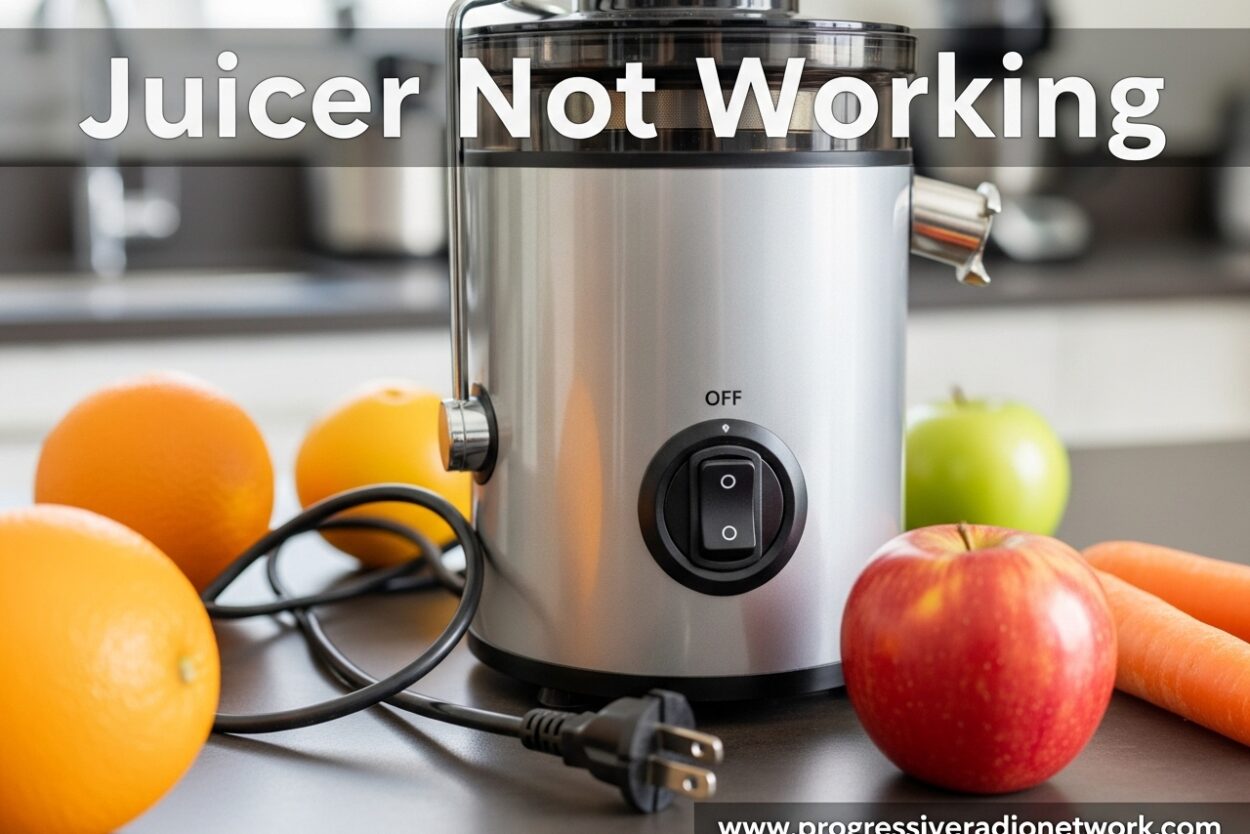
If your juicer stopped working suddenly, you’re not alone. This guide covers the most common reasons why a juicer won’t turn on or stops mid-juice, along with practical fixes you can try at home. Most juicer problems stem from simple issues like power supply problems, safety switch misalignment, motor overheating, or clogged components.
Quick Troubleshooting Checklist
Before diving into detailed repairs, run through these quick checks. They solve 80% of juicer problems within minutes.
1. Check the power source. Make sure your juicer is plugged into a working outlet. Test the outlet with another device to confirm it’s functioning. Inspect the power cord for any visible damage or fraying.
2. Verify proper assembly. Most juicers won’t operate unless all parts are locked in place. Remove and reassemble each component, listening for the click that indicates the safety lock is engaged.
3. Check for overheating. If your juicer stopped working mid-juice, the motor may have overheated. Look for a reset button or thermal indicator light. Let the unit cool for 10-15 minutes before attempting to restart.
4. Inspect for clogs. Turn off and unplug the juicer. Check the feed chute, blade area, and pulp container for stuck produce or fiber buildup. Clear any obstructions with a brush or spoon handle.
5. Test the power switch. Toggle the switch on and off several times. Sometimes switches develop dead spots or contact issues that prevent power from reaching the motor.
6. Examine safety mechanisms. Many juicers have additional safety features like lid locks or pulp container sensors. Ensure these components are properly seated and engaged.
Juicer Not Working: Common Causes and Fixes
Understanding why your juicer stopped working helps prevent future issues. The most common culprits fall into three categories: power problems, assembly failures, and motor issues.
Power and Electrical Issues
A juicer not turning on usually points to electrical problems. Start at the outlet and work your way to the motor.
Test the outlet with a phone charger or lamp you know works. If the outlet is dead, check your home’s circuit breaker or fuse box. A tripped breaker explains why your juicer won’t turn on but other appliances still work.
Inspect the power cord along its entire length. Look for kinks, cuts, or exposed wire. Damaged cords create safety hazards and prevent proper power flow. If you find cord damage, stop using the juicer immediately.
Some juicers have a fuse inside the motor housing. If your juicer has power but won’t run, a blown fuse might be the culprit. Check your owner’s manual for fuse location and replacement specifications.
Assembly and Safety Switch Problems
Modern juicers include multiple safety switches that prevent operation when parts aren’t properly aligned. This design protects users from injury but creates confusion when the juicer won’t start.
The most common assembly issue involves the juicer cover or lid. Most units require the lid to lock into place before the motor engages. Listen for an audible click when closing the lid. If you don’t hear it, the safety switch isn’t engaged.
Pulp containers often have sensors that detect whether they’re properly inserted. An empty or missing pulp container can prevent startup. Always insert the pulp container before powering on, even for small juicing jobs.
Vertical juicers use a magnet sensor system that detects proper alignment of the auger, housing, and hopper. If the arrows on these components don’t line up perfectly, the magnet won’t trigger the sensor, and your juicer won’t turn on.
When Your Juicer Has Power But Won’t Run
Sometimes your juicer shows signs of power (lights, hum) but the blades won’t spin. This indicates a different set of problems than complete power failure.
A humming sound without blade movement suggests a jammed auger or blade assembly. Power off immediately and unplug the unit. Disassemble the juicer and clear any fiber or produce wrapped around the blade or auger.
Worn-out brushes in the motor can cause intermittent operation. The motor might start briefly then stop, or work only at certain angles. This issue typically develops gradually over time and usually requires professional repair.
Stripped gears or broken drive couplings prevent power transfer from the motor to the blade. You’ll hear the motor running but see no blade movement. These mechanical failures need replacement parts specific to your juicer model.
Juicer Overheated: What to Do
Overheating ranks as one of the top reasons a juicer stops working mid-use. Understanding how to handle this common issue saves many units from unnecessary replacement.
Signs Your Juicer Overheated
An overheated juicer typically shuts down suddenly during operation. You might notice a burning smell, see smoke, or feel excessive heat from the motor housing. Some models display a warning light or trigger an audible alert.
The heat safety sensor activates when internal temperatures exceed safe limits. This protection prevents motor damage but can be frustrating when it interrupts your juicing session.
Proper Cooling Procedure
When your juicer overheats, patience becomes your best tool. Unplug the unit immediately and move it to a heat-resistant surface. Remove any remaining produce from the feed chute.
Let the juicer cool for at least 10-15 minutes. This minimum cooling period allows the internal temperature to drop below the safety threshold. Rushing this step risks repeated overheating and potential permanent motor damage.
After the cooling period, check the juicer for visible damage or melting components. If everything looks normal, plug in and test with a small amount of soft produce like cucumber or melon.
Preventing Future Overheating
Most overheating issues stem from overworking the motor. Process harder vegetables like carrots in smaller batches. Alternate between hard and soft produce to give the motor brief recovery periods.
Never force food into the feed chute. Let the juicer pull produce through at its own pace. Pushing too hard overloads the motor and generates excess heat.
Clean your juicer thoroughly after each use. Fiber buildup around the blade or motor housing reduces efficiency and increases heat generation. A clean juicer runs cooler and lasts longer.
Blade and Filter Issues
Clogged blades and filters cause many juicer problems. When juice can’t flow properly, the motor works harder and may shut down completely.
Diagnosing Clogged Components
A slow juicer not working often points to filter clogging. If juice drips slowly or pulp appears excessively wet, your filter needs attention. The motor might strain or stop as it works against the blockage.
Visible buildup around the blade or mesh filter indicates a clog. You might notice juice backing up into the feed chute or leaking from unexpected places. These signs mean it’s time for a thorough cleaning.
Proper Cleaning Procedure
Always unplug your juicer before cleaning. Disassemble completely, removing the blade, filter, and any other removable parts. Rinse components immediately after use to prevent pulp from drying and hardening.
Use the cleaning brush that came with your juicer to scrub the mesh filter. Work from both sides, paying special attention to the fine holes where juice passes through. A toothbrush helps reach tight corners and crevices.
For stubborn buildup, soak the filter in warm water for 10-15 minutes. Avoid using abrasive cleaners or metal scrubbers, which can damage the mesh and reduce filtering efficiency.
Filter Maintenance Tips
Inspect your filter regularly for signs of wear or damage. Bent mesh, tears, or permanent staining affect performance. Most manufacturers recommend replacing filters annually with regular use.
Hand wash only for most juicer filters. The high heat and harsh detergents in dishwashers can warp the mesh or damage protective coatings. Always check your owner’s manual for specific cleaning recommendations.
Vertical Juicer Magnet Sensor Problems
Vertical slow juicers use a clever magnet sensor system that often confuses users. Understanding this system helps troubleshoot why your juicer won’t turn on despite proper assembly.
The magnet sensor works through a small magnet embedded in one component (usually the hopper or juicing bowl) that aligns with a sensor in the motor base. When properly aligned, the sensor allows operation. Misalignment prevents startup even if everything looks correct.
Check for alignment arrows on your juicer components. These arrows must line up perfectly for the magnet sensor to activate. Even slight misalignment prevents the sensor from detecting the magnet.
Dishwasher damage frequently causes magnet sensor failure in vertical juicers. The high heat and moisture can dislodge or weaken the embedded magnet. If your juicer worked before dishwashing but not after, the magnet likely sustained damage.
To test the magnet sensor, slowly rotate the hopper or bowl while watching for any power indicator lights. If the light flickers at certain positions, you’ve found the approximate alignment point. Mark this position for future reference.
When to Seek Professional Repair
Some juicer problems require professional expertise. Attempting complex repairs yourself can void warranties or create safety hazards.
Internal motor problems like burnt windings, failed capacitors, or worn bearings need professional attention. These repairs require specialized tools and electrical knowledge beyond typical DIY skills.
Electronic control board failures cause intermittent operation or complete non-response. While sometimes repairable, these issues often justify juicer replacement given the cost versus repair expense.
Replacement parts availability influences the repair decision. Major brands like Breville, Omega, and Hurom offer parts and service. Lesser-known or discontinued models may lack replacement parts, making repair impractical.
Consider the juicer’s age and original cost. A three-year-old juicer that cost $120 might warrant replacement if repairs exceed $60. High-end juicers ($300+) often justify larger repair investments due to their initial value.
Preventive Maintenance Tips
Regular maintenance prevents most juicer problems. A few simple habits extend your juicer’s lifespan and ensure reliable operation.
Clean your juicer immediately after each use. Letting pulp dry makes cleaning difficult and promotes bacterial growth. A quick rinse right after juicing saves significant scrubbing time later.
Alternate hard and soft produce during juicing sessions. This practice reduces motor strain and prevents overheating. Process carrots and beets in smaller batches rather than loading the feed chute completely.
Inspect power cords and plugs regularly for wear. Replace damaged cords immediately rather than risking electrical issues or fire hazards.
Store your juicer in a dry, protected location. Moisture and humidity can damage electrical components over time. If you won’t use the juicer for extended periods, clean thoroughly before storage and check for pests that might nest in the motor housing.
FAQ
How do I unclog a juicer?
Unplug the juicer and disassemble completely. Remove visible debris from the feed chute and blade area. Soak clogged parts in warm water for 10-15 minutes, then scrub with a brush. Use a toothpick or skewer to clear stubborn fiber from mesh filter holes. Rinse thoroughly and reassemble before testing.
Can a juicer be repaired?
Many juicer problems can be fixed depending on the issue. Simple repairs like replacing fuses, clearing clogs, or realigning safety switches are often DIY-friendly. Internal motor problems, control board failures, or stripped gears typically require professional repair. Consider repair cost versus replacement value, especially for units over three years old.
What are common mistakes when juicing?
Overloading the feed chute forces produce through too quickly, straining the motor. Not alternating hard and soft produce causes overheating. Forgetting to insert the pulp container prevents startup on many models. Pushing produce with utensils instead of the provided tamper risks damage to the feed chute or blades. Skipping regular cleaning leads to buildup that affects performance.
How long do juicer machines last?
Quality juicers typically last 5-10 years with proper maintenance. Centrifugal juicers generally have shorter lifespans (3-7 years) due to higher RPM and motor wear. Masticating and slow juicers often last 7-15 years because they operate at lower speeds with less stress. Regular cleaning, proper assembly, and avoiding overheating significantly extend any juicer’s lifespan.
Conclusion
A juicer not working properly frustrates any health enthusiast, but most issues have simple solutions. Start with the quick troubleshooting checklist to identify whether you’re dealing with power problems, assembly issues, overheating, or clogs. Let overheated units cool for 10-15 minutes before attempting restart, and always clean your juicer thoroughly after each use to prevent buildup.
Know when to attempt DIY repairs and when to seek professional help. Internal motor issues and electronic failures typically justify replacement rather than repair, especially for older or budget models. With proper maintenance and careful operation, your juicer should provide years of reliable service and fresh, healthy juice.



Leave a Comment