
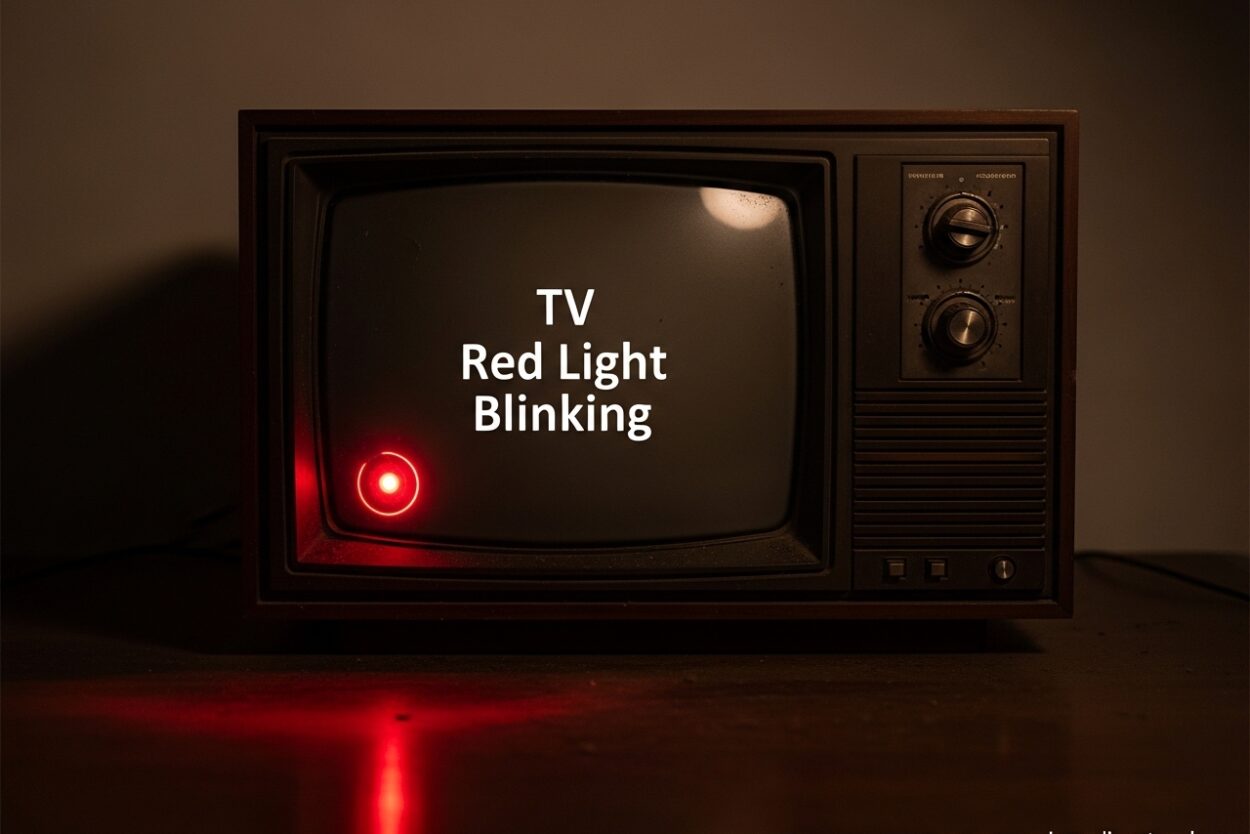
That blinking red light on your TV isn’t just a random pattern – it’s your television trying to tell you exactly what’s wrong. When your TV won’t turn on and the standby light keeps blinking, it means the internal diagnostics have detected a problem preventing normal startup.
I’ve spent years researching TV repair issues, and the blinking red light is one of the most common problems people face with modern televisions. Whether you own a Samsung, Sony, LG, or another brand, that blink pattern contains valuable diagnostic information.
The good news is that not all blinking red lights mean your TV is dead. In fact, many cases can be resolved with simple troubleshooting steps you can do at home in minutes. Let me walk you through what those blinks mean and how to get your TV working again.
What Does TV Red Light Blinking Mean?
A blinking red light on your TV typically indicates a power supply issue, hardware failure, or internal error that prevents the television from completing its normal startup sequence. The standby light blinks when the TV’s power board detects an internal fault and cannot fully boot up.
Modern TVs use these blink patterns as diagnostic codes – similar to Morse code – to communicate which component has failed. The number of blinks, the timing between them, and whether they repeat in a specific pattern all tell a story about what’s happening inside your television.
The most common causes include power board failures, main board issues, backlight problems, and LCD panel defects. Each brand uses different blink patterns to indicate specific problems, which is why knowing your TV brand and counting the blinks accurately matters so much.
Quick Fixes to Try First
Before diving into complex diagnostics, try these simple fixes that resolve many TV red light blinking issues. I’ve seen these work countless times, and they only take a few minutes.
Power Cycling Your TV
Power cycling is the single most effective first step for TV red light blinking issues. This procedure drains residual power from the TV’s capacitors and can reset temporary glitches in the system.
- Unplug your TV completely from the wall outlet – not just turning it off with the remote
- Wait at least 5 minutes – this allows capacitors to fully discharge
- Press and hold the power button on the TV itself (not the remote) for 30 seconds while unplugged
- Remove all HDMI devices and external connections during this process
- Plug the TV back in directly to a wall outlet (avoid surge protectors temporarily)
- Attempt to power on using the TV’s physical power button
This simple procedure resolves approximately 30-40% of TV red light blinking cases, especially those caused by temporary power surges, firmware glitches, or external device interference.
The Remote Control Reset Trick
This lesser-known trick has worked for many Samsung and Sony TV owners experiencing boot loop issues:
- Remove the batteries from your TV remote control
- Press and hold the power button on the remote for 15-30 seconds with batteries removed
- Leave batteries out for at least 2 minutes
- Reinsert fresh batteries and attempt to power on the TV normally
Community members on TV repair forums have reported success with this method, particularly for TVs stuck in continuous boot loops where they briefly turn on before shutting down again.
Check Your Power Source
Sometimes the issue isn’t the TV at all – it’s the power source. Verify these basic elements:
- Test the wall outlet with another device to confirm it’s working
- Try a different power cable if your TV uses a removable cord
- Bypass surge protectors temporarily and plug directly into the wall
- Check for damage to the power cable including fraying or kinks
Understanding Error Codes by Brand
Each TV manufacturer uses different blink patterns to communicate specific problems. Understanding these codes can help you identify whether you’re facing a minor glitch or a serious hardware failure.
Samsung TV Blink Codes
Samsung TVs are among the most prone to red light blinking issues. Here’s what their common patterns mean:
- 2 blinks: LCD panel failure – often requires panel replacement
- 3 blinks: Power supply board issue – sometimes repairable
- 5 blinks: Main board or T-con board failure
- 6 blinks: Backlight failure or backlight driver issue
Samsung NU series owners should note that these models have known issues with LCD panel failures, particularly the 2-blink pattern. Unfortunately, this typically means the LCD panel itself has failed and requires replacement, which can be cost-prohibitive.
Sony TV Blink Codes
Sony uses a more extensive blink code system that can indicate very specific problems:
- 2 blinks: Power board failure
- 3 blinks: Main board communication failure
- 4 blinks: Fan or cooling system issue
- 5 blinks: T-con board or panel communication failure
- 6 blinks: Backlight failure – very common on Sony LCD TVs
- 7 blinks: Sound/audio board issue
- 8 blinks: Special reset may be required – some models need specific reset procedures
Sony’s 6-blink code for backlight failure is particularly common. To verify this is the issue, shine a flashlight at your screen at an angle when attempting to turn on the TV – if you can see a faint image, the backlight has failed but the panel itself may still work.
LG TV Blink Codes
LG typically uses simpler patterns but still provides diagnostic information:
- 2 blinks: Power board issue
- 3 blinks: Main board problem
- Continuous blinking: May need firmware update or factory reset
Vizio, Hisense, and Other Brands
Budget TV brands like Vizio, Hisense, and Onn often have less sophisticated diagnostic systems. Their blinking patterns may simply indicate a general power failure without specifying the exact component.
Roku TVs (which include various brands like TCL, Hisense, and Onn) often use a single slow blink for normal standby and rapid blinking for errors. If your Roku TV has a rapidly blinking red light, it typically indicates a power or hardware failure.
Samsung TV Red Light Troubleshooting
Samsung TVs account for a significant portion of red light blinking complaints, particularly among their NU and QLED series. The 2-blink pattern is especially concerning as it typically indicates LCD panel failure – often an expensive repair that may exceed the TV’s value.
If your Samsung TV is blinking twice, try this diagnostic procedure recommended by repair technicians:
- Listen for sound when the TV attempts to turn on – if you hear audio but see no picture, it may be a backlight issue rather than panel failure
- Check for boot loop – does the TV briefly show a picture before shutting down and restarting?
- Try the tape-off method – this involves disconnecting ribbon cables from the T-con board to isolate whether the panel or board has failed
For Samsung TVs showing 3, 5, or 6 blinks, the issue may be repairable by replacing the power board, main board, or backlight strips. These repairs typically cost between $150-$400 depending on the model and your location.
Sony TV Red Light Troubleshooting
Sony’s blink code system is more detailed, which can actually help with diagnosis. The 6-blink code indicating backlight failure is extremely common on Sony Bravia LCD TVs from 2015-2021.
To address a Sony TV with a blinking red light:
- For 6 blinks: Verify backlight failure with the flashlight test. If confirmed, LED strip replacement is typically required
- For 8 blinks: Some Sony models require a special reset procedure – hold down the volume down button and power button simultaneously while plugging in the TV
- For 2-3 blinks: Power board or main board replacement may be necessary
Sony TVs with backlight issues can often be repaired by replacing just the LED strips rather than the entire panel, making repair more cost-effective than panel replacement.
LG, Vizio, Hisense, Roku, and Onn TV Troubleshooting
For other major TV brands experiencing red light blinking issues:
LG TVs
LG TVs often respond well to the power cycling procedure described earlier. If that doesn’t work, check for firmware updates on LG’s support website – some older LG models have known boot issues addressed by firmware updates.
Vizio and Hisense
These budget brands frequently experience power board failures. The good news is that power board replacement is relatively affordable compared to other repairs. Many Vizio and Hisense models use standardized power boards that cost between $40-$120.
Roku TVs
If your Roku TV has a blinking red light, try this specific procedure:
- Unplug the TV and disconnect all devices
- Locate the reset button – usually a small pinhole button on the back
- Press and hold reset for 30 seconds while unplugged
- Continue holding reset while plugging the TV back in
- Keep holding for another 30 seconds
Onn TVs
Onn TVs sold at Walmart have known issues with power supply failures. Given their low price point, professional repairs often exceed their replacement cost, making them candidates for replacement rather than repair when serious issues occur.
Hardware Failure Indicators
Understanding which component has failed can help you decide between repair and replacement. Here’s how to identify common hardware failures:
Power Board vs. Main Board
The power board converts AC power to the DC voltages your TV needs. The main board processes all video and audio signals. Power board failures often prevent the TV from doing anything at all, while main board issues may allow some functions but prevent complete startup.
Signs of power board failure: completely dead TV, no response to any button presses, sometimes accompanied by a burning smell. Signs of main board failure: TV partially functions, may show logo then freeze, or responds to some commands but not others.
Backlight Failure
LED backlights provide the illumination that makes LCD panels visible. When backlights fail, you may still have a working picture – you just can’t see it without external lighting.
The flashlight test is the best way to confirm backlight failure: shine a bright flashlight at your screen at an angle while the TV is “on.” If you can see a faint image of your picture or menu, the backlights have failed but the panel itself works.
LCD Panel Failure
This is the most serious diagnosis. LCD panel failure means the actual display component has malfunctioned, and replacement is often cost-prohibitive. Symptoms include physical damage visible on screen, lines across the display, or complete lack of picture even with the flashlight test.
For larger TVs (65 inches and above), panel replacements can exceed $1000, making replacement more economical than repair.
When to Repair vs Replace
Deciding whether to repair or replace your TV depends on several factors:
- TV age: If your TV is over 5-6 years old, replacement may be more practical
- Repair cost: Repairs exceeding 50% of the TV’s original purchase price typically aren’t worth it
- TV size: Larger TVs (65+ inches) have more expensive panels but also represent larger investments
- Warranty status: Check if your TV’s warranty is still valid – many have 1-2 year coverage
- Component failure: Power board repairs are affordable; panel replacements are not
As a general guideline, consider repair for power board, main board, and backlight issues on premium TVs less than 4 years old. Consider replacement for panel failures, TVs over 5 years old, or budget models where repairs exceed 50% of replacement cost.
Safety Precautions Before Attempting Repairs
If you’re considering DIY repair, understand that TVs contain dangerous components even when unplugged. Capacitors can store lethal electrical charges for extended periods after power is disconnected.
Never attempt to open your TV unless you have proper training and equipment. Internal components can carry charges of 400 volts or more even when the TV has been unplugged for days. If you’re not experienced with electronics repair, professional service is the safer choice.
Preventive Maintenance Tips
While you can’t prevent all TV failures, these practices can extend your television’s lifespan:
- Use a quality surge protector – power fluctuations damage sensitive components
- Allow proper ventilation – don’t block vents and keep dust away from internal components
- Avoid extreme temperatures – don’t store or use TVs in very hot or cold environments
- Don’t leave on static images for extended periods – this can cause burn-in on OLED and plasma displays
- Update firmware regularly – manufacturers release fixes that can prevent issues
How do I fix a blinking red light on my TV?
Start by power cycling your TV completely: unplug it for at least 5 minutes, press and hold the physical power button for 30 seconds while unplugged, then reconnect directly to a wall outlet. This simple fix resolves 30-40% of TV red light blinking issues by draining residual power from capacitors and resetting temporary glitches.
How do you know if your TV is burned out?
Signs of a burned-out TV include: no response to power button with no standby light, physical damage visible on the panel, strange burning smell, or complete lack of function even after trying different power outlets. The flashlight test can also help – shine a light at the screen when attempting to turn on the TV. If you see no faint image and all connections are good, the panel may be burned out.
Why is my TV power light blinking and not turning on?
The blinking power light indicates your TV is detecting an internal error that prevents normal startup. Common causes include power board failure, main board issues, backlight problems, or LCD panel defects. The specific blink pattern (number of blinks before pausing) serves as a diagnostic code that indicates which component has failed. Check your TV brand’s specific blink codes to identify the problem.
Is a blinking red light serious on a Samsung TV?
It depends on the blink pattern. Two blinks on a Samsung TV typically indicates LCD panel failure, which is serious and often cost-prohibitive to repair. Three, five, or six blinks indicate power board, main board, or backlight issues respectively, which may be repairable. The two-blink pattern is particularly concerning for Samsung NU series models, which have known panel issues.
Can I reset my Sony TV with a blinking red light?
Yes, for some Sony TV models, you can perform a special reset if the red LED blinks 8 times. Hold down the volume down button and power button simultaneously while plugging in the TV. Continue holding both buttons for 30 seconds. This reset procedure can resolve certain errors on Sony Bravia models showing the 8-blink pattern.
How many red blinks are bad for Sony TV?
Six blinks on a Sony TV is particularly bad as it indicates backlight failure, which is a very common issue on Sony Bravia LCD TVs from 2015-2021. The 2-blink code indicating power board failure is also serious but often more repairable. The 5-blink code suggesting T-con board or panel communication failure can also indicate serious problems. However, the 8-blink code sometimes just requires a special reset procedure.
What are the signs of a dead TV?
Signs of a dead TV include: completely unresponsive to power button, no standby light at all, burning smell coming from the unit, visible physical damage to the screen, no sound or picture despite trying different inputs and power sources, or repair estimates exceeding 50% of the TV’s replacement cost. If your TV is over 5-6 years old and has serious issues, replacement is typically more practical than repair.
How to reset a TV that won’t turn on?
Perform a complete power cycle: unplug the TV from the wall outlet, remove all HDMI connections, press and hold the physical power button on the TV (not remote) for 30 seconds while unplugged, wait at least 5 minutes total, then reconnect directly to a wall outlet bypassing any surge protector. For some brands like Sony and Roku, there are additional special reset procedures involving holding specific button combinations while plugging in the TV.
Conclusion
TV red light blinking issues are frustrating, but they’re not always a death sentence for your television. The key is understanding what those blink patterns mean and approaching troubleshooting systematically. Start with the simple power cycling procedure – it resolves a surprising number of cases.
If basic troubleshooting doesn’t work, count the blinks carefully and look up your specific brand’s error codes. This diagnostic information can help you determine whether you’re facing a repairable issue or something more serious like panel failure.
For most power board, main board, and backlight issues on quality TVs less than 4-5 years old, professional repair is worth considering. However, panel failures and TVs over 6 years old typically make more financial sense to replace than repair.
Remember to prioritize safety – TVs contain dangerous components even when unplugged. If you’re not experienced with electronics repair, consult a professional rather than attempting internal repairs yourself.

Leave a Comment