
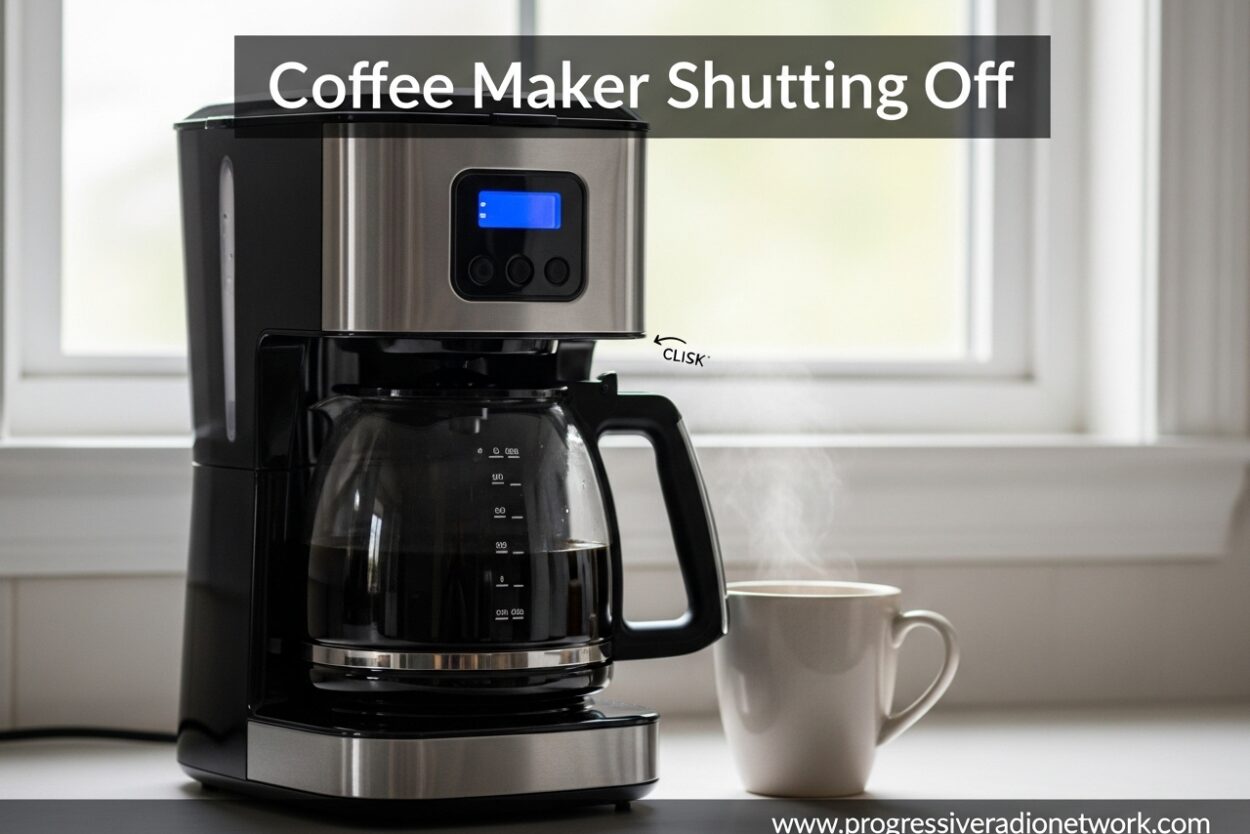
Nothing starts your morning off wrong quite like a coffee maker shutting off mid-brew. You stumble into the kitchen, add water and grounds, press that comforting brew button, and walk away expecting the rich aroma of fresh coffee. Instead, you return to silence and a half-brewed pot. If this sounds familiar, you’re not alone. Coffee maker shutting off unexpectedly is one of the most common appliance frustrations people face. In this guide, I’ll walk you through every possible cause and show you exactly how to fix it.
Common Causes of Coffee Maker Shutting Off
Coffee makers can shut off for several reasons, ranging from simple safety features to serious component failures. Understanding these causes helps you diagnose the problem faster and decide whether it’s worth fixing or time to replace. The most common culprits include automatic shutoff features, power connection issues, thermostat problems, heating element failure, thermal fuse malfunction, and mineral buildup.
It Might Be a Safety Feature, Not a Problem
Before you assume something is wrong, check if your coffee maker is doing exactly what it was designed to do. Most modern coffee makers include an automatic shutoff feature that turns off the heating element after a set period, typically 2 hours. This safety feature prevents fires and saves energy. If your machine consistently shuts off at the same time every use, check your manual to confirm this is the expected behavior.
Some coffee makers also have thermal protection that activates when the machine detects excessive heat. This safety mechanism cuts power to prevent overheating, which could cause damage or fire hazards. If your coffee maker shuts off during brewing and feels unusually hot, give it 15-30 minutes to cool down before trying again.
Power Cord and Electrical Connection Issues
A loose or damaged power cord is one of the simplest causes of coffee maker shutting off. Check that the cord is firmly plugged into both the coffee maker and the wall outlet. Cords can become loose over time from regular plugging and unplugging, or the prongs might bend from repeated use.
Test the outlet by plugging in another device to confirm it’s working properly. Faulty outlets, loose wiring, or tripped GFCI outlets can cause intermittent power loss that mimics a coffee maker problem. If you’re using an extension cord or power strip, try plugging directly into a wall outlet instead. Extension cords can cause voltage drops that trigger safety shutoffs.
Inspect the power cord for any visible damage like fraying, cuts, or kinks. Damaged cords create safety hazards and should be replaced immediately. Also check if the cord gets unusually warm during use, which indicates a potential electrical problem that needs professional attention.
Thermostat Malfunction
The thermostat regulates your coffee maker’s temperature by turning the heating element on and off to maintain optimal brewing heat. When this component fails, your coffee maker might shut off prematurely because it’s not reading temperatures correctly. A faulty thermostat can either think the water is too hot when it’s not, or fail to activate the heating element at all.
Symptoms of thermostat problems include coffee that’s not hot enough, brewing that stops before completion, or the machine cycling on and off repeatedly. Some coffee makers have adjustable thermostats that can be recalibrated, while others require complete replacement.
Testing a thermostat typically requires a multimeter to check for continuity. If you’re comfortable with basic electrical testing, you can access the thermostat (usually located near the heating element) and test it yourself. Otherwise, this is a repair best left to professionals or might signal it’s time for a new coffee maker.
Heating Element Failure
The heating element is the workhorse of your coffee maker, responsible for heating water to the optimal brewing temperature of 195-205°F. Over time, heating elements can burn out, develop hot spots, or fail completely. When this happens, your coffee maker might shut off as a safety response or simply stop producing hot water.
Signs of heating element failure include water that never gets hot, unusually long brewing times, or a burning smell during operation. You might also notice the coffee maker drawing more power than usual before shutting off. In some cases, a failing heating element will work intermittently, explaining why your machine sometimes brews perfectly and other times quits mid-cycle.
Heating element replacement is possible but requires disassembling your coffee maker and soldering skills. For most people, a failed heating element means it’s time to shop for a new coffee maker, especially if the unit is already several years old.
Thermal Fuse Problems
The thermal fuse is a safety device designed to cut power if your coffee maker overheats. Unlike a regular fuse that protects against electrical surges, a thermal fuse responds specifically to excessive temperature. When it blows, it completely cuts power to prevent fire hazards. A blown thermal fuse means your coffee maker won’t turn on at all or will shut off immediately after starting.
Thermal fuses can blow from actual overheating events, but they can also fail simply from age and repeated heating cycles. If your coffee maker has been working fine for years and suddenly won’t stay on, a blown thermal fuse is a likely culprit. Testing a thermal fuse requires a multimeter to check for continuity—no continuity means the fuse has blown and needs replacement.
Replacing a thermal fuse is generally more accessible than other repairs, but it still requires opening your coffee maker and working with electrical components. If you’re not comfortable with this type of repair, consider whether the cost of professional service makes sense for your machine’s age and value.
Mineral Buildup and Clogging
Hard water leaves mineral deposits inside your coffee maker that can cause all sorts of problems. Over time, calcium and lime scale accumulate in the water tubes, heating element, and internal sensors. This buildup restricts water flow, reduces heating efficiency, and can trigger safety shutoffs. Many coffee makers have sensors that detect clogs or inadequate water flow and will shut down to prevent damage.
Regular descaling every 1-3 months (depending on water hardness) prevents most mineral-related issues. Use a commercial descaling solution or a mixture of equal parts white vinegar and water. Run this through your coffee maker as if brewing a pot, let it sit for 30 minutes, then run 2-3 cycles of fresh water to rinse.
Pay special attention to the water level sensor, which can become coated with minerals and give false readings. This sensor tells the coffee maker when the water reservoir is empty, and if it malfunctions, the machine might shut off prematurely thinking it’s out of water when it’s not. Cleaning the sensor with a soft cloth and descaling solution often resolves this issue.
Brand-Specific Issues: Keurig, Ninja, Cuisinart
Some coffee maker brands have known issues that cause frequent shutdowns. Keurig machines are notorious for shutting off after selecting a cup size or during brewing. This is often caused by clogged needles, air bubbles in the water line, or magnetic reservoir contacts that aren’t properly aligned. Cleaning the exit needle with a paperclip and ensuring the reservoir is seated correctly fixes many Keurig shutoff issues.
Ninja Coffee Bar systems sometimes shut off due to improper carafe placement. The safety sensor requires the carafe to be perfectly positioned on the warming plate. If the carafe isn’t detected, the machine won’t brew. Wipe the carafe bottom and warming plate contacts with a damp cloth to ensure good connection.
Cuisinart coffee makers commonly experience shutdown issues from faulty circuit boards or power switch problems. Some models have a known issue with the control board failing after 2-3 years, causing random shutdowns or complete failure to power on. When this happens, repair costs often approach the price of a new machine.
Step-by-Step Troubleshooting Guide
When your coffee maker keeps shutting off, work through these steps in order from simplest to most complex. This systematic approach saves time and helps identify the actual cause rather than treating symptoms.
Step 1: Perform a Hard Reset
Unplug your coffee maker from the wall outlet. Remove the water reservoir if applicable. Wait at least 10-15 minutes—this allows any capacitors to discharge and resets the electronics. While waiting, check for any debris around the power cord and clean the area. Plug the machine back in, reattach the reservoir, and try brewing again. This simple reset fixes many electronic glitches that cause shutdown issues.
Step 2: Check All Connections
Verify the power cord is securely connected at both ends. Test the wall outlet with another device to confirm it’s working. If using a power strip, plug directly into the wall. Check that the water reservoir is properly seated and making contact with any sensors. Ensure the carafe or mug is correctly positioned if your machine has a safety sensor there.
Step 3: Inspect for Visible Problems
Look for any damage to the power cord, burns or melting on the base, or water leaks. Check the brewing area for clogged needles or mineral buildup. If your coffee maker has a removable filter basket, remove it and clean thoroughly. Look for any loose parts that might have shifted out of place.
Step 4: Run a Descaling Cycle
Even if you don’t think hard water is the issue, descaling is safe for all coffee makers and might help. Fill the reservoir with equal parts white vinegar and water, run a brewing cycle, and let it sit for 30 minutes. Run 2-3 cycles with fresh water to remove any vinegar taste. This cleans internal components and sensors that might be causing false shutoffs.
Step 5: Test Different Scenarios
Try brewing with less water to see if the issue relates to water level sensors. Test different outlets in your home to rule out electrical problems. If your coffee maker has multiple brewing options, try each one to see if the problem is specific to certain settings. Note exactly when the shutdown occurs—immediately upon pressing brew, mid-cycle, or at consistent time intervals.
Step 6: Consider Professional Diagnosis
If you’ve worked through all these steps and your coffee maker still shuts off, the problem is likely internal and requires professional repair or replacement. At this point, consider the age of your machine and the cost of service before deciding how to proceed.
When to Repair vs Replace Your Coffee Maker
The average coffee maker lasts 5-10 years with proper maintenance. When deciding whether to repair or replace, consider several factors. If your machine is less than 3 years old and from a reputable brand, repair might be worthwhile, especially for minor issues like thermal fuse replacement or thermostat problems.
For coffee makers over 5 years old, replacement often makes more sense. Professional repairs typically cost $50-150 plus parts, and you can buy a decent new coffee maker for $75-200. If the repair cost exceeds 50% of a new machine’s price, replacement is usually the smarter choice.
Consider the availability of parts for your specific model. Major brands like Cuisinart, Keurig, and Ninja generally have parts available for 5-7 years after production. Budget or lesser-known brands might not offer replacement parts at all, making repair impossible even if you wanted to go that route.
Your comfort with DIY repairs also matters. If you’re handy with electronics and willing to watch tutorial videos, you might successfully replace a thermal fuse or thermostat for under $20 in parts. However, if you’re not comfortable working with electrical components, factor in the cost of professional service or the convenience of replacement.
Preventing Future Shut-Off Problems
Regular maintenance prevents most coffee maker shutdown issues. Descaling every 1-3 months is the single most important maintenance task, especially if you live in an area with hard water. Use filtered water when possible to reduce mineral deposits and extend your machine’s life.
Clean your coffee maker weekly by washing removable parts with warm soapy water. Wipe down the exterior and warming plate to prevent buildup that could interfere with sensors. Leave the reservoir open when not in use to allow air circulation and prevent mold growth.
Avoid overfilling the water reservoir, which can cause leaks and short circuits. Don’t run your coffee maker empty, as this can damage the heating element. Use the correct grind size for your machine—too fine can clog the system, while too coarse might cause water to flow too fast and trigger sensors.
If you use your coffee maker in an RV, on a generator, or with modified sine wave inverters, be aware that inconsistent power can cause shutdown issues. These power sources often have voltage fluctuations that confuse coffee maker electronics. If possible, use a pure sine wave inverter or wait until you have stable grid power.
Pay attention to warning signs before complete failure occurs. If your coffee maker starts making unusual noises, brewing slower than usual, or producing less hot coffee, address these issues promptly. Early intervention often prevents more serious problems that result in complete shutdown.
FAQ
What is the average lifespan of a coffee maker?
The average coffee maker lasts 5-10 years with proper maintenance. Budget models typically last 3-5 years, while premium machines can reach 10+ years. Regular descaling, using filtered water, and addressing issues promptly can extend your coffee maker’s life by several years.
Why would my coffee maker suddenly stop working?
Coffee makers suddenly stop working due to blown thermal fuses, failed heating elements, faulty thermostats, or electrical issues. Power surges can damage circuit boards, while mineral buildup can cause overheating that triggers safety shutoffs. A sudden complete failure often indicates a blown thermal fuse or failed electrical component.
Why is my Keurig shutting off when I try to make coffee?
Keurig machines commonly shut off due to clogged exit needles, air bubbles in the water line, or misaligned reservoir contacts. Clean the brewing needle with a straightened paperclip, ensure the water reservoir is properly seated, and try running water-only cycles to purge air bubbles. Magnetic reservoir contacts sometimes need cleaning with a damp cloth.
Is it worth fixing a coffee machine?
Coffee maker repair is worth it for machines under 3 years old from major brands, especially for simple fixes like thermal fuse replacement ($20-50). For machines over 5 years old, replacement usually makes more sense since repairs cost $50-150 and new coffee makers start at $75. Consider whether repair costs exceed 50% of a replacement unit’s price.
How can I tell if my coffee maker is going bad?
Warning signs of a failing coffee maker include slower brewing times, unusual noises, coffee that’s not hot enough, frequent cycling on and off, and visible leaks or mineral buildup. If your machine needs multiple reset attempts to work, shuts off mid-cycle regularly, or produces weak coffee despite proper grounds ratio, component failure is likely imminent.
Why does my Ninja coffee maker keep shutting off during brew?
Ninja coffee makers often shut off due to improper carafe placement triggering the safety sensor. The carafe must make proper contact with the warming plate sensor. Clean both the carafe bottom and warming plate with a damp cloth to ensure good contact. Also check that the water reservoir is fully inserted and the brew basket is properly locked in place.
Conclusion
Dealing with a coffee maker shutting off is frustrating, but most problems have identifiable causes and solutions. Start with the simple fixes—checking connections, performing a reset, and descaling—before moving to more complex diagnostics. Understanding whether the issue is a safety feature, electrical problem, or component failure helps you decide the best course of action. With proper maintenance and attention to early warning signs, you can extend your coffee maker’s lifespan and enjoy uninterrupted morning coffee for years to come.





Leave a Comment