
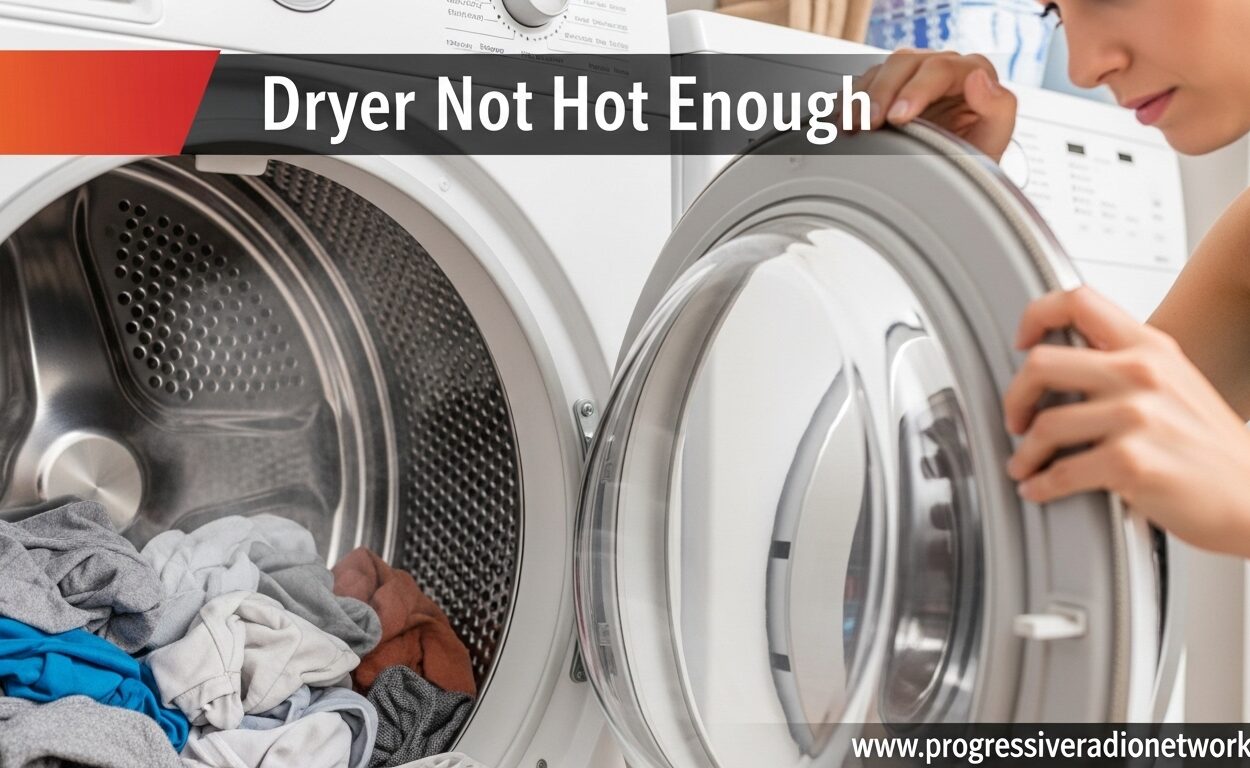
You put a load of laundry in the dryer, set it to normal heat, and come back an hour later expecting warm, dry clothes. Instead, you find damp, cool fabrics that need another cycle. A dryer not hot enough is one of the most frustrating appliance problems homeowners face. I’ve been there, and after troubleshooting dozens of dryers over the years, I can tell you that most heating issues stem from a handful of common causes.
The good news is that you can fix many dryer heating problems yourself without calling a technician. In this guide, I’ll walk you through every diagnostic step, from the simplest fixes to more complex repairs. Let’s get your dryer heating properly again.
5 Things to Check Immediately
Before diving into complex repairs, check these five common culprits. I’ve found that 80% of dryer heating issues stem from one of these problems:
1. Lint screen is clogged – A full lint trap restricts airflow and is the number one cause of poor heating.
2. Vent hose is crushed or blocked – Check behind your dryer for kinks, crushes, or lint buildup in the vent hose.
3. Circuit breaker has tripped – Electric dryers need 240V; if one breaker trips, the dryer runs but doesn’t heat.
4. Gas supply is off – For gas dryers, verify the gas valve is open and the pilot is lit (if applicable).
5. Load size is too large – Overloading prevents proper airflow; fill the drum only 3/4 full maximum.
Dryer Not Hot Enough – Most Common Causes
When your dryer isn’t generating enough heat, it’s typically due to restricted airflow, a faulty component, or power supply issues. I’ve categorized the problems from easiest to fix to most complex, so you can work through them systematically.
Dirty Lint Screen – Most Common Cause
The lint screen (also called a lint filter) is your first line of defense against heating problems. I clean mine after every load, but even then, residue builds up over time that you can’t see. Fabric softener and detergent create a film that blocks airflow even when the screen looks clean.
How to clean your lint screen properly:
Remove the lint screen and scrape off visible lint with your fingers. Take the screen to your sink and wash it with warm water and mild dish soap. Use a soft brush to scrub both sides thoroughly. Rinse well and let it air dry completely before reinstalling. For deep cleaning, do this every six months.
If your lint screen is damaged or has holes, replace it immediately. A damaged screen allows lint into the vent system, creating a fire hazard and restricting airflow further.
Blocked Vent – Fire Hazard and Heating Issue
A clogged dryer vent is the second most common cause of poor heating and a serious fire risk. I’ve seen vents so clogged that the dryer couldn’t dry anything in a single cycle. The warning signs are clear: clothes take multiple cycles to dry, the dryer feels unusually hot to the touch, or you smell burning during operation.
How to check your vent system:
Start by disconnecting the vent hose from the back of your dryer. Reach inside and remove any visible lint buildup. Check the hose itself for crushes, kinks, or holes. Replace flexible plastic or foil vents with rigid metal venting – plastic vents accumulate lint faster and are a fire code violation in many areas.
Go outside and inspect the exterior vent cover. Remove any accumulated lint around the opening. I’ve found that those plastic vent screens designed to keep pests out actually trap lint and create dangerous blockages. If you have one, remove it or clean it monthly.
Professional vent cleaning:
For vents longer than 10 feet or with multiple elbows, annual professional cleaning is recommended. A technician uses specialized equipment to clear lint you can’t reach yourself. The cost typically runs $100-150, which is far less than fire damage or a new dryer.
Power Supply Problems
Electric and gas dryers have different power requirements, and supply issues manifest differently for each type.
Electric dryers need 240 volts:
Your electric dryer requires two 120V circuits to produce 240V for heating. If one circuit breaker trips, the dryer will still run (the motor uses 120V) but won’t heat. Check your electrical panel for two breakers labeled for the dryer. If one has tripped, reset it and monitor for recurrence.
Frequent tripping indicates an electrical problem that needs professional attention. Never replace a breaker with a higher amperage rating – this creates a fire hazard.
Gas dryers need proper gas supply:
Verify the gas shut-off valve behind your dryer is fully open (parallel to the pipe). For older models with standing pilots, ensure the pilot light is lit. Modern gas dryers use glow bar igniters; if you hear clicking but no ignition, the igniter may be faulty.
Gas dryers also require 120V for the motor and controls. Check that the outlet is working by testing with a small appliance or voltage tester.
Faulty Heating Element
The heating element is the heart of your electric dryer. When it fails, your dryer won’t produce heat at all. When it’s failing, you may notice reduced heat output before complete failure.
Symptoms of a bad heating element:
The dryer runs but produces no heat. The cycle time increases significantly. Clothes remain damp after a full cycle. You may see visible damage to the element coils if you inspect them (after disconnecting power).
How to test your heating element:
Unplug the dryer and access the heating element housing (usually at the rear or bottom, depending on your model). Visually inspect the coils for breaks or damage. Use a multimeter to test for continuity – a reading of zero ohms indicates a good element, while infinite resistance means it’s failed.
Heating element replacement typically costs $50-150 for the part, depending on your model. The repair is moderately difficult for DIYers; if you’re uncomfortable working with appliances, this is a good time to call a professional.
Blown Thermal Fuse
The thermal fuse is a safety device designed to cut power if your dryer overheats. It’s a one-time-use fuse that blows when triggered and must be replaced. Unlike a circuit breaker, it cannot be reset.
Why thermal fuses blow:
Clogged vents are the most common cause. When airflow is restricted, heat builds up and triggers the fuse. A faulty cycling thermostat can also cause overheating. Sometimes the fuse simply fails due to age or manufacturing defect.
Important safety warning:
Never bypass a thermal fuse. I know it’s tempting to jumper the wires and keep using your dryer, but this removes critical fire protection. If your thermal fuse has blown, identify and fix the underlying cause before replacing the fuse.
Testing a thermal fuse requires a multimeter. If it shows no continuity, it’s blown and needs replacement. Thermal fuses cost $10-30 and are relatively easy to replace on most models.
Unusual Causes You Might Not Expect
Sometimes the obvious culprits aren’t to blame. I’ve encountered several unusual causes that even professional technicians sometimes overlook:
Dryer not level:
If your dryer isn’t level, the drum may not tumble properly, reducing airflow and heat distribution. Use a level to check your dryer side-to-side and front-to-back. Adjust the leveling feet until the bubble is centered. This simple fix resolved heating issues for one user I helped who had exhausted all other options.
Faulty blower wheel:
The blower wheel circulates air through the heating element and drum. If it’s loose, stripped, or broken, airflow suffers dramatically. Listen for unusual noises during operation – rattling or squealing can indicate blower wheel problems. Testing requires accessing the blower housing and checking for secure mounting and intact blades.
Objects lodged in the vent:
I’ve found everything from socks to toys to bird nests blocking vent systems. A complete blockage prevents all airflow. Disconnect your vent at both ends and use a flashlight to inspect the entire run. For long vents, a professional scope can identify problems you can’t see.
Moisture sensor problems:
Modern dryers use moisture sensors to detect when clothes are dry. If the sensors are coated with residue or fabric softener buildup, they may signal clothes are dry prematurely. Clean the sensor bars (usually inside the drum, just below the door opening) with rubbing alcohol and a cotton ball.
Brand-Specific Troubleshooting Tips
While dryer basics are similar across brands, each manufacturer has unique design elements that affect troubleshooting:
Whirlpool/Kenmore/Maytag:
These brands share many components. Common issues include faulty thermal fuses (located on the blower housing) and heating element failure in electric models. Their gas dryers often experience gas coil solenoid failures – the dryer heats initially but then won’t reignite.
Samsung:
Samsung dryers are known for thermistor failures. The thermistor monitors temperature and communicates with the control board. When it fails, the dryer may not heat at all or may heat inconsistently. Error codes like HE or tE often indicate thermistor problems.
LG:
LG dryers frequently experience control board failures that affect heating. If your LG dryer runs but doesn’t heat and the thermal fuse and heating element test good, the control board may be the culprit. These models also have a known issue with the heater relay on the board.
GE/Hotpoint:
GE dryers often experience belt switch failures. If the belt breaks or becomes too loose, the switch prevents the heating element from engaging. Check your belt tension if your GE dryer runs but doesn’t heat.
Preventive Maintenance – Avoid Future Problems
Most dryer heating problems are preventable with regular maintenance. I recommend following this schedule to keep your dryer running efficiently:
Clean the lint screen: After every load. Deep clean with soap and water every six months.
Inspect the vent hose: Monthly. Check for crushes, disconnects, or lint buildup.
Clean the exterior vent: Quarterly. Remove lint accumulation around the opening.
Professional vent cleaning: Annually for vents over 10 feet or with multiple elbows.
Don’t overload: Fill the drum only 3/4 full maximum. Overloading restricts airflow and strains components.
Don’t run the dryer unattended: This is especially important for older dryers or those with known issues. If a problem develops, you want to be present to address it immediately.
When to Call a Professional
Many dryer repairs are DIY-friendly, but some situations require professional expertise. I recommend calling a technician if:
Gas dryer issues: Unless you have experience with gas appliances, leave gas repairs to certified professionals. Gas leaks are extremely dangerous.
Complex electrical problems: If you’ve checked the breakers and the power supply but still have electrical issues, a professional can safely diagnose wiring problems.
Control board failures: Control board replacement is expensive and requires specific technical knowledge. A professional can properly diagnose board issues and handle the replacement.
The 50% rule:
If your dryer is over 10 years old and the repair cost exceeds 50% of a new dryer’s price, replacement is often more economical. New dryers are more energy-efficient and may pay for themselves in energy savings over time.
Safety concerns:
If you ever smell gas, immediately turn off the gas supply, evacuate your home, and call your gas company or emergency services. Gas leaks are life-threatening and require immediate professional attention.
Professional dryer repair typically costs $100-250 for labor plus parts. Get quotes from multiple technicians and ask about warranty coverage for the repair.
FAQ’s
Why is my dryer not getting very hot?
A dryer not getting hot enough is typically caused by restricted airflow from lint buildup, a faulty heating element, a blown thermal fuse, or power supply issues. Electric dryers may have one tripped breaker causing partial power, while gas dryers may have gas supply or igniter problems. Start by checking the lint screen and vent system before moving to more complex components.
How much does it cost to replace a dryer heating element?
Heating element replacement costs typically range from $50-200 for the part, depending on your dryer model. If you hire a professional, labor costs add $100-150, bringing the total repair to $150-350. DIY replacement is moderately difficult and requires basic appliance repair skills and a multimeter for testing.
Why is my dryer taking 2 hours to dry clothes?
Extended drying times almost always indicate airflow problems. The most common causes are a clogged lint screen, blocked vent hose, or obstructed exterior vent. Other possibilities include overloading the dryer, clothes that are too wet from the washer, or a failing heating element that produces insufficient heat. A vent system clogged with lint can extend drying time from 45 minutes to 2 hours or more.
Why are my clothes dry but not hot in the dryer?
If clothes dry but don’t feel hot, your dryer is producing some heat but not enough. This usually indicates a partially failed heating element (some coils are broken), a faulty cycling thermostat that’s cutting heat too early, or moderate airflow restriction. The dryer is working but inefficiently. Check your vent system first, then test the heating element and thermostats.
Conclusion
A dryer not hot enough is a frustrating problem, but most causes are fixable without expensive repairs. Start with the simple checks – lint screen, vent system, power supply – before moving to component testing. Regular preventive maintenance will prevent most heating problems and extend your dryer’s lifespan.
Remember that dryer heating problems are often symptoms of airflow issues, not just component failures. That clogged vent isn’t just annoying – it’s a fire hazard that puts your home at risk. Take the time to properly maintain your vent system, and your dryer will reward you with reliable performance for years to come.
If you’ve worked through all these steps and your dryer still isn’t heating properly, it may be time to consult a professional. Sometimes the problem is a combination of issues, or a component failure that requires specialized diagnostic equipment. There’s no shame in calling for help – sometimes that’s the smartest, safest choice.



Leave a Comment