
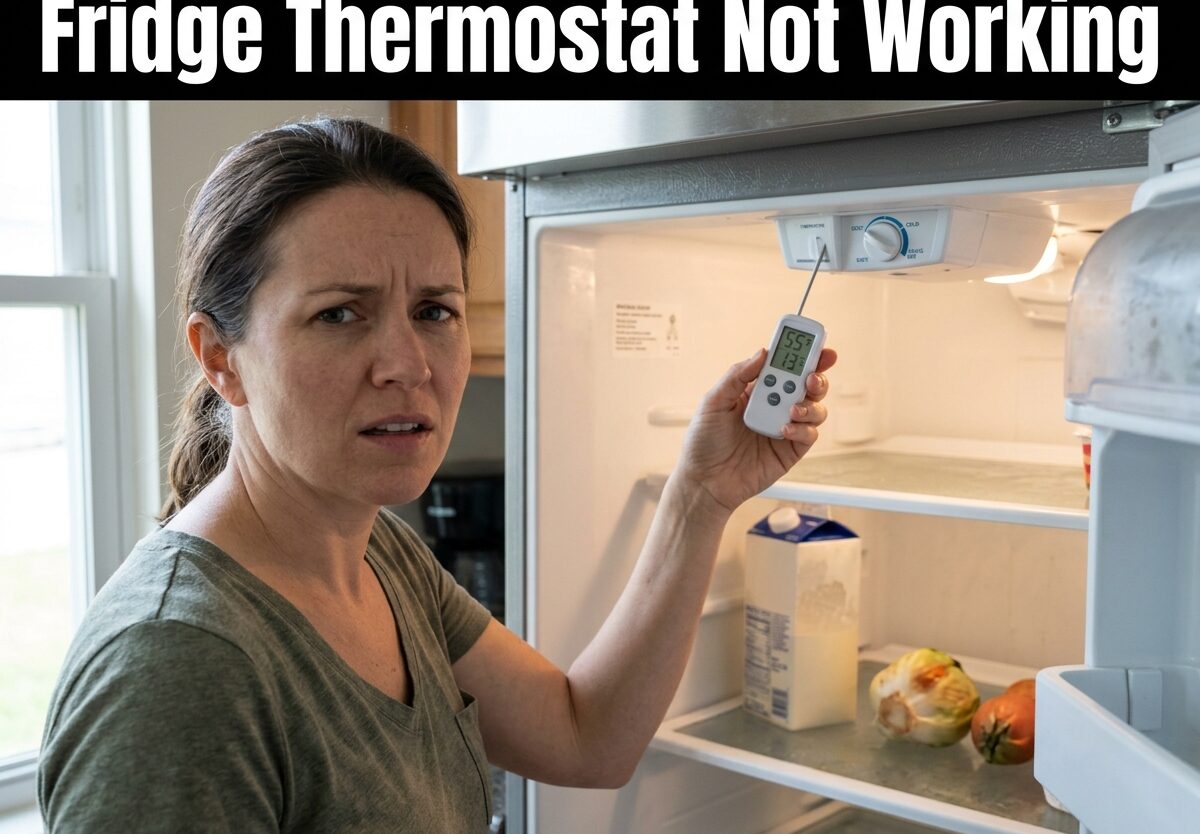
Your refrigerator suddenly stops cooling properly. Food starts spoiling. The electric bill climbs higher. These are frustrating problems that often point to one culprit: your fridge thermostat not working.
I’ve spent years troubleshooting refrigerators, and thermostat issues account for nearly 30% of cooling problems. The good news? You can diagnose and often fix this yourself without calling a technician.
This guide will walk you through everything you need to know about fridge thermostat problems. You’ll learn how to identify warning signs, test the component yourself, and decide between repair and replacement.
What Is a Fridge Thermostat and How Does It Work?
A refrigerator thermostat acts as the brain of your cooling system. It constantly monitors the temperature inside your fresh food compartment and signals the compressor when to turn on or off.
There are two main types you’ll encounter:
Mechanical thermostats use a sensing bulb connected to a capillary tube filled with refrigerant. As temperature changes, pressure in the tube expands or contracts, mechanically triggering electrical contacts that control the compressor.
Electronic thermostats use a thermistor or sensor that detects temperature changes and sends a voltage signal to an electronic control board, which then activates the compressor.
The key difference matters for troubleshooting. Mechanical thermostats can often be tested with a simple multimeter, while electronic systems require specialized diagnostic equipment.
When either type fails, your refrigerator loses its ability to regulate temperature properly. The compressor might run continuously, never turn on, or cycle irregularly.
Fridge Thermostat Not Working: 7 Warning Signs You Shouldn’t Ignore
Recognizing thermostat problems early can save you from expensive food spoilage and more serious damage to your refrigerator. Here are the seven most common signs I’ve encountered:
1. Temperature fluctuations throughout the day. Your milk freezes one morning and spoils the next. These inconsistent temperatures indicate the thermostat isn’t accurately sensing or responding to temperature changes.
2. The compressor runs continuously without stopping. A healthy refrigerator cycles on and off throughout the day. If yours runs non-stop, the thermostat may never be sending the “off” signal to the compressor.
3. The compressor never turns on at all. You set the temperature dial, but nothing happens. The thermostat’s electrical contacts might be stuck open, preventing any signal from reaching the compressor.
4. Food freezes unexpectedly in the fresh food section. When the thermostat fails to sense rising temperatures, it keeps running until produce freezes and dairy is ruined.
5. The temperature dial feels loose or unresponsive. Physical damage to the thermostat mechanism can prevent proper temperature regulation. If turning the dial produces no change in cooling performance, the internal mechanism is likely broken.
6. You hear unusual clicking sounds from the control area. A failing thermostat often produces repeated clicking sounds as it struggles to make or break electrical contact with the compressor.
7. Energy bills spike without explanation. A malfunctioning thermostat can cause your refrigerator to work much harder than necessary, consuming significantly more electricity than normal.
These symptoms can also indicate other problems like a faulty damper, defective fan motor, or failing compressor. However, the thermostat is always the first component I recommend checking because it’s the most common culprit and the easiest to test.
How to Test a Fridge Thermostat With a Multimeter
Testing your refrigerator thermostat is a straightforward process that takes about 15 minutes. You’ll need a multimeter (available at any hardware store for under $20) and basic hand tools.
Step 1: Unplug the refrigerator and locate the thermostat. The thermostat is typically found behind the temperature control dial inside the fresh food compartment. You may need to remove the control panel housing to access it.
Step 2: Remove the thermostat from its housing. Carefully disconnect the wires, noting their positions for reconnection. The thermostat unit usually pulls out or is held by small screws.
Step 3: Set your multimeter to continuity test mode. This is usually indicated by a symbol that looks like a sound wave or diode. The meter will beep when it detects a complete electrical path.
Step 4: Test the thermostat at room temperature. Touch one probe to each terminal on the thermostat. At room temperature (around 70°F), the thermostat should show continuity and your meter should beep.
Step 5: Test the thermostat at cold temperature. Place the thermostat’s sensing bulb in a glass of ice water for 2-3 minutes. The cold temperature should cause the thermostat to open its electrical contacts. Your multimeter should stop beeping, showing no continuity.
Step 6: Test the thermostat at warm temperature. Hold the sensing bulb in your warm hand or place it near a heat source. The thermostat should close again, and your meter should beep indicating continuity has returned.
Interpreting your results:
- Continuity at room temperature, opens in cold, closes in warmth: Your thermostat is functioning correctly. Look elsewhere for your cooling problem.
- No continuity at any temperature: The thermostat’s electrical contacts are stuck open. The thermostat needs replacement.
- Continuity at all temperatures: The contacts are welded shut. The compressor will run continuously and the thermostat needs replacement.
- Intermittent or inconsistent readings: The thermostat is failing and should be replaced before it leaves you with a warm fridge.
Fridge Thermostat Replacement: Step-by-Step Guide
If your testing confirmed a faulty thermostat, replacement is usually straightforward and costs significantly less than calling a professional repair service. Here’s how I approach this repair:
Step 1: Order the correct replacement part. Locate your refrigerator’s model number (usually on a sticker inside the fridge door or on the back panel) and search for the compatible thermostat. Expect to pay $15-50 for the part.
Step 2: Unplug the refrigerator and remove all contents. You’ll need clear access to the thermostat area, and the door should remain open during the repair.
Step 3: Access and remove the old thermostat. This may require removing shelves, bins, and possibly the control panel cover. Document the wiring configuration with photos before disconnecting anything.
Step 4: Install the new thermostat. Mount it in the same position as the old unit. Route the temperature sensing bulb along the same path as the original. This placement is critical for accurate temperature readings.
Step 5: Reconnect all wires. Use your reference photos to ensure each wire connects to the correct terminal. A wrong connection can damage the new thermostat or other components.
Step 6: Reassemble the control panel and housing. Make sure all screws are secure and no wires are pinched or exposed.
Step 7: Test your work. Plug in the refrigerator and set the temperature to the middle setting. Listen for the compressor to cycle on. After 30 minutes, check that the interior is cooling properly.
When to call a professional instead:
- Your refrigerator uses an electronic control board instead of a mechanical thermostat
- You’re uncomfortable working with electrical components
- The thermostat is integrated into a larger control module
- You suspect multiple components have failed
- Your refrigerator is still under warranty (DIY repairs may void coverage)
Repair vs Replace: Cost Considerations for Fridge Thermostat Not Working
When faced with a fridge thermostat not working, one of the most common questions is whether repair is worth the investment. Let me break down the economics based on my experience helping homeowners make this decision.
DIY thermostat replacement: $15-50 for parts + $20 for a multimeter (if you don’t own one) = $35-70 total. This takes about 1-2 hours for most homeowners.
Professional thermostat replacement: $100-200 including parts and labor. This includes the service call fee, which typically accounts for $50-80 of the total.
When repair makes sense:
- Your refrigerator is less than 10 years old
- The rest of the appliance is in good condition
- You’re experiencing only the thermostat problem
- The replacement part is readily available
When replacement makes more sense:
- Your refrigerator is over 12-15 years old
- You’ve already paid for multiple repairs in the past few years
- The compressor or sealed system is failing
- Energy efficiency would be significantly improved with a new model
I’ve seen homeowners throw away perfectly good refrigerators over a $30 thermostat problem. Conversely, I’ve also watched people pour $200 into repairing a 15-year-old fridge that should have been replaced years ago. Use this decision framework to make the right choice for your situation.
Frequently Asked Questions
How to reset thermostat on refrigerator?
Most refrigerators don’t have a reset button for the thermostat. To reset it, unplug the fridge for 5 minutes, then plug it back in. This power cycle can sometimes resolve minor electronic glitches. If that doesn’t work, locate the small reset button on some electronic control boards (usually near the main display) and press it with a paperclip.
Can you fix a thermostat on a fridge?
Mechanical thermostats typically cannot be repaired and must be replaced when they fail. The internal contacts can corrode or weld together, and the sensing bulb can lose its charge. Electronic thermostats attached to control boards sometimes can be repaired by replacing just the thermistor sensor, but this requires soldering skills and technical knowledge.
Is it worth replacing a fridge thermostat?
Yes, in most cases. A thermostat replacement costs $15-50 for the part and takes about 1-2 hours. Professional installation costs $100-200 total. This is far less expensive than replacing an entire refrigerator. Unless your fridge is over 12-15 years old or has multiple failing components, thermostat replacement is almost always worth the investment.
What is the life expectancy of a refrigerator thermostat?
Refrigerator thermostats typically last 10-15 years, though some fail earlier due to manufacturing defects or electrical surges. Mechanical thermostats generally last longer than electronic sensors. Regular maintenance like keeping the condenser coils clean can help extend the thermostat’s life by reducing the overall workload on your refrigerator’s cooling system.
How do I know if my fridge thermostat or control board is bad?
The key difference is in testing. A mechanical thermostat can be tested with a multimeter for continuity changes at different temperatures. If it shows proper continuity changes, the thermostat is fine and the problem is likely the control board. Electronic refrigerators often display error codes when the control board fails, whereas a bad thermistor typically causes temperature inaccuracies without error messages.
Conclusion
A fridge thermostat not working doesn’t have to mean expensive repair bills or a ruined refrigerator. With the knowledge from this guide, you can confidently diagnose the problem yourself and decide whether to tackle the repair or call a professional.
Start by checking for the warning signs I’ve outlined. If you suspect thermostat failure, use the multimeter testing procedure to confirm your diagnosis. For most homeowners with mechanical thermostats, DIY replacement is an achievable project that costs less than $50 and takes just a couple of hours.
The key is taking action quickly. A failing thermostat puts extra strain on your compressor and can lead to more expensive problems if ignored. Your food and your wallet will both thank you for addressing the issue promptly.
Have you successfully diagnosed or replaced a refrigerator thermostat? I’d love to hear about your experience in the comments below.









Leave a Comment