
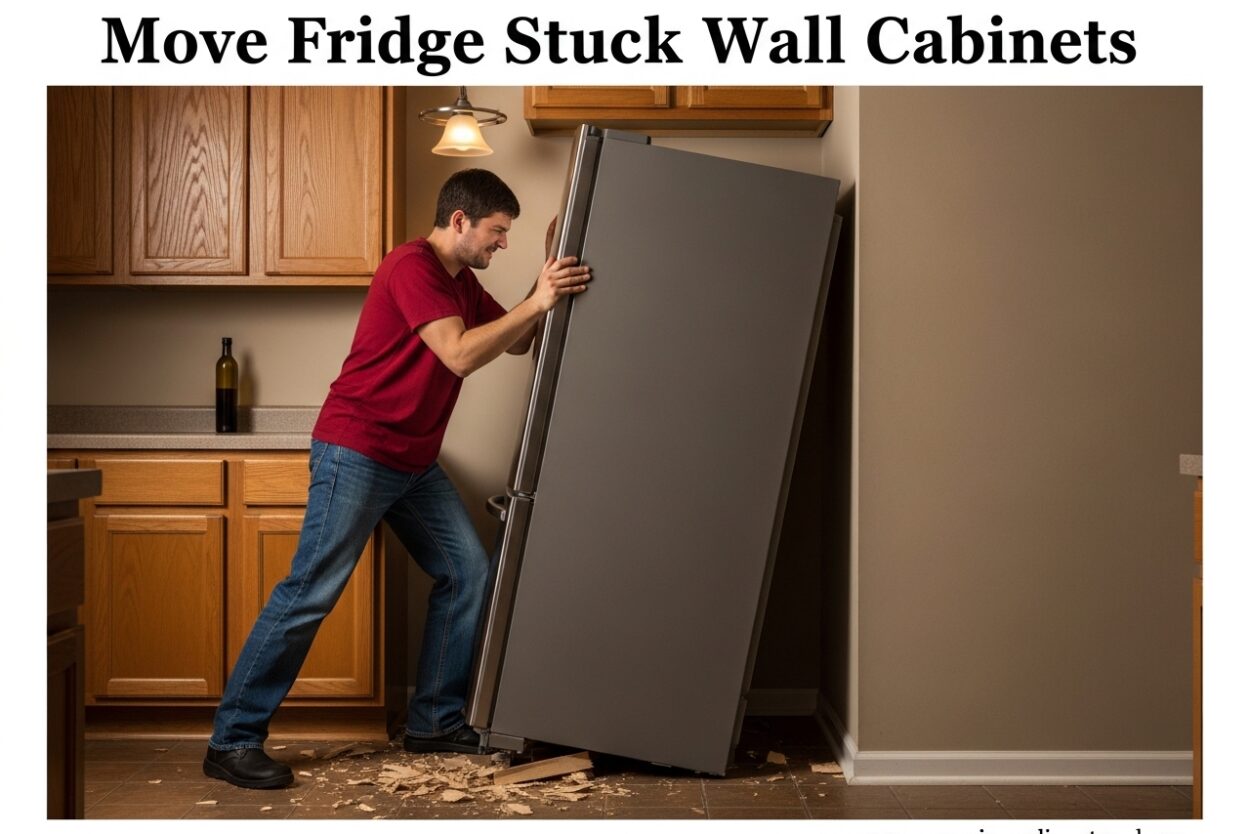
You’re trying to pull your refrigerator out for cleaning or repair, but it won’t budge. The fridge is wedged tightly between the wall and cabinets, with zero clearance on either side. This frustrating scenario happens more often than you’d think, especially in older kitchens where previous owners didn’t leave adequate space.
I’ve dealt with this exact situation multiple times, and I’m going to walk you through every proven method to move a fridge stuck in wall cabinets. These techniques range from simple adjustments to more involved extraction methods that homeowners have successfully used in real-world situations.
Why Refrigerators Get Stuck in Cabinet Spaces
Understanding why your refrigerator is stuck helps you choose the right extraction method. The most common culprit is improper installation where the leveling feet were extended instead of lowered onto the rollers.
Many refrigerators have front rollers that allow easy movement, but only when the leveling feet are raised. When installers extend the feet to level the fridge, they unknowingly create a situation where the refrigerator sits directly on the floor without any mobility.
Other causes include accumulated debris under the front of the unit, swollen cabinet trim from humidity, or simple mismeasurement where the fridge space was cut too tight. In some cases, the floor may have settled or been replaced with thicker material, reducing clearance over time.
Tools and Supplies You’ll Need
Before attempting any extraction method, gather these tools. Having everything ready prevents frustration mid-process.
Basic Tools:
- Adjustable wrench or leveling wrench (often stored behind the kick plate)
- Flashlight to see under and behind the unit
- Tape measure to assess clearance
- Cardboard or moving blankets to protect floors
Helpful Aids:
- Furniture sliders or plastic moving discs
- Pry bar or flat putty knife
- Crevice vacuum attachment
- Helper (strongly recommended)
For Difficult Cases:
- Small hydraulic jack or axle jack
- 2×4 lumber for weight distribution
- Heavy-duty furniture straps or rope
Safety First: Before You Start
Before attempting to move your refrigerator, follow these critical safety steps. Skipping these can damage your appliance, your floors, or create hazardous situations.
First, unplug the refrigerator from the wall outlet. If you can’t reach the plug, locate your circuit breaker and turn off the power to the kitchen. Never attempt to move a plugged-in appliance.
If your refrigerator has an ice maker or water dispenser, locate the water supply line and shut off the valve. This is usually located under the sink or behind the refrigerator. Disconnect the water line if you need full access behind the unit.
Remove all food items from the refrigerator and freezer. Not only does this reduce weight, but it prevents spills and damage if the unit needs to be tilted during extraction.
Protect your floors with cardboard sheets or moving blankets. Refrigerators are heavy, and metal feet or components can easily scratch hardwood, dent vinyl, or damage tile during movement.
How to Move a Fridge Stuck Between Wall Cabinets
These methods are ordered from easiest to most involved. Start with Method 1 and progress to others if needed. Most stuck refrigerators can be freed using the first two techniques.
Method 1: Lower the Leveling Feet
This is the most common solution and works in about 70% of cases. Most refrigerators have front leveling feet that can be raised or lowered. When these feet are extended, the fridge sits directly on the floor instead of on its rollers.
Step 1: Locate the leveling feet. These are typically located behind the front kick plate or grille at the bottom front of the refrigerator. Some models have a toe grille that snaps off; others have an access panel.
Step 2: Use your flashlight to inspect the feet and the front rollers. You should be able to see if the feet are extended down to the floor while the wheels are raised slightly off the ground.
Step 3: Use your adjustable wrench or the specialized leveling wrench (often taped to the back of the refrigerator) to rotate the leveling feet clockwise. Rotating clockwise raises the feet, which lowers the refrigerator onto its rollers.
Step 4: Turn each foot several full rotations. You should feel and hear the refrigerator settle slightly as it transfers weight from the feet to the rollers.
Step 5: Test movement by gently pushing the refrigerator from the side. With the weight on the rollers, it should slide forward with moderate pressure. If it still won’t move, proceed to Method 2.
Method 2: Use Furniture Sliders
If your refrigerator doesn’t have rollers or they’re not functioning, furniture sliders can dramatically reduce friction. This method works well when the floor surface is creating resistance.
Step 1: Clean the floor in front of the refrigerator thoroughly. Use your crevice vacuum attachment to remove any dust, debris, or pet hair that has accumulated under the front edge.
Step 2: Lift one front corner of the refrigerator slightly. You may need to use a pry bar wrapped in a cloth to protect the fridge. Slide a furniture mover disc under the raised corner.
Step 3: Repeat for the other front corner. Plastic sliders work best on carpet, while felt or rubber sliders are better for hard floors.
Step 4: With both front corners on sliders, ask your helper to gently push from the side while you guide from the front. The reduced friction should allow the refrigerator to slide forward several inches.
Step 5: Once the refrigerator moves forward enough to access the sides fully, add sliders to the rear corners for complete mobility.
Method 3: The Axle Jack Technique
For severely wedged refrigerators where other methods have failed, this technique uses a jack to create vertical lift and break the seal between the fridge and floor. This method has been verified by homeowners in tight spaces.
Step 1: Place a 2×4 board perpendicular against the base of the cabinet at one side of the refrigerator. This distributes the jack’s force and prevents damage to cabinetry.
Step 2: Position a small hydraulic jack or axle jack between the 2×4 and the side of the refrigerator near the bottom. Pad the jack contact point with a thick towel or moving blanket.
Step 3: Slowly pump the jack to apply gentle upward pressure. You’re not trying to lift the refrigerator off the floor completely—just enough to break friction.
Step 4: As pressure is applied, have your helper attempt to wiggle the refrigerator forward. The slight lift should be enough to allow movement.
Step 5: Once movement begins, release the jack and continue pulling the refrigerator forward with furniture straps or by pushing from the sides.
When Nothing Works: Last Resort Options
If you’ve tried all three methods above without success, you may need to consider more involved approaches. These options require more work but can extract even the most stubborn refrigerators.
Remove the Refrigerator Doors
Removing doors can reduce the refrigerator’s width by several inches, providing crucial clearance in tight spaces. This technique is especially useful for French door or side-by-side models.
Most refrigerator doors can be removed by locating the hinge cover screws at the top of each door. Remove these covers, then disconnect the hinge bolts. Have your helper support the door as you remove the final bolts.
Label each door and hinge with tape to ensure correct reinstallation. Set doors aside on a padded surface where they won’t be damaged.
Remove Cabinet Trim or Countertop Edge
In some cases, the refrigerator is actually trapped by cabinet trim or an overhanging countertop edge rather than the walls themselves. Carefully removing these obstacles can create the extra inch needed.
For laminate countertops, the edge banding can sometimes be carefully trimmed or removed. Baseboard trim can be pried off and reinstalled after extraction. Always score caulk lines before prying to prevent damage to adjacent surfaces.
Call a Professional Appliance Technician
Sometimes the smartest solution is professional help. Appliance technicians have specialized tools, experience with difficult extractions, and insurance to cover any damage. Professional removal typically costs between $150-300, which may be less than the cost of repairing damaged floors or cabinets from a DIY attempt gone wrong.
Preventing Future Stuck Refrigerator Problems
Once you’ve freed your refrigerator, take these steps to prevent it from becoming stuck again. A little prevention now saves significant frustration later.
When reinstalling the refrigerator, ensure the leveling feet are properly adjusted so the unit sits on its rollers. Test movement before pushing it all the way back—you should be able to slide it forward with moderate hand pressure.
Leave at least 1-2 inches of clearance on each side for maintenance access. This allows for cleaning coils, servicing components, and future removal without problems.
Consider installing hardwood sliders permanently under the refrigerator feet if clearance allows. These create a permanent low-friction surface that makes future moves effortless.
Clean under and around the refrigerator regularly to prevent debris accumulation that can restrict movement over time.
FAQ
How to move a stuck refrigerator?
Start by lowering the leveling feet clockwise to transfer weight to rollers. If that fails, use furniture sliders under the front corners to reduce friction. For severe cases, use a jack with a 2×4 to create slight lift and break the seal.
How to pull a fridge away from the wall?
First unplug the refrigerator and turn off water supply. Lower the leveling feet clockwise to engage rollers. Gently push from one side while guiding from the front. If stuck, use furniture sliders under the front corners or a pry bar to create initial movement.
Should a fridge stick out from cabinets?
Refrigerators should be flush or slightly recessed from cabinets, but this depends on the model. Built-in refrigerators are designed to be flush with cabinetry. Standard refrigerators typically need 1-2 inches of clearance for ventilation and door swing.
How to move a refrigerator into a tight space?
Measure all dimensions first including door swing. Remove refrigerator doors if needed. Use furniture sliders under all corners. Have helpers guide from multiple angles. Move slowly and don’t force—if it won’t fit, reassess before damaging either the fridge or cabinetry.
How long does a fridge have to be unplugged to move it?
Unplug the refrigerator immediately before moving. Once relocated, wait 3-4 hours before plugging back in to allow oils to settle in the compressor. This prevents damage from moving the unit while fluids are circulating.
What not to do when moving a fridge?
Never lay a refrigerator completely flat unless transporting. Don’t force movement if it’s truly stuck—you’ll damage floors or cabinetry. Avoid grabbing door handles for leverage. Never tilt more than 45 degrees. Don’t plug in immediately after moving.
Conclusion
Once you’ve successfully moved your fridge stuck between wall cabinets, take time to properly reinstall it. Adjust the leveling feet so the refrigerator sits evenly and the doors close properly. Reconnect the water line if applicable, and plug the unit back in after it has been stationary for at least 3-4 hours.
While you have access, clean the refrigerator coils and the floor underneath. This maintenance improves efficiency and prevents debris from causing future sticking problems.
Set a reminder to check and clean behind your refrigerator every 6-12 months. Regular maintenance prevents the buildup that can cause your refrigerator to become stuck again.






Leave a Comment