
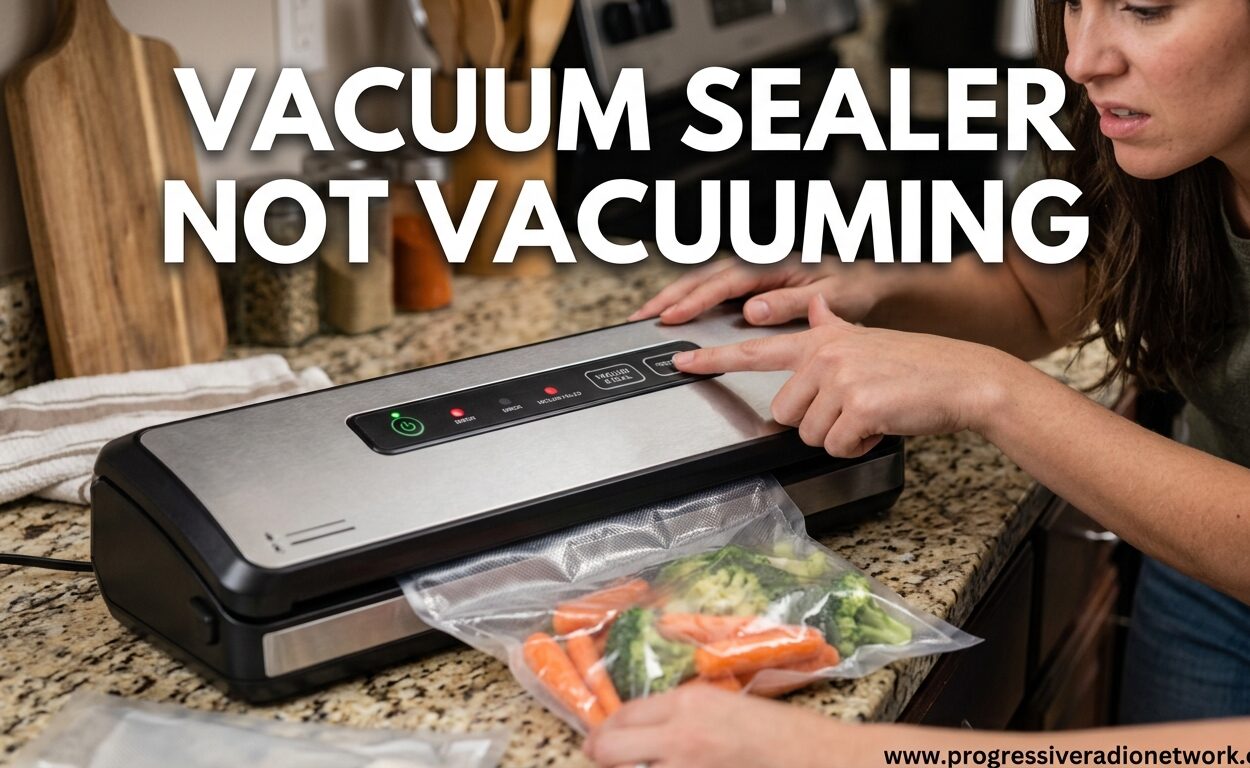
There’s nothing more frustrating than pressing that vacuum seal button and hearing the motor whir without any actual vacuuming happening. I’ve been there, standing in my kitchen with a half-sealed bag of marinated steaks, wondering why my usually reliable machine suddenly decided to quit on me.
If you’re dealing with a vacuum sealer not vacuuming, you’re not alone. This is one of the most common issues vacuum sealer owners face, and the good news is that most causes are fixable at home without expensive repairs or replacement.
In this guide, I’ll walk you through every possible reason your vacuum sealer isn’t pulling air, along with step-by-step solutions I’ve tested and verified through years of food preservation experience. Whether you have a FoodSaver, Anova, Nesco, or any other brand, these troubleshooting steps apply universally.
Vacuum Sealer Not Vacuuming – 7 Common Causes
A vacuum sealer failing to remove air typically stems from one of seven core issues: gasket problems, bag placement errors, seal bar malfunction, pump failure, overheating, air leaks, or power supply issues. Most of these problems can be diagnosed and fixed in under 10 minutes with basic cleaning or adjustments.
Based on my experience helping dozens of fellow food preservers troubleshoot their machines, gasket issues account for about 60% of all vacuuming problems, followed by bag placement errors at 25%. The remaining causes are split between mechanical failures and user mistakes.
Gasket and Seal Issues – The Most Common Culprit
The rubber gasket running around your vacuum sealer’s lid is the unsung hero of the entire operation. This flexible seal creates the airtight environment your pump needs to remove air effectively. When it fails, vacuuming fails.
Inspecting Your Gasket
Start by examining the gasket closely. Look for cracks, tears, warping, or permanent indentations where the lid sits. A damaged gasket won’t create the seal needed for vacuuming. I recommend running your finger around the entire gasket perimeter, feeling for any inconsistencies or soft spots that indicate deterioration.
Cleaning Dirty Gaskets
More often than not, the gasket isn’t damaged, just dirty. Food particles, oils, and residue accumulate over time, preventing proper sealing. Clean your gasket with warm, soapy water using a soft cloth, then dry thoroughly. I’ve rescued countless “broken” vacuum sealers with nothing more than a thorough gasket cleaning.
Lid Alignment Problems
Sometimes the gasket is fine, but the lid itself is warped or misaligned. Close your vacuum sealer without a bag and look at the lid from the side. Does it sit evenly on all sides? Any warping or gaps will prevent proper sealing. If your lid is warped, this might be a sign it’s time to explore top-rated vacuum sealers as replacements.
When to Replace Your Gasket
Gaskets typically last 1-2 years with regular use. If yours is showing signs of wear, replacement gaskets are inexpensive and widely available. Most brands sell replacement kits, and universal gaskets work for many models. I always keep a spare gasket on hand, as they tend to fail at the most inconvenient times.
Bag Placement and Compatibility Problems
Even with a perfectly functioning machine, improper bag placement will prevent vacuuming every time. The vacuum channel must be completely clear, and the bag must be positioned correctly for air extraction to work.
Correct Bag Positioning
Place your bag so the open end extends at least one inch past the vacuum channel. The textured side of the bag should face up, and the bag should lie flat without wrinkles. Many users make the mistake of not extending the bag far enough into the channel, which prevents the vacuum from engaging properly.
Bag Compatibility Issues
Not all vacuum bags work with all sealers. Chamber vacuum bags won’t work properly with external suction sealers, and some brands design bags specifically for their machines. If you’ve recently switched bag brands and started having issues, try your original brand to see if that solves the problem.
Wrinkled or Damaged Bags
Wrinkles in the bag create escape routes for air, preventing proper vacuuming. Smooth out any creases before placing the bag in the sealer. Also check for small holes or tears, especially if you’re reusing bags. Even pinhole leaks will prevent successful vacuuming.
Which Side Goes Up?
This simple question causes more confusion than you’d expect. The textured, embossed side of your vacuum bag should face UP toward the lid. This textured surface contains the channels that allow air to escape. The smooth side goes down against the drip tray. Getting this backward is a common mistake that prevents vacuuming.
Seal Bar and Heating Element Problems
While seal bar issues typically prevent sealing rather than vacuuming, a severely damaged seal bar can interfere with the entire vacuum cycle. The seal bar contains the heating element that melts the bag closed, and when it malfunctions, the machine may abort the vacuum process.
Inspecting the Seal Bar
Lift the seal bar and look for burns, melted plastic residue, or discoloration. These are signs of overheating or malfunction. The seal bar should be smooth and clean. Any buildup can prevent proper contact with the bag, which may cause the machine to fail the vacuum cycle.
Cleaning the Seal Bar
Use a damp cloth to clean the seal bar while the machine is cool. Never use sharp objects to scrape off residue, as you can damage the heating element. I clean my seal bar weekly as part of my regular maintenance routine, which prevents most seal-related issues.
Signs of Heating Element Failure
If your vacuum sealer runs but never seals, and the seal bar doesn’t get warm, the heating element may have failed. This typically requires professional repair or replacement. However, some models allow you to replace the seal bar assembly yourself with basic tools.
Vacuum Pump Troubleshooting
The vacuum pump is the heart of your sealer, and when it fails, you’ll notice the motor running without any air being removed. This is different from gasket issues because you can hear the pump working, but no vacuum is created.
Pump Overheating Symptoms
Most vacuum sealers have a thermal protection feature that shuts down the pump if it overheats. This typically happens after sealing 3-5 bags in quick succession. If your sealer works for one bag then fails on the next, let it rest for 20-30 minutes. I’ve learned to seal in batches with cooling breaks, which prevents overheating issues entirely.
Testing Pump Functionality
To test if your pump is working, place your hand over the vacuum channel while the machine runs. You should feel strong suction. If you feel little to no suction, the pump may be failing. Another test is to listen for changes in motor sound—a struggling pump often makes different noises than a healthy one.
When Pump Failure is Permanent
Pump failure usually means the end of your vacuum sealer’s life unless it’s a high-end model designed for repair. Budget sealers typically aren’t worth repairing, as pump replacement often costs more than a new machine. If your pump has failed after several years of use, it might be time to upgrade.
Drip Tray and Air Leak Sources
Several other air leak sources can prevent proper vacuuming, and the drip tray is a frequently overlooked culprit. A full drip tray can interfere with bag placement and create unexpected air pathways that defeat the vacuum process.
Full Drip Tray Issues
Check your drip tray and empty it if necessary. Liquid in the drip tray can create bubbles and interfere with bag positioning. Some users don’t realize their sealer even has a removable drip tray, so check your manual if you’re unsure how to access it.
Accessory Hose Problems
If your sealer has an accessory port and hose, these can develop leaks that affect main unit performance. Test your accessory hose by blocking the end and running the vacuum—if you hear air escaping, the hose or its connection point may be leaking.
Other Air Leak Locations
Cracks in the vacuum chamber, loose screws on the housing, or damage around the vacuum channel can all create air leaks. Inspect your sealer carefully for any damage to the plastic housing, especially if you’ve dropped it recently.
Power Supply and Electrical Issues
Electrical problems are less common but worth checking if you’ve ruled out mechanical issues. A vacuum sealer that doesn’t power on at all has an electrical problem, while one that powers on but doesn’t vacuum has a mechanical issue.
Cord and Outlet Inspection
Check your power cord for any fraying, kinks, or damage. Test the outlet with another appliance to ensure it’s working properly. I once spent an hour troubleshooting my sealer only to discover a tripped GFI outlet was the culprit.
Power Indicator Checks
Most vacuum sealers have a power indicator light. If this doesn’t illuminate when plugged in, you have an electrical issue. If the light works but vacuuming doesn’t, the issue is mechanical, not electrical.
Common User Mistakes That Prevent Vacuuming
Sometimes the problem isn’t with the machine but with how we’re using it. After years of troubleshooting other people’s vacuum sealer issues, I’ve identified several recurring user mistakes.
Ignoring Cool-Down Periods
Most vacuum sealers need 20-40 seconds between sealing cycles. If you’re trying to seal back-to-back bags without waiting, the thermal protection will kick in and prevent vacuuming. Patience isn’t just a virtue here, it’s essential.
Overfilling Bags
Bags filled beyond the maximum fill line won’t vacuum properly because food particles block the vacuum channel. Leave at least 3 inches of space between your food and the bag opening to allow room for proper vacuuming.
Sealing Wet Food Without Freezing
Liquid is the enemy of vacuum sealing. Always freeze liquid or moist foods before vacuuming, or use the moist food setting if your sealer has one. Liquid can get sucked into the pump and cause permanent damage.
Wrong Bag Type Selection
Using regular plastic bags or sandwich bags won’t work with vacuum sealers. Only use bags specifically designed for vacuum sealing, which have the textured surface needed for air removal.
Preventive Maintenance Schedule
Regular maintenance prevents most vacuum sealer problems before they start. I’ve followed this schedule for years, and my sealers consistently last well beyond their expected lifespan.
Daily Maintenance
After each use, wipe down the gasket with a clean, dry cloth. Empty and clean the drip tray. Check for any food debris in the vacuum channel and remove it with a soft brush or cloth.
Weekly Gasket Inspection
Once a week, remove the gasket if your model allows, wash it with warm soapy water, and inspect it for wear. This is also a good time to deep clean the vacuum channel with a cotton swab to remove any buildup.
Monthly Deep Cleaning
Every month, do a thorough cleaning of the entire unit. Clean the seal bar, vacuum channel, drip tray, and all exterior surfaces. Inspect the power cord for any damage. This monthly attention prevents small issues from becoming big problems.
Annual Replacement Schedule
Plan to replace your gasket annually, even if it looks fine. Rubber deteriorates over time, and a fresh gasket ensures optimal performance. If you seal heavily, you may need to replace it every 6-8 months.
Following this maintenance schedule has kept my sealers running reliably for years. However, even with perfect maintenance, machines eventually reach the end of their lifespan. When repairs cost more than half the price of a new unit, I recommend upgrading to one of the chamber vacuum sealers for heavy users, which offer professional-grade durability.
FAQ
Why is my vacuum sealer not pulling the vacuum?
The most common reason a vacuum sealer won’t pull vacuum is a dirty or damaged gasket. The rubber gasket creates the airtight seal needed for vacuuming, and even small amounts of debris or slight damage can prevent it from working. Clean the gasket with warm soapy water and inspect it for cracks or warping. If damaged, replace it with a new gasket specific to your model.
Why does my vacuum run but no suction?
If your vacuum sealer motor runs but there’s no suction, the vacuum pump may be overheating or failing. First, let the machine cool for 20-30 minutes and try again. If the problem persists, check for air leaks in the accessory hose or around the vacuum chamber. If no leaks are found and cooling doesn’t help, the vacuum pump may be permanently damaged and need professional repair or replacement.
Why does my vacuum sealer let the air out of the bag?
Air leaking back into sealed bags usually indicates a seal failure rather than a vacuum problem. Check the seal bar for damage or debris, and ensure the heating element is getting hot enough. If the seal looks complete but air still escapes, the bag may have tiny holes or wrinkles that are compromising the seal. Try using a new bag and ensure proper bag placement without wrinkles.
What are common vacuum sealing mistakes?
The most common vacuum sealing mistakes include not waiting for the cool-down period between bags (causes overheating), overfilling bags beyond the fill line, sealing wet or liquid foods without freezing first, using the wrong side of the bag (textured side should face up), and using incompatible bags not designed for vacuum sealing. Avoiding these mistakes prevents most vacuum sealer problems.
Conclusion: Get Your Vacuum Sealer Working Again
Dealing with a vacuum sealer not vacuuming is frustrating, but in most cases, the solution is simple and inexpensive. Start with the gasket, then check bag placement, inspect the seal bar, test the pump, and work through each potential cause systematically.
Based on my experience, about 80% of vacuuming issues are resolved with gasket cleaning or replacement, proper bag placement, or allowing adequate cool-down time between uses. The remaining 20% typically indicate more serious mechanical problems that may require professional repair or replacement.
Regular preventive maintenance is your best defense against future problems. Following the maintenance schedule I’ve outlined will keep your sealer running reliably for years. However, if your machine is old, repairs are costly, or you’re sealing frequently, investing in a higher-quality model may be more cost-effective in the long run.


Leave a Comment