
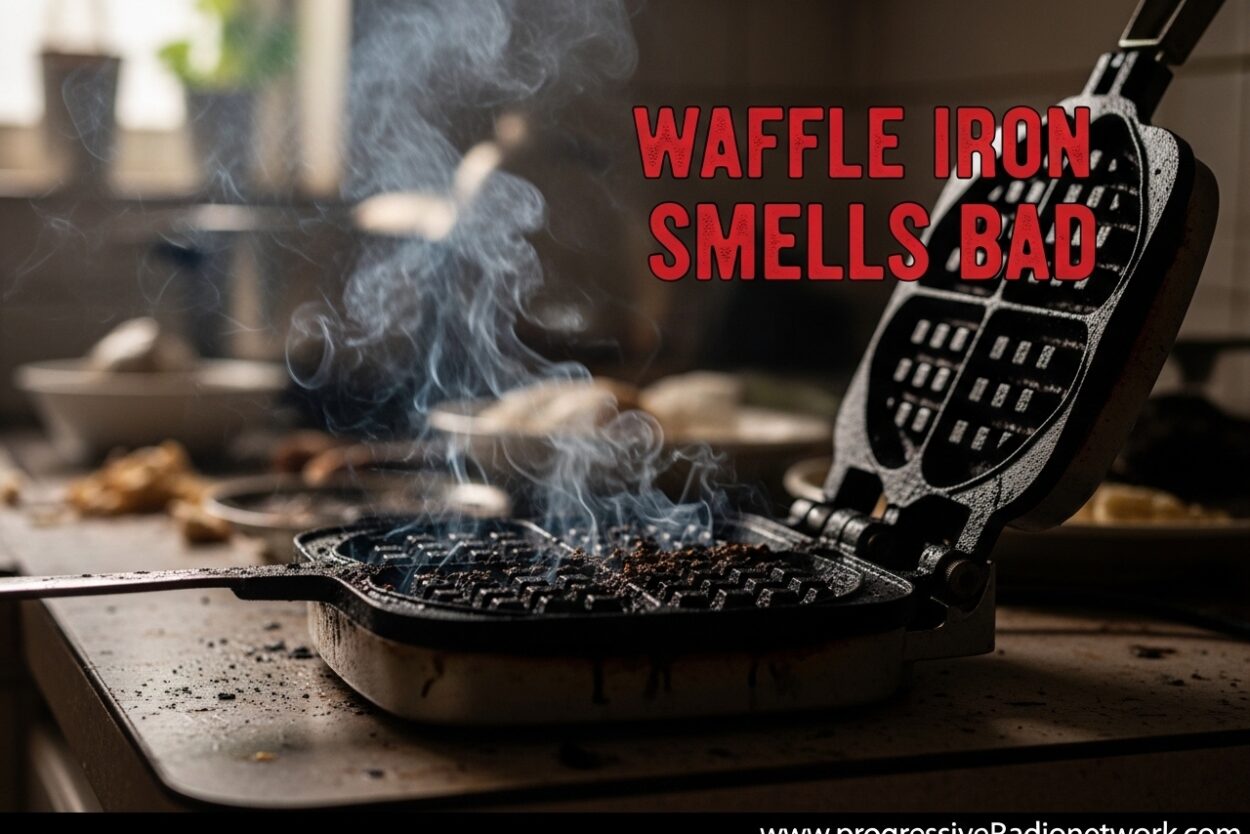
If you just brought home a new waffle maker and noticed an odd chemical or plastic smell emanating from it, you are not alone. This is one of the most common complaints from first-time waffle iron owners, and it can be alarming when your appliance starts smoking or emitting strange odors during its first few uses. The good news is that in most cases, a waffle iron smell is completely normal and easy to fix with the right cleaning approach.
In this guide, our team walks you through exactly why your waffle iron smells bad, whether the smell is something to worry about, and step-by-step instructions to eliminate that unpleasant odor for good. We cover everything from factory oil residue to deep cleaning methods, so you can get back to making delicious waffles without any weird aftertastes.
Why Your Waffle Iron Smells Bad
Understanding the root cause of the smell helps you address it more effectively. There are several reasons why a waffle iron may emit unpleasant odors, especially during the first few uses.
Factory oils and manufacturing residue are the primary culprits behind that new appliance smell. During the manufacturing process, waffle maker plates are often coated with protective oils to prevent corrosion and damage during shipping and storage. These oils are not harmful, but when heated for the first time, they burn off and create that distinctive smell many owners report.
Non-stick coating breakdown can also cause temporary odors. Most waffle irons come with non-stick plates made from materials like PTFE (polytetrafluoroethylene) or ceramic coatings. When these coatings heat up for the first few times, they may release small amounts of oils or chemicals that create a smell. This is typically normal and subsides after the break-in period.
Aluminum plates can contribute to the smell as well. Many waffle maker cooking plates are made from aluminum, which may emit a slight metallic odor when heated. According to manufacturer guidance, a small amount of smoke or odor from new aluminum plates is considered normal within the first use.
In some cases, users report a burning plastic smell. This usually happens when small amounts of packaging residue, plastic wrapping, or even excess lubricant from the manufacturing process gets caught in the heating elements. Running the appliance empty at high heat for a few cycles often burns this off completely.
Is the Smell Normal?
When the Smell Is Normal
There are several situations where your waffle iron smell is considered normal and nothing to worry about. These include:
A slight chemical or plastic smell during the first 2-3 uses is typically normal. This is the break-in period where factory residues burn off. If your waffles taste normal and the smell fades after a few uses, your waffle maker is functioning properly.
A light smoking sensation when you first turn on a new appliance is common. Many manufacturers explicitly state that slight smoke or odor during initial heating is normal with heating appliances. This should dissipate quickly.
The smell is considered normal if it does not persist after the first few uses and does not transfer to your waffles. If the odor disappears and your waffles taste fine, your waffle iron has successfully completed its break-in period.
When to Worry
Some smells indicate a problem that needs attention. Stop using your waffle maker immediately and contact the manufacturer if you experience any of the following:
A strong burning plastic smell that persists after 5+ uses could indicate damaged wiring or excess plastic residue stuck in the heating element. Do not continue using the appliance in this case.
If your waffles start tasting chemically or plasticky even after multiple uses, the non-stick coating may be breaking down improperly. This taste transfer means you should discontinue use and consider returning the product.
Popping sounds combined with a chemical smell have been reported by users who later discovered defective units. Amazon Q&A discussions show users noting that units making popping sounds while emitting burned plastic smells eventually stopped working entirely. If you hear unusual sounds, unplug immediately.
Any visible smoke that is thick or yellowish instead of thin and white indicates a potential electrical issue. Thin white smoke is usually just burning dust or residues. Thick or colored smoke requires immediate attention.
How to Get Rid of the Smell – First Use Cleaning
Proper first use cleaning is essential for eliminating factory odors and preparing your waffle iron for regular use. Follow these steps carefully for the best results.
Step-by-Step First Use Process
Step 1: Unplug and cool your waffle maker completely if it was just unboxed. Some manufacturers recommend running it unpowered first just to wipe out any loose packaging debris.
Step 2: Wipe the plates with a damp cloth to remove any visible dust or packaging residue. Use a soft cloth slightly dampened with warm water. Avoid getting water into the hinge mechanism or electrical components.
Step 3: Dry the plates thoroughly with a clean microfiber cloth or paper towel. All moisture must be removed before heating.
Step 4: Heat empty by plugging in your waffle maker and letting it preheat to its maximum temperature for 3-5 minutes. This burns off the majority of factory oils and residues. Do this in a well-ventilated area, preferably near an open window.
Step 5: Let cool completely after the initial heating cycle. The plates should be cool to the touch before you proceed.
Step 6: Wipe again with a damp cloth to remove any carbonized residues that may have formed during the burn-off process. Dry thoroughly.
Step 7: Season the plates by applying a thin coat of cooking oil (vegetable oil, canola oil, or similar) to the cooking surfaces. Heat for another 2-3 minutes, then let cool and wipe clean. This helps create a protective layer and further reduces any residual smells.
Many users find that repeating the burn-off process 2-3 times completely eliminates any factory smell. Be patient with this process, as it may take a few cycles for all residues to burn away.
How to Clean After Each Use
Regular cleaning after each use prevents buildup and keeps your waffle maker smelling fresh. The key is to clean while the plates are still slightly warm but not hot.
Allow the waffle maker to cool until it is warm but safe to touch. Cleaning warm plates makes removing batter residue much easier than cleaning cold plates where batter has hardened.
Unplug the appliance before cleaning. This is a critical safety step that some users overlook. Never clean an electrical appliance while it is still connected to power.
Wipe batter spills gently using a soft cloth or paper towel. Work around the hinge areas and grooved edges where batter commonly pools. Use gentle pressure to avoid damaging the non-stick coating.
Use a damp cloth only for regular cleaning. Many non-stick surfaces should not be exposed to soap or harsh chemicals during routine cleaning. Wipe with a cloth slightly dampened with warm water.
Dry thoroughly before closing the lid for storage. Leaving moisture trapped leads to mold growth and musty odors. Some owners prop the lid open slightly to ensure complete air drying.
Remove and clean the drip tray if your waffle maker has one. Wash with warm water and mild soap, rinse thoroughly, and dry completely before reattaching.
For waffle makers with removable plates, take them out and wash separately according to manufacturer instructions. This allows you to clean the appliance body more effectively.
Deep Cleaning for Stubborn Smells
If the smell persists even after initial burn-off and regular cleaning, a deeper cleaning approach is needed. This is especially common if previous owners or users did not clean the appliance properly, or if it has been stored in humid conditions.
Baking soda paste works wonders on stubborn residues. Mix equal parts baking soda and water to create a paste. Apply to the plates and let sit for 15-20 minutes. Scrub gently with a soft brush or non-abrasive sponge, then wipe clean with a damp cloth and dry thoroughly.
Vinegar solution is excellent for eliminating odors. Mix equal parts white vinegar and warm water. Dip a cloth in the solution and wipe down the plates thoroughly. The acidity helps break down oils and neutralizes odors. Always follow with a clean water wipe and thorough drying.
Lemon juice provides natural deodorizing and leaves a fresh scent behind. Squeeze lemon juice onto plates and let sit for 10 minutes. Heat the waffle maker briefly to help the juice work into the surface, then wipe clean.
Commercial non-stick safe cleaners are available for tough jobs. Make sure any cleaner you use is specifically labeled as safe for non-stick coatings to avoid damaging the surface.
Natural Cleaning Solutions
For those who prefer natural approaches, several household items work effectively:
White vinegar and water (50/50 mix) works as an all-purpose cleaner and deodorizer. It cuts through grease while neutralizing odors naturally.
Baking soda acts as a gentle abrasive and odor absorber. It is particularly effective on carbonized residues that have built up over time.
Lemon wedges can be rubbed directly on plates for freshening. The citric acid cuts through oils and leaves a pleasant scent.
Salt can be used as a gentle scrubbing agent for stubborn spots. Sprinkle salt on a damp cloth and scrub gently, then wipe clean.
After any deep cleaning method, always perform a final burn-off cycle by heating the empty waffle maker for 3-5 minutes to ensure all cleaning residues are removed before making your next batch of waffles.
Non-Stick Care and Seasoning
Proper non-stick maintenance extends the life of your waffle maker while preventing odors from developing. Understanding how to care for non-stick surfaces is essential.
Avoid metal utensils that can scratch the coating. Use only soft silicone, nylon, or wooden tools when working with waffle batter or cleaning the plates.
Skip harsh chemicals on non-stick surfaces. Abrasive cleaners and scrubbers damage the coating, leading to food buildup and odors. Stick to gentle, non-abrasive cleaning methods.
Seasoning your waffle maker periodically helps maintain the non-stick surface and prevents sticking. Apply a thin coat of cooking oil to the plates every few uses, heat briefly, then wipe clean. This keeps the surface well-conditioned.
Never stack other items on top of your waffle maker during storage. Pressure on the plates can damage the non-stick coating over time.
Clean promptly after use rather than letting batter harden on the plates. The easier you make cleaning, the more likely you are to maintain the appliance properly.
If the non-stick coating shows signs of visible wear, such as flaking, chipping, or deterioration, consider replacing the appliance. Damaged non-stick surfaces can harbor bacteria and produce unpleasant smells.
Common Mistakes to Avoid
Many waffle iron odor problems stem from common mistakes that are easy to avoid with proper knowledge.
Using soap on non-stick plates is one of the most common errors. While dish soap seems logical for cleaning, many non-stick manufacturers advise against it for routine cleaning. Soapy residue can affect the taste of food and may degrade coatings over time. Use water and gentle wiping instead for daily cleaning.
Soaking the entire appliance in water is dangerous and damaging. Only removable plates or specific components should be submerged. Never allow water to enter the electrical housing or heating element areas.
Using abrasive scrubbers damages non-stick coatings permanently. Steel wool, rough brushes, and abrasive cleaning pads all cause micro-scratches that accumulate over time, leading to food sticking and odors developing.
Closing the lid while plates are damp creates the perfect environment for mold and musty odors. Always ensure plates are completely dry before storing.
Skipping the initial burn-off is a mistake many impatient owners make. Taking time to properly burn off factory residues prevents ongoing smells and ensures a cleaner cooking surface.
Using excessive oil when seasoning backfires. Too much oil creates sticky residue that smokes and smells during subsequent uses. A thin, even coat is all you need.
When to Replace Your Waffle Maker
Sometimes cleaning cannot solve the problem, and replacement becomes necessary. Knowing when to replace your waffle maker ensures safety and prevents ongoing frustration.
Electrical issues are a clear replacement indicator. If you notice sparks, significant smoking beyond normal burn-off, or any burning plastic smell that seems to come from inside the unit, stop using it immediately. These symptoms may indicate wiring problems that pose fire risks.
Persistent chemical tastes in waffles despite thorough cleaning indicate coating degradation. If your waffles consistently taste plasticky or chemical after multiple cleaning attempts, the non-stick surface may be breaking down and could be releasing harmful compounds.
Popping sounds during operation have been reported by multiple users whose waffle makers eventually failed. Combined with persistent burning smells, this suggests internal component failure.
Warranty coverage should be considered before purchasing a new unit. Many manufacturers cover defects that cause persistent odors or smoking. Check your warranty documentation and consider contacting the manufacturer for replacement rather than buying new.
Age of the appliance matters. Non-stick coatings typically last 3-5 years with regular use before showing significant wear. If your waffle maker is older and developing persistent odors that cleaning does not fix, replacement may be more cost-effective than continued frustration.
When replacing, look for certified safe materials and reputable brands with good quality control. Reading reviews about odor issues before purchasing can help you avoid problem units from the start.
Frequently Asked Questions
Why does my waffle maker smell?
Factory oils, manufacturing residue, and non-stick coating breakdown when heated cause temporary smells that usually fade after the first few uses. Aluminum plates may also emit a slight metallic odor when first heated.
Should I unplug my waffle maker before cleaning?
Yes, always unplug your waffle maker before cleaning. Wait for plates to cool completely to avoid burns and electrical shock. This is a critical safety step that should never be skipped.
How do I prevent mold in my waffle iron?
Always dry plates completely before storage. Leave the lid open slightly to allow air circulation. Never store while still damp. Periodically airing out the appliance prevents musty odors.
How to sanitize a waffle maker?
Heat the waffle maker to operating temperature, then wipe plates with a cloth dampened with equal parts water and white vinegar. Let cool and wipe dry with a clean cloth. This eliminates bacteria and odors.
Conclusion
A waffle iron smell is usually nothing to worry about, especially during the first few uses. Factory oils, manufacturing residues, and the initial heating of aluminum plates all contribute to temporary odors that typically fade with proper cleaning and break-in.
The key to eliminating waffle iron smells lies in understanding the cause. For new appliances, running through several burn-off cycles with thorough wiping addresses factory residues effectively. For persistent smells, deep cleaning with natural solutions like vinegar, baking soda, or lemon juice works well without damaging non-stick surfaces.
Regular maintenance after each use prevents future odor problems. Always clean while plates are warm, avoid harsh chemicals and abrasive tools, and ensure complete drying before storage. Taking these simple steps keeps your waffle maker fresh and extends its useful life significantly.
When smells persist despite thorough cleaning, or when accompanied by unusual sounds, smoking, or taste transfer to food, stop using the appliance immediately. Check your warranty coverage and consider replacement rather than risking safety issues from damaged components.
With proper care and cleaning, your waffle iron should provide years of odor-free service, producing delicious waffles without any chemical or plastic aftertastes. The investment of time in proper first-use preparation and regular maintenance pays off in better-tasting breakfasts and a longer-lasting appliance.




Leave a Comment