
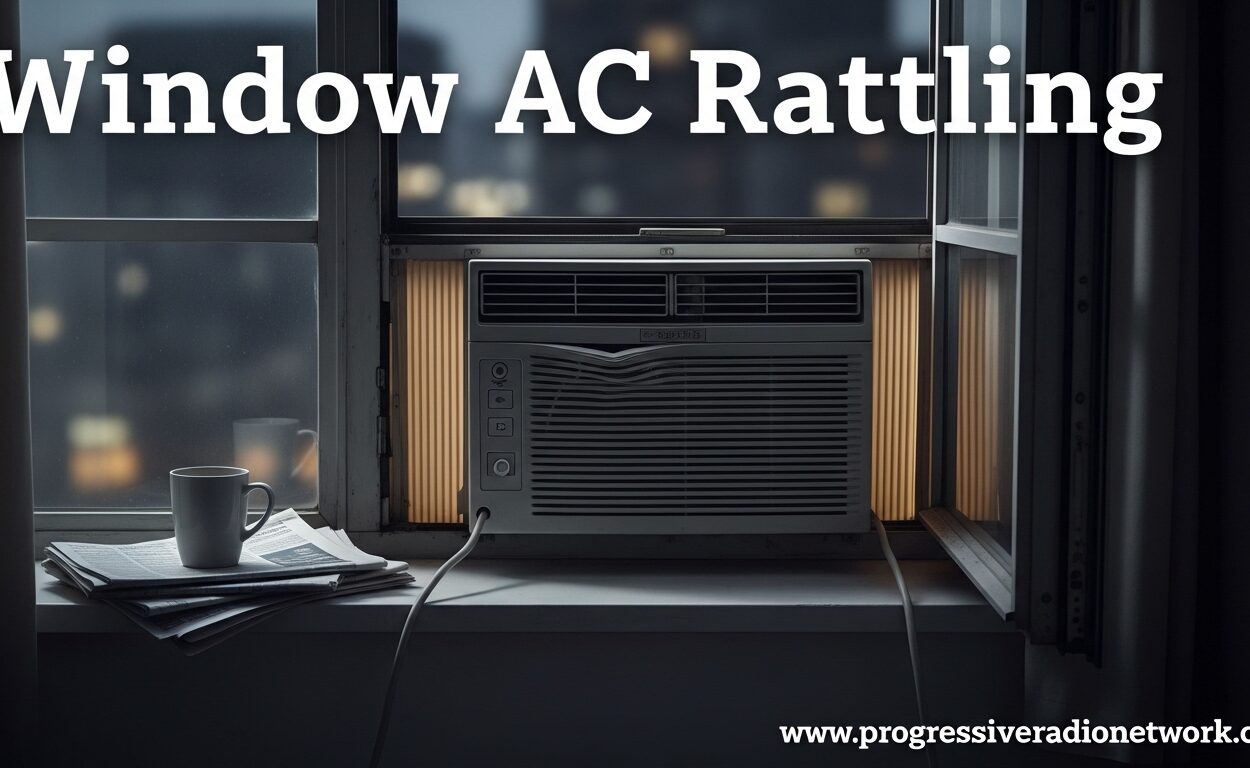
That annoying rattle from your window AC unit isn’t just frustrating – it’s often a sign that something needs attention. I’ve spent years troubleshooting window air conditioner rattling noise issues, and most fixes are simpler than you might think.
Window AC rattling typically stems from loose components, debris buildup, or improper installation. The good news is that roughly 80% of rattling issues can be resolved with basic DIY maintenance and a few simple tools. Ignoring the noise won’t make it go away, and in some cases, it can lead to more serious damage.
In this guide, I’ll walk you through exactly what causes window AC rattling when running, how to pinpoint the source, and step-by-step instructions to fix it yourself. You’ll also learn when the rattling indicates a problem that requires professional help.
What Causes Window AC Rattling
Window AC rattling happens when components inside or outside the unit vibrate against each other or the casing. The most common culprit is loose screws or panels that have worked themselves loose over time from the unit’s normal vibration.
Debris is another frequent cause. Leaves, twigs, dirt, and other foreign objects can get stuck in the fan blades or coils, creating a distinctive rattling sound when the fan spins. This is especially common after storms or if your unit is near trees.
Fan blade issues account for many rattling complaints. The blades may become bent, unbalanced, or loose on their shaft. Even a slightly misaligned blade can cause significant noise as it spins at high speeds.
Improper installation is a major factor, particularly with newer units. If the window AC isn’t securely mounted or isn’t sitting level in the window frame, the entire unit can vibrate and rattle during operation. The window frame itself may also be loose or inadequately supporting the unit’s weight.
More serious causes include motor or compressor problems. Worn motor bearings, a failing compressor, or loose internal components can produce rattling sounds. These issues typically worsen over time and require professional repair.
Understanding Your Window AC Components
Knowing what’s inside your window air conditioner helps you identify the source of rattling. The fan motor spins the blower wheel that pushes air through the unit. When this motor’s bearings wear out, you’ll often hear rattling that changes pitch as the fan speed adjusts.
The compressor is the heart of your AC unit – it pressurizes refrigerant to cool your air. Compressor-related rattling usually sounds deeper and more metallic than other rattles. This component is sealed and not repairable – replacement is the only option if it fails.
Condenser coils (on the exterior side) and evaporator coils (on the interior side) can accumulate debris that causes rattling. The fan blades sit right next to these coils, and any buildup can interfere with their rotation.
The air filter, while not a moving part, can cause rattling if it’s loose or the wrong size for your unit. A rattling filter is one of the easiest problems to fix.
Step-by-Step: How to Fix a Rattling Window AC
Step 1: Power Off and Inspect the Unit
Safety first – always unplug your window AC before attempting any repairs. Wait at least 10 minutes after turning it off to allow electrical components to discharge.
Once powered down, do a visual inspection. Look for obvious loose panels, screws on the ground (a telltale sign something has come loose), and debris around the unit. Check that the unit is sitting properly in the window frame with no gaps.
Step 2: Tighten All Exterior Screws and Panels
Loose screws AC unit issues are responsible for more than half of all rattling complaints. Use a screwdriver to check every accessible screw on the unit’s exterior casing. Pay special attention to the front panel, side panels, and any access panels.
Don’t overtighten – just snug them up. The screws should be firm but not strained. If any screws are stripped or won’t tighten properly, replace them with new ones of the same size.
While you’re at it, check the window frame and mounting brackets. These can loosen over time and contribute to overall unit vibration. Tighten any mounting hardware you can access safely.
Step 3: Check and Clean the Fan Blades
Access the fan blades by removing the front grille (usually held by clips or screws). Look carefully at each blade for bends, cracks, or signs of damage. Even minor bending can cause imbalance and rattling.
Clean the blades thoroughly with a soft brush or cloth. Built-up dirt and grime can throw the fan off balance. If blades are slightly bent, you can carefully bend them back to their original position using gentle pressure.
Check that the fan blade is secure on its shaft. It should have no wiggle or play. If it’s loose, the retaining nut or screw may need tightening. Be careful not to overtighten, as this can damage the motor shaft.
Step 4: Remove Debris from Coils
Debris in air conditioner units is a leading cause of rattling. Use a flashlight to inspect both the condenser coils (outside) and evaporator coils (inside). Look for leaves, twigs, dirt, or any foreign objects.
Gently remove any visible debris with your fingers or tweezers for hard-to-reach items. A soft brush or vacuum with a brush attachment can help clean the coils without damaging the delicate fins.
For stubborn dirt buildup, a coil cleaner solution can help. Follow the product instructions and rinse thoroughly. Allow everything to dry completely before reassembling.
Step 5: Check Unit Levelness
An improperly leveled window unit can vibrate excessively. Place a small level tool on top of the unit to check if it’s sitting flat. The unit should have a slight tilt downward toward the outside (about 1/4 inch) for proper drainage, but it should be level side-to-side.
If the unit isn’t level, adjust the mounting bracket or add shims as needed. The window sill should be flat and secure. In some cases, the problem is the window frame itself – if it’s warped or damaged, it may not provide stable support.
Step 6: Test and Listen for Remaining Noise
Reassemble any parts you removed and plug the unit back in. Turn it on and listen carefully. Is the rattling gone? Reduced? Still there?
If the rattling persists, try running the fan at different speeds. Does the noise change with fan speed? This can help pinpoint whether the issue is fan-related or something else.
Listen for the specific type of sound. A metallic rattle suggests loose components. A buzzing sound might indicate electrical issues. A grinding noise often points to motor bearing problems. Each type of sound provides clues about what’s wrong.
DIY Fixes for Window AC Rattling
Foam and Rubber Dampening Techniques
One of the most effective DIY solutions I’ve found is using foam or rubber to dampen vibrations. This works particularly well for panel-to-panel contact and where the unit meets the window frame.
Closed-cell foam tape is ideal because it won’t compress over time. Apply thin strips between panels that touch each other. The foam cushions the contact points and prevents metal-on-metal vibration that causes rattling.
For window frame contact, rubber weatherstripping or foam insulation strips work wonders. Place them between the unit and the window frame, focusing on areas where you see or feel gaps. This not only reduces rattling but also improves cooling efficiency by sealing air leaks.
Reddit users have shared success with “thinly sliced foam between parts” to quiet rattles. One effective technique is placing softer styrofoam wrapped in a plush towel between the inside bottom of the unit and the window sill. This cushions the unit and absorbs vibration.
Level Adjustment Procedure
An unlevel unit causes uneven stress on components, leading to increased vibration and rattling. Use a quality level tool to check your unit in multiple directions.
The ideal setup has the unit level side-to-side with a very slight downward tilt toward the outside (roughly 1/4 inch). This tilt allows condensation to drain properly while maintaining stability.
If your unit sits on a windowsill, the sill itself may not be level. In this case, use wooden shims or adjustable leveling feet to create a stable base. plastic shims work well because they won’t rot or compress like wood can over time.
Filter Cleaning and Replacement
A dirty or loose air filter can cause AC filter rattling. Remove the filter and inspect it for damage. A warped or damaged filter should be replaced immediately.
Clean filters by vacuuming loose dirt, then washing with mild soap and warm water. Allow it to dry completely before reinstalling. A damp filter can damage your unit and create new problems.
When reinstalling, make sure the filter seats properly in its track. It should fit snugly without gaps. If the filter is too loose, add small pieces of foam tape around the edges to secure it in place.
Panel Securement Methods
Loose panels are a major source of window AC rattling. Beyond tightening screws, consider these additional securement methods:
For panels that consistently come loose, apply a small amount of thread-locking compound to the screw threads. This prevents vibration from loosening them over time. Blue thread locker is ideal because it’s removable if needed.
Plastic washers or rubber grommets can cushion panel contact points. Place them between the panel and the unit body before screwing into place. This reduces metal-to-metal contact and dampens vibration.
In extreme cases where panels won’t stay secure, small dabs of clear silicone sealant at contact points can help. Use sparingly and avoid sealing areas that need to open for maintenance.
Seasonal Maintenance to Prevent Rattling
Pre-Season Inspection Checklist
Before cooling season begins, perform a thorough inspection. Check all screws and panels, clean the coils, inspect the fan blades, and test the unit briefly to identify any new noises.
This annual maintenance prevents many rattling issues from developing. Tightening loose components before the unit runs constantly for months saves you from dealing with noise problems during the hottest days of summer.
Post-Winter Startup Procedure
Many AC units develop rattling after winter storage. Cold temperatures can loosen screws, and storage areas may expose the unit to debris or moisture.
When reinstalling your unit after winter storage, perform a complete inspection before powering on. Look for signs of pest damage, rust, or loose components. Clean thoroughly – one Reddit user reported their “AC window unit stored in barn over winter rattling like crazy” due to accumulated debris.
Tighten all screws, clean the coils and fan blades, and check the electrical cord for any damage. Lubricate any accessible bearings according to your manufacturer’s recommendations.
Regular Cleaning Schedule
Clean your air filter monthly during peak cooling season. A dirty filter restricts airflow, causing the unit to work harder and vibrate more. This increased stress can lead to rattling and other issues.
Clean the condenser coils (outside) at least twice per season. These coils accumulate dirt and debris that can interfere with fan operation. Use a garden hose to gently wash away buildup, being careful not to bend the delicate fins.
Proper Storage Techniques
How you store your window AC during winter affects whether it will rattle when you reinstall it. Choose a clean, dry storage area – ideally indoors. If outdoor storage is necessary, cover the unit completely with a waterproof cover.
Store the unit upright to prevent oil from draining out of the compressor. Never store on its side or upside down. This can cause compressor failure and significant rattling when the unit is restarted.
Before storage, clean the unit thoroughly and allow it to dry completely. This prevents mold growth and corrosion, both of which can cause components to seize or become noisy.
When to Call a Professional HVAC Technician
While most window AC rattling can be fixed DIY, some issues require professional expertise. Compressor problems are beyond DIY repair – the compressor is a sealed unit that must be replaced by a qualified technician.
Motor bearing failure is another professional repair issue. If you hear a grinding or screeching sound that gets worse over time, or if the fan doesn’t spin freely when manually turned, the motor bearings may be shot. One forum user noted that “bad motor bearings may be cause if noise persists after warm-up.”
Refrigerant leaks don’t typically cause rattling, but they can cause other noises and reduce cooling efficiency. If you notice hissing sounds, ice buildup on the coils, or reduced cooling performance, a professional should diagnose the issue.
Electrical problems should always be handled by professionals. If you smell burning, see sparks, or notice the unit tripping circuit breakers, unplug it immediately and call a technician. These issues are fire hazards and require expert repair.
Cost considerations: Simple DIY fixes cost between $0-20 in materials. Professional repairs typically run $150-400 depending on the issue. If your unit is more than 8-10 years old and needs major repairs, replacement may be more cost-effective than repair.
FAQs
How do I fix a window AC that keeps rattling noise?
Start by unplugging the unit and tightening all exterior screws and panels. Remove the front grille and clean debris from the fan blades and coils. Check that the unit sits level in the window frame. Add foam tape between panels to dampen vibrations. If rattling persists after these steps, the issue may be internal and require professional service.
Why does my AC sound like it’s rattling?
Rattling typically means something is loose or debris is interfering with moving parts. Common causes include loose screws or panels, debris stuck in the fan blades, bent or unbalanced fan blades, improper installation causing the unit to vibrate, or worn motor bearings. The specific sound provides clues – metallic rattling usually indicates loose components, while grinding suggests motor problems.
What does it mean if your AC is rattling?
Rattling means components are vibrating against each other or the casing. While often just annoying, it can indicate real problems. Loose screws will gradually get worse and may cause parts to come apart. Debris can damage fan blades and coils. Motor or compressor issues will worsen over time and lead to complete failure. Ignoring persistent rattling often results in more expensive repairs later.
How to make an air conditioner stop rattling?
First identify the source by listening to when the rattle occurs. If it happens at all fan speeds, check panels and mounting. If it changes with fan speed, inspect the fan blades and motor. Tighten all accessible screws. Clean debris from coils and fan blades. Add foam or rubber dampening between contact points. Level the unit properly. If these steps don’t resolve the issue, professional service may be needed for internal problems.
What is the 3 minute rule for AC?
The 3 minute rule recommends waiting 3 minutes after turning off your AC before restarting it. This allows pressure in the system to equalize and the compressor to properly stop. Restarting immediately can cause compressor damage and create new rattling or clicking noises. This rule applies to all air conditioners and helps extend the life of your unit.
Is window AC rattling dangerous?
Most rattling is annoying rather than dangerous, but it shouldn’t be ignored. Loose components can work completely free over time. Debris in the unit can cause electrical shorts if it contacts wiring. Severe rattling could indicate the unit is becoming unstable in the window. Very loud rattling accompanied by burning smells or sparks is dangerous and requires immediate shutdown. Address rattling promptly to prevent minor issues from becoming serious problems.
Why is my new window AC rattling?
New units often rattle due to installation issues rather than mechanical problems. The unit may not be secured properly in the window frame. Shipping vibrations can loosen screws. Protective packaging materials may still be inside. The window frame itself may not be level. Most new-unit rattling is resolved by tightening mounting hardware, removing debris, and ensuring proper installation. Contact the retailer or manufacturer if the unit rattles immediately after proper installation.
Can loose screws cause AC rattling?
Yes, loose screws are the number one cause of window AC rattling. Normal operation creates constant vibration that gradually loosens screws over time. The unit’s exterior panels, front grille, fan assembly, and mounting brackets all rely on screws to stay secure. When these loosen, components vibrate against each other creating rattling sounds. Tightening all accessible screws resolves many rattling issues and should be the first step in troubleshooting.
Conclusion
Window AC rattling is one of the most common air conditioner problems, but it’s also one of the most solvable. Most cases stem from simple issues like loose screws, debris buildup, or improper mounting – all problems you can fix yourself with basic tools and an hour of time.
The key is addressing the rattling promptly. What starts as an annoying noise can escalate into component damage if ignored. Regular maintenance, especially before and after the cooling season, prevents most rattling issues from developing.
For the 80% of cases caused by loose components or debris, the DIY fixes outlined here will have your unit running quietly again. But don’t hesitate to call a professional if you suspect motor, compressor, or electrical problems – these require expert diagnosis and repair to ensure safety and prevent further damage.

Leave a Comment