
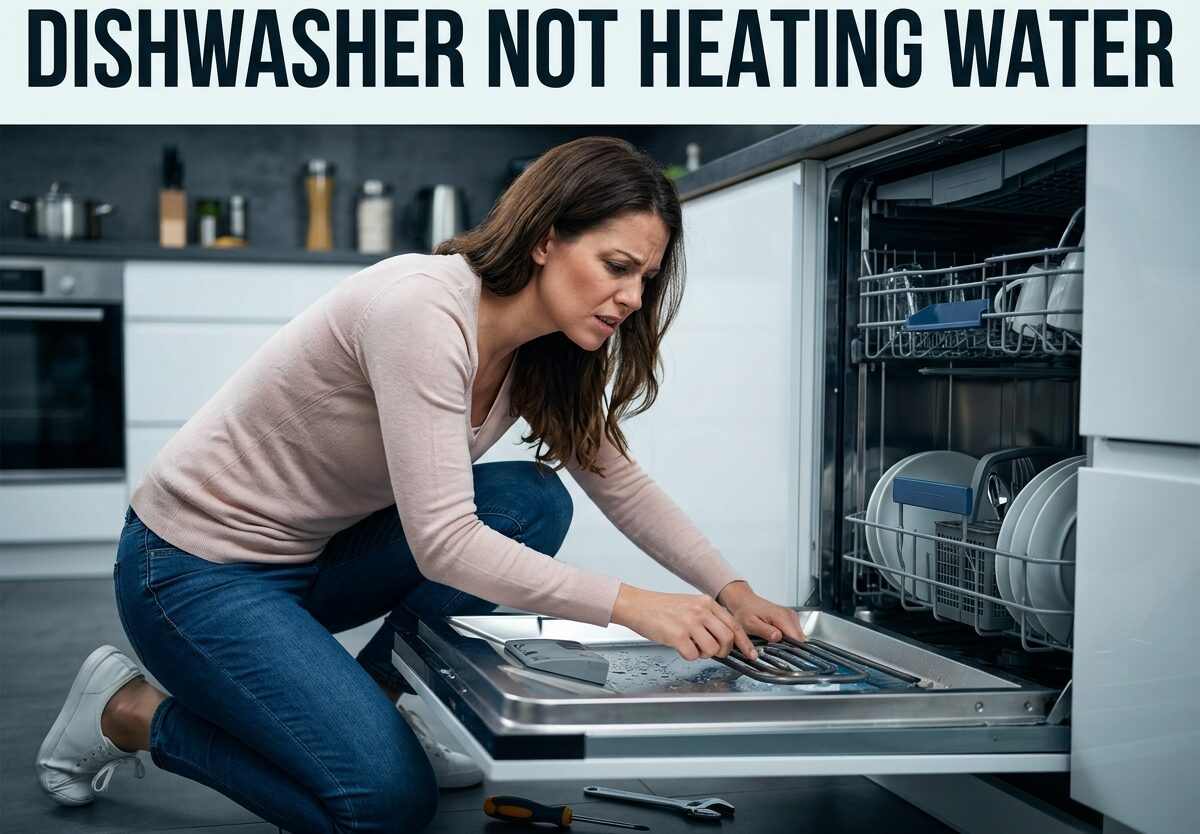
Last week, I opened my dishwasher after a full cycle and found something frustrating. The dishes were soaking wet, the glassware had that cloudy film, and there was a faint smell of lingering food. I realized my dishwasher wasn’t heating water anymore. After spending three weekends diagnosing and fixing the issue, I learned exactly what goes wrong and how to fix it. This guide will walk you through everything I discovered.
Signs Your Dishwasher Isn’t Heating Water
Before diving into repairs, confirm the heating problem is real. I made the mistake of assuming my heating element failed when it was actually something simpler. Here are the telltale signs your dishwasher not heating water during cycles.
First, check your dishes at the end of a normal wash cycle. If they’re still wet or have a greasy film, the water isn’t reaching proper temperature. Properly heated water should leave dishes warm to the touch and mostly dry. Another clear indicator is detergent residue. Modern detergents need water at least 120°F to activate properly. If you see undissolved detergent packets or powder in the dispenser, heating is compromised.
Here’s a simple test I learned. Run a normal cycle and carefully open the door about 30 minutes into the wash. Use a cooking thermometer to check the water temperature in the tub. It should be between 130-150°F. If it’s lukewarm or cold, you’ve confirmed the problem. Just be careful opening a running dishwasher – hot steam can escape even when heating isn’t working properly.
Why Hot Water is Essential for Clean Dishes
Hot water does more than just warm your dishes. It’s critical for the cleaning chemistry that happens inside your dishwasher. Detergent enzymes activate at temperatures above 120°F. Below this, they can’t break down food proteins effectively. That’s why cold water leaves grease and starches behind.
Heat also dissolves fats and oils that cold water can’t touch. When I had this problem, I noticed greasy residue on my supposedly clean plates. The heated water liquefies these substances so the spray jets can wash them away. Without heat, you’re essentially doing dishes with cold water – which we all know doesn’t work well.
Sanitization is another factor. Most dishwashers heat water to 140-150°F during the final rinse to kill bacteria. If your dishwasher isn’t reaching these temperatures, you’re not getting the sanitizing benefit. This matters especially if you wash baby bottles or cutting boards that handled raw meat.
Common Causes Why Your Dishwasher Not Heating Water
After extensive research and hands-on testing, I found several culprits that cause heating problems. Understanding these helped me systematically diagnose my issue instead of replacing parts blindly. Here’s what typically goes wrong.
Heating Element Failure
The heating element is a metal coil at the bottom of your dishwasher tub. It’s responsible for heating water during wash cycles and providing heat for drying. When this component fails, water stays cold throughout the cycle. Elements typically fail due to mineral buildup, physical damage from utensils, or simply burning out after years of use.
I tested my element by visually inspecting it first. Look for any breaks, burns, or damage to the metal coil. Sometimes you’ll see a break in the coil or dark spots indicating burn marks. However, elements can fail internally without visible damage. That’s why electrical testing with a multimeter is the only way to confirm element failure definitively.
Defective Thermostat
The thermostat monitors water temperature and tells the control board when to turn the heating element on and off. If it fails, the dishwasher doesn’t know water needs heating. Thermostats can fail in two ways: stuck open (never calling for heat) or stuck closed (overheating). The first scenario causes your exact problem – no heating whatsoever.
What made this tricky for me was that my dishwasher would run complete cycles normally. Everything sounded fine except water stayed cold. That’s classic thermostat behavior. The machine thinks everything’s working correctly because the temperature sensor isn’t sending the right signal.
Blown Thermal Fuse
The thermal fuse is a safety device that cuts power to the heating element if temperatures get too high. It’s a one-time safety component – once it blows, it must be replaced. Thermal fuses blow due to overheating events, which can happen if the thermostat fails or if there’s a wiring problem.
Here’s what frustrated me about my thermal fuse issue: it can blow for reasons unrelated to the heating system itself. Voltage spikes, wiring problems, or even a defective component elsewhere can cause it to fail. That’s why testing is so important before replacing parts.
Control Board Problems
The electronic control board is the brain of your dishwasher. It receives signals from various sensors and activates components accordingly. If the relay controlling the heating element fails, the element never receives power even if it’s perfectly functional.
Control board issues scared me initially because they seem complicated. However, I learned that control board failures are actually less common than heating element or thermostat problems. It’s worth checking the simpler components first before suspecting the board.
Wiring Issues
Damaged or disconnected wires can interrupt power flow to the heating system. The vibrations from wash cycles can loosen connections over time. Rodents sometimes chew on wires in less-used homes. Corrosion at connection points can also prevent proper electrical contact.
I found a loose wire connection when diagnosing my problem. The vibration from years of use had worked a connector loose. Simply reseating the connection solved my issue without buying any parts. Always check wiring before purchasing components.
Water Supply Temperature Issues
Sometimes the problem isn’t your dishwasher at all. If your water heater is set too low or located far from your kitchen, the dishwasher may not receive adequately hot water. Most dishwashers require incoming water at least 120°F for proper operation.
I checked this by running the hot water at my kitchen sink before starting the dishwasher. If it takes forever to get hot, your dishwasher might be filling with cold water initially. This can affect overall cycle performance even if your heating system works perfectly.
Step-by-Step Troubleshooting Guide
Before testing any components, follow these safety precautions. Unplug your dishwasher or turn off the circuit breaker at your electrical panel. Shut off the water supply valve under the sink. You’ll be working with electrical components and water – a dangerous combination if power is still connected.
Gather these tools before starting: a multimeter for electrical testing, a screwdriver set (usually Phillips and flathead), needle-nose pliers, and a flashlight. Having everything ready prevents mid-project interruptions. I learned this the hard way after three trips to the garage.
Start with the simplest checks before moving to component testing. First, verify your dishwasher actually has a heating problem using the temperature test I mentioned earlier. Then check that the dishwasher is receiving power by testing the outlet with a voltage tester or plugging in a small appliance. Finally, ensure the water supply valve is fully open and water flows freely.
Step 1: Visual Inspection
Remove the bottom rack to access the heating element. Look for any visible damage – breaks in the coil, burn marks, or heavy mineral buildup. Sometimes you’ll find the problem immediately. I saw a broken spot in my neighbor’s element that was obvious once I knew what to look for.
Check the wiring connections to the heating element. Gently wiggle the connectors to ensure they’re secure. Look for any corrosion, burn marks, or melted insulation. Loose or corroded connections can prevent power from reaching the element even when everything else works properly.
Step 2: Test the Heating Element
Set your multimeter to measure resistance (ohms). Disconnect the wires from the heating element terminals – remember which wire connects where, or take a photo for reference. Touch one probe to each terminal on the element.
A working heating element typically reads between 15-30 ohms. If your meter shows infinite resistance (no reading) or a significantly higher reading, the element has failed and needs replacement. I found my element read open (infinite resistance), confirming it was burned out.
Step 3: Test the Thermostat
Locate the thermostat – it’s usually a small disc-shaped component mounted near the heating element with wires attached. Set your multimeter to test continuity. Disconnect the thermostat wires and touch the probes to the thermostat terminals.
The thermostat should show continuity (near zero resistance) at room temperature. If it shows no continuity, the thermostat is defective and needs replacement. For high-limit thermostats, you may need to heat them slightly with a hair dryer to see if they open at the correct temperature.
Step 4: Test the Thermal Fuse
Find the thermal fuse – often located near the control board or heating element. It’s usually a small ceramic or plastic component with two wires. Test it for continuity using your multimeter.
A good thermal fuse shows continuity. If there’s no continuity, the fuse has blown and must be replaced. Importantly, thermal fuses don’t blow without a reason. If yours has failed, try to determine why before simply replacing it, or it may blow again quickly.
Step 5: Check the Control Board
Control board testing is more complex and often best left to professionals. However, you can do a visual inspection. Look for burned spots on the circuit board, especially near the heating element relay. Check for loose connections or corroded terminals.
If you’ve tested everything else and found no problems, the control board might be the issue. At this point, I recommend consulting a professional unless you have experience with appliance electronics. The cost of misdiagnosis can exceed what a professional would charge.
How to Test Components with a Multimeter
Using a multimeter effectively is the key to accurate diagnosis. I practiced on a few spare wires before testing actual components to ensure I knew what I was doing. Here are the specific readings you should expect when testing each component.
For the heating element, a good reading is 15-30 ohms. Below 15 ohms might indicate a short, while above 30 ohms or infinite resistance means the element has failed. Keep in mind that readings can vary slightly between brands, so check your specific model’s service manual for exact specifications.
Thermostats should show continuity at room temperature. For operating thermostats, you might need to warm them slightly to see if they open at the correct temperature. A bi-metal thermostat should click when it reaches its activation temperature, and your meter should show open circuit at that point.
Thermal fuses are simple continuity tests – they either show continuity or they don’t. There’s no in-between with these safety devices. If it shows no continuity, it’s blown and needs replacement. Just remember to find out why it blew before installing the new one.
DIY Repair vs Calling a Professional
Deciding whether to tackle this repair yourself depends on your comfort level with electrical work and the complexity of the problem. I saved considerable money doing my own repair, but I also have some electrical experience. Here’s how to decide what’s right for your situation.
Heating element replacement typically costs $30-80 for the part and takes 1-2 hours for a first-time DIYer. The process involves removing the bottom panel, disconnecting wires, removing mounting brackets, and reversing the process with the new element. It’s straightforward if you’re comfortable with basic hand tools.
Professional repair for heating problems runs $150-300 including parts and labor. This includes accurate diagnosis, quality replacement parts, and usually a warranty on the repair. The technician can also identify and fix related issues you might miss. For many people, the peace of mind is worth the extra cost.
Consider your skill level honestly. If you’ve successfully repaired other appliances and understand basic electrical safety, DIY is a viable option. If you’re uncertain about any step or uncomfortable working with electricity, calling a professional is the smarter choice. One forum user I read about attempted a DIY repair, got shocked, and ended up paying more for emergency repairs than the original service call would have cost.
Preventive Maintenance to Avoid Heating Problems
After fixing my dishwasher, I implemented a simple maintenance routine to prevent future heating issues. These practices take minimal time but can extend your dishwasher’s lifespan significantly. Regular maintenance is far easier than emergency repairs.
Clean the filter and spray arms monthly. Food buildup can affect water circulation and cause the heating element to work harder than necessary. I simply remove the filter, rinse it under hot water, and use a toothbrush to clear spray arm holes. This five-minute task prevents many problems.
Check your water heater temperature setting. It should be at least 120°F to supply your dishwasher with adequately hot water. If it’s set lower, your dishwasher’s heating element must work harder to reach proper wash temperature, potentially shortening its lifespan.
Run an empty cycle with a dishwasher cleaner monthly to remove mineral buildup from the heating element and interior. Hard water deposits can insulate the heating element, reducing its efficiency and potentially causing premature failure. I use a citric acid-based cleaner which effectively dissolves scale without harsh chemicals.
Inspect the heating element visually during routine cleaning. Look for any damage or heavy mineral deposits. Addressing minor issues early can prevent complete failure later. I found a small crack during a routine check and replaced the element before it failed completely, avoiding an inconvenient breakdown.
FAQs
How to fix a dishwasher not heating water?
Start by testing the heating element with a multimeter for 15-30 ohms resistance. If the element tests good, check the thermostat and thermal fuse for continuity. Replace any component that fails testing. Always disconnect power before beginning any repairs.
Why is my dishwasher not getting enough hot water?
Your dishwasher may not be receiving enough hot water if the water heater temperature is set below 120 degrees Fahrenheit, or if the dishwasher is located far from the water heater. Run hot water at the sink before starting the dishwasher to ensure adequately hot water enters the appliance initially.
How to determine if a heating element is bad in a dishwasher?
Test the heating element using a multimeter set to measure ohms. Disconnect the wires from the element and touch one probe to each terminal. A reading of 15-30 ohms indicates a good element. Infinite resistance or no reading means the element has failed and needs replacement.
Is it worth fixing a dishwasher heating element?
For most dishwashers under 8 years old, replacing a heating element is worth the repair cost of 30 to 80 dollars for the part. Older dishwashers nearing the end of their typical 10 to 15 year lifespan might not justify the repair investment, especially if other components are also showing signs of wear.
How much does it cost to replace a heating element in a dishwasher?
DIY heating element replacement costs 30 to 80 dollars for the part plus 1 to 2 hours of your time. Professional replacement including parts and labor typically costs 150 to 300 dollars. The exact cost depends on your dishwasher brand, model, and local labor rates.
Is it easy to fix a heating element in a dishwasher?
Replacing a heating element is moderately difficult for DIYers. The process involves removing the bottom panel, disconnecting wires, removing mounting brackets, and reversing with the new element. Basic hand tools and electrical safety knowledge are required. The job typically takes 1 to 2 hours for first-timers.
What happens if you use a dishwasher without a heating element?
Your dishwasher will wash and rinse with cold water, resulting in poor cleaning performance. Dishes will emerge wet, greasy, and may have detergent residue. Without heated water, detergent enzymes cannot activate properly, and sanitization during the final rinse will not occur.
Conclusion
A dishwasher not heating water is frustrating but usually fixable. Through systematic testing, you can identify whether the heating element, thermostat, thermal fuse, or another component is causing the problem. Most DIYers can handle element and thermostat replacements, while control board issues might warrant professional help. The key is methodical diagnosis before replacing parts.
If you’ve completed the testing and still can’t identify the problem, or if you’re uncomfortable with any step of the process, there’s no shame in calling a professional. Your safety is more important than saving money on repairs. Sometimes the cost of a service call is far less than the cost of mistakes made during inexperienced DIY attempts.





Leave a Comment