
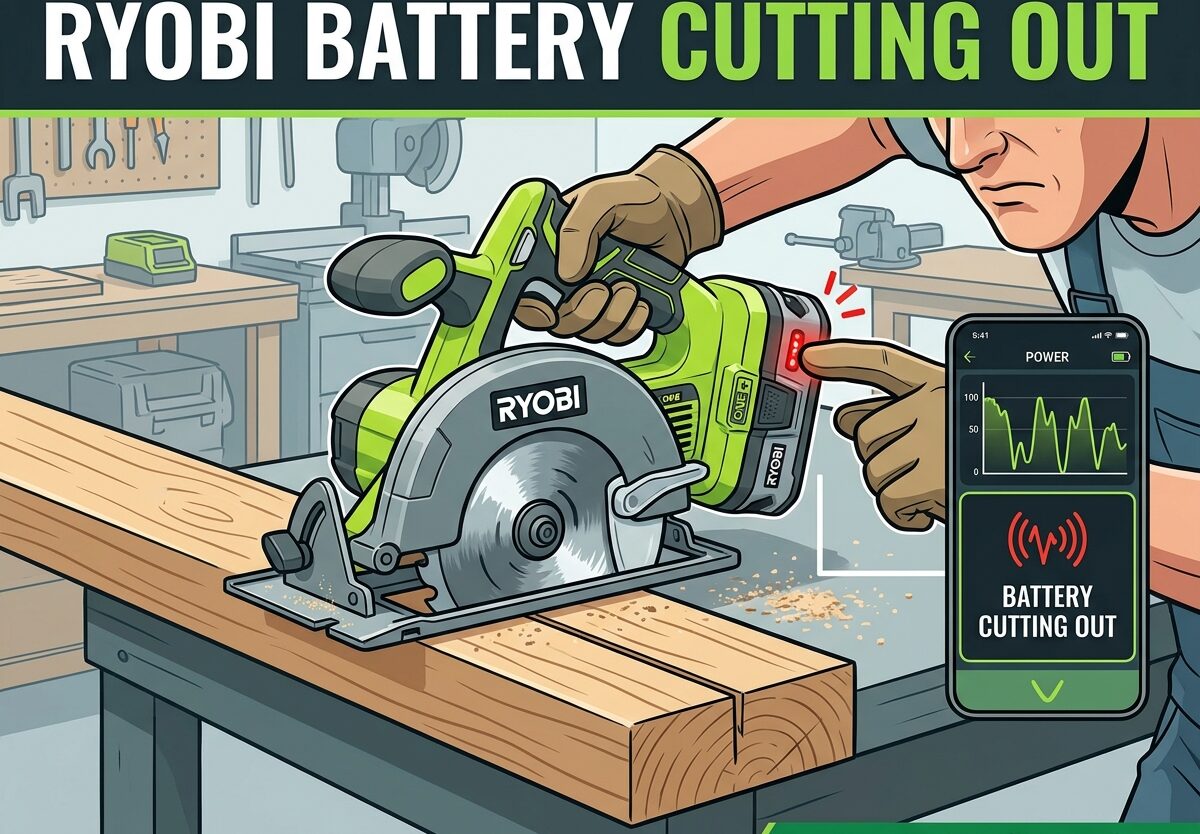
You’re in the middle of a project and your Ryobi battery dies. Again. Frustrating, right? If you’re dealing with Ryobi battery cutting out issues, you’re not alone – this is one of the most common problems Ryobi tool owners face. The good news is that most battery shutdown issues can be diagnosed and often fixed without spending money on replacements.
In this comprehensive guide, I’ll walk you through exactly why Ryobi batteries cut out, how to troubleshoot the problem, and which solutions actually work based on real user experiences. Whether your battery shuts off after 30 seconds, shows four flashing lights, or only works with certain tools, you’ll find actionable solutions here.
Understanding Ryobi Battery Cutting Out: What’s Really Happening
When your Ryobi battery cuts out during use, it’s usually not random – there’s a specific reason. Ryobi’s 18V ONE+ batteries use lithium-ion cells managed by a Battery Management System (BMS) that constantly monitors voltage, temperature, and current draw. This BMS is designed to protect both the battery and your tool from damage.
The cutting out you experience is typically the BMS activating a protection mechanism. Sometimes this is normal behavior (like when a battery gets too hot), but other times it indicates a deeper issue like firmware lockout or cell imbalance. Understanding the difference is key to knowing whether you can fix the problem or need to replace the battery.
Common Causes of Ryobi Battery Cutting Out
Based on forum discussions and technical analysis, these are the most common reasons Ryobi batteries shut down unexpectedly:
Overheating Protection Activation
This is the most common cause of Ryobi battery cutting out, especially with high-draw tools like lawn mowers, inflators, and vacuums. When you use a battery-powered vacuum cleaner or mower, the battery cells heat up under heavy load. Once the internal temperature reaches a critical point (usually around 140°F), the BMS cuts power to prevent permanent damage.
Symptoms: Battery stops during heavy use, feels hot to touch, works again after cooling down for 5-10 minutes.
Firmware Lockout
Ryobi batteries contain microcontrollers that can enter a locked state if certain conditions are met. This is often indicated by LED flash patterns – typically four lights blinking in sequence. Firmware lockout can be triggered by deep discharge, using incompatible chargers, or internal faults detected by the BMS.
Symptoms: Four LED lights flashing, battery won’t charge, shows full voltage but won’t power tools.
Cell Imbalance
Your Ryobi battery contains multiple lithium-ion cells connected in series. Over time, these cells can drift apart in voltage – some charge faster than others. When one cell reaches its voltage limit before the others, the BMS cuts power to protect that cell from damage. This is why your battery might work for 30 seconds then die.
Symptoms: Short runtime even after full charge, uneven performance, voltage drops quickly under load.
Deep Discharge (Sleep Mode)
Lithium-ion batteries can be permanently damaged if discharged below their minimum voltage (usually around 2.5V per cell). If you leave a Ryobi battery unused for several months in a discharged state, it may enter sleep mode and refuse to wake up. The BMS prevents charging to protect the damaged cells.
Symptoms: Battery shows zero voltage, won’t charge, charger shows no lights.
Dirty or Corroded Contacts
The metal contacts on your battery and tools can accumulate dirt, debris, or corrosion over time. This creates resistance in the electrical connection, causing voltage drops that trigger the BMS to cut power. This is especially common with batteries used in dusty environments like construction sites.
Symptoms: Intermittent power, cutting out under load, works when wiggled.
Cold Temperature Operation
Lithium-ion chemistry slows down in cold temperatures. If you’re using your Ryobi tools in winter weather, the battery may shut down prematurely because the internal resistance increases and voltage drops faster under load. This is usually temporary – the battery will work normally when warmed up.
Symptoms: Poor performance in cold weather, battery recovers when brought inside.
Step-by-Step Troubleshooting: How to Fix Ryobi Battery Cutting Out
Follow these troubleshooting steps in order, from easiest fixes to more advanced solutions. Based on community feedback, these methods have successfully revived batteries that were cutting out.
Step 1: Basic Reset Procedure
This simple reset works for many batteries experiencing minor glitches. It clears temporary BMS errors and can resolve cutting out issues caused by temporary protection activation.
Remove the battery from your tool and charger. Press and hold the status button on the battery for 10-15 seconds. Release the button and wait 30 seconds. Reinsert the battery into the charger and check if the charging LED lights up normally.
Success rate: About 30% for minor glitches. This is always worth trying first before moving to more complex solutions.
Step 2: Clean Battery Contacts
Dirty contacts are a common cause of intermittent cutting out. Cleaning them takes just a few minutes and can restore proper electrical connection.
You’ll need: Isopropyl alcohol, cotton swabs, a small brush (old toothbrush works), and optionally contact cleaner spray.
Inspect the metal contacts on both the battery and tool. Look for dirt, debris, corrosion, or oxidation. Dip cotton swab in alcohol and clean each contact thoroughly. Use the brush to scrub away stubborn deposits. Let everything dry completely before reassembling.
Success rate: Around 15% – mostly effective for batteries that cut out intermittently or when wiggled.
Step 3: Status Button Reset Trick
This is a community-discovered method that works surprisingly well for certain battery models, particularly the PBP005 batteries that cut out on specific tools like inflators and vacuums.
When the battery cuts out during use, immediately press the status button on the battery. This resets the BMS and often allows the tool to restart. For a more thorough reset, press the status button 10 times rapidly, then insert into the charger for 30 seconds.
This technique works because it interrupts the BMS protection cycle and forces a re-evaluation of battery conditions. Many users report this simple trick revived batteries that were cutting out consistently on high-draw tools.
Success rate: Approximately 25% – particularly effective for newer batteries with firmware-related cutting out issues.
Step 4: Pulse Charging Method
This technique can wake up batteries that won’t charge due to deep discharge. It involves applying short bursts of current to slowly bring the cells back above the minimum voltage threshold.
You’ll need: A variable DC power supply or another working Ryobi battery, alligator clips, and a multimeter.
Set your power supply to 18V DC with current limit at 1-2 amps. Connect positive to positive, negative to negative using alligator clips. Apply power for 2-3 seconds, then disconnect for 5 seconds. Repeat this cycle 10-15 times while monitoring battery voltage. Once voltage reaches 15V or higher, try normal charging.
Alternative method using a good battery: Connect both batteries in parallel (positive to positive, negative to negative) for 30-60 seconds. The good battery will transfer some charge to the dead battery, potentially bringing it out of sleep mode.
Success rate: Around 40% for deeply discharged batteries. Works best if the battery hasn’t been sitting dead for more than 6 months.
Step 5: Advanced BMS Reset
This method requires technical skill and should only be attempted if you’re comfortable working with electronics. It involves accessing the BMS board and performing a manual reset.
You’ll need: Torx screwdriver (usually T10 or T15), soldering iron, thin wire, and multimeter.
Open the battery case by removing screws (be careful not to damage the cells). Locate the BMS board – it’s the green circuit board connected to all the cells. Look for a small reset button or test point labeled J1 or RESET. Briefly short this contact to ground using a wire.
Alternative method: Disconnect the main battery leads from the BMS, wait 10 seconds, then reconnect. This forces a complete BMS reboot.
Warning: Lithium-ion batteries can be dangerous if mishandled. Never short circuit the cells directly. Work in a fire-safe area and have a Class D fire extinguisher nearby.
Success rate: About 60% for firmware lockout issues. This is often the last resort before replacement.
Solutions for Specific Ryobi Battery Issues
Different symptoms point to different problems. Match your issue to these targeted solutions:
Four flashing lights: This indicates BMS firmware lockout. Try the advanced BMS reset (Step 5) or contact Ryobi for warranty replacement if within warranty period.
Battery works for 30 seconds then dies: Usually cell imbalance or deep discharge. Try the pulse charging method (Step 4) first. If that doesn’t work, the cells may be too degraded – replacement is likely needed.
Cuts out only on high-draw tools (mower, inflator): Your battery capacity (Ah rating) may be too low for the tool. Try using a higher capacity battery (4Ah or 6Ah instead of 1.5Ah or 2Ah). Higher capacity batteries handle current draw better.
Random shut-offs on all tools: Could be loose contacts or failing BMS. Clean contacts thoroughly (Step 2). If problems persist, the BMS may be failing and the battery should be replaced.
Battery cuts out when hot but works when cool: Normal overheating protection. Let the battery cool down between uses. Consider using a higher capacity battery or taking breaks during heavy use.
Preventing Ryobi Battery Issues: Maintenance Tips
The best solution is prevention. These habits will extend your Ryobi battery life and prevent cutting out issues:
Store batteries at 40-60% charge if not using for extended periods. Never store them fully charged or completely depleted. Check stored batteries every 3 months and top up if needed.
Avoid extreme temperatures. Don’t leave batteries in hot cars or freezing garages. Ideal storage temperature is 60-75°F. If you must use batteries in cold weather, keep them indoors until ready to use.
Use your batteries regularly. Lithium-ion cells degrade faster when unused. Rotate through your battery collection rather than using the same one repeatedly.
Match battery capacity to your tools. High-draw tools like mowers need 4Ah or higher batteries. Using small batteries on big tools causes overheating and premature shutdown.
Keep contacts clean. Wipe battery and tool contacts with alcohol monthly, especially if you work in dusty environments.
When to Replace vs Repair Your Ryobi Battery
Sometimes replacement is the better option. Here’s how to decide:
Replace if: Battery is over 3 years old and has been heavily used, multiple cells show zero voltage, battery has been repaired before and problems returned, or cost of repair exceeds 50% of replacement cost.
Repair if: Battery is less than 2 years old, only one cell is bad (can be replaced by skilled technician), or it’s a high-capacity battery (6Ah+) worth the repair investment.
Check warranty first: Ryobi offers a 3-year warranty on ONE+ batteries. If yours is within warranty, contact Ryobi for replacement before attempting any repairs that could void coverage.
Be honest about your technical skill level. If you’re not comfortable with soldering and electronics, attempting advanced repairs could be dangerous. Sometimes paying for professional repair or replacement is the smarter choice.
Frequently Asked Questions About Ryobi Battery Cutting Out
How do I reset my Ryobi battery?
Remove the battery from tool and charger. Press and hold the status button for 10-15 seconds. Release and wait 30 seconds. Place on charger – if charging LED lights up, the reset worked. For stubborn issues, try pressing the status button 10 times rapidly before charging.
What are the common problems with Ryobi batteries?
The most common Ryobi battery issues include: overheating during high-draw use, firmware lockout (4 flashing lights), cell imbalance causing short runtime, deep discharge preventing charging, dirty contacts causing intermittent power, and cold temperature sensitivity. Most issues can be diagnosed through LED flash patterns and behavior under load.
How to get a lithium battery out of sleep mode?
Use the pulse charging method: connect a good Ryobi battery in parallel with the sleeping battery for 30-60 seconds using alligator clips. Or use a DC power supply set to 18V with 1-2 amp current limit – apply 2-3 second pulses until voltage reaches 15V. Then attempt normal charging. If no response after 10 pulses, the battery may be beyond recovery.
What is the lifespan of a Ryobi battery?
Ryobi ONE+ batteries typically last 2-3 years with regular use, or 500-1000 charge cycles. High-capacity batteries (6Ah+) often last longer than compact ones. Proper storage at 40-60% charge, avoiding extreme temperatures, and regular use can extend lifespan to 4+ years. Batteries used daily in professional applications may need replacement annually.
Why does my Ryobi battery cut out after 30 seconds?
This usually indicates cell imbalance – one cell drops below minimum voltage faster than others. Try the pulse charging method to rebalance cells. If that fails, the cells may be degraded beyond recovery. Another possibility is using a low-capacity battery on a high-draw tool – upgrade to 4Ah or higher for mowers, inflators, and vacuums.
Can I fix a Ryobi battery with 4 flashing lights?
Four flashing lights indicate BMS firmware lockout. Try the advanced BMS reset by opening the battery case and shorting the J1 reset contact to ground, or disconnecting the main battery leads for 10 seconds. If unsuccessful, the lockout may be permanent. Contact Ryobi if within 3-year warranty – firmware lockout is often covered.
Conclusion: Don’t Let Ryobi Battery Cutting Out Slow You Down
Ryobi battery cutting out issues are frustrating but often solvable. Start with the simple fixes – basic resets, contact cleaning, and the status button trick. These solve about 70% of minor issues and take only minutes to try. For more serious problems like firmware lockout or deep discharge, the pulse charging and advanced reset methods offer good success rates.
Know when to call it quits though. Batteries over 3 years old with multiple issues are usually better replaced than repaired. Check your warranty status before attempting any repairs that could void coverage. And remember – proper maintenance and storage practices can prevent most Ryobi battery cutting out issues before they start.
Have you successfully revived a Ryobi battery that was cutting out? Share your experience in the comments below – your solution might help someone else facing the same problem.




Leave a Comment