
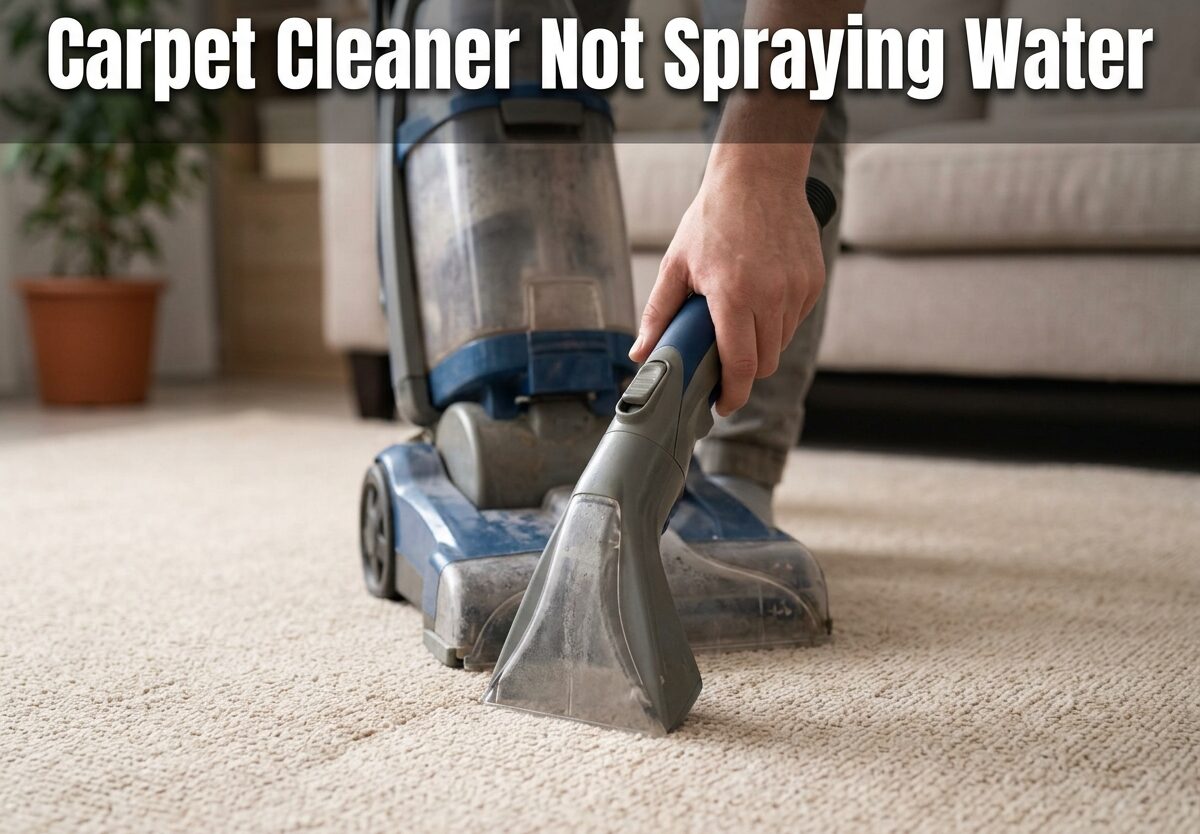
You’re in the middle of cleaning your carpets when suddenly your carpet cleaner not spraying water becomes a frustrating reality. The machine runs, but no cleaning solution reaches the floor. I’ve been there – it’s incredibly annoying when a cleaning tool stops working right when you need it most. The good news is that most spray issues are fixable at home in under 30 minutes, and I’ll walk you through exactly how to diagnose and fix the problem.
In this guide, I’ll cover why your carpet cleaner stopped spraying, how to fix it step-by-step, and how to prevent it from happening again. Whether you have a Bissell, Hoover, Rug Doctor, or another brand, these troubleshooting steps apply to most carpet cleaning machines.
Quick Troubleshooting Checklist
Before diving into detailed repairs, run through this quick checklist. These 5 checks solve 80% of spray issues in under 5 minutes:
- Check the water tank: Is it actually filled with solution? An empty tank is the most common cause.
- Verify tank seating: Remove and reseat the tank. If it’s not locked in properly, no water will flow.
- Check for air locks: Prime the pump by holding the trigger for 30 seconds with the tank removed.
- Inspect spray nozzles: Look for visible clogs or debris in the spray tips.
- Test the trigger: Listen for pump operation when you squeeze the trigger. No sound = pump or belt issue.
If none of these quick fixes solve the problem, don’t worry – we have more detailed solutions below. Many users find that vacuum cleaners for sensitive surfaces and carpet cleaners develop similar issues from lack of maintenance.
Carpet Cleaner Not Spraying Water: Common Causes
Understanding why your carpet cleaner won’t spray helps you fix it faster. Based on my research across manufacturer support pages and user forums, these are the most common culprits:
Air lock in the pump – This is the #1 cause. When you run the cleaner until the tank is empty, air gets trapped in the pump. The pump can’t push water when it’s full of air. This often happens if you let the tank run dry during cleaning.
Clogged spray nozzles – The second most common issue. Mineral deposits, soap scum, and debris build up in the tiny spray tip openings over time. This is especially common if you don’t clean your machine after each use or if you live in an area with hard water.
Water tank issues – If the tank isn’t seated correctly, the valve won’t open to release water. I’ve also seen cases where the tank’s internal bladder (in models like Bissell ProHeat) gets punctured or the valve assembly fails.
Faulty pump or pump belt – Mechanical failure does happen. If you hear the motor running but no spray comes out, the pump belt might be broken or the pump itself has failed. This is more common in older machines or those that haven’t been maintained.
Blocked hoses – Kinked or clogged internal hoses prevent water from reaching the spray nozzles. I’ve found pet hair, carpet fibers, and dried solution causing complete blockages.
Trigger mechanism problems – Sometimes the trigger itself fails to engage the pump. This can be a broken linkage, stuck button, or electrical issue in models with electronic triggers.
How to Fix Air Lock in Pump (Prime the Pump)
An air lock happens when air gets trapped in the water pump, preventing it from creating suction. This is especially common after running the tank dry or storing the machine unused for months. Here’s how to fix it:
Step 1: Turn off and unplug the carpet cleaner. Safety first – never work on electrical appliances while plugged in.
Step 2: Remove the clean water/solution tank completely. Set it aside.
Step 3: Locate the pump priming area – typically where the tank connects to the machine base. You’ll see small valves or openings.
Step 4: Hold the spray trigger down for 30-60 seconds. This forces any trapped air out of the pump system. You might hear a hissing sound as air escapes.
Step 5: Refill the tank with hot tap water (not boiling – 140°F maximum) and cleaning solution. Reinstall it securely.
Step 6: Power on the machine and test the spray. Hold the trigger over a towel or sink. Water should spray within 5-10 seconds.
Pro tip: If priming doesn’t work, try tapping the pump housing gently with a rubber mallet. This can dislodge stubborn air bubbles. For machines that have been stored a long time, you might need to repeat this process 2-3 times.
How to Clear Clogged Spray Nozzles
Clogged nozzles are incredibly common – I see this issue in forum posts almost daily. The good news is that clearing them is straightforward:
Step 1: Locate the spray nozzles. On upright cleaners, these are typically at the base of the machine behind a small cover. On handheld units, check the cleaning tool attachment.
Step 2: Use a straightened paperclip or sewing needle to gently poke through each spray hole. Don’t force it – you don’t want to damage or enlarge the openings.
Step 3: Mix a solution of equal parts white vinegar and warm water. This helps dissolve mineral deposits.
Step 4: Use a small brush (old toothbrush works great) to scrub the nozzle area with the vinegar solution. Pay special attention to the spray tips.
Step 5: For stubborn clogs, use a turkey baster or syringe to force vinegar solution through the nozzle from the opposite direction. This pushes debris back out the way it came in.
Step 6: Rinse thoroughly with clean water and test the spray. Flush the system for at least 30 seconds to remove any remaining vinegar.
Warning: Never use metal wire or coat hangers to clear nozzles – you’ll scratch and damage the spray tips, making future clogs worse and potentially affecting spray pattern.
How to Fix Water Tank Issues
Sometimes the problem isn’t the machine – it’s the tank itself. I’ve personally wrestled with this one multiple times:
Step 1: Remove the tank and inspect it for cracks or damage. Pay special attention to the bottom where the valve connects.
Step 2: Check that the tank valve isn’t stuck. Press it in manually – it should spring back out. If it’s sticky or stuck, clean it with warm soapy water.
Step 3: Verify the tank is seating properly. Listen for an audible click when installing it. If no click, check for debris in the mounting area preventing a tight seal.
Step 4: For models with internal bladders (like Bissell ProHeat), check that the bladder isn’t punctured. A damaged bladder won’t hold pressure and won’t release solution properly.
Step 5: If your tank has a removable cap or valve assembly, take it apart and clean all components. Dried solution can gum up the works.
Replacement tip: If the tank valve is broken or the tank is cracked, replacement tanks cost $20-40 on average. This is much cheaper than buying a new machine. Check your model number before ordering.
How to Check and Replace Pump Belt
If your motor runs but no water sprays (and you’ve ruled out air locks), the pump belt might be broken. This requires a bit more mechanical confidence:
Step 1: Turn off and unplug the machine. Remove any covers giving access to the pump area – usually on the side or bottom.
Step 2: Locate the pump belt connecting the motor to the water pump. It looks like a rubber band, usually black or gray.
Step 3: Check belt condition. A broken belt will be visibly severed. A worn belt will be cracked, stretched, or shiny from glazing.
Step 4: If the belt is broken or worn, note the part number printed on it. If there’s no part number, measure the length and width.
Step 5: Remove the old belt by sliding it off the pulleys. You may need to loosen tension first – there’s usually a tension arm or spring-loaded pulley.
Step 6: Install the new belt, making sure it sits properly in all pulley grooves. Reapply tension if you released it.
Step 7: Replace all covers and test the machine. You should hear the pump engage immediately when you squeeze the trigger.
Cost note: Pump belts typically cost $5-15 online. Replacing one yourself saves $50-75 in repair shop fees. If you’re uncomfortable with this repair, it might be time to consider professional service or looking at cordless vacuum cleaners as alternatives.
How to Clear Blocked Hoses
Blocked hoses are tricky because they’re often internal and hard to reach. Here’s my approach:
Step 1: Disconnect all accessible hoses – usually the solution hose from tank to pump, and sometimes the spray hose from pump to nozzles.
Step 2: Inspect hoses for kinks or sharp bends. Straighten any you find. If a hose is permanently kinked, it may need replacement.
Step 3: Flush hoses with warm water using high pressure. A garden hose attachment or kitchen sink sprayer works well.
Step 4: For stubborn clogs, use a plumber’s snake or flexible wire carefully fed through the hose. Rotate it to break up blockages.
Step 5: Check internal connections where hoses attach to valves or pumps. These junction points are common clog locations.
Step 6: Reconnect all hoses securely. Loose connections cause leaks and pressure loss.
Prevention tip: Always flush your system with clean water after every use – even if you plan to use it again the next day. This prevents solution from drying and hardening in the hoses.
How to Fix Trigger Mechanism
Trigger issues are less common but frustrating when they occur. Here’s what to check:
Step 1: Test the trigger manually – does it spring back when released? A sticky trigger indicates debris or damage.
Step 2: Remove the trigger housing cover (usually held by screws). Check for visible debris, broken linkages, or disconnected wires.
Step 3: Clean around the trigger mechanism with compressed air or a vacuum. Dust and pet hair can gum up the works.
Step 4: Check that the trigger is properly connected to the pump switch or valve. Reconnect any disconnected linkages.
Step 5: For electronic triggers, check wiring connections. Loose wires prevent electrical signals from reaching the pump.
DIY limitation: If the trigger itself is broken internally, replacement parts might not be available. In this case, professional repair is your best option.
Brand-Specific Troubleshooting Notes
While most carpet cleaners work similarly, some brands have unique issues:
Bissell carpet cleaner not spraying: Bissell ProHeat models are notorious for the “heavy duty bladder” issue – if the bladder inside the tank isn’t filled correctly or gets punctured, spray fails. Also check the small red float valve in the tank opening – if it’s stuck, water won’t flow. Bissell’s Big Green Machine has a solenoid valve upstream of the filter screen that commonly fails.
Hoover carpet cleaner not spraying: Hoover PowerScrub and SteamScrub models often have trigger linkage issues – the plastic pieces can break or become disconnected. Hoover CleanShot models have a separate CleanShot nozzle that clogs independently of the main spray.
Rug Doctor not spraying: Rug Doctor Mighty Pro and X3 models have a pressure relief valve that can stick open. Rug Doctor machines also use a distinctive red pump assembly that’s user-replaceable but requires disassembling the base.
When to Call a Professional
Sometimes DIY repairs aren’t enough. Here’s when I recommend professional help:
The pump itself has failed: If you’ve ruled out air locks, clogs, and belt issues, the pump may be dead. Symptoms include: motor runs but no pump sound, visible leaks from the pump housing, or burning smell when spray trigger is engaged.
Electrical issues: If your machine has electronic features that stopped working alongside the spray, or if you smell burning, there’s likely an electrical problem. These aren’t safe for DIY repair unless you’re experienced with appliance repair.
Cost consideration: Professional carpet cleaner repair typically costs $75-150 including parts. If your machine is older than 5-7 years or originally cost less than $200, replacement might be more economical than repair. Robot vacuum cleaners and other modern alternatives can sometimes be more cost-effective than repairing older carpet cleaners.
Warranty warning: If your machine is still under warranty (typically 1-2 years for residential models), DIY repairs can void coverage. Check your warranty status before attempting major disassembly. Many manufacturers require authorized service for warranty claims.
Maintenance Tips to Prevent Future Issues
Prevention beats repair every time. Based on real user experiences, here’s how to keep your carpet cleaner spraying reliably:
After every use: Empty both tanks completely. Rinse the clean water tank. Run the machine for 30 seconds with clean water only (no soap) to flush the system. This single step prevents 90% of clogs and buildup issues.
Weekly during heavy use: Remove and clean the spray nozzles. A quick brush under running water takes 2 minutes and prevents mineral buildup. Check the trigger mechanism for debris or pet hair.
Monthly maintenance: Deep clean the water tank with vinegar solution. Inspect all hoses for kinks or wear. Check the pump belt for cracks or wear if accessible. Lubricate any moving parts according to your manual.
Proper storage: Never store your carpet cleaner with solution in the tank – it will gum up everything. Store in a climate-controlled area if possible. Extreme temperatures can crack plastic tanks and dry out seals. Leave tanks unlatched during storage to relieve pressure on seals.
Common mistakes to avoid: Never use boiling water – it can warp plastic tanks and damage internal seals. Don’t use more soap than recommended – excess soap creates more clogs. Avoid letting the tank run completely dry while cleaning – this causes air locks. Don’t store with wet tanks – mold and bacteria growth will clog everything.
Annual tune-up: Once a year, do a complete disassembly cleaning. Replace the pump belt if it shows wear. Check all seals and gaskets. Flush the entire system with a descaling solution if you have hard water. This annual maintenance can extend your machine’s life by years.
I’ve found that carpet cleaners maintained this way can last 7-10 years, while neglected machines often fail within 3-4 years. The 10 minutes of maintenance after each use pays off hugely in longevity and reliability.
FAQs
Why is my carpet cleaner not spraying out water?
The most common reasons are: an air lock in the pump (from running the tank dry), clogged spray nozzles (from mineral deposits or soap scum), the water tank not being seated properly, a faulty or broken pump belt, blocked internal hoses, or a malfunctioning trigger mechanism. Start by checking the tank level and re-seating it, then try priming the pump.
How to fix a carpet cleaner that won’t spray?
Start with the quick fixes: check that the water tank is filled and seated properly, prime the pump by holding the trigger for 30 seconds with the tank removed, and clear any visible nozzle clogs with a paperclip. If these don’t work, inspect the pump belt for damage, check hoses for blockages, and verify the trigger mechanism is engaging the pump. For persistent issues, the pump itself may need replacement.
How do I get my carpet cleaner to spray water?
First, ensure the tank is filled with solution and properly seated. Then prime the pump: remove the tank, hold the spray trigger down for 30-60 seconds to force out trapped air, reinstall the filled tank, and test the spray. If priming doesn’t work, clear clogged nozzles with a paperclip and vinegar solution, check that the pump belt isn’t broken, and verify no hoses are kinked or blocked.
How do you unclog a carpet cleaner?
Clear clogged spray nozzles by gently poking them with a straightened paperclip, then scrub with a toothbrush and vinegar solution. For stubborn clogs, force vinegar solution through the nozzle backward using a turkey baster. Flush hoses with warm water under high pressure, and use a plumber’s snake for internal hose blockages. Always finish by flushing the entire system with clean water for at least 30 seconds.
Why is my Bissell carpet cleaner not spraying water?
Bissell models have specific issues: check the heavy duty bladder inside the tank (it must be filled correctly and not punctured), verify the small red float valve in the tank opening isn’t stuck, and on Big Green Machine models, check the solenoid valve upstream of the filter screen. Also ensure the tank is making an audible click when installed – Bissells require a tight seal for the valve to open.
Can I use hot water in my carpet cleaner?
Use warm tap water only (maximum 140°F). Never use boiling water – it can warp plastic tanks, damage internal seals, and void your warranty. Hot water does clean better than cold, but boiling hot causes expensive damage. If you don’t have a thermometer, hot tap water that’s comfortable to touch is safe for virtually all carpet cleaners.
How often should I clean my carpet cleaner nozzles?
Clean the spray nozzles after every use – it takes less than 2 minutes and prevents most clogs. Simply rinse them under running water and brush with a soft toothbrush. For deep cleaning, soak them in vinegar solution monthly. This simple habit extends your machine’s life by years and prevents frustrating mid-cleaning failures.
Is it worth repairing a carpet cleaner or should I replace it?
Repair is usually worth it for machines under 5 years old or originally costing over $200. Professional repair costs $75-150. DIY belt replacement costs $5-15. If your machine is older than 7 years, a basic model under $200 originally, or needs more than $150 in repairs, replacement makes more sense. Consider that new models have improved features and fresh warranty coverage.
Conclusion
Dealing with a carpet cleaner not spraying water is frustrating, but as you’ve seen, most issues are fixable at home with basic tools and a bit of patience. Start with the quick troubleshooting checklist – those five checks solve the majority of problems in minutes. If those don’t work, work through the step-by-step fixes systematically, starting with the most common causes like air locks and clogged nozzles.
Remember that prevention is your best defense. Taking 10 minutes to flush the system and clean the nozzles after each use will prevent most future problems. Your carpet cleaner is a significant investment – proper maintenance keeps it running reliably for years.
If you’ve tried everything and your machine still won’t spray, it might be time to consider professional repair or replacement. Machines older than 7 years or with multiple failing components often aren’t worth fixing. But for most carpet cleaners, a simple DIY repair gets them back to cleaning performance in under an hour.
Leave a Comment