
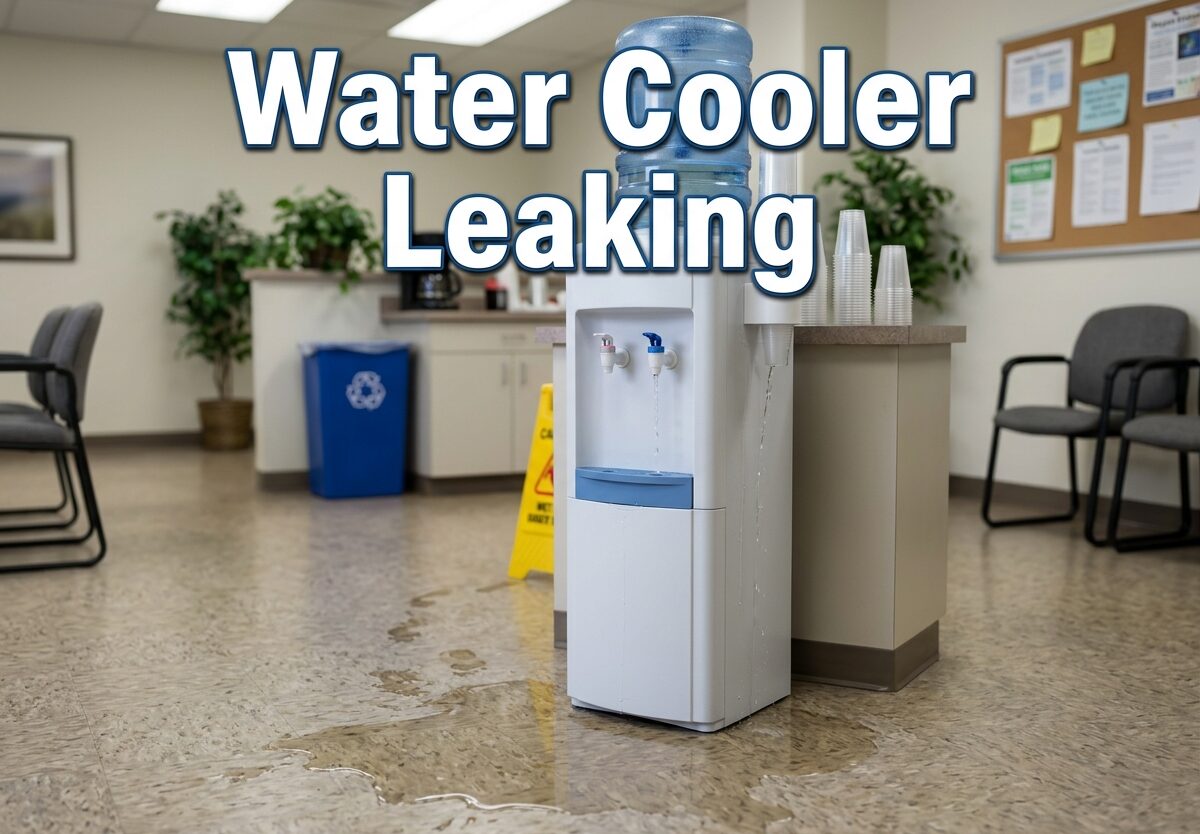
You walk into the breakroom or kitchen and step in a puddle. Water is pooling around your water dispenser again. Water cooler leaking problems are frustrating, messy, and potentially damaging to your floors. The good news? Most water cooler leaks have simple fixes you can handle yourself.
I’ve researched countless water cooler issues and found that 90-95% of all water cooler leaking problems come from just a few predictable sources. In this guide, I’ll walk you through exactly how to diagnose where your leak is coming from and how to fix it.
Whether you have a top-load bottled water cooler, a bottom-load model, or a bottleless water dispenser, these troubleshooting steps apply. Ignoring a water cooler leak can lead to warped flooring, mold growth, and higher water bills. Let’s identify and stop that leak.
Quick Diagnosis: Where Is Your Water Cooler Leaking?
Before you grab tools or call a technician, pinpoint where the water is coming from. The leak location tells you everything about the cause:
- Leaking from the top bottle area: Almost always a cracked or damaged water bottle
- Leaking from the spigot/tap: Loose connection, worn washer, or faulty valve
- Leaking from the bottom underneath: Internal seals, gaskets, or thermal expansion issue
- Water in the drip tray overflowing: Clogged drain or tray needs emptying
- Intermittent dripping when not in use: Could be thermal expansion or slow internal leak
Knowing where your water cooler is leaking narrows down the fix dramatically. Let’s tackle each cause from most common to least common.
Water Cooler Leaking from Top? Check the Bottle First
A cracked or leaky water bottle causes 90-95% of all water cooler leaking problems. I know this sounds too simple, but it’s true. Before you disassemble your dispenser or call a repair service, inspect the water bottle.
How to inspect your water bottle:
- Remove the bottle from the water cooler
- Set it on a dry surface (outside or on a towel)
- Look for visible cracks, especially near the bottom
- Check for tiny pinhole punctures that only leak when pressure builds
- Feel around the neck and bottom for moisture
Hairline cracks can be almost invisible to the naked eye. These tiny fractures often happen during transport when bottles bump against each other. The crack might not leak until the bottle is pressurized on your water cooler.
Real user experience: I’ve seen dozens of reports where people spent hours troubleshooting their water cooler, only to discover the bottle had a microscopic crack. Replace the bottle, problem solved. Most water delivery companies will replace damaged bottles at no cost.
If your bottle checks out, make sure it’s seated properly. A loosely fitted bottle can cause water to spill as it creates the initial vacuum. Lift the bottle slightly and reset it, ensuring the probe punctures the seal cleanly.
Water Cooler Leaking from Spigot? Here’s How to Fix It
Is water dripping from your tap when you’re not dispensing? A leaking spigot is the second most common cause of water cooler leaking issues. The good news: this is usually a quick DIY fix.
Most water cooler spigots have a packing nut behind the handle that controls water flow. Over time, this nut can loosen, causing a slow drip. Here’s exactly how to tighten it:
Tools needed: Adjustable wrench
- Unplug your water cooler for safety
- Locate the packing nut directly behind the tap handle (it looks like a hexagonal collar)
- Place your adjustable wrench on the packing nut
- Tighten clockwise, about 1/8 to 1/4 turn only
- Plug in the cooler and test for leaks
- If still dripping, repeat in small increments
Warning: Don’t overtighten. Over-tightening can crack the plastic housing or damage the internal seals. If the packing nut is already tight and the spigot still leaks, the problem is likely a worn O-ring or washer inside the tap assembly.
For persistent spigot leaks, you may need to replace the internal washer or O-ring. These small rubber seals degrade over time and cause water to seep through. Some water coolers have replacement spigot assemblies available. Check your manufacturer’s website or contact the company that services your unit.
Water Cooler Leaking from Bottom? Internal Problems Explained
Bottom leaks are more serious than bottle or spigot issues. When your water cooler is leaking from underneath, water is escaping from inside the machine. This usually means internal seals, gaskets, or components have failed.
Common internal leak causes:
- Worn reservoir seals: The internal water tank has rubber seals that degrade over 5-10 years
- Faulty float valve: This valve controls water level and can stick open, causing overflow
- Damaged O-rings: Small rubber rings throughout the cooling system can crack with age
- Cracked reservoir: Rare, but the internal plastic tank can develop cracks
The thermal expansion phenomenon: Some water coolers drip from the bottom only when turned off. This is caused by thermal expansion. When the cooling system stops, the water inside warms slightly and expands, creating pressure that forces water through weak seals. If your cooler only leaks when off, thermal expansion is likely the culprit.
Internal leaks often signal that your water cooler is reaching the end of its lifespan. Most water dispensers last 5-10 years with proper maintenance. If your unit is over 7 years old and developing internal leaks, replacement might be more cost-effective than repair.
Drip Tray Issues vs Actual Water Cooler Leaking
Sometimes what looks like a water cooler leaking is actually just a drip tray that needs attention. The drip tray catches normal drips from the spigot and condensation. When it overflows, water spreads across the floor and looks like a serious leak.
Drip tray maintenance:
- Empty the drip tray regularly (daily in high-traffic offices)
- Check that the drain hole isn’t clogged with mineral deposits
- Remove and clean the tray with mild soap monthly
- Inspect for cracks in the tray itself
If your drip tray has a drain tube, make sure it’s connected properly and not kinked. A disconnected drain tube will pour water directly onto the floor instead of into a drainage container.
Repair vs Replace: Cost Comparison for Water Cooler Leaking
When your water cooler starts leaking, you need to decide: repair or replace? Here’s a cost breakdown to help you decide:
Cracked water bottle: DIY cost is $0 (usually free replacement from your water delivery company).
Loose spigot: DIY cost is $0—it’s a simple 5-minute fix with just an adjustable wrench.
Worn O-ring or washer: DIY parts cost $5-$15. Professional repair runs $60-$120 for the service call.
Internal seal failure: DIY repair costs $15-$30 if you’re handy. Professional repair is $120-$250. Replacement units range from $150-$600.
Cracked reservoir: Not recommended for DIY repair. Professional repair costs $200-$400. Replacement units range from $150-$600.
When to repair: Your water cooler is under 5 years old, this is the first issue, parts are available, and repair cost is under 50% of replacement cost.
When to replace: Your water cooler is over 7 years old, you’ve had multiple issues, repair exceeds $200, or the model is discontinued with unavailable parts.
Preventive Maintenance to Stop Future Water Cooler Leaking
Most water cooler leaking problems are preventable with regular maintenance. I recommend this simple schedule:
Weekly: Wipe down the spigot area and check for slow drips. Empty and clean the drip tray.
Monthly: Inspect the water bottle for damage before installing. Check the floor around the cooler for moisture.
Quarterly: Deep clean the reservoir with a vinegar solution (1:1 ratio) to remove mineral buildup that can damage seals.
Annually: Schedule a professional inspection if you have a bottleless system. Replace O-rings and washers preventatively on older units.
Proper bottle handling prevents most leaks. Don’t drop bottles or set them down roughly. Inspect each new bottle before loading it onto your cooler. These simple habits can add years to your water cooler’s life.
When to Call a Professional for Water Cooler Leaking
Some water cooler leaking problems need professional expertise. Call a technician if:
- You’ve tried the DIY fixes and water is still leaking
- The leak is coming from inside the machine (bottom leak)
- Your water cooler is under warranty and you don’t want to void it
- Electrical components are wet or you notice any burning smell
- You’re not comfortable disassembling the unit
Professional service typically costs $60-$150 for a diagnostic visit, plus parts. Get a quote before authorizing repairs—sometimes replacement is more economical.
Water Cooler Leaking: Don’t Ignore the Warning Signs
Water pooling around your dispenser isn’t normal, even if it’s just a small amount. All water cooler leaking issues start small and get worse. The longer you wait, the greater the risk of water damage to your flooring and subfloor.
Wood floors are especially vulnerable. Even small, consistent leaks can warp boards and create mold-friendly environments. Tile and linoleum resist water better, but grout lines can weaken and allow moisture to penetrate.
If you notice your water cooler leaking, address it immediately. Most issues take less than 30 minutes to diagnose and fix. Your floors will thank you.
FAQ
How to stop a water cooler from leaking?
Start by checking the water bottle for cracks—this causes 90-95% of leaks. If the bottle is fine, tighten the spigot’s packing nut 1/8 turn with an adjustable wrench. For bottom leaks, unplug the unit and call a professional as internal seals may need replacement.
What is the average lifespan of a water dispenser?
Most water dispensers last 5-10 years with proper maintenance. Top-load bottled water coolers typically last longer (7-10 years) than bottom-load models (5-7 years) due to simpler design. Bottleless systems with filters may need more frequent servicing.
How likely is it for a water cooler to leak?
Water cooler leaks are relatively common, affecting approximately 15-20% of units over their lifespan. The majority of leaks (90-95%) come from cracked water bottles, which are easy fixes. Only about 5% of leaks indicate serious internal problems requiring professional repair.
How much does it cost to fix a water cooler?
DIY fixes like tightening a spigot cost nothing. Replacing O-rings or washers costs $5-$15 in parts. Professional repairs range from $60-$600 depending on the issue. If your water cooler is over 7 years old and repair exceeds $200, replacement is usually more cost-effective.
Why is my water cooler leaking from the bottom underneath?
Bottom leaks usually indicate internal problems: worn reservoir seals, faulty float valves, cracked O-rings, or a damaged internal tank. Intermittent bottom leaks when the cooler is off may be thermal expansion—water warming and expanding after the cooling cycle stops. Most bottom leaks require professional assessment.
Conclusion
Dealing with water cooler leaking problems is frustrating, but the vast majority are straightforward to resolve. Start with the water bottle—it’s the culprit in over 90% of cases. Move to the spigot next, as loose connections cause most remaining issues. Only when you’ve ruled out these simple causes should you worry about expensive internal repairs.
Remember: water and electricity don’t mix. Always unplug your water cooler before attempting any repairs beyond basic bottle replacement or exterior spigot tightening. When in doubt, call a professional. Your safety is worth more than the service fee.
Have you successfully fixed a water cooler leaking issue? Share what worked for you in the comments below.


Leave a Comment