
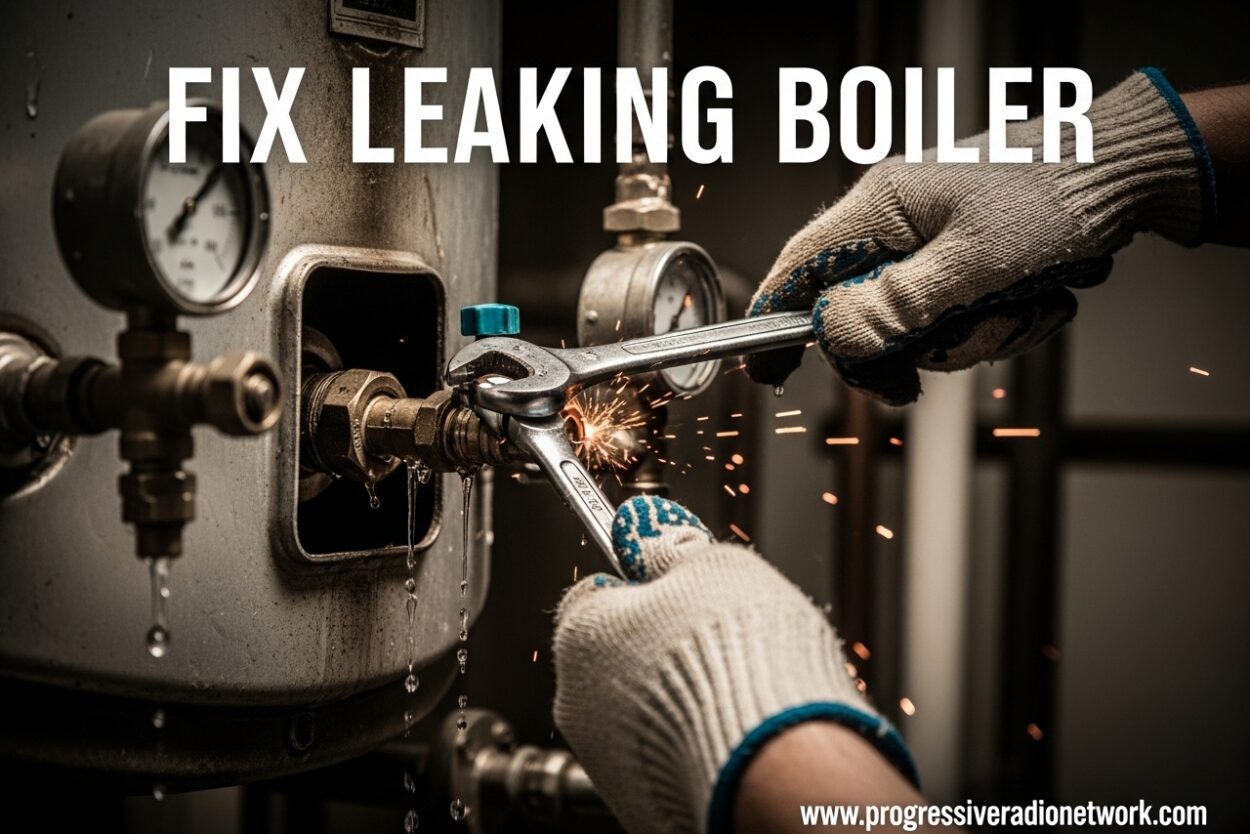
Discovering water pooling beneath your boiler ranks among the most stressful moments for any homeowner. That dripping sound or growing puddle signals something has gone wrong with your heating system, and the questions start flooding in immediately. Is this dangerous? Can I fix it myself? How much will this cost?
I’ve spent years researching boiler issues and speaking with HVAC professionals about the most common heating system failures. A leaking boiler demands quick attention, but understanding the cause determines whether you’re facing a simple DIY fix or a call to your local technician.
This guide covers everything you need to know about how to fix a leaking boiler safely and effectively. I’ll walk you through the five most common causes, show you exactly what to do when you discover a leak, explain which repairs you can tackle yourself, and help you understand when it’s time to call in a professional.
Immediate Safety Steps (Do This First)
Before diagnosing or attempting any repairs, follow these critical safety steps. A leaking boiler can pose serious risks including electrical hazards and water damage.
- Turn off the boiler power – Switch off the electrical supply at the boiler’s power switch or circuit breaker. This prevents electrical shorts from water contact.
- Shut off the water supply – Locate the shut-off valve on the cold water inlet pipe and turn it clockwise to close. This stops additional water from flowing into the system.
- Contain the water – Place towels, buckets, or a shallow tray under the leak to prevent water damage to flooring and subflooring.
- Check for gas leaks (gas boilers only) – If you smell rotten eggs or hear hissing near gas connections, evacuate immediately and call your gas company from outside.
- Assess the situation – Note the leak location, rate of dripping, and whether the boiler was recently serviced or had pressure issues.
These five steps take less than two minutes and could save you thousands in water damage or prevent a dangerous situation. Only after completing these steps should you proceed with diagnosing the leak source.
Is a Leaking Boiler Dangerous?
Yes, a leaking boiler can be dangerous depending on the leak’s severity and location. Understanding the risks helps you respond appropriately and make informed decisions about repairs.
Electrical hazards represent the most immediate danger. Water and electricity don’t mix, and boilers contain multiple electrical components including pumps, controls, and ignition systems. Even a small leak can reach electrical connections, potentially causing short circuits that lead to system failure or, in worst cases, electrical fires.
Water damage accumulates quickly. What starts as a small drip can saturate flooring, warp subflooring, and encourage mold growth within 24-48 hours. I’ve seen homeowners face $5,000+ in water damage repairs from leaks they ignored for weeks.
Gas boilers add another risk layer. While water leaks themselves aren’t typically explosive, they can indicate underlying pressure issues that stress the entire system. Additionally, water reaching gas components creates corrosion and potentially dangerous situations.
Low pressure affects system efficiency. As water escapes, system pressure drops, forcing your boiler to work harder and run longer to heat your home. This increases energy bills and accelerates wear on other components.
That said, not every leak constitutes an emergency. Slow drips from pressure relief valves or minor condensation issues can often wait for a scheduled service appointment. The severity depends on leak rate, location, and your boiler’s type (gas, oil, or electric).
Fix Leaking Boiler: 5 Main Causes and Solutions
Understanding why your boiler is leaking water is the first step toward the right fix. Based on industry data and professional insights, these five causes account for over 90% of all boiler leaks.
1. Faulty Pressure Relief Valve (Most Common)
The pressure relief valve (PRV) serves as your boiler’s safety mechanism, designed to release excess pressure when it exceeds safe levels (typically around 30 PSI). When functioning correctly, the PRV remains sealed. When it fails, water drips continuously from the valve’s discharge pipe.
Why PRVs fail: Mineral buildup from hard water prevents proper sealing, internal corrosion degrades the rubber seal, or the valve simply wears out after years of pressure cycles. I’ve seen PRVs fail in as few as five years in areas with extremely hard water.
Diagnosing a PRV leak: Look at the copper or plastic pipe extending from your boiler to the floor or drain. If water drips from this pipe’s end while the boiler operates, the PRV likely needs replacement.
Temporary DIY fix: Some homeowners carefully lift the PRV’s small lever to flush debris and reseal the valve. Only attempt this if you’re comfortable working near pressurized systems. Place a bucket beneath before lifting.
Professional fix required: PRV replacement costs between $200-450 for professional installation. This isn’t a DIY-friendly repair for most homeowners because it involves draining the boiler system and working with pressurized components. A licensed HVAC technician can complete this in 1-2 hours.
2. Corroded or Rusted Pipes and Boiler Unit
Corrosion stands as the leading cause of boiler leaks in systems over 10 years old. Internal rust weakens pipes, fittings, and even the boiler tank itself until water finds its way through microscopic holes that gradually expand.
Why corrosion happens: Oxygen in water reacts with metal over time, accelerated by acidic water conditions or improper chemical treatment. Older boilers with cast iron heat exchangers are particularly susceptible.
Identifying corrosion leaks: Look for rust-colored water, orange/brown staining around pipe connections, or flaking metal on the boiler body. These leaks often start as slow seeps rather than dramatic sprays.
Repair considerations: Localized pipe corrosion might be fixable by replacing the affected section ($350-600 depending on accessibility). However, extensive corrosion throughout the boiler or heat exchanger corrosion typically signals replacement time.
When replacement makes sense: If your boiler is over 12-15 years old and shows corrosion signs in multiple locations, repair costs approaching $1,000+ might better apply toward a new system. Modern boilers offer 15-20 year lifespans with significantly improved efficiency.
3. Failed Pump Seals
The circulating pump keeps hot water moving through your heating system. This pump contains seals that prevent water from leaking out around the spinning shaft. When these seals fail, water drips from the pump body.
Why pump seals fail: Age and normal wear cause seal deterioration over 8-12 years. However, sudden seal failure can indicate system issues like excessive pressure or running the pump with air in the system (which causes overheating).
Diagnosing pump seal leaks: Locate the pump (typically a small component with a motor attached to pipes near the boiler). Water dripping from the pump’s center or weeping from its body indicates seal failure. You might also notice the pump making more noise than usual.
Advanced DIY or professional repair: Pump seal replacement costs $250-500 professionally. Confident DIYers can purchase seal kits ($30-80) but the repair requires draining the system, removing the pump, and precise reassembly. One mistake during reassembly can cause immediate re-leaking.
Professional recommended: Unless you have significant plumbing experience, I recommend professional pump repair. Improper installation can damage the impeller or create air pockets that reduce heating efficiency.
4. Loose or Damaged Pipe Joints
Your boiler connects to the heating system through numerous pipe joints and fittings. These connections can loosen over time due to thermal expansion and contraction as the system heats and cools.
Why joints leak: Repeated heating cycles cause metal pipes to expand and contract, gradually loosening threaded connections. Old pipe dope or thread tape degrades, and compression fittings can lose their grip over 10+ years.
Identifying joint leaks: Carefully inspect all pipe connections with a flashlight while the system is pressurized. Look for mineral deposits (white or green crusty buildup) around fittings – these indicate slow leaks that evaporate, leaving mineral traces behind.
DIY-friendly repair: Minor joint leaks often respond to simple tightening. Use two wrenches to prevent twisting pipes – one holds the fitting while the other tightens the nut. For threaded connections, you might need to disassemble, clean, and reapply pipe dope or PTFE tape before reassembling.
Professional for complex situations: Joints that continue leaking after tightening, soldered copper joints, or connections in hard-to-reach areas require professional attention. Professional joint repair costs $150-400 depending on the number of affected fittings.
5. Expansion Tank Problems
The expansion tank (typically a small tank hanging near or above the boiler) accommodates water’s expansion as it heats. Without proper tank function, pressure builds rapidly and forces the PRV to release water.
How expansion tanks fail: The tank contains an air bladder or chamber separated from water by a diaphragm. When this bladder loses air charge or the diaphragm ruptures, the tank fills completely with water and can’t accommodate expansion pressure.
Diagnosing expansion tank issues: Tap the tank gently – a waterlogged tank sounds solid while a properly functioning tank has a hollow sound. You can also check the tank’s air valve (like a tire valve). If water comes out, the diaphragm has failed.
DIY air recharging possible: Some tanks simply need air recharging. Turn off the boiler, drain the tank side, and use a tire pump to add air to 12-15 PSI. This fixes waterlogged tanks with intact diaphragms.
Professional replacement when needed: Failed diaphragms require tank replacement ($200-500 installed). Newer tanks are generally more reliable and include better diaphragm materials than older models.
How to Diagnose Your Boiler Leak Type
Pinpointing the exact leak source saves time and money by directing you to the right solution. Follow this systematic approach to identify what’s causing your specific boiler leak.
Step 1: Map the leak location. Clean the entire area around your boiler with dry towels. Wait 30 minutes with the boiler off, then observe where water first appears. This reveals the leak’s origin point.
Step 2: Check system pressure. Look at your boiler’s pressure gauge. Normal operating pressure is 12-25 PSI when hot. Pressure above 25 PSI suggests PRV or expansion tank issues. Pressure below 12 PSI might indicate a leak elsewhere in the system.
Step 3: Observe leak timing. Does the leak appear only when the boiler runs? This points toward pump seals or pressure-related issues. Does the leak continue even when the boiler is off? This suggests corroded pipes or failed joints.
Step 4: Check the PRV discharge pipe. This is the most common leak location. If water drips from this pipe, focus your diagnosis on the PRV and expansion tank before examining other components.
Step 5: Inspect all visible joints and connections. Use a flashlight to examine every pipe connection, valve, and fitting. Look for mineral deposits, rust, or moisture trails that indicate the leak path.
Repair vs Replace: Cost Breakdown
Understanding repair costs helps you make informed decisions about your leaking boiler. Here’s what you can expect to pay for common fixes in 2026.
Pressure Relief Valve Replacement: $200-450 professional cost. This includes the valve ($40-80 part cost), labor, and system refill. DIY possible for experienced homeowners but involves working with pressurized systems.
Pipe Joint Repair: $150-400 professional cost. Simple tightening might cost nothing if you’re comfortable DIY. Multiple joint repairs or soldered connections require professional welding and plumbing skills.
Pump Seal Replacement: $250-500 professional cost. Seal kits run $30-80 if you’re experienced with system draining and pump disassembly. Most homeowners should opt for professional installation to ensure proper reassembly.
Expansion Tank Replacement: $200-500 professional cost including the tank ($80-150 part) and installation. Air recharging might cost nothing if you have a tire pump and the diaphragm is intact.
Corrosion Repair: $350-800+ professional cost. Localized pipe replacement might be worthwhile. Extensive corrosion usually signals replacement time rather than repair investment.
Complete Boiler Replacement: $3,500-8,000 depending on boiler type, size, and installation complexity. Modern high-efficiency models cost more upfront but can reduce energy bills by 20-30% compared to 15-year-old systems.
The age-based decision rule: If your boiler is under 8 years old, repairs usually make financial sense. Between 8-12 years, evaluate repair costs – anything under $500 typically warrants fixing. Over 12-15 years, consider replacement if repairs exceed $500-700.
Prevent Future Leaks: Maintenance Guide
Most boiler leaks develop slowly over years, giving you opportunities to catch problems early through regular maintenance. These proactive steps significantly reduce leak risk.
Annual professional servicing: Schedule yearly maintenance with a licensed HVAC technician. They’ll clean heat exchangers, check all connections, test safety valves, and identify developing problems before they become leaks. Expect to pay $100-200 for annual service.
Monitor system pressure monthly: Check your pressure gauge and note the reading. Consistent pressure drops between 12-25 PSI indicate a small leak somewhere in the system. Rising pressure above 25 PSI suggests expansion tank or PRV issues.
Visual inspection routine: Every few months, examine visible pipes and connections for mineral deposits, rust, or moisture. Early detection of slow seeps prevents extensive water damage and expensive repairs.
Address pressure issues promptly: If you notice the PRV occasionally dripping, don’t ignore it. This symptom often indicates expansion tank problems or high system pressure that will worsen without attention.
Water quality management: In areas with hard water, consider water treatment to reduce mineral buildup. Hard water accelerates corrosion and causes premature valve failures. Your technician can recommend appropriate treatment options during annual service.
Age awareness: Boilers over 12 years old deserve extra attention. Components degrade predictably with age, and early leak detection prevents water damage that might cost more than the boiler’s remaining value.
Tools Needed for Boiler Leak Diagnosis and Minor Repairs
Before attempting any DIY work on your boiler, gather these basic tools. Having the right equipment makes diagnosis safer and minor repairs more successful.
Adjustable wrenches (2): You’ll need two wrenches for most joint work – one to hold the fitting steady while the other turns. This prevents pipe twisting and damage.
Flashlight: Good lighting is essential for spotting leak origins, especially in cramped boiler closets or utility areas.
Towels and buckets: Have plenty of absorbent towels and a shallow bucket or tray ready before starting any inspection or repair work.
PTFE tape (plumber’s tape): This white tape seals threaded pipe connections. Keep a roll on hand for minor joint repairs.
Tire pump with pressure gauge: Useful for recharging expansion tanks and testing air valves.
Safety glasses and gloves: Always protect your eyes and hands when working near pressurized systems or hot components.
When to Call a Professional
Some boiler leaks definitely require professional expertise. Don’t attempt DIY repairs if you encounter these situations.
Gas boilers with suspected gas issues: Any smell of gas, hissing sounds near gas lines, or uncertainty about gas connections warrants immediate professional help. Evacuate and call from outside.
Leaks you can’t identify: If you can’t pinpoint the leak source after thorough inspection, a professional’s diagnostic tools and experience will save time and prevent misdirected repair attempts.
System-wide corrosion: Multiple rust spots or corroded components throughout the system indicate age-related failure that professional assessment should evaluate.
Repeated PRV leaks: If the PRV continues leaking after replacement or recharging the expansion tank doesn’t solve the problem, deeper system issues require professional diagnosis.
Warranty considerations: If your boiler is still under warranty, DIY repairs might void coverage. Check your warranty terms before attempting any work.
Lack of confidence: There’s no shame in calling a professional if you’re uncomfortable with any aspect of boiler repair. The risks of mistakes (water damage, system failure, safety hazards) outweigh potential savings.
Frequently Asked Questions
Can a leaking boiler be repaired?
Can you still use a boiler if it’s leaking?
What to do when a boiler is leaking water?
Is a leaking boiler an emergency repair?
Is it normal for boilers to leak water?
How serious is a leaking boiler?
Conclusion
Fixing a leaking boiler starts with understanding the cause and acting quickly to prevent further damage. The five common causes – pressure relief valve failure, corrosion, pump seal failure, loose joints, and expansion tank problems – each have specific solutions ranging from simple DIY fixes to professional repairs.
Start with the immediate safety steps: turn off power, shut off water, contain the leak, and assess the situation. Then diagnose the specific leak type by observing location, timing, and system pressure. Use the cost breakdown to make informed repair versus replacement decisions based on your boiler’s age and the repair’s extent.
Remember that most boiler leaks worsen over time. What starts as a small drip can lead to extensive water damage, electrical hazards, or complete system failure. Addressing leaks promptly protects your home and often results in less expensive repairs than waiting.
If you’re uncertain about any aspect of diagnosing or fixing your leaking boiler, contact a licensed HVAC professional. The cost of professional service ($100-200 for diagnosis, plus repair costs) provides peace of mind and ensures the job is done correctly, protecting your home and family’s safety.


Leave a Comment