
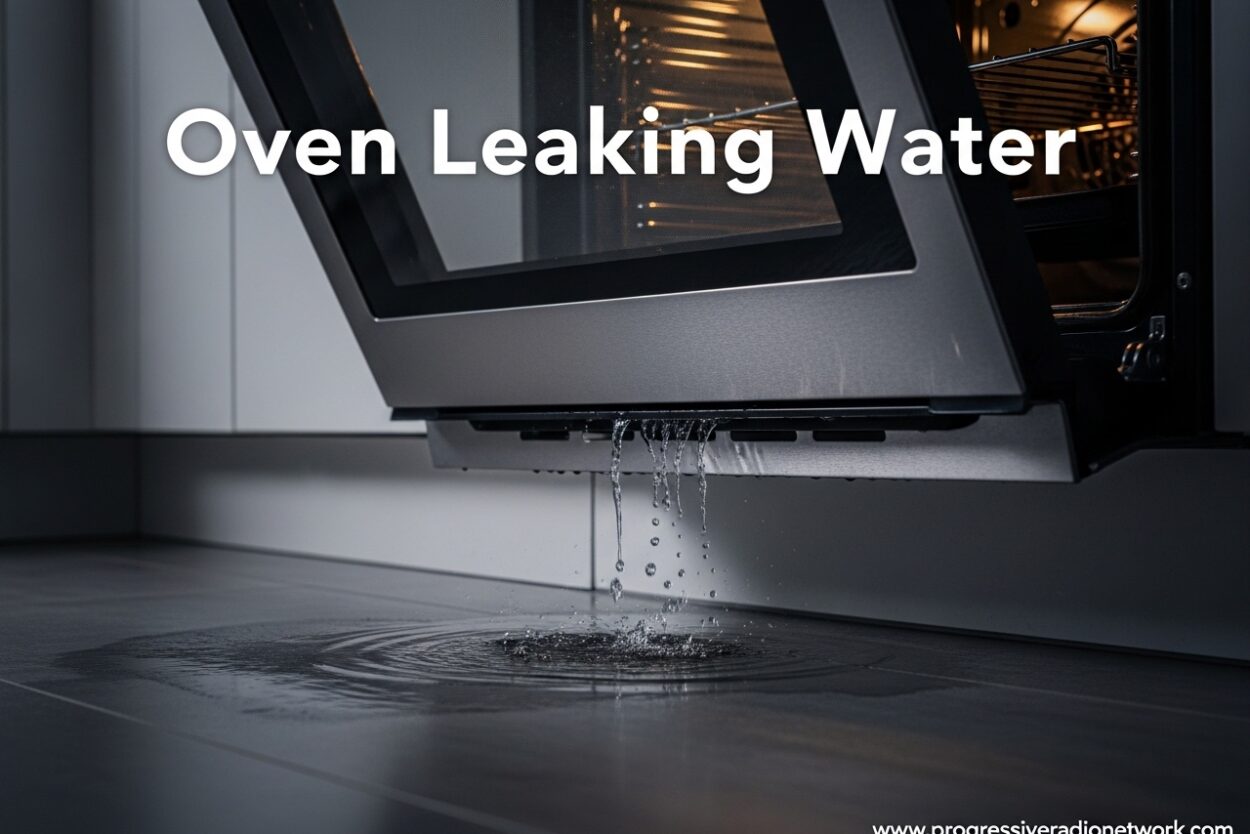
Noticing water pooling beneath your oven can be alarming. I’ve seen plenty of homeowners discover puddles on their kitchen floor and immediately worry about serious appliance failure. Oven leaking water is actually a common issue with several explanations ranging from normal condensation to mechanical problems.
In this guide, I’ll walk you through the most common causes of oven water leaks, how to diagnose the issue yourself, and when it’s time to call in a professional. You’ll learn the difference between normal moisture buildup and actual problems that need attention.
Is Water Leaking From Your Oven Normal?
Some condensation is completely normal during oven operation. When you cook food with high water content, steam forms inside the oven cavity. This steam can condense on cooler surfaces like the door glass or oven floor.
Normal condensation appears as light moisture that evaporates after cooking. A few drops may form but shouldn’t create significant puddles or continuously drip from your oven.
Problematic leaks involve water actively flowing or pooling in large amounts. If you see consistent dripping, water accumulating beneath the oven door, or puddles spreading across your floor, something needs attention.
Oven Leaking Water: 5 Common Causes
After researching hundreds of oven leak cases and consulting appliance repair experts, I’ve identified the primary reasons your oven might be leaking water.
1. Excess Condensation Build Up
This is the most common culprit. When hot steam inside your oven meets cooler surfaces, it condenses into water droplets. Poor ventilation makes this worse.
Modern ovens are well-sealed for energy efficiency, but this can trap moisture inside. Without proper airflow, condensation accumulates and eventually finds its way out through door gaps or vents.
2. Worn Door Gasket or Seal
The door gasket creates an airtight seal between your oven door and the cavity. Over time, this rubber or silicone seal can crack, flatten, or become misaligned.
I’ve seen ovens more than 5-7 years old with completely degraded gaskets. When the seal fails, warm moist air escapes and condenses on the door exterior, then drips down onto your floor.
3. Faulty Cross-Flow Fan
The cross-flow fan (also called a cooling fan or tangential fan) circulates air and helps manage moisture. When this fan malfunctions, moisture doesn’t ventilate properly.
A failing fan might make unusual noises, run intermittently, or stop working entirely. Without proper airflow, condensation builds up inside and can leak out through various points.
4. Improper Preheating
Cold ovens create more condensation than properly preheated ones. When you place food in a cold oven, the gradual temperature increase produces excess moisture as the food heats unevenly.
Preheating allows the entire oven cavity to reach cooking temperature before food is introduced. This reduces the temperature differential that causes condensation to form.
5. Cooking High-Moisture Foods
Certain foods naturally release more water during cooking. Vegetables with high water content, frozen foods that haven’t fully thawed, and dishes with excess liquid all contribute to condensation.
I’ve noticed this is especially common when roasting vegetables like tomatoes, zucchini, or squash. The water releases rapidly and can overwhelm your oven’s ventilation system.
How to Fix an Oven Leaking Water
Before calling a professional, try these troubleshooting steps I’ve refined through years of appliance repair experience.
Step 1: Inspect the Door Gasket
Open your oven door and examine the rubber seal around the perimeter. Look for cracks, tears, gaps, or areas where the gasket has become compressed and no longer springs back.
Test the seal by closing the door on a dollar bill. If you can easily pull the bill out, your gasket isn’t sealing properly. Replace damaged gaskets—they’re inexpensive and typically easy to install yourself.
Step 2: Check Oven Ventilation
Locate your oven’s vents (usually at the top or back of the cavity). Ensure they’re not blocked by cookware, foil, or debris.
Run your oven empty at 350°F for 15-20 minutes and observe if condensation forms. Excessive moisture during this test indicates a ventilation problem rather than a food-related issue.
Step 3: Test the Cooling Fan
Listen for the cross-flow fan when your oven is running. It should produce a steady, low hum. Unusual grinding, rattling, or complete silence suggests fan failure.
Fan replacement typically requires professional service unless you’re comfortable with appliance repair. The part usually costs $50-150 plus labor if you hire someone.
Step 4: Adjust Your Cooking Habits
Sometimes the fix is simple. Always preheat your oven fully before adding food. Leave at least 2-3 inches of space around pans for proper airflow.
When cooking high-moisture foods, consider covering dishes for part of the cooking time. This reduces steam released into the oven cavity.
Step 5: Verify Proper Installation
If your oven is new or recently moved, check that it’s level. An unbalanced oven can cause water to pool and leak in unexpected places.
Ensure the door alignment is correct—misaligned doors prevent proper gasket contact and create gaps for moisture to escape.
Preventing Oven Condensation Build Up
Prevention is easier than repair. These simple habits can significantly reduce moisture problems in your oven.
Always preheat for 10-15 minutes before cooking. This stabilizes the oven temperature and reduces the steam produced when cold food meets hot air.
Avoid overcrowding your oven. Too many dishes block airflow and trap moisture. When possible, cook in batches rather than filling every rack.
Use your oven’s convection setting if available. The circulating fan helps distribute heat evenly and reduces condensation hotspots.
Pat dry high-moisture foods before cooking. Blotting vegetables or thawing frozen food completely before cooking makes a noticeable difference.
Steam Oven Leaking Water: Special Considerations
Steam ovens have unique water-related issues since they’re designed to use water intentionally. If you have a steam oven leaking water, the diagnosis differs from conventional ovens.
Check the water container first. Overfilling beyond the “Max” line causes leaks. Remove and reseat the container properly—even slight misalignment can prevent proper sealing.
Run a drain cycle if your steam oven has this function. Clogged drain lines cause water to back up and leak from unexpected places.
Steam oven brands like Anova have documented leak issues. If you own a precision steam oven, check the manufacturer’s website for service bulletins or known problems with your model.
Steam oven repairs often require manufacturer-certified technicians. These appliances have complex water systems that general appliance repair shops may not be equipped to handle.
Safety Considerations: Carbon Monoxide and Fire Risks
Water leaks can create serious safety hazards beyond floor damage. Understanding these risks is crucial for your family’s safety.
Water near electrical components poses shock hazards and can cause short circuits. If water is leaking from the rear of your oven near electrical connections, stop using the oven immediately and call a professional.
Gas ovens with water leaks may indicate venting problems that could lead to carbon monoxide buildup. Symptoms include excessive moisture on windows near the oven, yellow burner flames instead of blue, or soot accumulation.
Install a carbon monoxide detector near your kitchen if you have a gas oven. This inexpensive device provides early warning of dangerous venting issues.
Never ignore water pooling near gas lines or electrical connections. These situations require immediate professional attention to prevent fire or carbon monoxide poisoning.
When to Call a Professional vs DIY Fix
Simple door gasket replacement and vent cleaning are safe DIY projects. These repairs cost $20-50 in parts and take less than an hour for most homeowners.
Fan replacement, internal seal repairs, and steam oven service should be handled by professionals. The complexity and safety risks outweigh the cost savings for most homeowners.
Consider your oven’s age when deciding on repairs. Ovens over 10-12 years old may not be worth significant investment—replacement might be more cost-effective than multiple repairs.
Brand-specific issues often require factory service. Samsung, Whirlpool, and LG ovens may have known problems covered under warranty or subject to service recalls. Check with the manufacturer before paying for independent repair.
Professional appliance repair typically costs $150-300 including parts, depending on your location and the specific problem. Get multiple quotes for expensive repairs and compare to the cost of oven replacement.
FAQ
Why is my oven leaking water from the bottom?
Can a faulty oven cause a fire?
Is it worth fixing a 7 year old oven?
How do I tell if my oven is leaking carbon monoxide?
How much does it cost to replace an oven door seal?
Conclusion
Oven leaking water is a problem with explanations ranging from completely normal to potentially dangerous. Most cases involve simple condensation issues that you can resolve with proper preheating, ventilation checks, and cooking adjustments.
Start by inspecting your door gasket and testing your oven’s ventilation system. These simple checks resolve the majority of water leak problems I encounter. If DIY troubleshooting doesn’t help, or if you notice water near electrical components or gas lines, professional service is the safe choice.
Remember that some condensation is normal—don’t overreact to light moisture. Focus on identifying when condensation becomes excessive and addressing the root cause rather than just cleaning up the water.

Leave a Comment