
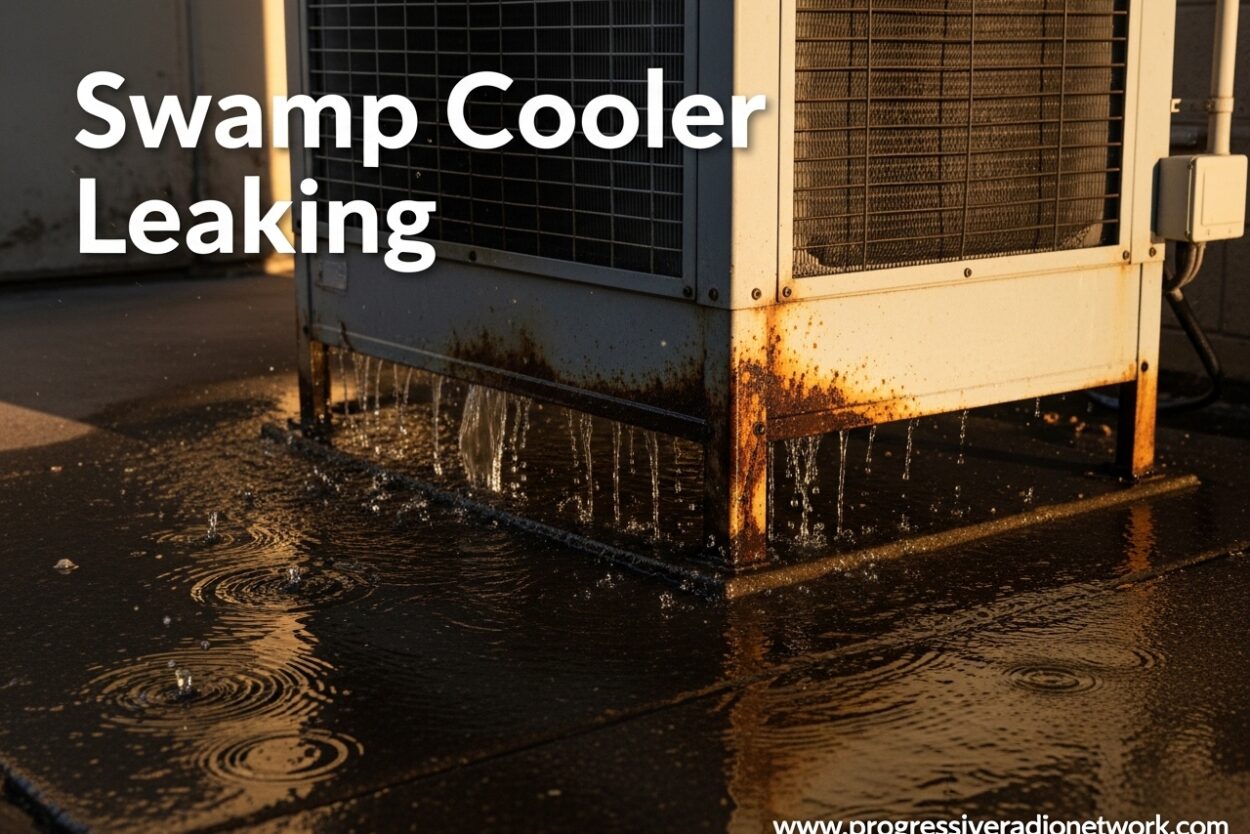
Swamp cooler leaking is more than just an annoyance. Water dripping from your evaporative cooler can cause serious roof damage, siding rot, and mold growth if left untreated. I’ve seen homeowners ignore small leaks for months, only to face thousands in repairs.
In this guide, I’ll walk you through exactly how to diagnose and fix swamp cooler leaking based on real repair experiences and professional HVAC advice. Whether you’re dealing with water pooling on your roof, dripping into your house, or an overflowing drain, you’ll find the solution here.
Quick Diagnosis Checklist
Before diving into repairs, let’s quickly identify what you’re dealing with. This checklist will help you pinpoint the leak source in under 5 minutes.
Water is actively dripping or pooling from the unit. The overflow pipe (the black PVC extending downward) is continuously draining. You notice water stains on your ceiling or walls below the cooler. Your water bill has spiked unexpectedly. The leak only happens when the pump is running.
If you answered yes to any of these, your swamp cooler leaking needs immediate attention. Let’s identify the exact cause.
Swamp Cooler Leaking: Top 5 Causes
After analyzing hundreds of swamp cooler leaking reports from homeowners and HVAC technicians, five causes account for over 90% of all leaks. Understanding these will help you diagnose the problem faster.
1. Float Valve Malfunction (Most Common)
The float valve regulates water entering your swamp cooler. When it fails, water keeps flowing even after the pan is full. This causes continuous overflow through the drain pipe.
Signs your float valve is the culprit: The overflow pipe drains constantly, water level is above the marked line, or the float ball doesn’t rise properly. This is the number one cause of swamp cooler leaking.
2. Rust Hole in Water Pan
Swamp cooler pans are metal and eventually corrode. Rust creates holes that let water escape directly onto your roof or into your ductwork. This is especially common in units over 10 years old.
Look for rust spots, pinholes, or corrosion in the bottom of the reservoir. Even small holes can leak significant water over time.
3. Pad Overflow or Misalignment
The cooling pads should hold water and allow evaporation. When pads are misaligned, deteriorated, or the wrong size, water can spray outside the unit instead of being retained.
You might notice water spraying from the sides or front of the cooler. This often gets mistaken for a more serious leak.
4. Clogged Drain Line
The drain line allows excess water to exit properly. When clogged with mineral buildup, debris, or sediment, water backs up and overflows from the pan.
This is common in areas with hard water. The solution is often as simple as clearing the line with a wire or compressed air.
5. Water Supply Line Leak
The copper or plastic tubing bringing water to the unit can develop leaks at connection points or develop cracks over time. This causes swamp cooler leaking from the supply line rather than the pan itself.
Check the compression nuts and connections where the line enters the unit. Tightening or replacing these fittings often solves the problem.
Swamp Cooler Leaking: Step-by-Step Diagnosis Guide
Now that you know the common causes, let’s systematically identify which one is affecting your unit. Follow these steps in order.
Step 1: Turn Off Power and Water Supply
Safety first. Shut off the swamp cooler at the thermostat. Then locate the water shutoff valve (usually near the water heater or where the line enters the home) and turn it off. This prevents further water damage while you diagnose.
Step 2: Observe the Overflow Drain
Look at the black PVC pipe extending downward from the unit. Is water actively flowing from it? If yes, your swamp cooler leaking is likely caused by either a float valve issue or an overfilled pan.
If water is NOT flowing from the overflow but you still have a leak, move to step 3.
Step 3: Check Water Level in the Pan
Remove the side panels to access the water reservoir. The water level should be at or slightly below the marked fill line. If it’s significantly above, your float valve is not shutting off properly.
If the water level is normal or low but you still see leaks, continue to step 4.
Step 4: Examine the Float Valve Operation
Watch the float valve as the water fills. Does the ball float rise as water enters? Does the valve completely shut off water flow when the float reaches the top?
Manually lift the float. If water continues flowing, the valve is faulty and needs replacement or adjustment.
Step 5: Look for Rust Holes in the Pan
With the water drained or at a low level, inspect the metal pan bottom carefully. Use a flashlight to spot rust holes, corrosion, or thin spots. Pay special attention to corners and seams where rust commonly starts.
Even small pinholes can cause significant swamp cooler leaking. Mark any holes you find for repair.
Step 6: Check Pad Alignment and Condition
Inspect the cooling pads on all sides. Are they properly seated in their frames? Are there gaps where water could escape? Look for deterioration, sagging, or incorrect pad size.
Run the pump briefly and observe where water hits the pads. It should distribute evenly without spraying outside the unit.
Step 7: Inspect Water Lines and Connections
Trace the water supply line from where it enters the unit to the float valve. Check all connections, compression nuts, and fittings for moisture. Look for cracks in the tubing itself.
Tighten any loose connections and replace damaged tubing or fittings as needed.
How to Fix Float Valve Issues
Float valve problems are the most common cause of swamp cooler leaking. The good news is they’re often the easiest and cheapest to fix.
Adjustment Technique
If water is overflowing but the valve seems functional, try adjusting the float arm. Gently bend the metal arm downward so the float ball shuts off the water earlier. This simple fix takes seconds and costs nothing.
Cleaning the Valve
Sometimes mineral buildup prevents proper valve operation. Turn off the water supply, remove the float assembly, and clean the valve mechanism with vinegar or a commercial descaler. This can restore proper function without replacement.
When to Replace
If the valve is damaged, corroded, or won’t shut off even after cleaning, replacement is necessary. Float valves cost $15-30 and are available at home improvement stores. Installation takes about 15 minutes with basic tools.
Professional repair for a float valve runs $100-200 including parts. However, this is one of the most DIY-friendly swamp cooler leaking repairs.
How to Fix a Rusted Pan
Rusted water pans are more challenging but still repairable in many cases. The approach depends on the extent of the damage.
Small Holes: Patching Options
For pinholes and small rusted areas (less than 2 inches), several sealants work well. Flex Seal and Henry’s roof tar are popular choices recommended by HVAC professionals. Pan-Spray is another elastomeric sealer specifically designed for swamp coolers.
Clean the area thoroughly, remove loose rust, and apply the patch according to product instructions. These patches can extend pan life by several years.
Large Holes: Pan Replacement
When rust covers a large area or there are multiple holes, replacement is the better option. New water pans cost $100-300 depending on your unit size. Installation requires removing the cooler housing and can take 2-4 hours.
Professional pan replacement typically runs $300-600 including labor. If your swamp cooler is over 15 years old, consider whether complete unit replacement makes more sense.
How to Fix Pad and Drain Issues
Pad-related swamp cooler leaking is often misdiagnosed. Let’s cover the real solutions.
Pad Realignment
If pads have shifted or aren’t seated properly, simply reposition them in their frames. Ensure the pad holder clips are secure. The pads should fit snugly without gaps at the edges.
Pad Replacement
Old, deteriorated pads can allow water to pass through unevenly. If pads are sagging, disintegrating, or heavily calcified, replace them. This costs $40-80 depending on pad type and size.
Always replace all pads at once for even cooling and water distribution.
Drain Line Clearing
Clogged drain lines cause swamp cooler leaking by preventing proper overflow. Use a wire coat hanger or compressed air to clear the blockage. Flush with vinegar solution to dissolve mineral buildup.
For persistent clogs, you may need to remove the drain fitting and clean it thoroughly. This simple fix often resolves what appears to be a major leak.
When to Call a Professional
Some swamp cooler leaking situations require professional expertise. Here’s when to call an HVAC technician instead of DIY.
If your unit is mounted on a steep or difficult-to-access roof, don’t risk injury. Professional HVAC contractors have proper safety equipment. When the leak appears to be coming from internal components you can’t access, professional diagnosis is needed.
If you’ve tried basic repairs without success, a pro can identify less obvious issues. For complete unit replacement, professional installation ensures proper mounting and connections.
Swamp cooler replacement costs $500-1,500 installed, depending on unit size and complexity. Roof-mounted units on curved metal roofs often cost more due to specialized installation requirements.
Prevention and Seasonal Maintenance
Preventing swamp cooler leaking is easier than fixing it. These maintenance tips will help you avoid future problems.
Spring Startup Checklist
Before cooling season begins, inspect the pan for rust, check the float valve operation, and verify pad condition. Clean the entire unit to remove debris. Test the system briefly and watch for any leaks before daily use begins.
Monthly Maintenance
During cooling season, check water level and adjust float valve if needed. Clean pads monthly to prevent mineral buildup. Inspect for leaks and address small issues before they become major problems.
Winterization
Proper winterization prevents spring startup leaks. Drain all water, clean the pan and pads, and cover the unit. This simple step can extend your swamp cooler’s life by years and prevent rust-related leaks.
With proper maintenance, a quality swamp cooler can last 15-20 years. Neglected units often fail within 8-10 years.
Frequently Asked Questions
Why is my swamp cooler leaking water from the bottom?
Bottom leaks typically indicate a rusted water pan, drain line clog, or deteriorated pad distribution system. Inspect the pan for rust holes first, then check if the drain is blocked. If water sprays from the pad area, the pads may be misaligned or the distribution system (spider tube) might be damaged.
What is the best sealant for a swamp cooler?
For patching small rust holes, Flex Seal and Henry’s roof tar work well. Pan-Spray is specifically designed for swamp coolers and provides excellent durability. Always clean and remove loose rust before applying any sealant. For large holes or extensive rust, pan replacement is more reliable than patching.
Is it normal for swamp coolers to leak?
Some water output is normal during operation, but continuous leaking or dripping is not. Small amounts of condensation may form, and the overflow drain should only activate occasionally. If you see constant dripping, pooling water, or water entering your home, this indicates a problem that needs attention.
How much water should come out of an evaporative cooler?
Under normal operation, you should see minimal water output. The overflow drain may activate briefly after the pump cycles off, but continuous flow indicates a problem. Evaporative coolers consume 3-15 gallons per day depending on size and conditions, but this water should evaporate through the pads, not leak out.
What is the average lifespan of a swamp cooler?
With proper maintenance, swamp coolers last 15-20 years. Neglected units often fail within 8-10 years. Key factors affecting lifespan include climate, water quality (hard water accelerates corrosion), maintenance frequency, and whether the unit is properly winterized each year.
Conclusion
Swamp cooler leaking doesn’t have to be a disaster. By identifying the cause—whether it’s a faulty float valve, rusted pan, clogged drain, or pad issue—you can often fix the problem yourself with basic tools and minimal cost.
Remember that quick action prevents bigger problems. What starts as a small drip can become extensive roof damage, siding rot, or structural issues if ignored. Use the diagnosis checklist to pinpoint the issue, then apply the appropriate fix.
When in doubt, or if the repair is beyond your comfort level, don’t hesitate to call a professional. The cost of expert help is far less than the cost of neglected water damage. Your swamp cooler leaking issue is solvable—start with the quick diagnosis checklist and take action today.




Leave a Comment