
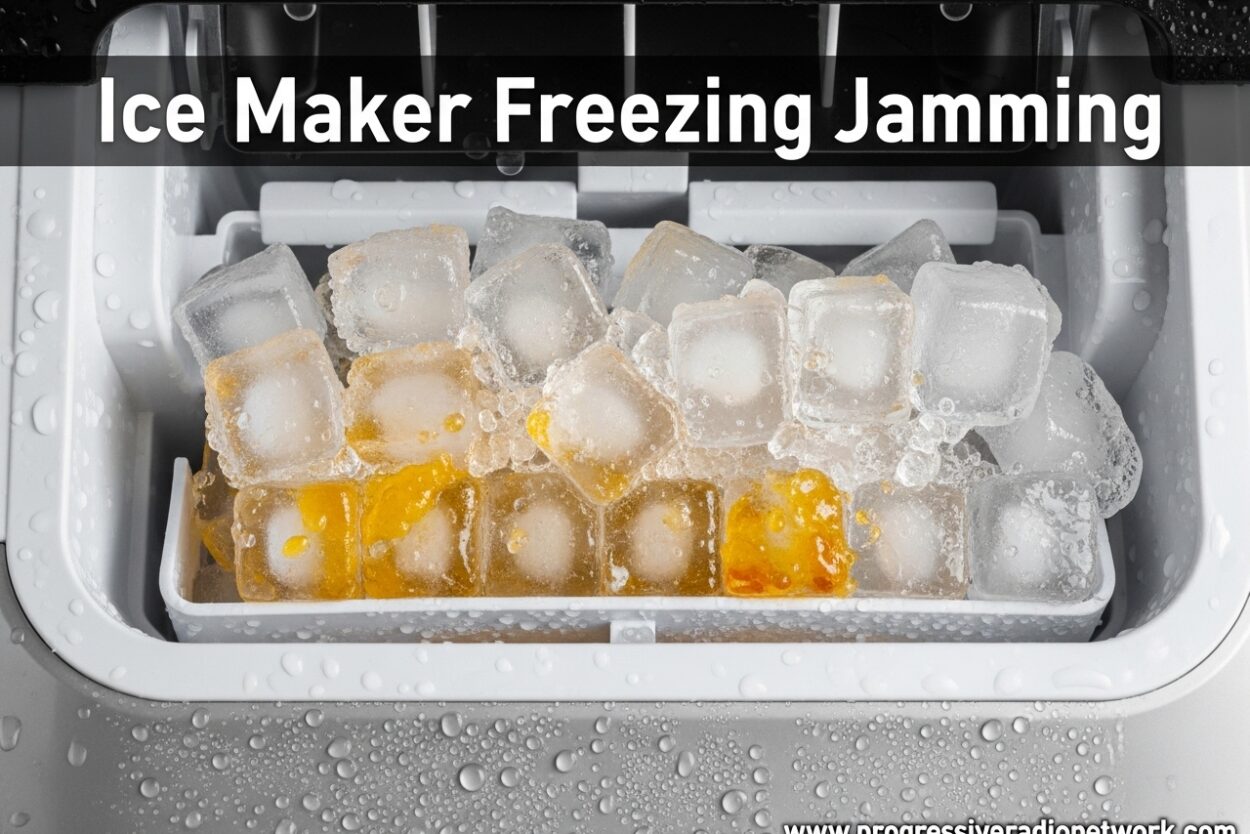
Dealing with an ice maker freezing jamming issue is frustrating. Your ice maker was working fine yesterday, but today it’s either producing no ice at all or making strange grinding noises as ice gets stuck somewhere in the mechanism. I’ve seen this problem countless times, and the good news is that most ice maker freezing and jamming issues can be diagnosed and often fixed without calling a professional. Understanding what’s causing your ice maker to freeze up or jam is the first step toward getting it working again.
What Is Ice Maker Freezing and Jamming?
An ice maker freeze up happens when excess water accumulates in and around the ice maker assembly and freezes solid. During normal operation, your ice maker goes through a harvest cycle where water fills the mold, freezes into cubes, then warms slightly to release the ice into the bin. When something disrupts this cycle, water can overflow or continue flowing when it shouldn’t, creating layers of ice that eventually jam the entire mechanism.
The difference between freezing and jamming is important to understand. Freezing refers to ice forming where it shouldn’t – usually in the fill tube, on the evaporator plate, or around the ice maker assembly itself. Jamming happens when ice cubes or chunks get physically stuck, preventing the ice maker from completing its cycle. These issues often occur together since frozen components create the conditions for jams to happen.
Common signs that your ice maker is experiencing freezing or jamming include frost buildup around the ice maker area, ice cubes that are fused together in clumps, the ice maker arm unable to complete its rotation, or unusual clicking and grinding noises during operation. In severe cases, you might find the entire ice maker compartment encased in ice.
Common Causes of Ice Maker Freezing and Jamming
Understanding what causes your ice maker to freeze up or jam helps you target the right solution. Based on my experience troubleshooting these issues, here are the most common culprits:
Frozen or Blocked Fill Tube
The fill tube delivers water to your ice maker mold. When this tube freezes, water can’t reach the ice maker properly, or it might leak and freeze around the tube entrance. This is one of the most frequent causes of ice maker freezing issues. A frozen fill tube often looks like a cylinder of ice extending from the back of your freezer into the ice maker area.
Fill tubes typically freeze due to low freezer temperatures, a faulty water inlet valve that continues dripping water, or poor air circulation around the ice maker. In some cases, the fill tube itself becomes blocked with ice from the inside, creating a plug that prevents water from flowing through at all.
Water Inlet Valve Not Closing Fully
The water inlet valve controls water flow to your ice maker. When this valve fails to close completely, water continues dripping into the ice maker even after the fill cycle ends. This excess water overflows the mold and freezes everywhere it shouldn’t, causing widespread freezing throughout the ice maker compartment.
Water inlet valves can fail due to sediment buildup, normal wear and tear, or electrical issues. I’ve seen valves that were working fine suddenly start seeping water, creating freezing problems seemingly overnight. The dripping might be slow – just a few drops per minute – but over 24 hours, this adds up to a significant amount of water that will freeze and cause problems.
Scale and Hard Water Buildup
Hard water contains minerals that accumulate over time as scale on the evaporator plate and other ice maker components. This scale buildup interferes with ice release during the harvest cycle. Ice sticks to the scaled surface instead of releasing cleanly, which causes jamming when the ice maker tries to eject the ice.
Scale buildup is particularly common in areas with hard water and in ice makers that haven’t been regularly maintained. The minerals create rough surfaces that ice clings to tenaciously. Over time, this can cause complete failure of the harvest cycle as ice becomes permanently bonded to the evaporator plate.
Bin Control and Float Switch Issues
The bin control and float switch tell your ice maker when the ice storage bin is full. When these components malfunction, the ice maker might continue producing ice even when the bin is overflowing. Excess ice can then jam the dispenser mechanism or cause the ice maker to freeze as cold air can’t circulate properly around the packed bin.
Bin controls typically use a mechanical arm that gets pushed up by ice in the bin. Float switches are more common in commercial ice makers and use a floating mechanism to detect ice levels. Both types can fail to trigger properly, leading to overproduction and subsequent jamming issues.
Thermostat and Sensor Problems
Ice makers rely on thermostats and sensors to monitor temperature and control the harvest cycle. When these components fail, the ice maker might not know when ice is properly frozen or when to initiate the release cycle. This can cause partially frozen ice to be ejected (jamming the dispenser) or ice to remain in the mold too long, where it fuses to the evaporator plate.
Thermostat issues are particularly tricky because they can cause intermittent problems. The ice maker might work fine for a few cycles, then fail when the thermostat gives an incorrect reading. This inconsistency makes thermostat problems frustrating to diagnose without proper testing equipment.
Freezer Temperature Issues
Your freezer needs to be within a specific temperature range for optimal ice maker operation – typically between 0°F and 5°F. When the freezer temperature drops below 0°F, the fill tube can freeze even during normal operation. Temperatures above 5°F prevent ice from forming properly in the mold, causing slushy ice that doesn’t release cleanly and leads to jamming.
Freezer temperature problems can be caused by faulty thermostats, blocked air vents, malfunctioning evaporator fans, or simply setting the temperature too low. I’ve also seen cases where a failing freezer compressor creates temperature fluctuations that wreak havoc on ice maker operation.
Door Gasket Leaks
The door gasket creates an airtight seal between your freezer door and the cabinet. When this seal fails, warm humid air enters the freezer and condenses on the ice maker components. This condensation freezes and accumulates, eventually causing frost buildup that can jam the ice maker mechanism.
Door gasket problems are easy to miss but can cause significant ice maker issues. You might notice frost on food packages or ice crystals on freezer walls – these are signs that your door gasket isn’t sealing properly and could be contributing to your ice maker freezing problems.
Water Filter Problems
A clogged or improperly installed water filter restricts water flow to your ice maker. This reduced flow can cause underfilled molds that produce small, irregular cubes prone to jamming. In some cases, a failing filter can also allow sediment through that contributes to scale buildup on the evaporator plate.
Water filters should be replaced according to your refrigerator manufacturer’s recommendations – typically every 6 months. I’ve seen ice maker problems resolve completely simply by installing a fresh filter, especially if the old filter was severely clogged or had been in use for over a year.
Brand-Specific Issues
Certain refrigerator models have known ice maker freezing issues. Samsung refrigerators, particularly French door models, are notorious for ice maker freezing problems due to their design and ice maker location. Whirlpool refrigerators sometimes experience fan-related freezing issues where the fan that circulates cold air over the ice maker fails. LG refrigerators can develop fill tube freezing issues related to their ice maker assembly design.
If you have a Samsung, Whirlpool, or LG refrigerator experiencing recurring ice maker freezing issues, there may be known service bulletins or redesigned components available. Knowing your refrigerator’s specific model and researching common issues can save significant troubleshooting time.
Step-by-Step Troubleshooting Guide
Before you start troubleshooting, make sure you have the right tools and understand the safety precautions. You’ll need a flashlight, a hair dryer or heat gun, towels for melting water, a multimeter (for electrical testing), and possibly a screwdriver for accessing components. Always unplug your refrigerator before working on any electrical components, and never use sharp tools that could damage refrigerant lines.
Step 1: Inspect the Fill Tube
Start by visually inspecting the fill tube where water enters the ice maker. Look for ice blocking the tube or frost buildup around the tube entrance. If the tube is frozen, use a hair dryer on low heat to melt the ice. Direct the heat carefully and avoid overheating plastic components. Once melted, check if water flows freely during the next fill cycle.
Step 2: Check the Water Inlet Valve
Locate the water inlet valve, typically at the back of the refrigerator where the water line connects. With the refrigerator unplugged, use a multimeter to test the valve for proper continuity. If you don’t have a multimeter, observe the valve during a fill cycle – it should click when energized and stop water flow immediately when the cycle ends. Any continued dripping indicates a faulty valve that needs replacement.
Step 3: Examine the Ice Maker Assembly
Remove the ice maker unit if possible and inspect it for scale buildup, ice accumulation, or physical damage. Check the evaporator plate for rough surfaces or mineral deposits. Use a flashlight to look for ice in areas that should be dry. If you find significant scale buildup, cleaning with a vinegar solution can help restore proper operation.
Step 4: Test Freezer Temperature
Place an appliance thermometer in the freezer and check the temperature after several hours. The ideal range is 0-5°F. If the temperature is below 0°F, adjust the freezer setting warmer. If above 5°F, check for blocked vents, dirty condenser coils, or evaporator fan problems that might be preventing proper cooling.
Step 5: Check for Scale Buildup
Inspect the evaporator plate and ice mold for white mineral deposits. If scale is present, clean these components with a solution of equal parts white vinegar and water. Run the cleaning solution through the ice maker if your model allows, or apply it directly with a cloth. Rinse thoroughly afterward to remove any vinegar taste from subsequent ice batches.
Step 6: Inspect the Door Gasket
Check the door gasket for cracks, tears, or areas where it’s pulling away from the door. Close the door on a dollar bill and try to pull it out – if it slides out easily, your gasket isn’t sealing properly. Clean dirty gaskets with warm soapy water, but replace damaged gaskets to prevent warm air infiltration that contributes to ice maker freezing.
Prevention and Maintenance Tips
Preventing ice maker freezing and jamming issues is far easier than fixing them. Regular maintenance can extend the life of your ice maker and prevent most common problems. Clean your ice maker every 6 months with a vinegar solution to remove scale and mineral buildup. Replace your water filter according to the manufacturer’s schedule, typically every 6 months, to ensure proper water flow and quality.
Monitor your freezer temperature monthly and adjust if needed. Keep the freezer temperature between 0-5°F for optimal ice maker operation. Don’t overstuff the freezer, which can block air circulation to the ice maker. Leave space around the ice maker for proper airflow, and ensure the freezer vent isn’t blocked by food items.
For refrigerators in humid environments or kitchens with high ambient temperatures, consider running a dehumidifier to reduce moisture that enters the freezer when the door opens. This reduces frost buildup throughout the freezer, including around the ice maker. If you notice ice clumping in the bin, try using the ice more frequently or transferring it to a separate container in the freezer to prevent fusion.
Vinegar Cleaning Method
Yes, you can run vinegar water through your ice maker to clean it. Mix equal parts white vinegar and water, then run this solution through 2-3 ice maker cycles if your model allows manual cycling. This helps remove scale and mineral deposits from the water line and ice maker components. After cleaning, run 2-3 cycles with clean water to rinse away any vinegar taste before using the ice for drinks.
Avoid using harsh chemicals or abrasive cleaners on ice maker components, as these can damage parts and leave residues that contaminate your ice. If vinegar cleaning doesn’t resolve scale issues, commercial ice machine cleaners are available that are specifically formulated for descaling ice makers.
When to Call a Professional
While many ice maker freezing and jamming issues can be resolved through DIY troubleshooting, some situations require professional service. If you’ve tried the troubleshooting steps without success, or if you’re uncomfortable working with electrical components or refrigerator disassembly, it’s time to call a professional appliance repair technician.
Professional service is recommended when you need to replace the water inlet valve, ice maker assembly, or other internal components that require specialized knowledge to install. Technicians have access to service bulletins for known issues with specific refrigerator models and can often diagnose problems more quickly through experience and specialized testing equipment.
Consider calling a professional if your ice maker is still under warranty – DIY repairs could void your coverage. Professional repair typically costs $150-400 depending on the issue and parts needed. While this might seem expensive, it’s often more economical than replacing an entire refrigerator due to ice maker damage.
If you notice water leaking into your freezer from a frozen fill tube, or if you see signs of water damage to refrigerator components, professional service is advisable to prevent further damage. Similarly, if multiple troubleshooting attempts haven’t resolved the issue, a professional can perform more comprehensive diagnostics to identify the root cause.
FAQ
Why does my ice maker keep jamming?
Ice maker jamming typically occurs when ice cubes fuse together or when ice gets stuck during the harvest cycle. This happens due to freezer temperature fluctuations, scale buildup on the evaporator plate preventing proper ice release, or overfilling when the water inlet valve doesn’t close properly. The ice maker tries to eject ice that can’t move freely, causing jams and grinding noises.
Can I run vinegar water through my ice maker to clean it?
Yes, running a vinegar and water solution through your ice maker is an effective way to remove scale and mineral buildup. Mix equal parts white vinegar and water, then run 2-3 cycles if your model allows manual activation. After cleaning, run 2-3 cycles with clean water to rinse away any vinegar taste before using the ice for drinks.
How do I stop my ice maker from clumping?
To prevent ice clumping, maintain your freezer between 0-5°F, use ice regularly to prevent sitting in the bin too long, and consider transferring ice to a separate sealed container. Run a dehumidifier in your kitchen if humidity is high, and ensure your door gasket seals properly to prevent warm moist air from entering the freezer.
Why is my ice maker not ejecting cubes?
Ice maker not ejecting cubes usually indicates a harvest cycle failure. The ice is likely stuck to the evaporator plate due to scale buildup, the heating element that warms the mold isn’t working, or the ice maker motor/rake mechanism has failed. Ice cubes may also be too large or irregularly shaped if the water fill level is incorrect.
Is it safe to use a hair dryer to defrost my ice maker?
Yes, using a hair dryer on low or medium heat is a safe way to defrost a frozen fill tube or ice maker components. Keep the dryer moving to avoid overheating any spot, and avoid melting plastic parts. Never use sharp objects to chip ice as you might damage refrigerant lines or puncture the evaporator plate.
How often should I clean my ice maker?
Clean your ice maker every 6 months as preventive maintenance, or more frequently if you have hard water that causes scale buildup. Regular cleaning with vinegar water helps prevent the mineral deposits that lead to ice jamming and freezing issues. Also replace your refrigerator water filter every 6 months for optimal performance.
Conclusion
Ice maker freezing jamming issues are frustrating but usually solvable with proper diagnosis and the right approach. By understanding the common causes – from frozen fill tubes to faulty water inlet valves and scale buildup – you can target your troubleshooting efforts effectively. Most ice maker problems can be resolved through DIY methods like defrosting components, cleaning with vinegar, or replacing faulty parts like water filters or inlet valves.
Regular preventive maintenance goes a long way toward preventing ice maker problems. Keep your freezer at the proper temperature, replace water filters on schedule, and clean your ice maker regularly to remove scale buildup. When problems do occur, work through the troubleshooting steps systematically rather than guessing at solutions. If you’ve tried the basic fixes without success, don’t hesitate to call a professional – continuing to run a malfunctioning ice maker can cause more extensive damage to your refrigerator.
Whether you’re dealing with a Samsung refrigerator that keeps freezing up or a Whirlpool ice maker that won’t eject cubes, the principles of troubleshooting remain the same. Identify the symptoms, locate the likely cause based on those symptoms, and apply the appropriate fix. With patience and the right approach, most ice maker freezing and jamming issues can be resolved, getting your ice maker back to reliable operation.



Leave a Comment